2019 POTD Thread Archive

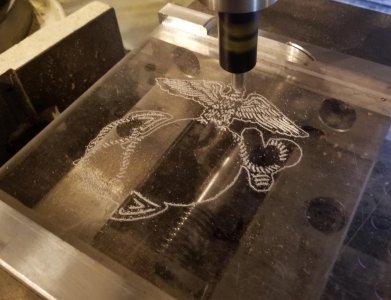
POTD was doing a tryout for a Christmas present for my mom. We lost my dad this past April; natural downward spiral after suffering a stroke 5 1/2 years before. My dad was EXTREMELY proud of serving our country in the United States Marine Corp. I'm making an aluminum memorial plaque for my mom to set in their backyard where they used to sit and feed the squirrels and birds.

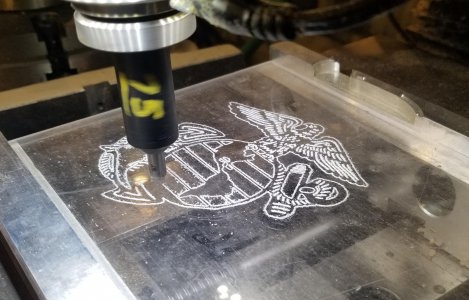
The plaque will have the Marine Corp emblem and "Dale R. Hansen 7/5/1936 - 4/18/2019" engraved on it. Found a DXF file of the Marine Corp emblem on the web, downloaded it to my Tormach 1100 and used PathPilot's DXF/conversational routines to generate the G-codes for a 4" tall emblem.

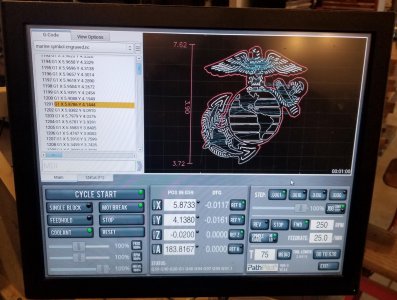
I hope Tormach reads my suggestion note for improvements to PathPilot as the conversion routine does a coolant and spindle OFF command EVERY time it lifts the tool off the work before it moves to the next shape. I cannot think of any reason to do this as it adds quite a bit of time to the routine as after every move the spindle and coolant are turned back on before dropping the spindle for the next cut. Fortunately, NOTEPAD has a global Find/Replace function; went through the routine and changed the 300+ (G-code routine was over 34,000 steps) coolant/spindle OFF commands by adding parenthesis to the lines which make them comments instead of executable commands. The routine does 3 passes, removing the coolant/spindle OFF commands took the run time from over 45 minutes to about 27 minutes.

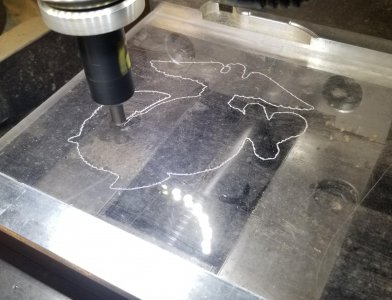
The routine uses a spring-loaded diamond braille for the engraving. Still learning engraving, started with a finish depth of 0.050" with depth of cuts of 0.020". I did a prototype run on the piece of 1/4" Plexiglas shown below. Will do some engraving on a piece of aluminum and maybe change the DOC's. Again, I have no experience with engraving aluminum with the spring-loaded diamond braille, but displacing the braille by 0.050" doesn't take a tremendous amount of force, so hopefully OK, but the proof will be in the pudding.

Thanks for looking,

Bruce


G-code routine for the Marine Corp emblem running in PathPilot.
20191123_130341.jpg


Making the first pass in 1/4" Plexiglas
20191123_130535.jpg


20191123_132537.jpg


20191123_133201.jpg

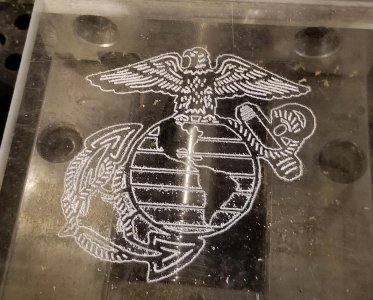
Finished Eagle, Globe, Anchor emblem
20191123_133402.jpg
 
Yes, also sorry for your loss Bruce.
I know the pain.


Sent from my iPhone using Tapatalk
 
Since this is the Sat night after payday and I only have 8 or so people here , I'm going to grab me a hunk of nylon and make up a end mill holder for the heck of it . Need to organize a bit over here . :)
 
A tragic tail. This is my third try to make an adapter for my NSK NR40 spindle. It has a funny mount and since I want it spinning ~30krpm it has to be spot on. I have a bigger mill with a DRO but I don't have access to it right now so I'm stuck with a micro mill and no DRO.

View attachment 306322

This device is terrible. I would never buy one again but it was all I had available. I had it dialed in with about .01mm runout.

View attachment 306323

it was looking good so I decided to press on the bearing which I had at about 0.01mm over sized.

Turns out my lack of experience pressing bearings has taught me a valuable lesson.

View attachment 306321

Brass tube isn't any good for a bearing press. It happened in a split second. I had some hope though but when I pulled the crumpled mess of a tube out I was presented with this:

View attachment 306324

that is all bent to hell... What do people to press bearings on anyway? Is there a set of bearing press tubes I can buy or do I have to make them?
I would make it such that the bearing just slid on the shaft and then I would use Loctite bearing adhesive to mate the two together......
 
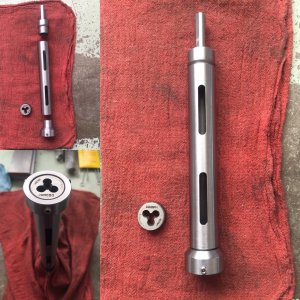
My neighbor had a die holder he made some years ago to be chucked up in a drill and used to extend the threads on bolts. His was well used and ready for retirement, so he asked if I could make him another but a little more durable. Here's the almost finished project as he'll TIG weld the pieces
together.

Extended Die Holder.JPG
 
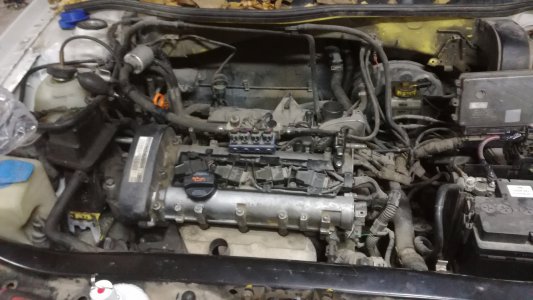
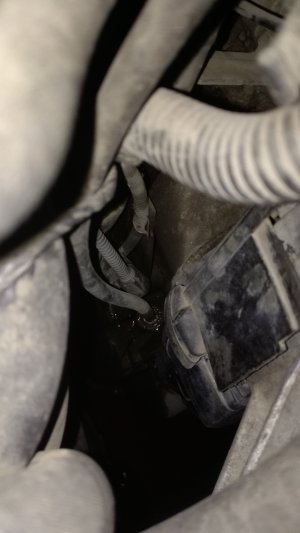
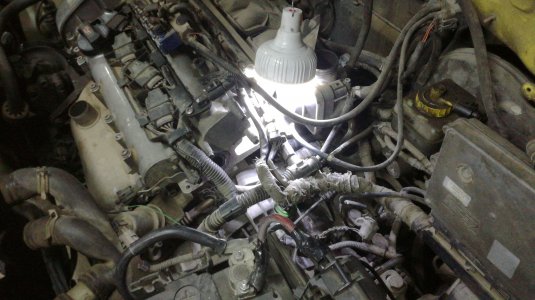
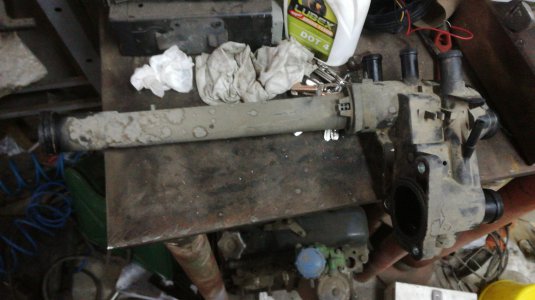
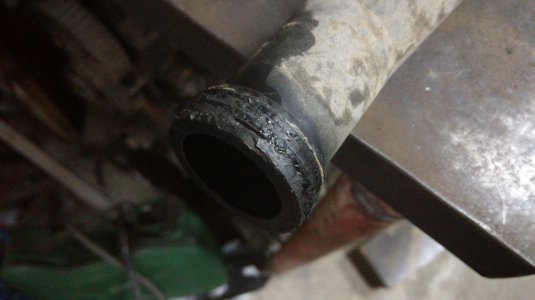
Well when it rains it really pours, yesterday even the little Niva dumped its antifreeze, it seams i've been dealing only with coolant leaks for the past week. And after spending a day in bed sick yesterday i found the strength today to take apart the white elephant that is occupation my big garage, it took some work but i finally found the the coolant was coming from behind the water pump, only one big plastic hose goes there, so after a lot of struggle i took it off and the rubber seals are shot, also seems someone has used clear bathroom silicone on it and the thermostat housing. This is a first for me to find a mechanic to cheap out on silicone, or it was done intentionally so the car will return to charge one more repair. Tomorrow i'll try go get new seals and get it finished and out of the garage,
IMG_20191124_113941.jpgIMG_20191124_113956.jpgIMG-0b5723f04e0d7e1116389656534282ad-V.jpgIMG-d9394cb8c9e070d5e870389aab2337c6-V.jpgIMG-3af171601a81ae95163e4cd5a1b77aec-V.jpg
 
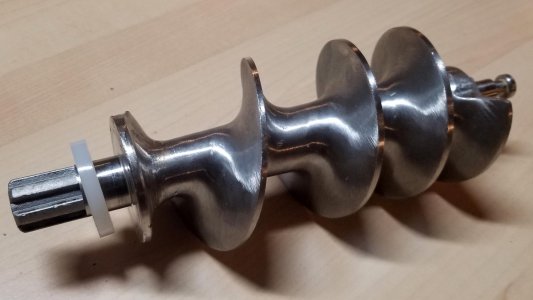
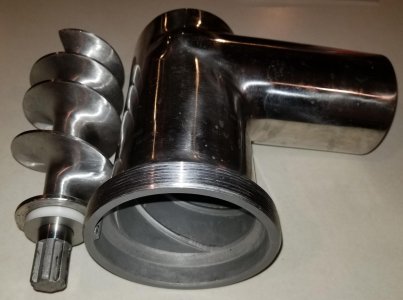
POTD was doing some repair on our Gander Mountain #32 sized meat grinder. Think it has a 1 1/2 or 2 Hp motor and was advertised being able to run 18 lbs. of meat through it per minute. We pretty much just buy fish from the store, harvest most of our protein from venison I've shot, or turkeys and chickens we raise.

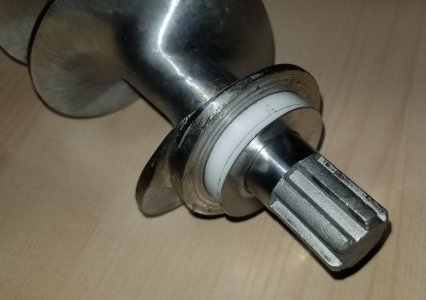
We were processing the two deer I shot this season, grinder sounded "funny". One of us put the grinder together without a stainless steel thrust washer that goes between a spacer at the motor end of the auger and the motor output shaft. There's a plastic spacer bushing between the motor end of the auger and the motor output shaft, but the stainless thrust washer needs to be there as there's relative rotation between the auger housing and the auger. Without the thrust washer, the plastic spacer was being jammed into the back of the auger housing by the pressure of the meat being pushed into the cutter/extrusion plate which ended up snapping the bushing.

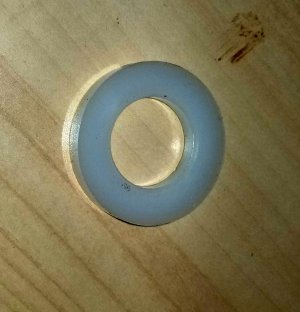
The grinder came with two of the plastic spacer bushings, but just one of the stainless steel thrust washers, so headed to the shop. The bushing/washer have a 7/8" ID and a 1.575" (40 mm) OD. Started with the plastic spacer bushing.

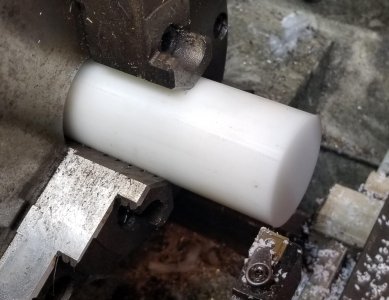
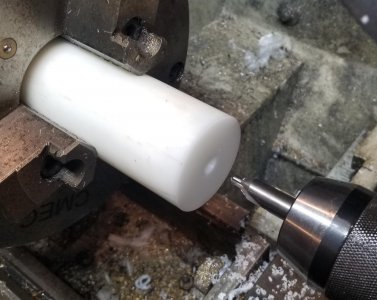
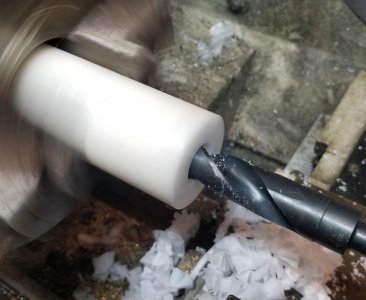
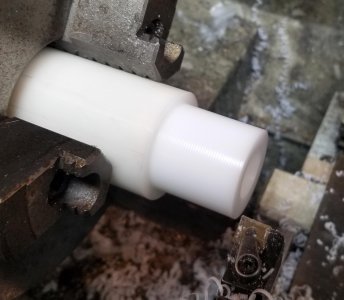
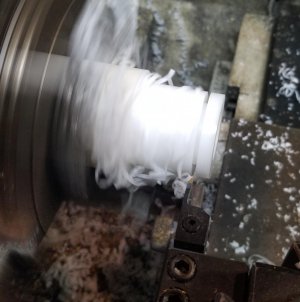
Chucked up a 2" Delrin round, faced, center drilled and drilled a 7/8" hole. Then turned the OD to 1.575". Parted off the disks at 0.236" (6.0 mm). Cleaned off the left-over from parting with a deburring tool.

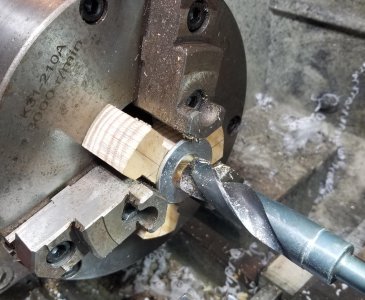
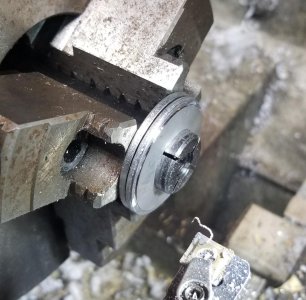
Then on to the stainless steel thrust washer(s). I used a 1 3/4" punch on my Roper Whitney #218 press to make four blanks. Then punched a 7/8" center hole. Plan was to turn the OD down on the lathe by holding the washers in an expanding mandrel. The stainless was only 0.018" thick, so used a couple of washers to back it up and space the stainless off the lathe jaws. Drilled out a couple of 1/2" washers with a 29/32" hole so they were slightly over-sized to the thrust washer. I wanted the mandrel to clamp on the ID of the thrust washer, not the spacer washer. Pecked away slowly at the stainless washer OD until at size, then cleaned them up with a Scotch-Brite wheel. I had some slippage of the washers as I pecked at them. If I had to make more, I'd take a 1 1/2" round and center drill one end. Then flip it around and drill a 29/32" hole partially through the round. Slip the drilled end over the expanding mandrel and use a rolling center in the tail stock to mash the 1 1/2" round into the stainless disk.

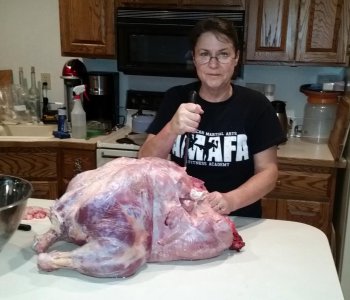
Will work great the next time we grind meat. We have 3 turkeys ready for the freezer, but they got a bit of a reprieve this year because I shot two deer which has our freezers full. Photo below is of my better half processing a tom 3 years ago that had a dead hanging weight of 72 lbs.! Our current 3 weigh 42 - 65 lbs., will process out to about 80 lbs. of ground turkey and 35 lbs. of drumsticks for stews.

Thanks for looking.

Bruce


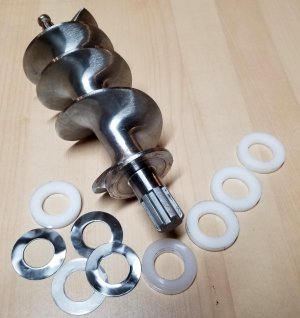
Meat grinder auger with a plastic spacer on the end. Needed to make a few spares and a stainless steel thrust washer to keep the plastic spacer from grinding (pun intended) against the grinder auger housing.
20191124_112311.jpg

Stock spacers are probably polyethylene, 6 mm thick, 40 mm OD with a 7/8" ID
20191124_112322.jpg

Chucked up a 2" Delrin round and faced
20191124_115211.jpg

Center drilled
20191124_115302.jpg

7/8" drilled center hole
20191124_115437.jpg

Turned the OD to 40 mm or 1.575"
20191124_120119.jpg

Parted off 6 mm or 0.236" spacers. Cleaned up the ID with a deburring tool.
20191124_120431.jpg

Drilled out a couple of 1/2" washers with a 29/32" drill using a wood spider as a backer. Could have used the drill press too.
20191124_121235.jpg

I didn't shoot any pictures of it, but made some 0.018" thick stainless steel washers on a RW #218 punch press with a 1 3/4" and 7/8" punch. Washer is set up against the two spacer washers and secured on an expanding mandrel. Turned the OD of the 1 3/4" stainless down to 1.575" or 40 mm.
20191124_124138.jpg

Auger with the new thrust washers and Delrin spacers
20191124_125708.jpg

New spacer and thrust washer in place
20191124_125738.jpg

Ready for grinding!
20191124_161843.jpg

My wife Tracy cutting up a 72 lbs. turkey. Breast meat alone weighed over 22 lbs. Each leg was just over 10 lbs.
20161228_204018.jpg
 
Back
Top