2013 POTD Thread Archive

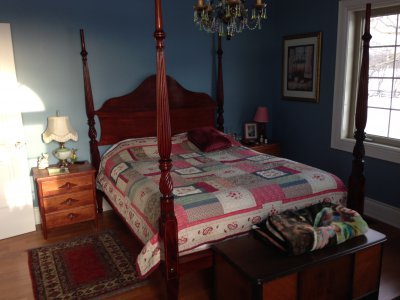
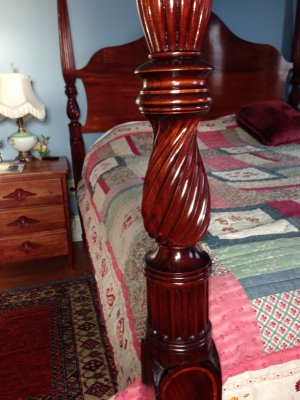
Below are some pictures of a 4 post bed which I completed yesterday. I started it in the spring of 2007 and worked on it until the ground dried up enough to start building my house. So with house building and finishing one thing led to another and I didn't get back at it until a couple of weeks ago. The design is my own but based on early American furniture. It is built of tropical American mahogany (which I can't get anymore) and has curly hard maple accents on the lower posts. It is still missing the finials, carving on the crest of the headboard and the bolt covers, but I decided enough is enough - it needs to be used.
I have about 150 hours in it - hope you like it
Michael


IMG_0516.JPGIMG_0517.JPG

IMG_0516.JPG IMG_0517.JPG
 
Your real name is Ethan Allen, right? That is outstanding work!!!
 
Beautiful work Michael !!!!!!!

Is that called a barley twist? or is that what they're called when the twist runs the full length of the post.

Your not supposed to be making shavings, you have a new lathe to get powered up.

Greg
 
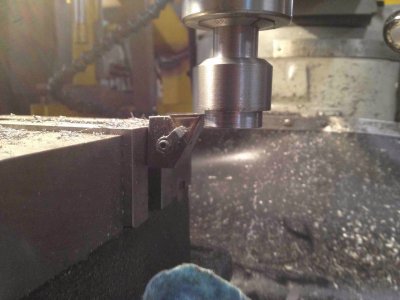
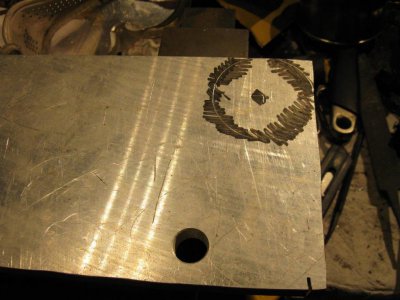
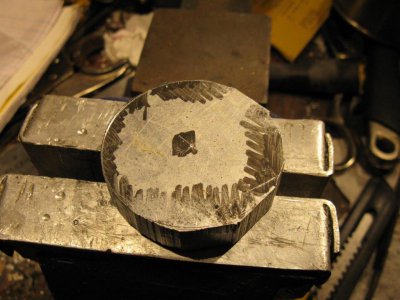
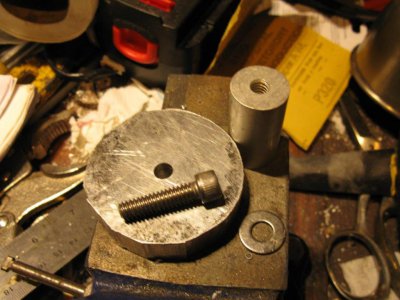
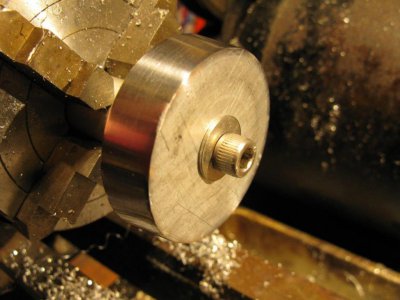
Built a mandrel to mount a gear cutter for another project.
Wanted minimal runout and was too lazy to mount the four jaw and dial this in to cut the mounting surface after turning the stem.
Tried turning it in the mill.

IMG_0920.jpg

The surface finish is better than it looks here and of coarse zero runout. Will be interesting to see what its like after remounting it. A ground pin in that collet shows about 1/4 thou.

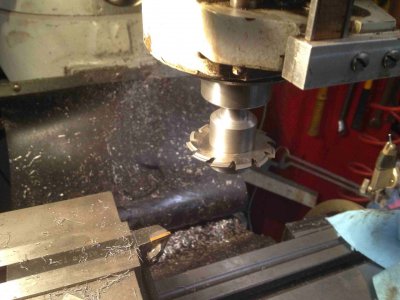
Cutter mounted.

IMG_0922.jpg

Greg

IMG_0920.jpg IMG_0922.jpg
 
Got a deal on a big Husky two piece chest at the Depot...was marked down because of what I thought was just a dented lid. Turns out entire side was dented in, and drawer slides weren't aligned....top box useless.

cut out a chunk of the side panel, knocked it back into shape...a little welding and rustoleum gloss black. Not good as new, but good enough.
 
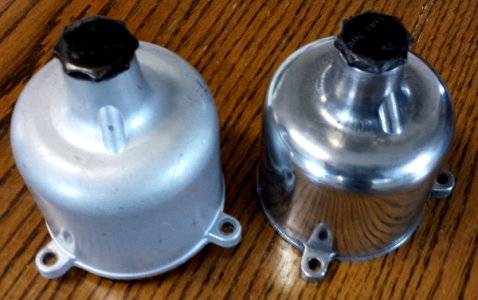
From ugly paint to polish. Never liked paint on a carburetor, so I stripped the dashpot on one of the two SU HS-4 carbs I have. It was still pretty ugly with dents, dings, and scratches. Chucked it up in the lathe and skim cut until the outside was reasonably smooth, followed with wet sanding, jewelers rouge, and final buffing with white polishing paste. Still have to do the carb body and float bowl. This carb will go on a stroker Dashpot.jpg2287cc VW Type 1 that I'm building up for an aircraft.

Tom

Dashpot.jpg
 
Built a mandrel to mount a gear cutter for another project.
Wanted minimal runout and was too lazy to mount the four jaw and dial this in to cut the mounting surface after turning the stem.
Tried turning it in the mill.

View attachment 65922

The surface finish is better than it looks here and of coarse zero runout. Will be interesting to see what its like after remounting it. A ground pin in that collet shows about 1/4 thou.

Cutter mounted.

View attachment 65923

Greg
Funny, I just turned a part on my bridgeport mill on saturday, first time. I was surprised that it was actually a very rigid setup. :))
 
I do that fairly often, not really justifying a collet setup on a lathe. Of course, the R8 has it's limits, and no threading, but it does work.

One of these days I may want to get another smaller lathe and set up collets on it, but not now. Most of my work is larger.


Oh, work of the day was to bore out a tapered ID on a flywheel/sheave for air compressor pump. Seems the combination of a A-section belt and taped bore was not available, and customer did not want the poly-vee sheave. So had a choice of recutting the vee, or the bore. I chose the bore. Took about 30 mins, including indicating the taper in.
 
making the most of some spare evenings to get on with my various projects in the garage.

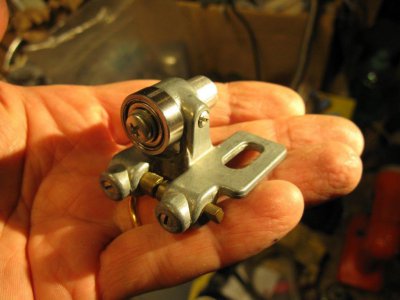
I recently bought a 10in bandsaw from the son of an old woodworker who passed away which was set up as a belt sander. After I'd cleared pounds of sawdust out of it and regreased/ oiled the bearings, motor and gearbox, I realised that it didn't have the back support bearings as their space was taken by the belt sanding platern (?). Luckily I'd just replaced a bunch of pulleys in a needle puller at work, so a couple of the bearings from those were just the right size.

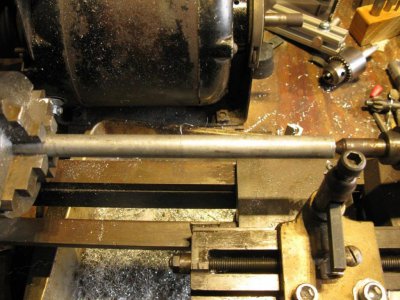
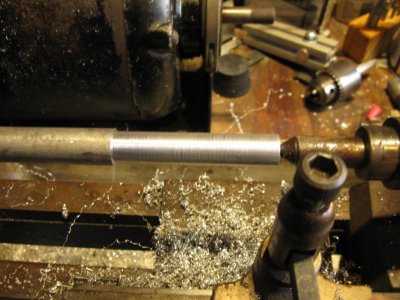
My go to rod of mystery metal (alu I think), now getting shorter..
IMG_3154_zpsce2b7ed9.jpg

Turned down to the right diameter
IMG_3156_zpsdaaca43d.jpg

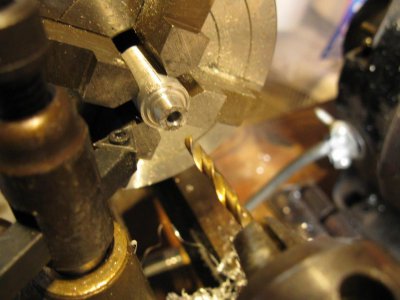
Bearing supports cut and screw hole being drilled out
IMG_3157_zpsb811615f.jpg

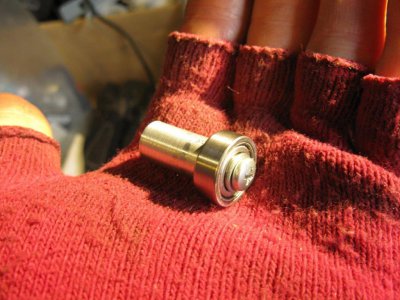
Finished product
IMG_3158_zps834c7803.jpg
IMG_3159_zpsa3195de1.jpg

Then I used the bandsaw to cut a piece of alu plate to make a pill for an LED light conversion on my drill press
IMG_3160_zpsc804c6ac.jpg
IMG_3161_zpscba78c6d.jpg
IMG_3162_zps7602b903.jpg
IMG_3163_zps67b94a4d.jpg

The pill is tapered to fit in the bottom of the old light housing. Now I need to drill and tap the screws to hold the pill in the light and the LED to the pill, then it's just a case of wiring in the LED and driver.

IMG_3154_zpsce2b7ed9.jpg IMG_3156_zpsdaaca43d.jpg IMG_3157_zpsb811615f.jpg IMG_3158_zps834c7803.jpg IMG_3159_zpsa3195de1.jpg IMG_3160_zpsc804c6ac.jpg IMG_3161_zpscba78c6d.jpg IMG_3162_zps7602b903.jpg IMG_3163_zps67b94a4d.jpg
 
Hi Guys
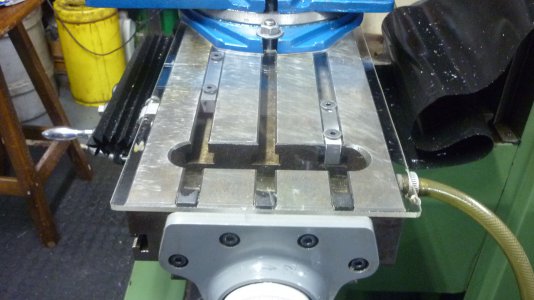
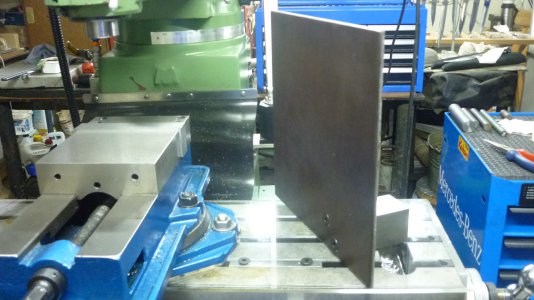
That always dirty mill bed, which Son never gets to clean really irked me. Finally got to make the savers in 6 mm perspex, and he calls it on "overkill", the twirp !!! And the Wife helped me with the exact profile copying as well, while bringing in refreshments. Are we grateful.
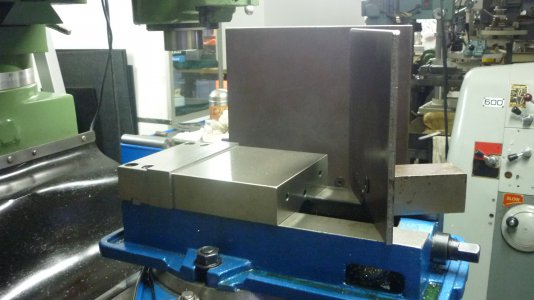
And all that coolant splashing around needed to be contained as well. "SHOP MADE TOOLS 2013" had this idea which is a real SPLASH GUARD for the Mill as well. We not so fortunate to use CARBIDE Tooling all the while !!!
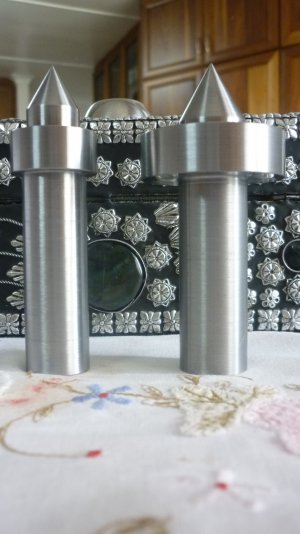
And finally made me a nice set of CENTRES like ol' pro BULGIN recommended. He said nothing about them being hard ??? Mine are in tool steel, still to be HARDENED.
Thanks for looking.

011.JPG 017.JPG 020.JPG 037.JPG
 
Back
Top