2013 POTD Thread Archive

Based on the info I got from one of the Yahoo groups I belong to, I made my own homemade "Clamptite" tool.
View attachment 63598

I had never heard of these before this week; they allow you to make your own hose clamps out of any solid wire.

http://www.youtube.com/watch?v=Zb1U6aaTozI

I also included in the photo above, a sample clamp that I made(around one of the duds from my shotgun snap-cap making last week)

Andy, that is one cool tool. This is a tool that should be in everyone's toolbox. It looks simple enough to make. Could you lay the tool beside a ruler so I can see the deminsions. I'm thinking that this would make a nice Christmas gift for the maechanical type men in my family. Thanks again for taking the time to post this.

cool idea I second please post a measured pic I want to make one of these.
 
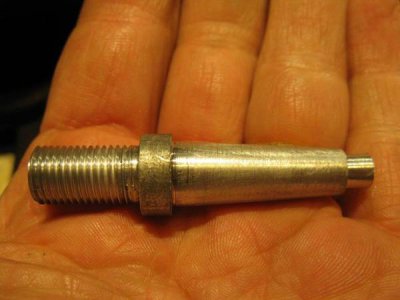
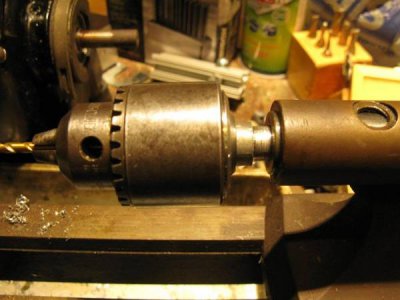
finally finished making a drill chuck arbor for my tiny ancient no-name lathe :)

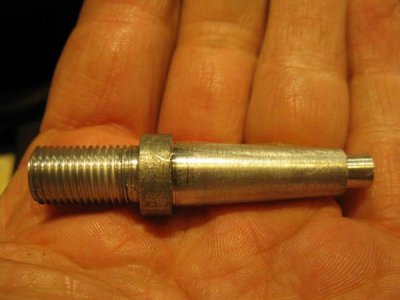
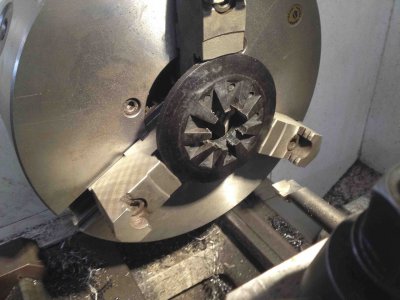
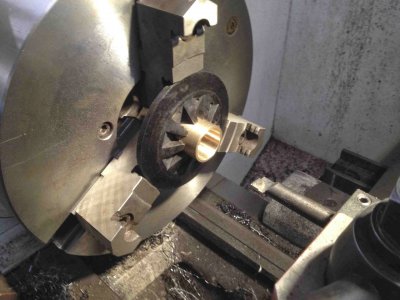
made from mystery metal, my guess being some kind of aluminium based on the weight and lack of attractiveness to magnets. Thread was done by a die, then the stock was screwed into the chuck and the chuck chucked to make sure it was all straight. Then the shank was turned down to the max diameter of the dead center and a push out nub done at the end. After that I used the dead center as a template to set up the angle on the compound and machined the taper. Amazingly it fit!
IMG_3141_zpsdeb22946.jpg


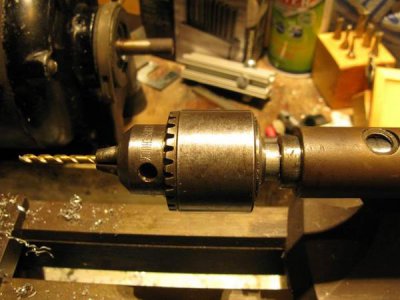
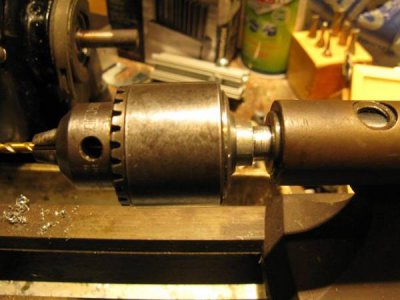
screwed into an old Jacobs 3/8in chuck I bought off eBay with 2 others (a 1/2in and 5/8in, both Jacobs) for $13. I've had both this and the 1/2in apart and this one is wonderfully smooth (I need to do the 1/2in again as something isn't quite right)
IMG_3140_zps2e42f549.jpg


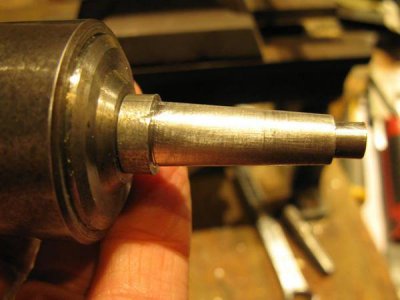
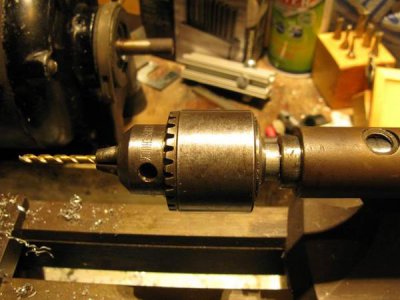
in the tailstock
IMG_3138_zps9e63c8cb.jpg


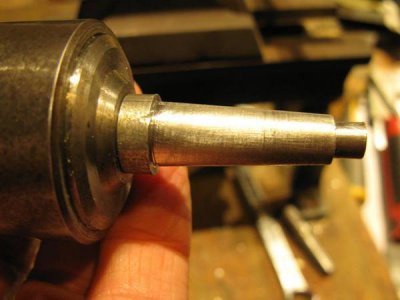
pushed out as the quill is retracted. I think it's a bit longer than it needs to be, but it'll do for now
IMG_3139_zpsf541c2bc.jpg

I also need to cut some spanner flats into the widest part so I can unscrew it if I need to


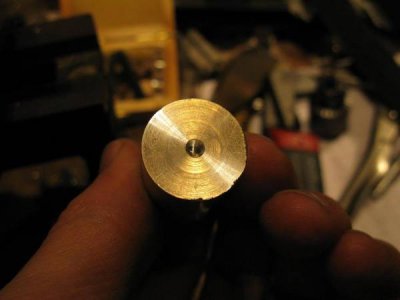
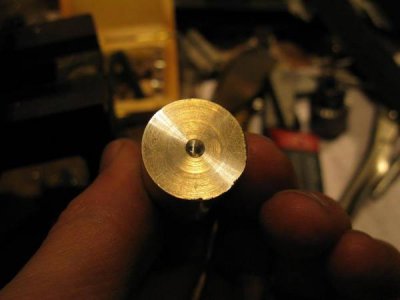
here's the first hole I drilled on the lathe :)
IMG_3142_zps5f83686d.jpg


next project is a tire gauge DRO for the quill, but that shouldn't take long

IMG_3141_zpsdeb22946.jpg

IMG_3140_zps2e42f549.jpg

IMG_3138_zps9e63c8cb.jpg

IMG_3139_zpsf541c2bc.jpg

IMG_3142_zps5f83686d.jpg
 
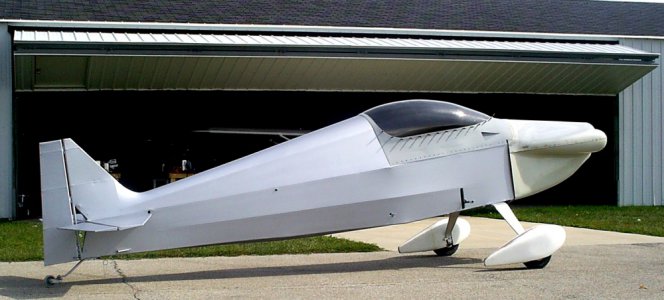
I'll admit it up front: I'm cheap. Not wanting to wait for a valve spring compressor, and pay for it and the shipping, I machined my own from a scrap chunk of conduit. The head in the pic is for a VW Type 1 stroker build. Blocked up the head on my (cheap) benchtop drill press and used the quill to do the pushing. This tool removed all 8 valves in about 10 minutes. The 2287cc engine will go into my Sonerai aircraft, producing about 85HP.

Tom

wow what an interesting project. their web site shows a couple beautiful aircraft. show us pictures o your build, in fact start a thread about it. I know lots of guys will be interested. . .. I for sure will be there.
dang I wish I was younger and could do that...........................
 
Thanks Philco .

I'm only 3 projects behind right now.. but that'll change :rofl::think1:
 
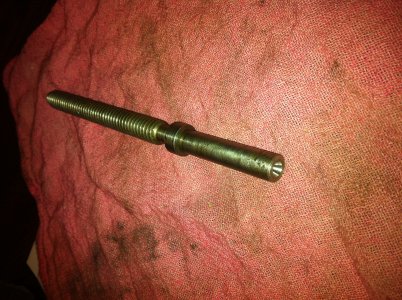
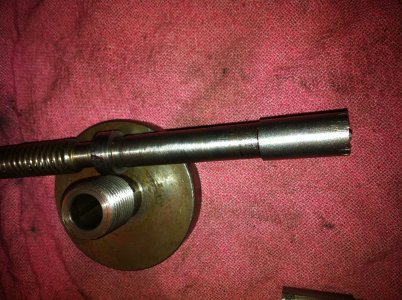
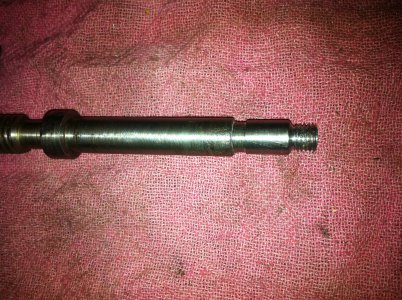
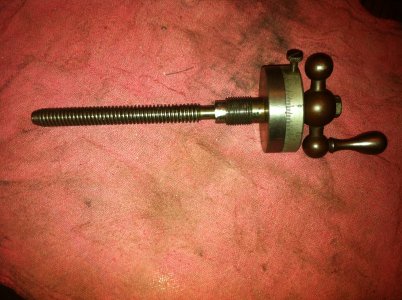
I fixed a broken SB 16 compound screw broken off at the handle. I pondered making a new screw but decided to fix this one.
photo (10).JPG
Faced off and centered drilled.

photo (14).JPG
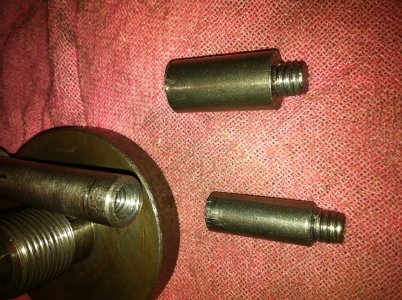
Tapped the compound screw and made up a piece to extend the shaft. The smaller one was not centered enough, so I made one from larger stock.

photo (11).JPG
The extension was installed with red lock-tite.

photo (13).JPG
The extension was turned down to fit the ball crank handle, threaded and faced.

photo (12).JPG

photo (10).JPG photo (14).JPG photo (11).JPG photo (13).JPG photo (12).JPG
 
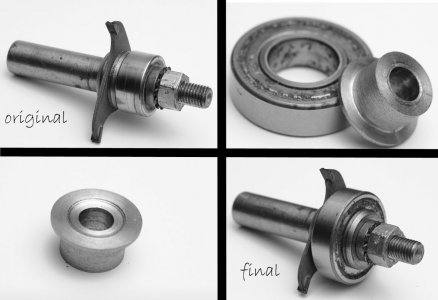
A simple little project to modify a router bit (woodworking). My 1/8" slotting bit was set up to cut almost 5/8" deep, but I needed it to cut just 5/16" deep for a project. I found a used bearing in the shop that had the correct OD, but I needed to make a bushing for the ID. I added a thin shoulder to the bushing to keep the bearing off the cutter.
router spacer.jpg

Jack
Fort Loramie, Ohio

router spacer.jpg
 
wow what an interesting project. their web site shows a couple beautiful aircraft. show us pictures o your build, in fact start a thread about it. I know lots of guys will be interested. . .. I for sure will be there.
dang I wish I was younger and could do that...........................

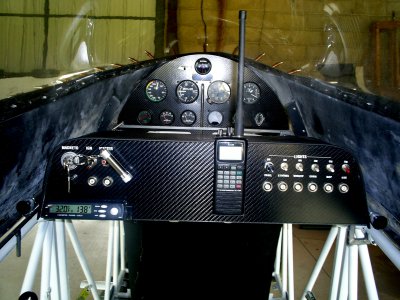
David, ya made me smile - I'm 65 - and almost anyone could build their own aircraft, if they really want to. Anyway, it's been 6 years so far, and it'll be another year or two before I'm done. The site, sonerai.net, is a wealth of resources and expertise. My Sonerai is a two seater, will cruise on auto gas or 100 lowlead at about 150mph. Aerobatic if the need arises, but generally just for fun and fishing trips.Sonerai 9-30-12 A.jpgPilot's View 6-14-12.jpg
Wings getting built this winter. Second pic is the view from the pilot's seat (rear seat). This journey, and all the learning, is as fun as the arrival at the destination.

Tom

Sonerai 9-30-12 A.jpg Pilot's View 6-14-12.jpg
 
A simple little project to modify a router bit (woodworking). My 1/8" slotting bit was set up to cut almost 5/8" deep, but I needed it to cut just 5/16" deep for a project. I found a used bearing in the shop that had the correct OD, but I needed to make a bushing for the ID. I added a thin shoulder to the bushing to keep the bearing off the cutter.
View attachment 65404

Jack
Fort Loramie, Ohio

Nice job but there's an easier way, turn some umhw or uhmw (you know what I mean) to the size you need the bearing to be then bore it so it's a snug fit on the router bit bearing and you have it licked you can make several sizes, they sell them also but what's the fun in that.
 
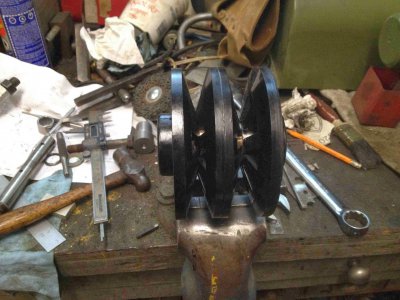
My Logan shaper has always been noisy, REALLY noisy, checked a couple of U-Tube videos and the ones on there are nice and quiet. Was pretty sure the belt drive was the problem, tore it apart and found that the double pulley that varies the ratio was made of some hard plastic, maybe a phenolic judging from the age of the machine. The centre section was cast in two parts but they'd separated and came loose from the bronze bushing that they were to slide sideways on. The bushing could walk over to the side and one of the halves was almost unsupported, and the centres had worn to where they flopped around on the bushing.
The parts listing shows this as an assembly but if someone put it together i should be able to take it apart. Getting it back together is the problem some times.
The side pulley halves ended up being pinned and glued to the hollow centre shaft. The needle bearing it rides on had to be removed to drive the pins through, (new one coming tomorrow, dented the edge trying to get it out), with the pins out used a bearing splitter and a puller to shear the glue joint. Sorry no pictures, my bad forgot.
With it apart I made a new bushing with a larger OD, then bored the centre parts for a sliding fit to the bushing.

IMG_0891.jpg

IMG_0892.jpg

Washed it down with acetone then glued the centre together with 2 part epoxy, then installed the end , the halves had to be indexed to fit into the sides.

IMG_0893.jpg
Hopefully the new bearing will be in tomorrow and we'll have a quiet machine.

Greg


IMG_0891.jpg IMG_0892.jpg IMG_0893.jpg
 
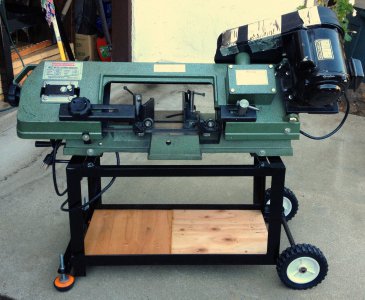
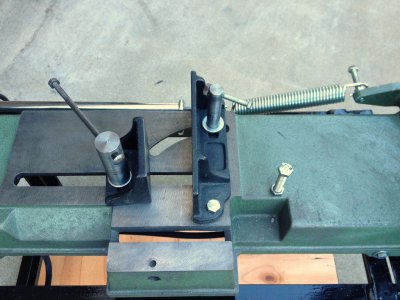
This isn't terribly complicated stuff, but I finally bothered to finish and paint my 4x6 bandsaw stand this past weekend. I made some no-wrench fasteners, and adjusted the non-adjustable blade guides with a bit of milling. I still haven't done the full-on tuneup, but the new oil is on the bench and there's a cheap cookie sheet out there somewhere with my name on it for catching chips. Mostly done, anyway.
Bandsaw.jpgBandsaw2.jpg

Bandsaw.jpg Bandsaw2.jpg
 
Back
Top