2018 POTD Thread Archive

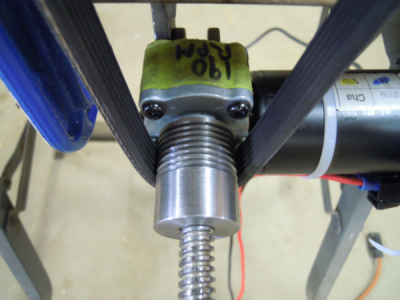
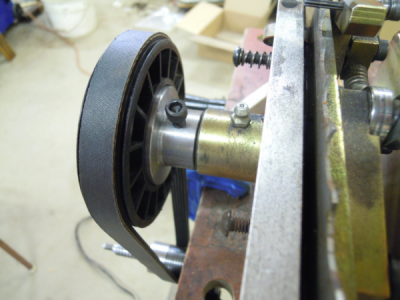
It was time to sharpen some bandsaw blades for my Norwood sawmill. It is a monotonous job, requiring me to hand crank the sharpener to advance the blade from one tooth to the next and I had 10 blades to sharpen with 165 teeth each (at roughly 20 minutes per blade if all goes well). I decided it was time to automate the process. I had some parts from a recent treadmill salvage and used the driven plastic wheel and drive belt. But needed a motor and drive pulley. I got a surplus motor from PA for $20 and made a drive wheel pulley to fit the output shaft. I had to check Machinery's Handbook to get the specs on the flat belt groove angles, spacing and depth. Then made a small cutting tool for the job using my Harold Hall simple grinding rest and small tool holder. I love this thing. Thanks Harold.
1541093693164.png
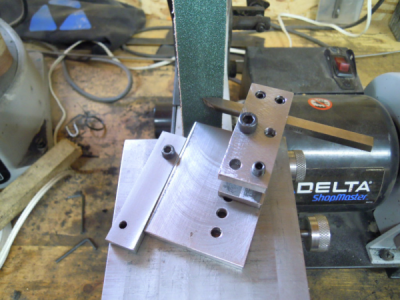
Drive pulley and motor.
1541093797141.png
The Driven pulley and the adapter I made to fit the inside of the plastic pulley and the drive shaft of the sharpener. The plastic pulley was a press fit and I surprisingly got it to work.:)
1541094094918.png

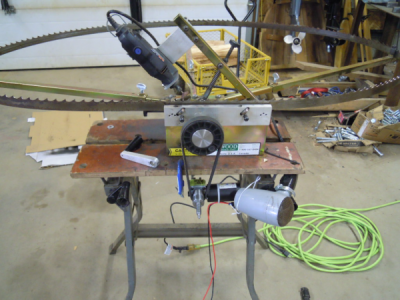
The overall setup. Note the handle sitting on the bench. This will no longer be needed. I found the motor started getting warm so mounted a hair drier (that I use for my forge) to the table, to cool it down.
1541094290524.png
This thing worked awesome. Should have done this years ago.

Wish I could insert a video of it running. It's cool to see the sparks fly.
 
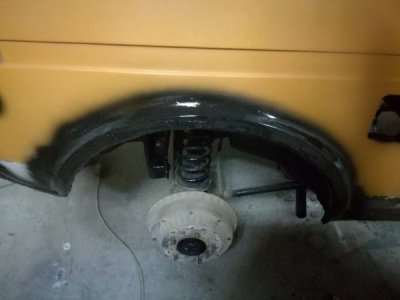
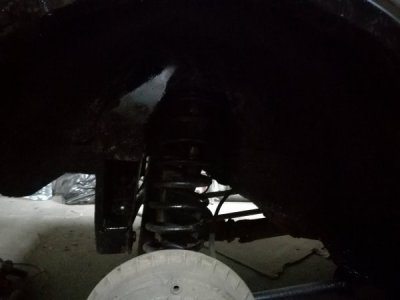
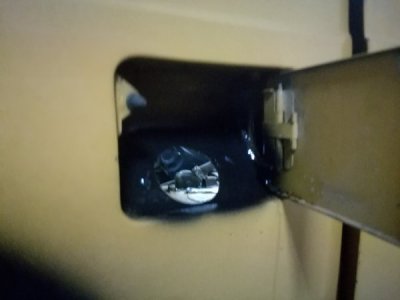
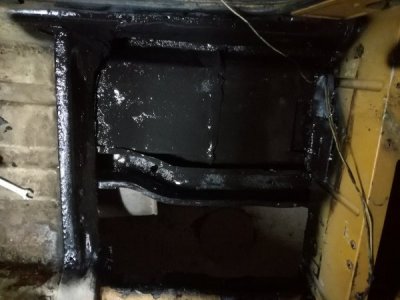
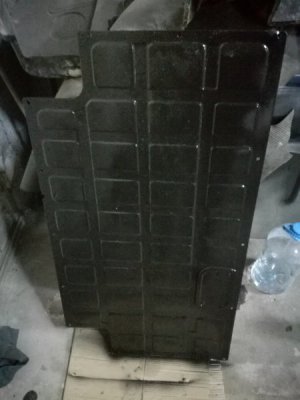
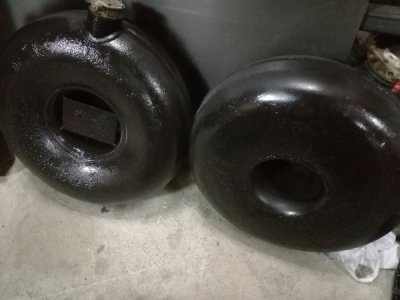
Today i spend half an evening working on the little Lada, i wirebrushed all the arias that are threded with anti rust acid, then i used some paint thinner to wipe everything down and applied anti corrosion primer, on the finish wheel arch, wheel well, fuel door, floor pan, fuel tank cover, and LPG high pressure bottles. This primer is just the first layer of protection i'm planning to apply.
IMG_20181102_175942.jpgIMG_20181102_175948.jpgIMG_20181102_175954.jpgIMG_20181102_180005.jpgIMG_20181102_180023.jpgIMG_20181102_180038.jpg
 
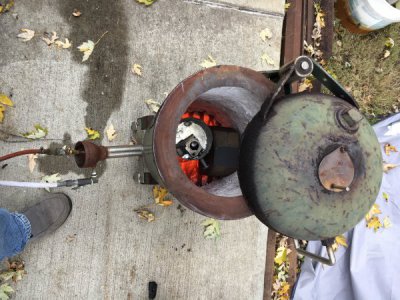
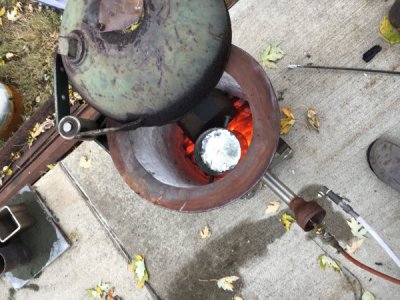
Figured it was a beautiful fall day why not melt down some aluminum scrap. I also have a chunk of cast iron I need to anneal so I'm gonna get a two for one. So I pulled the forge out and cut up a whole bunch of heads off some v twin Briggs engines. I also mix in some other smaller scrap but I usually use about 80 precast material for better finish properties. Got two pieces of round 4" diameter 12" long.
image.jpegimage.jpeg
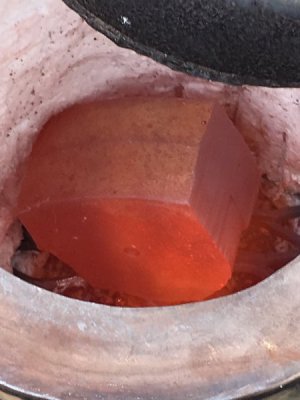
After doing the pour which I don't have pics of I just left the cast iron in there and got to a nice red/orange. I shut the forge down and left the piece in there and let it cool with the forge. I have two inches of insulation in there so it was still hot four hours later. I hope that will do it.
image.jpeg
 
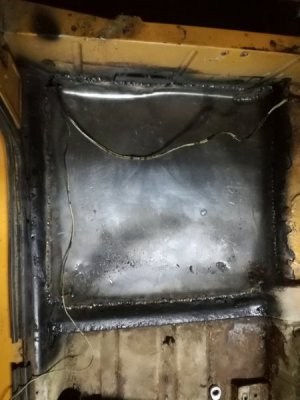
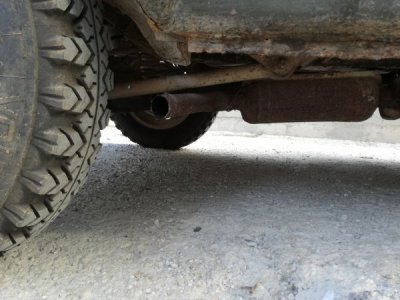
Last couple of days my back been hurting so i've been putting off having make and weld in the new floor pan in the little 4x4. But today was the day to do it, first i cut a bigger peice then i need from 1,5mm steel, then i bend the corners and trim the edges with the shares i bought last week, then come the hard part, having to bend over to weld it in the car, the new piece welded in good, but i also wanted to weld it in from underneath, witch was quit painful also the ridiculous exhaust the someone made to shoot directly in the rear tire and was held in place with wire was in the way so i removed it and weld the new floor from underneath to the frame rail, there's one more small hole to repair near, which is next on the list the is growing.
IMG_20181103_182819.jpgIMG_20181013_090433.jpg
 
It might be better to ask this question of someone near you that is interested in soap box cars. Or maybe a group in your area.
Nelson
 
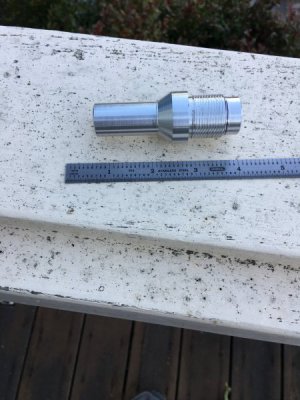
Made it a couple weeks ago but only got to use it yesterday. The front axle on my KTM 990 Adventure tends to get some corrosion and require serious whacking to remove and install. Using sockets and random PVC fittings was getting old, so I made a drift (?) for it. The thread is supposedly M24x1.5 but even after measuring over wires it needed a couple more spring passes to fit. Dunno how I managed to pick the thread back up after un-chucking and re-chucking but somehow it worked...
IMG_3013.JPG
 
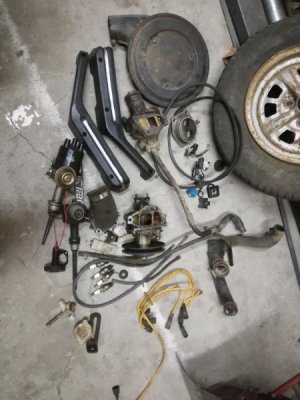
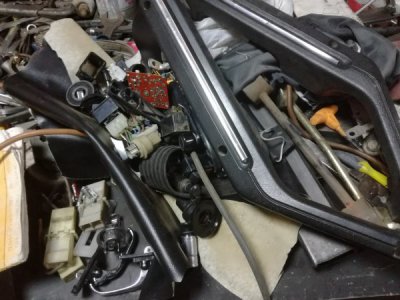
Yesterday i went junkyard shopping, and got only the easy to remove parts, many electrical and trim pieces, some of which did not fit, like the interior door handles, so today i grabbed couple of tools and went back to pull more mechanical parts, like water pump, distributor, modified air cleaner and LPG mixer, the right door handles, thermostat, HT leads and others, i also bought multiples of some just to have as spares, i'll need to organize the parts i'm buying to keep them separate from the other spares, after some time they all start to look same.
IMG_20181106_142532.jpgIMG_20181105_161358_1.jpg
 
Its fantastic you are allowed to actually remove them yourself.
We cant, it upsets the insurance tossers.
 
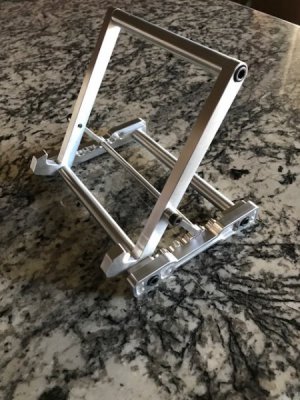
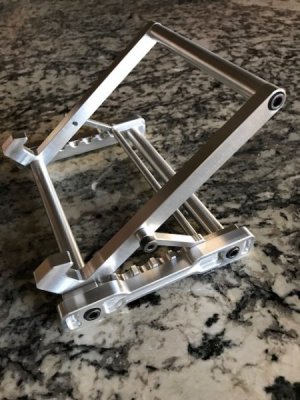
I looked for quite a while trying to find an adjustable billet aluminum IPad stand (she like the shiny metal) for my wife but couldn't find one. So I made one, well actually six for our friends and relatives.

I made it wide enough so it would hold the large Pro model as well as the standard size IPad. The support mechanism is adjustable with six detents in the "rack". It folds flat for storage.

IMG_0516.JPG


IMG_0517.JPG
 
VERY COOL, Tom. I just might have to copy a couple of these just for me and the little lady. Heaven knows you couldn’t afford to buy a beauty like this commercially. Well designed in both functionality and style. Way to go.

Grumpy
 
Back
Top