2018 POTD Thread Archive

I made a replacement double pulley for a friend's snow blower (he bought a larger engine for it and the new engine had a larger (1 in) shaft.) Initially he just wanted me to bore out the original pulley, but there was not enough metal to allow for adequate threads for the bolt that holds the key/pulley on the shaft. It came out pretty good. I needed to borrow a broach set from a friend so I got to use my recently aquired 20 ton press on the project (worked great!). Also got to use my new Kennametal tap on this project. Now I am spoiled - I need to get rid of my crappy Chinese tap set and buy a new Kennametal set!

Rick


Rick, how do you center the broach with the ID, so it cuts perfectly vertically (or should i say at right angles) into the work?? Always wondered about this.

Thanks
Glenn
 
I got started on the controller for my VFD conversion for my mill. I got most of the high voltage side finished before next door neighbor showed up with beer.
View attachment 263859

The enclosure should be here Tuesday, I hope to have the low voltage finished also by then. Time will tell.
Is the big brass coloured aluminum thing the brake resistor?
And what's the digital looking jobby on the lower right?
Nice work. Very neat
 
Rick, how do you center the broach with the ID, so it cuts perfectly vertically (or should i say at right angles) into the work?? Always wondered about this.

Thanks
Glenn

Glenn,

The broaches come with a notched inserts that slip into the hole size of the part. The broach is guided by the notch. It is a good idea to design your work to match the availability of inserts in the broach set - otherwise you are going to have to use a shaper or do a 200+ pass manual process on a lathe (which was my original plan before my friend said he would loan me the broach!). It was fortunate that the part I was making was going on a standard 1in shaft.

Rick
 
I got started on the controller for my VFD conversion for my mill. I got most of the high voltage side finished before next door neighbor showed up with beer.
View attachment 263859

The enclosure should be here Tuesday, I hope to have the low voltage finished also by then. Time will tell.

Z2V would you please give a list of the components for your conversion.

rngr1
 
Is the big brass coloured aluminum thing the brake resistor?
And what's the digital looking jobby on the lower right?
Nice work. Very neat
Yes, that big brass thing is the brake resistor and the digital jobby is 24 VDC power supply
Thanks for the kind words
 
Z2V would you please give a list of the components for your conversion.

rngr1
Balor
The list is pretty basic, just forward, reverse, and jog. I will mount a run box on the machine with a STOP Button, forward and reverse push buttons, and a rotary momentary contact switch for jog. I also have a Machtach that will be mounted under the DRO, that box will also have the variable speed pot for the drive. I’ll have it right there with the display.
I have a 2 hp 3 ph 1750rpm 145T frame motor, Delta 2 hp VFD, brake resistor ( 100ohm, 300w ), 2 pole contactor, 2 pole circuit breaker, 24 VDC power supply and a few relays. The enclosure is 12x18x6 with hinged cover which will have a power switch and LED, I might put a reset push button there also, haven’t decided on that yet.
It looks like the motor will mount up without issue and the shaft on the 145t motor is 7/8” and the old motor shaft I believe to be 20 mm. I can just bore out the step pulley and reuse it.
Just a very basic no frills build.
Thanks
 
f170f5e91f44c423876af9ed22a7d43a.jpg


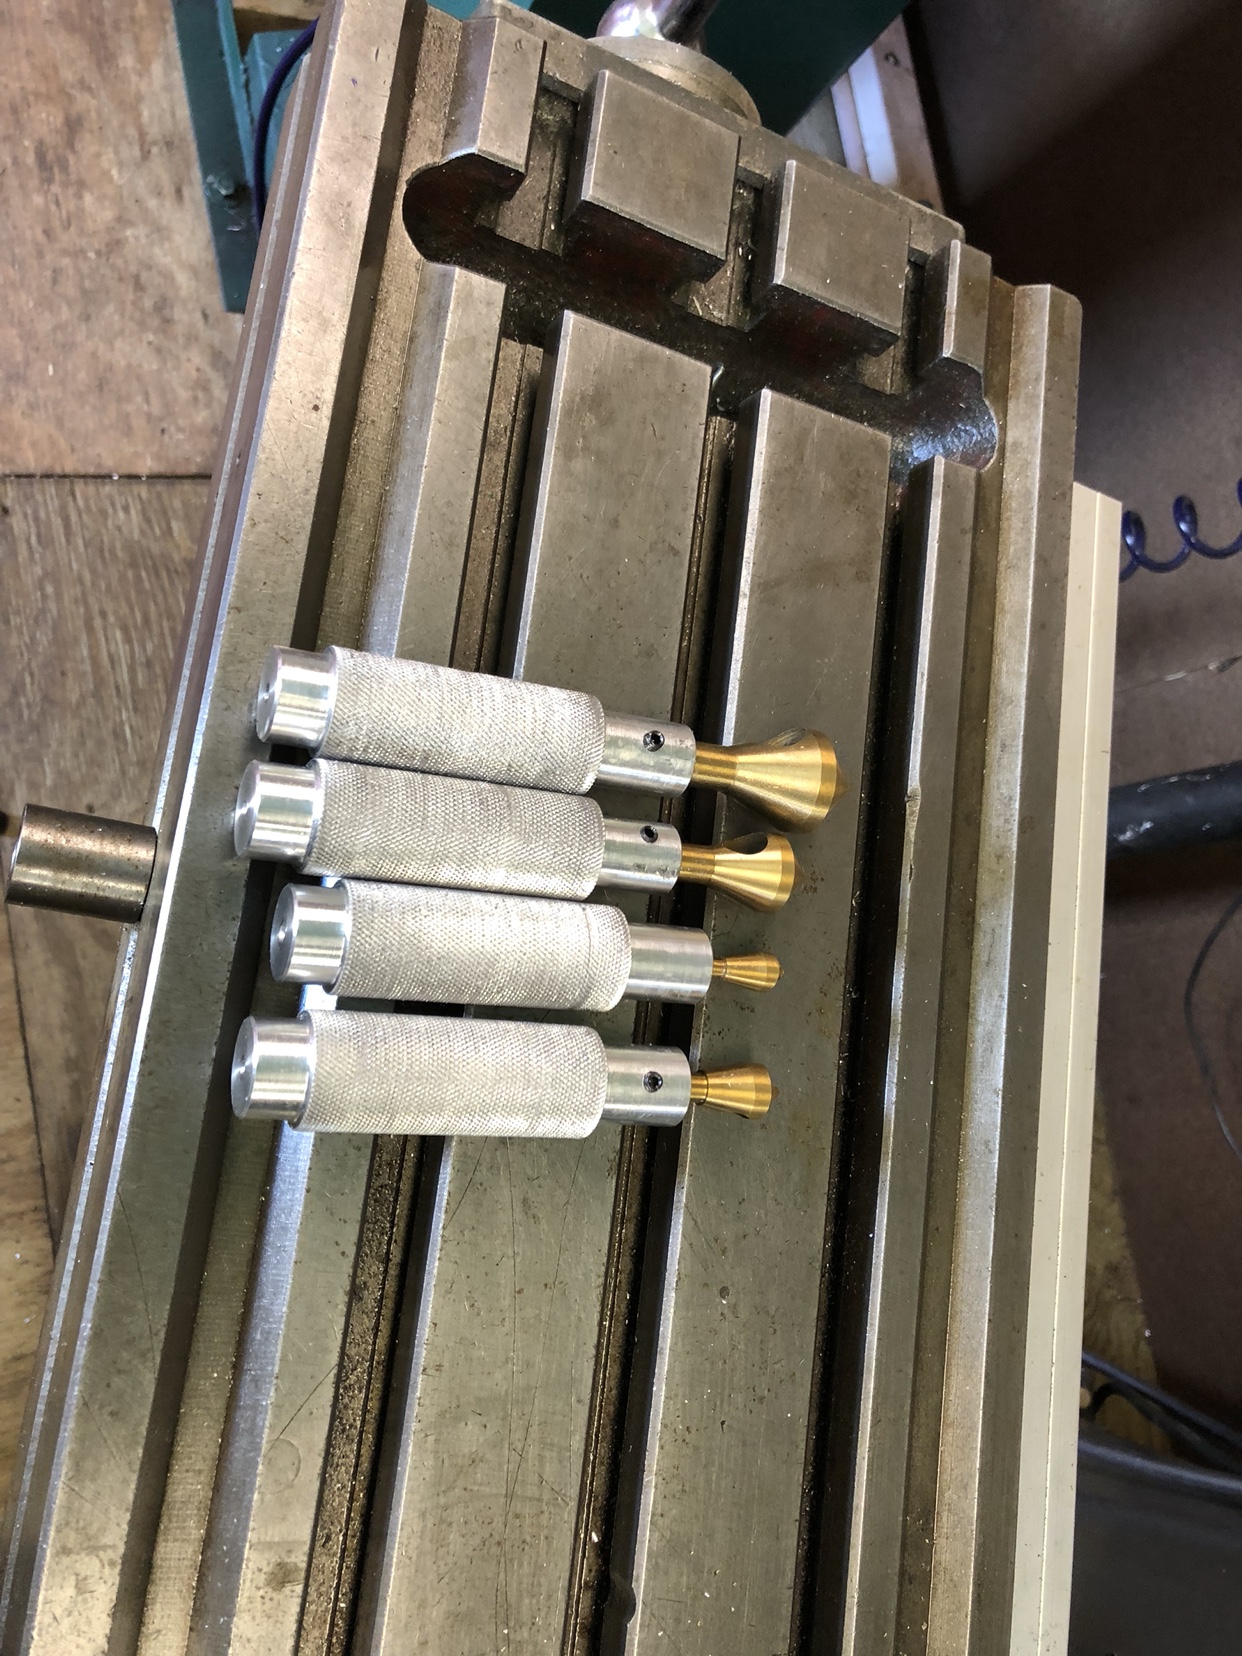
A simple project handles for these Weldon type counter sinks. This lets you do quick debuting. Seen these on a YouTube channel as a gift to the creator. Had an V8 moment


Sent from my iPhone using Tapatalk
 
69e3bb2d0ea4b82968e531c5b0e72e61.jpg
e801bd70444b8030c65a1d42f1d7d8cc.jpg


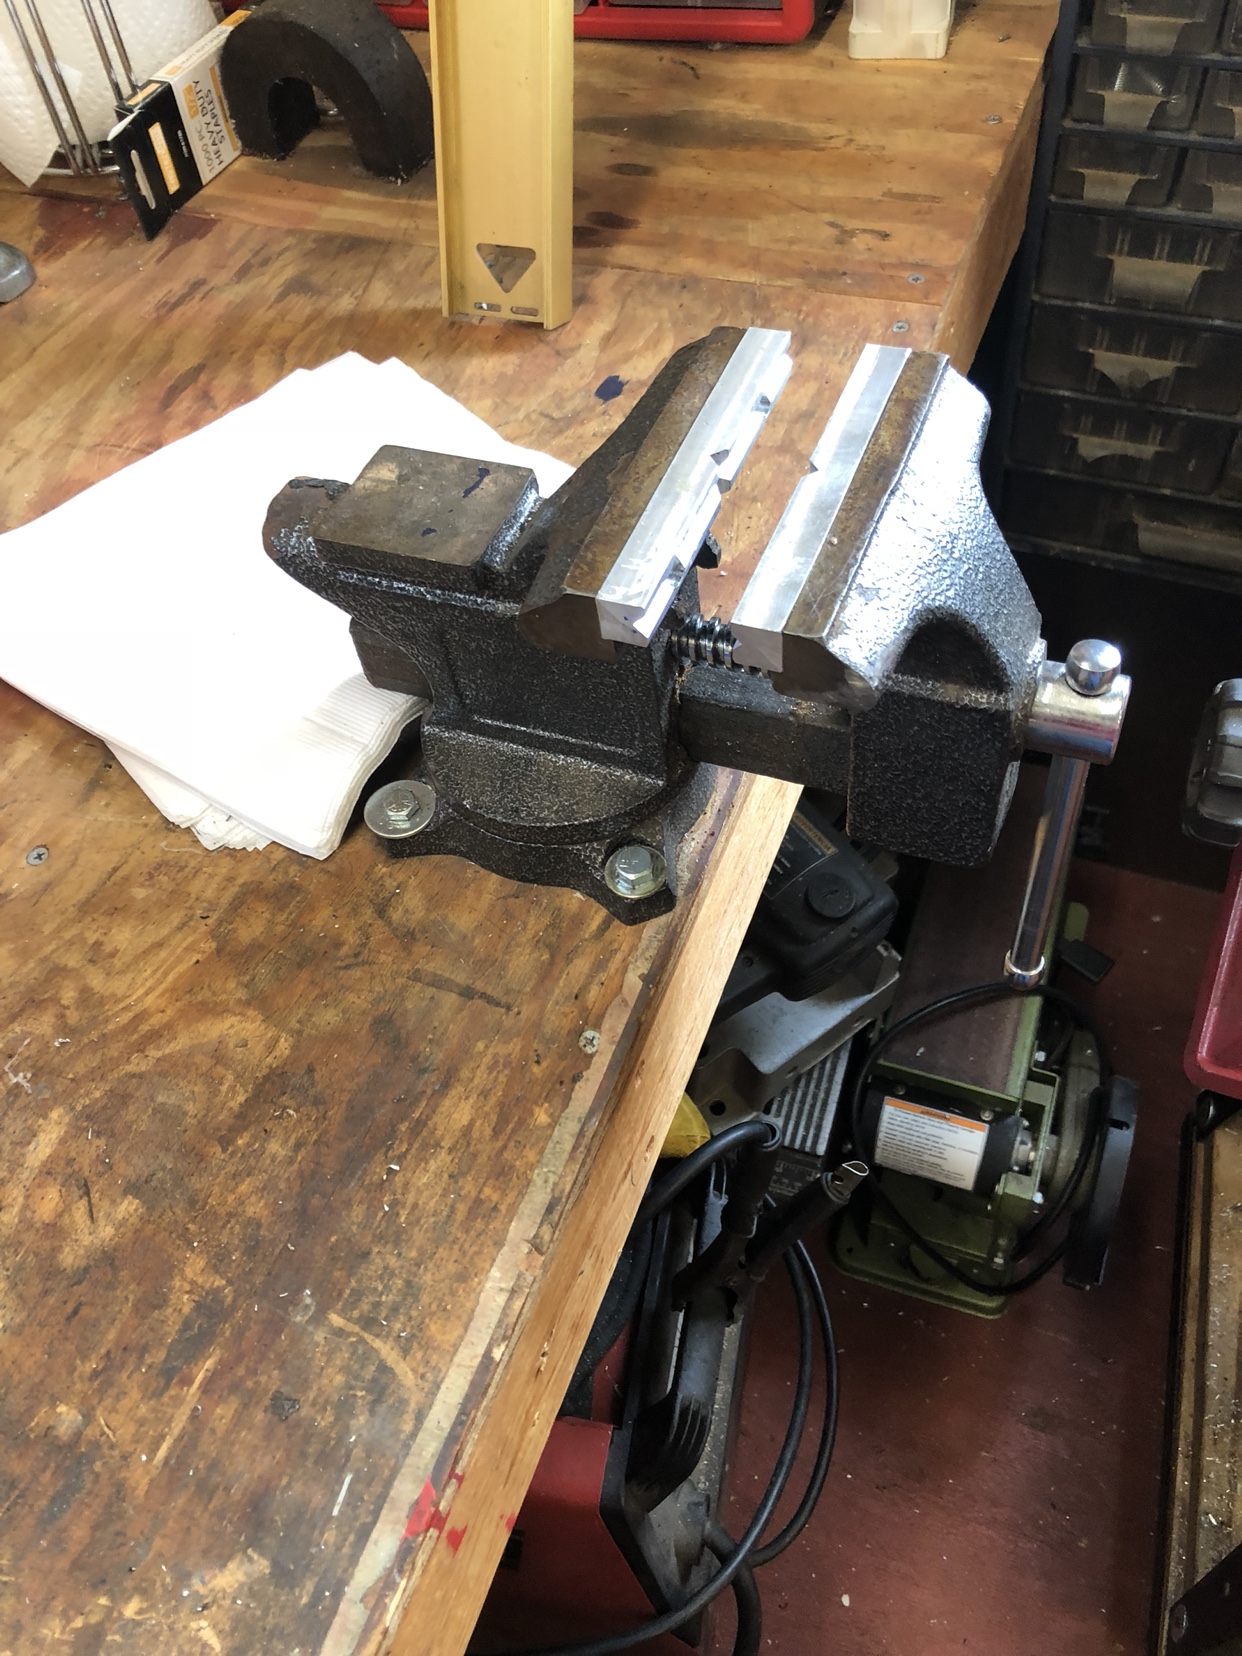
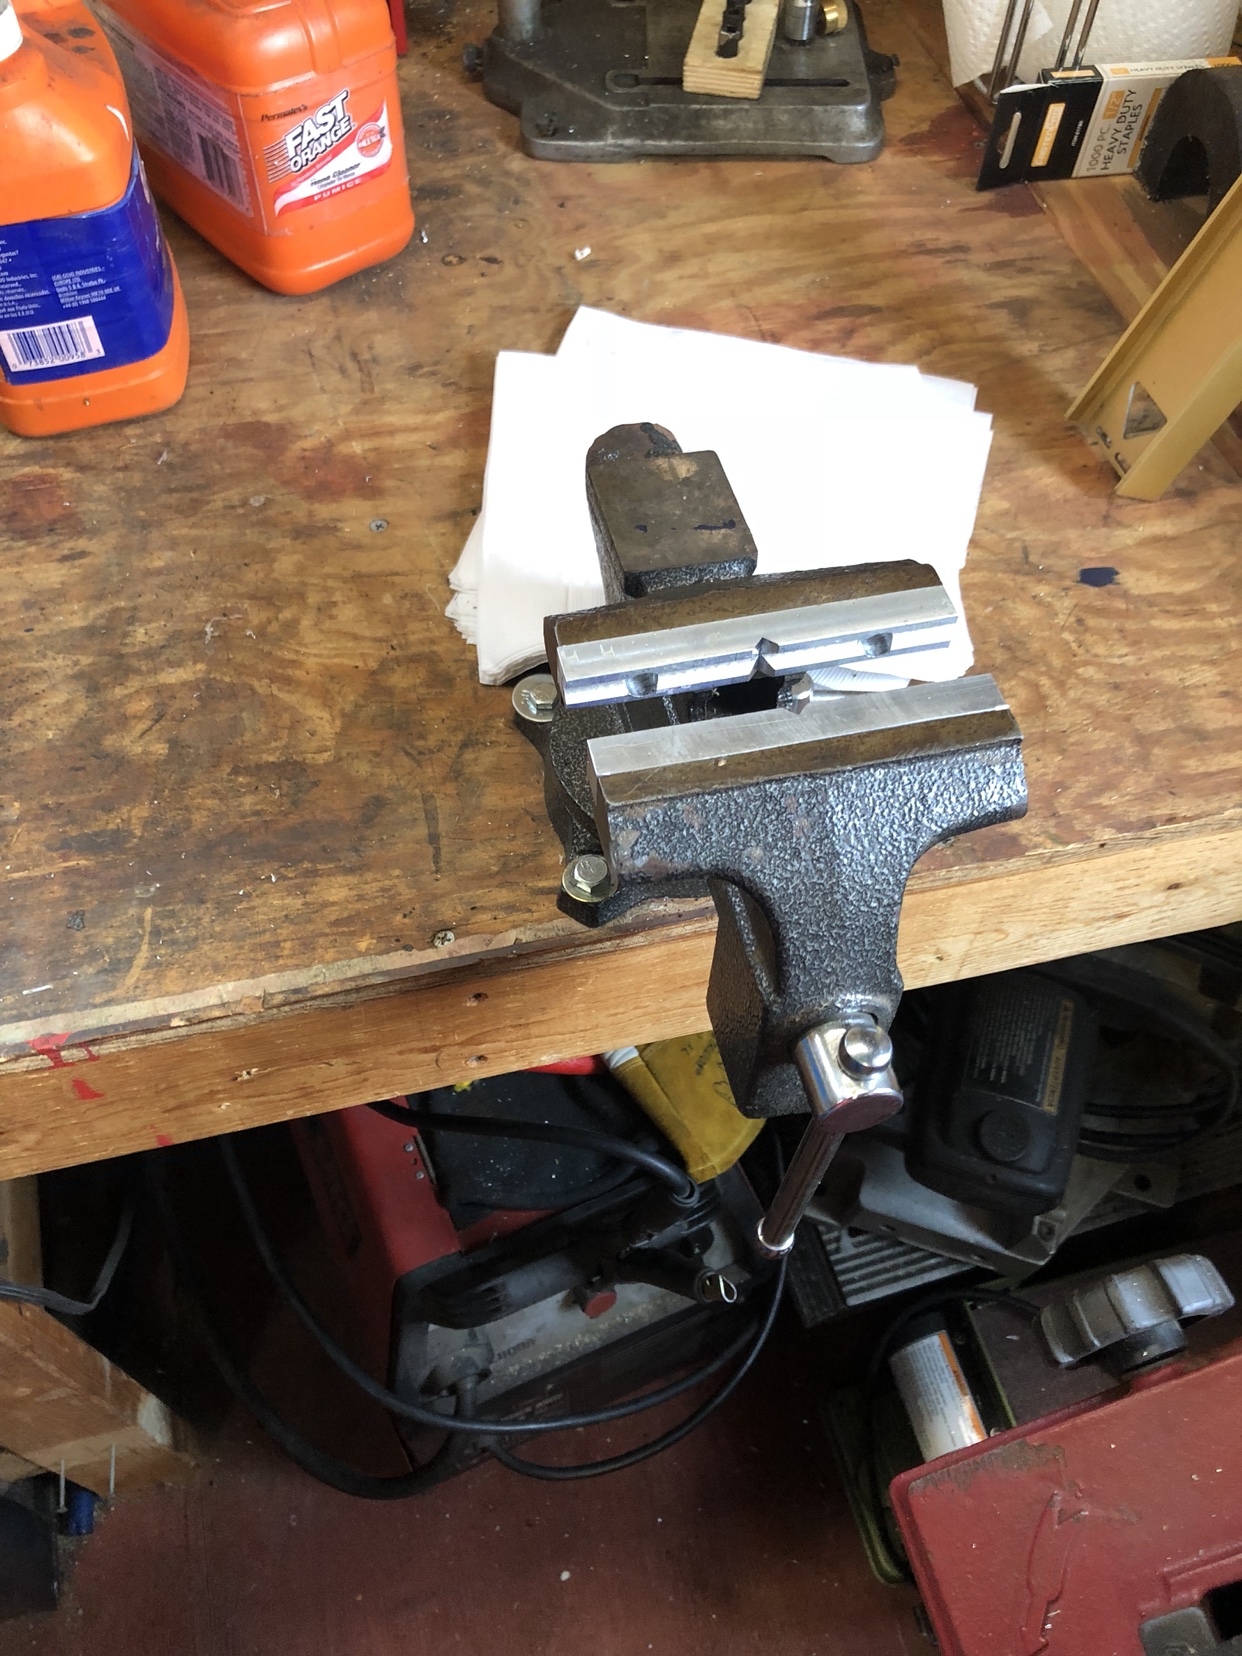
I finished my soft jaws for my smaller vice. This is a vice I purchased at an auction. I wanted to dedicate it to use on things I don’t won’t to mark so I made aluminum soft jaws up for it


Sent from my iPhone using Tapatalk
 
Nice work on those soft jaws.
 
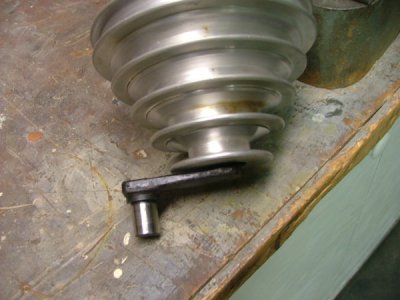
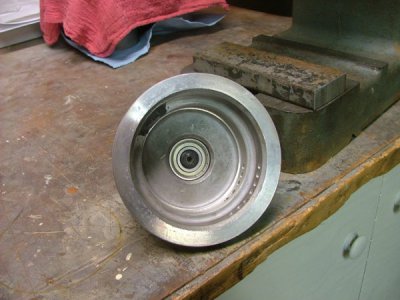
I balanced a pulley. As part of my drill press improvement project, I decided to align and balance the pulleys on my Jet DP. The center pulley
has always sat too high relative to the others, so I pressed out the bearings and turned a spacer that goes between the bearings and the
pulley itself. That raises the bearings so that when the support arm is pressed back in the pulley sits lower. I've got .040" now between the arm
and the casting, so that's as close as I want to go. I bought a couple of Nachi bearings as replacements while I was at it.

DSCF7344.jpg

This pulley was also badly out of balance, and the DP has always been a shaker, so I decided to improve that too.

DSCF7341.jpg

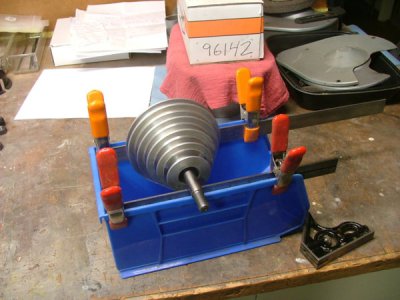
A couple of steel rules clamped and leveled to a box gave me a way of finding the heavy spot. I started by drilling the heavy side and
realized that I couldn't remove enough metal to balance it. So, I epoxied a couple of split fishing weights to the inside rim and filed the
extra away until it balanced up. Not perfect, but MUCH better than before.

DSCF7343.jpg

When I get to it I'll pull the motor pulley and do the same thing. At some point I plan on pulling the spindle and replacing the bearings
in that: that will give me a chance to balance that pulley as well. If I can shim that one up a bit, then my pulley alignment will be correct
as well.
 
Last edited:
Back
Top