2019 POTD Thread Archive

alright, finished up the knife with a day to spare!

Nice job, Matt! Did you make all the parts from scratch with the exception of the screws?

I toy with the idea of trying a knife as well, not that I need another one or intend to start selling them but just to see if I can make a nice one. From what I observe watching other builders, the tolerances are deceptively demanding for something that appears so simple! Good on you for trying.

-frank
 
POTD was too long in the making. I bought my first mill in around 1985 (Grizzly mill drill) and have been dealing with parallels tipping over in the vise for over 30 years. Had parallel keepers on my “to do” list, just never got around to them. I’ve contemplated making the spring-loaded Kurt style, pieces of packing foam in various widths, steel strapping bent in a “V” to form a spring, etc. Saw a design I liked on eBay (search “magnetic parallel keepers” from multiple sellers) that cost about $16 for a set of 4. Not too bad of a price, but I went the shop made route instead. Bought some ½” diameter x 1/8” thick rare earth magnets off eBay for about $0.50 each and went to work on the mill making the keepers.


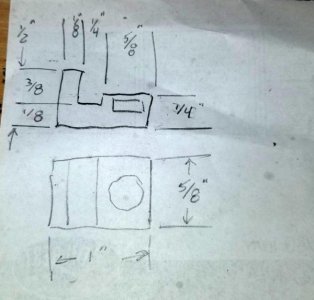
Sketch of the design
290566


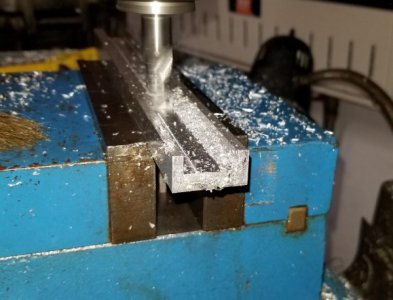
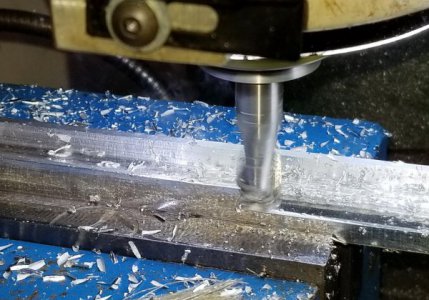
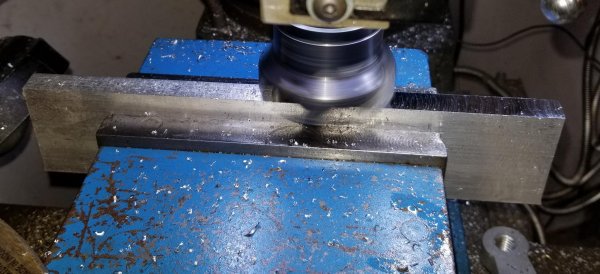
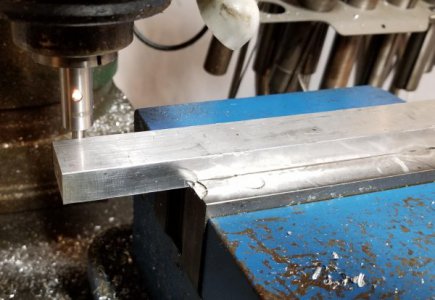
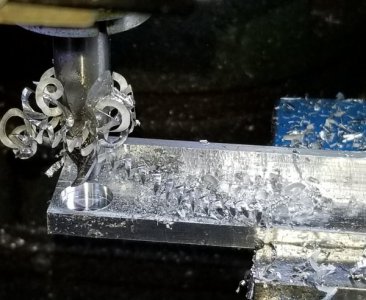
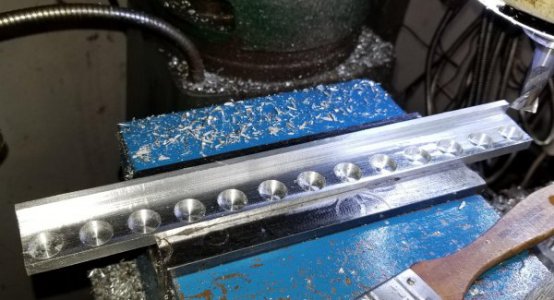
Started by facing a piece of ½” thick aluminum, then band sawed to a touch over 1" and faced to 1” wide. Flipped it flat and milled the surface to the appropriate profile with a ½” end mill. Used the same end mill to pop in a series of ½” blind holes for the magnets.


Faced, band sawed to rough width and faced the
opposite side to 1" width
290564

Used a Borite electronic edge finder to locate the edge
290565

1/2" end mill cutting the profile
290567
290568

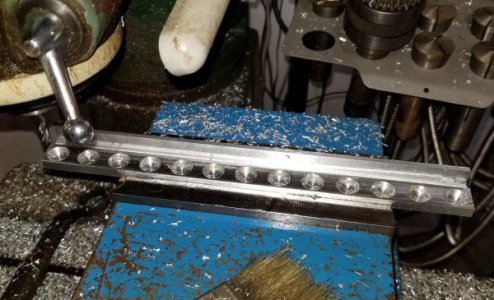
Same 1/2" end mill cutting pockets for the magnets
290569

Strip of aluminum ready for the last pass
290570


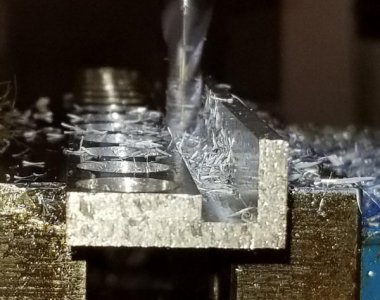
Finished the profile with a ¼” end mill. I made a couple of passes so the width of the groove in the profile is slightly over ¼” just in case I ever use ¼” parallels (my go to’s are 1/8” thick).


Final profile cut using a 1/4" end mill
290571

290572


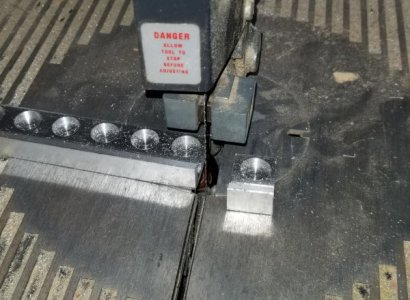
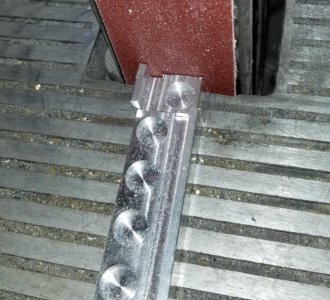
Cut one to rough width on the band saw, then cleaned up both cut ends on a 2” x 42” belt sander. Finished pieces got deburred with a Scotch-brite wheel on a bench grinder.


Mill work finished, time to cut the pieces to length on
the band saw and sand the rough edges
290573

290574

290575


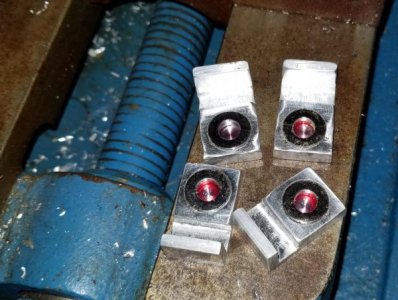
Cleaned the keepers with lacquer thinner and put a drop of red Loctite in the magnet hole. Pressed the magnets in with a dowel/hammer.


Loctite in place, tapped in the magnets with a dowel
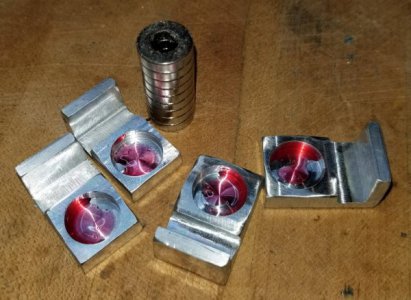
290576

290577

They work great for holding the parallels in place.
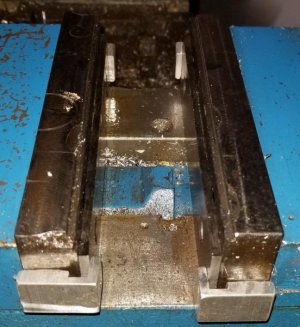
290578


My only concern is accumulation of chips because of the magnets, time and use will tell. Took a little over an hour to make 12 of them. I ran my mill vise back/forth with a large parallel in place and they worked great.

In retrospect, I probably should have gone with 3/8" diameter magnets and a 1/2" width for the keepers as that's the height of my narrowest parallels. I can always sand a notch in the tops/bottoms about 1/8" deep so they'd stay below the surface of a 1/2" parallel. Yeah, the stars will have to align for that to be a problem . . .

Thanks for looking,

Bruce
 
Continued on with my power broom project from here (https://www.hobby-machinist.com/thr...you-make-in-your-shop-today.67833/post-649453)

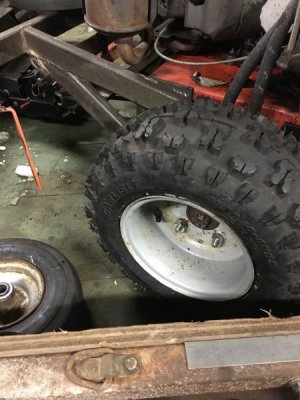
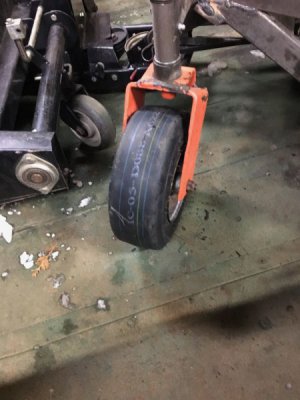
After the successful test, I got new boots all around for it, and new bearings for the front caster wheels, as all the existing bits were very worn from the grease/sand paste that was used as lubricant. Hand to make some new spacers for the front wheels, as the existing spacers were very worn, and slightly too short for the new bearings I bought.
290587290588290589290590

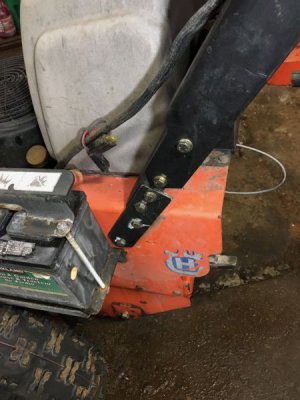
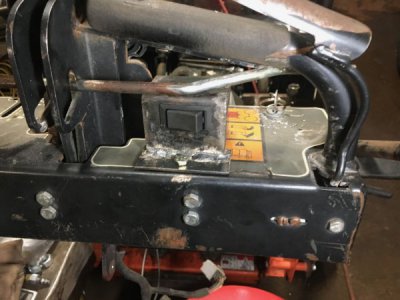
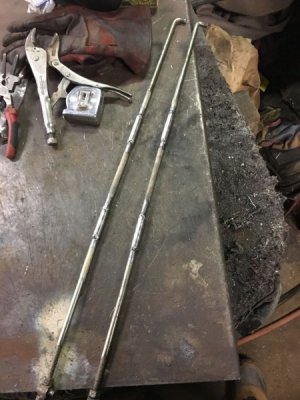
Then I raised the handlebars about 7", lengthened parts of the wiring harness to be able to still connect due to the extra distance, added a thumb-operated rocker switch for the PTO, so I can turn the broom on/off without having to lock the controls and lengthened the hydro control rods (also because of the raised handlebars).
290591290592290585
 
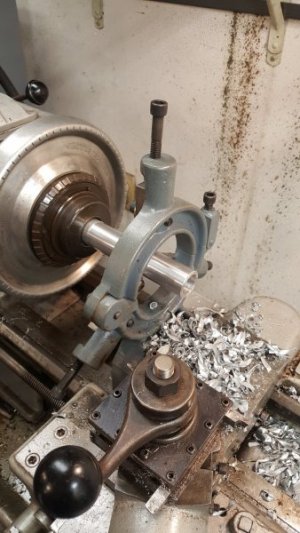
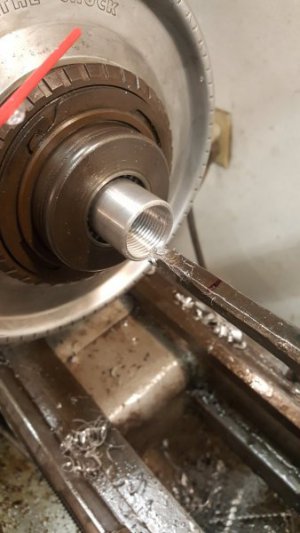
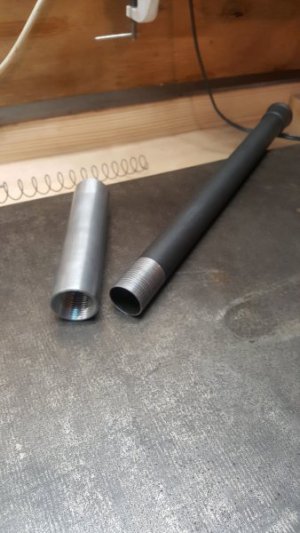
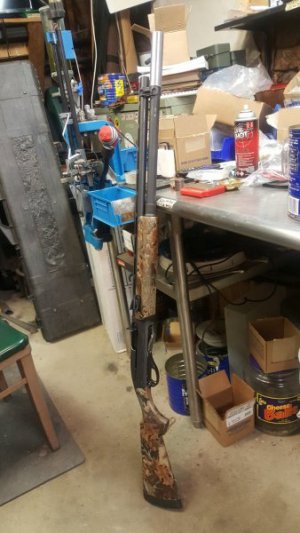
I made a magazine extension for my 3gun shotgun. This was my first time doing internal boring and threading. I took it slow and it turned out nice. The steel tube is kind of thin, so the threads are shallow. I just cut the internal threads untill the tube threaded in. I finished the outside with a cleanup pass, cleaned with brake cleaner, and locktited it together.
290658290659290660290661
 
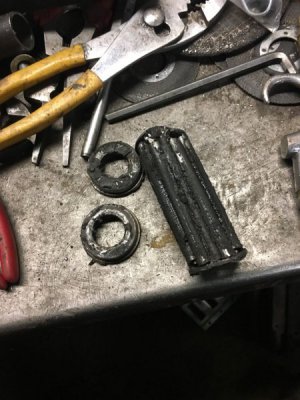
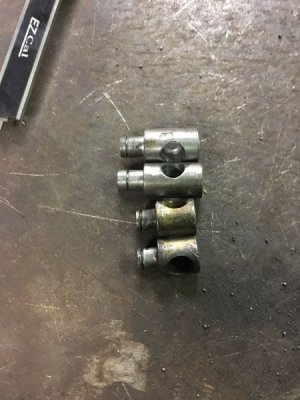
Made some new "swivels" for the control rods of my Power Brush project, as the old ones were ovalled. And when I rebuild the hydro controllers, I'll fix the arms on them that these go into, as they are ovalled as well.
290700

Unfortunately, I also found that the roof of my garage is leaking...
 
Very nice job Matt. I am sure your Dad will love it.

thanks Thomas, he was pleased as punch! I'm sad to see it go to be honest, but hopefully I'll make another one with my daughter this summer.

Nice job, Matt! Did you make all the parts from scratch with the exception of the screws?

I toy with the idea of trying a knife as well, not that I need another one or intend to start selling them but just to see if I can make a nice one. From what I observe watching other builders, the tolerances are deceptively demanding for something that appears so simple! Good on you for trying.

-frank

thanks Frank! Yep, all from scratch. 304 stainless for the side plates (bletch, what a miserable material to work with), some mystery stainless for the spring, a piece of stainless rod from a coffee pot for the pivot pin, assorted mystery brass (I think a piece came from a vacuum cleaner) for the back pins and side washers and a truck interaxle that I found at the side of the road for the blade and carried home on my bike. That piece of steel cost me one bandsaw blade, 2 hacksaw blades and two 4 1/2" cut off disks :) Hardened up really nicely though and made for a neat story to tell my Dad!

You're right, the tolerances are quite demanding, especially for the pins and the pivot vs. the spring placement. Getting the cam profile right for the end of the blade was really hard too and I didn't quite get it right. An easier option would have been to use a flat spring instead of the hook, which makes the cam profile much simpler, though it also makes the blade stick much further out of the body. I was working down to 0.001"/0.03mm and lower on some of the parts, which was a little nerve wracking at times, but all good practice.
 
I did this project to help out a friend so I assisted him with starting the QCTP for his lathe. I did the dovetail side, so this allows him to complete these blocks to fit his needs. Here is the video


Sent from my iPad using Tapatalk
 
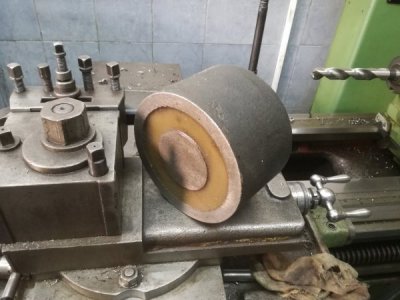
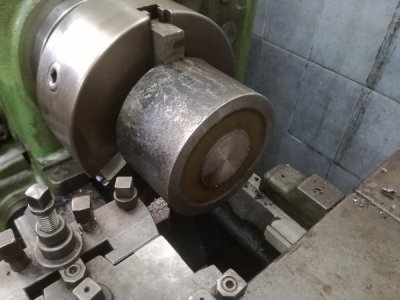
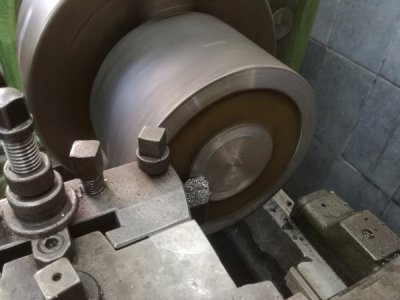
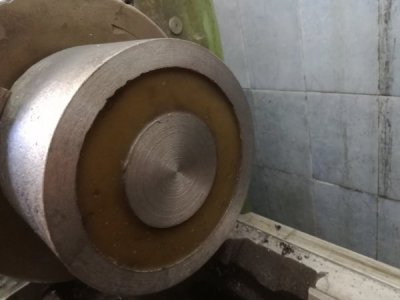
Today i had a small job to face off this electromagnet, over the years has been flattened with an angle grinder so it had high spot in the middle, it was a simple task to chuck it and face it, i took small cuts till the entire face cleaned up, i was concerned with it falling from the chuck so i turn it very slowly, 63rpm because of that my surface finish is this bad, next on the list is to start cleaning the big garage.
290777290778290779290776
 
Continued with my power broom project.

Finished up getting the mower deck height lever working again. Made a new pivot pin for it, welded it in place, replaced the grease nipple, and modified a bushing I bought yesterday to have the right ID (it was 3/4", and it needed to be 7/8").
290846290847

The lever now easily and smoothly goes through the full range, whereas previously, I needed to use a hammer to move it.

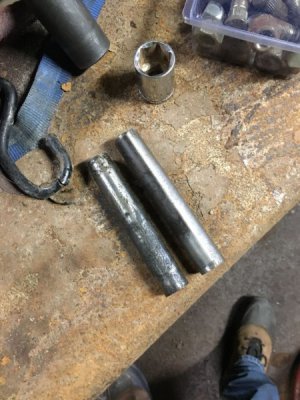
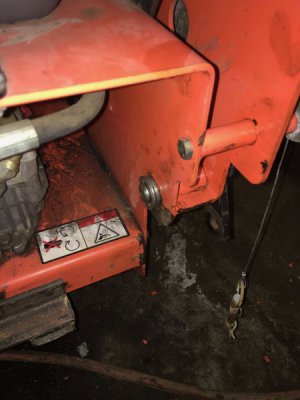
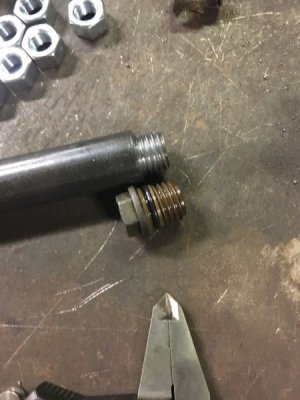
I also started on making a fitting for the engine oil drain, so I can attach a hose to it so oil changes will be a little cleaner (vs removing a plug and just letting it run all over the frame, which seems to be Husqvarna's idea for an oil change)... This is thread attempt #2, as #1 was dimensionally correct, but was left-hand thread...doh.
290845
 
Back
Top