2021 POTD Thread Archive

Ok, got a late start again, had to go out with the wife... get my meds so I am not crazy :laughing:... not working...
get some food, Oil for the vehicles.. I know you don't care...

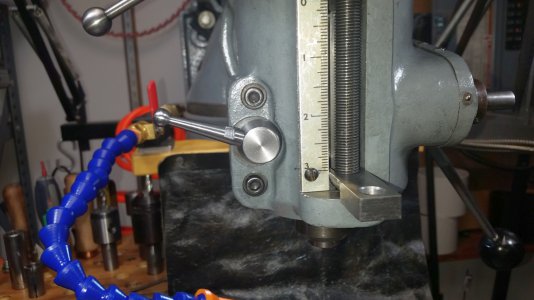
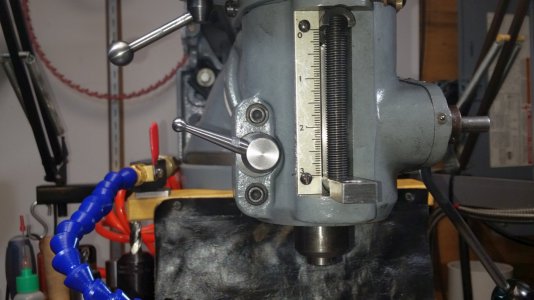
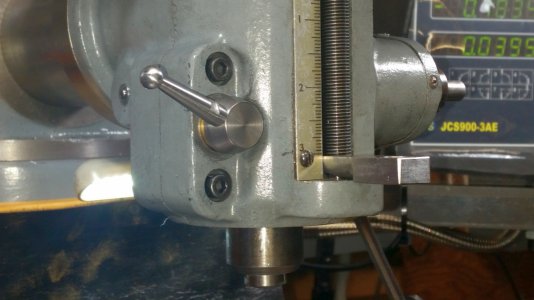
So wanted to finish off the quill lock.. man am I loving this. What a change, so much less annoying, frustrating, effort.

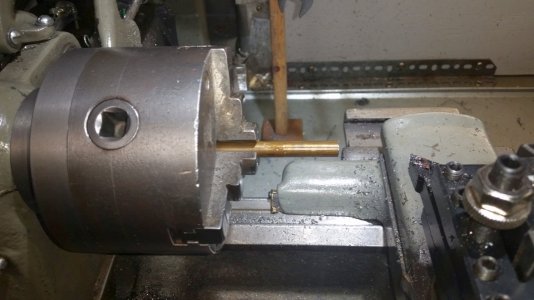
First made a mandrel to hold the handle. Just a small female threaded rod.
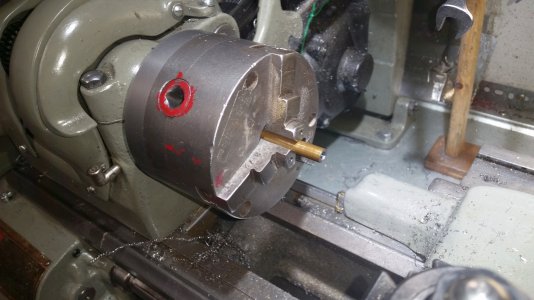
20211218_154353.jpg

Then took the handle and put threads on it for holding in the mandrel.
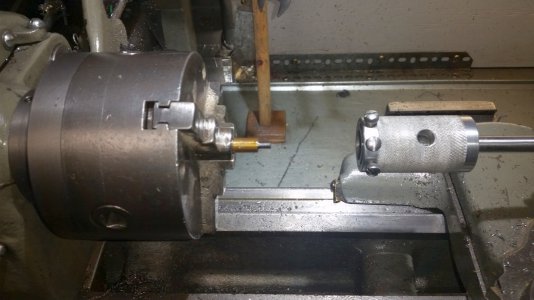
20211218_160637.jpg
Mounted.
20211218_160910.jpg
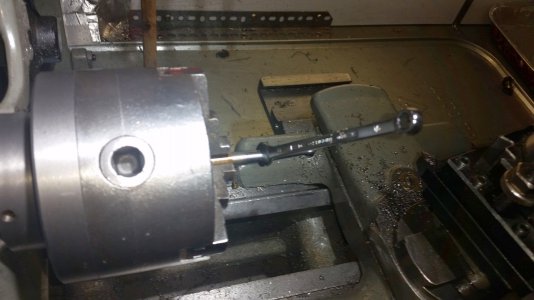
Couldn't find all the parts for my ball turner (my boring attachment) so I took out a router bit, for the first side.
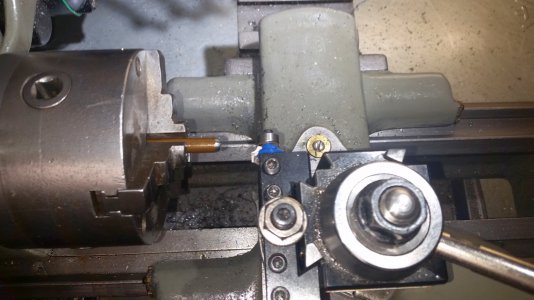
20211218_164139.jpg
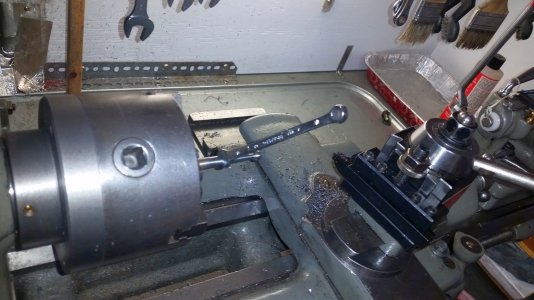
I used the form tool at the bottom to do the rest of the ball
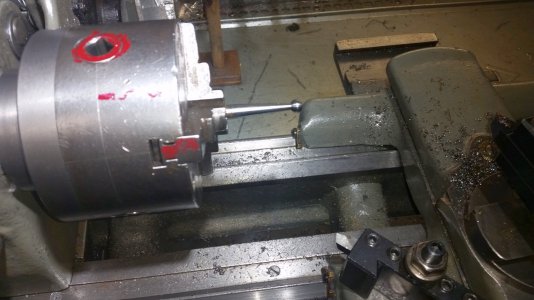
20211218_175434.jpg
it required a few different cuts from different directions.
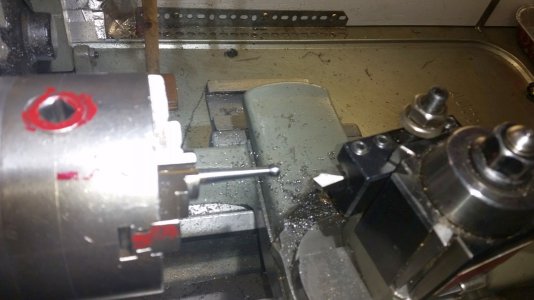
20211218_175457.jpg20211218_175500.jpg
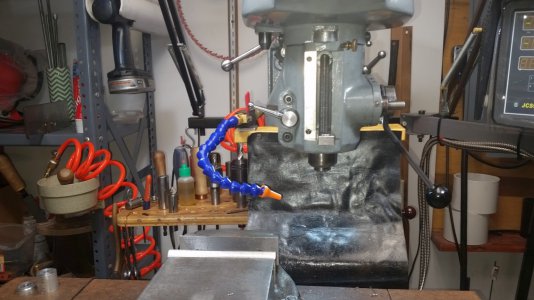
After shaping the handle, I brought it over to the mill, mounted it in a square block and
put some flats for tightening.
20211218_182000.jpg

20211218_182029.jpg20211218_182047.jpg20211218_183213.jpg20211218_183218.jpg20211218_183320.jpg20211218_183339.jpg
 
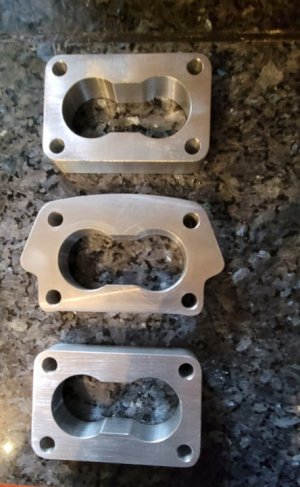
Made some carburetor spacers for a set of 3 deuces for 327 chevy. The shop that did my floor pans on the nova called me and needed a set of 3/4" spacers to raise the carbs up. Seems the front carb was hitting the water neck and they wanted to raise all 3 carbs so they would look even and the progressive throttle linkage would work correctly. So I get there and what did they hand me? A base gasket. When I talked to them I said I needed a print or a cad file of what's needed. No napkin drawings because I have to program it. So with me being a dumb ass said ok. 8 hours later I had 3 spacers. Then they said............oh sorry, the end carb spacers are different. They are rectangles not like the gasket. I tried cutting down the center spacers into rectangles, but not enough meat left on them to do that. All I had for more material was 1" thick. So break down the fixture, face mill the 2 parts, drill the hole pattern, put the fixture back in and set the origin and cut rectangles Another 1-1/2 hours. 9-1/2 hours total. Tough way to make $200 if you ask me.
 

Attachments

  • 20211217_143939.jpg
    20211217_143939.jpg
    65.8 KB · Views: 43
Last edited:
really? I thought it was basic. I just documented a little because of the holding .. being a tapered part you had to do the threads first..
the forming next because of the tool pressure.

I liked the threaded holding approach. I probably would have cut a number of corners and I liked how yours turned out. The whole lock upgrade was some nice work.
 
Ok, got a late start again, had to go out with the wife... get my meds so I am not crazy :laughing:... not working...
get some food, Oil for the vehicles.. I know you don't care...

So wanted to finish off the quill lock.. man am I loving this. What a change, so much less annoying, frustrating, effort.

First made a mandrel to hold the handle. Just a small female threaded rod.
View attachment 389007

Then took the handle and put threads on it for holding in the mandrel.
View attachment 389008
Mounted.
View attachment 389009
Couldn't find all the parts for my ball turner (my boring attachment) so I took out a router bit, for the first side.
View attachment 389010
I used the form tool at the bottom to do the rest of the ball
View attachment 389011
it required a few different cuts from different directions.
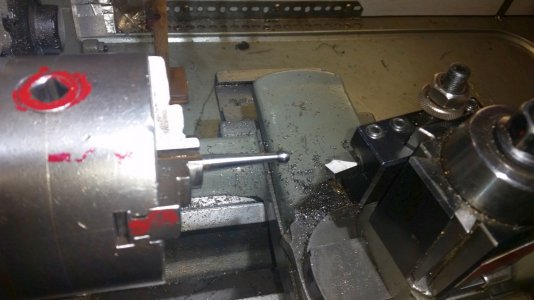
View attachment 389012View attachment 389013
After shaping the handle, I brought it over to the mill, mounted it in a square block and
put some flats for tightening.
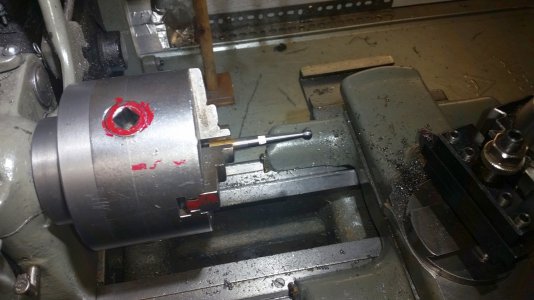
View attachment 389014

View attachment 389015View attachment 389018View attachment 389019View attachment 389020View attachment 389021View attachment 389023

Oh man! That came out great! I never would have thought about using a router bit!!!
 
Oh man! That came out great! I never would have thought about using a router bit!!!
I couldn't find my forming tool. I already made one that size, don't know where it is. I have so many HSS shapes. I also couldn't get the parts for my ball turner. I originally made one years ago, but scrapped it when I got the boring head. But I don't know what I did with the back end of it.. Not as organized as I would like... The one I scrapped would have worked, but I used the parts to make something else.

I had seen this on multiple videos, it is C2 carbide so it's hard I should have taken the bearing off, but wanted to see how it worked with it on. Be aware it is not fully capable, only capable of working on the end.
 
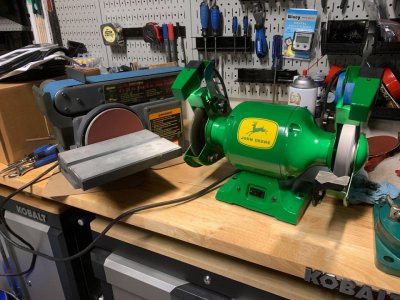
Well, back in Ocala... finished the grinder... as mentioned, all I had was JD Green spray paint (out of Rust Oleum Hammered Green) so I saw fitting to put a John Deere sticker on it :D . I installed the old wheels back... but I have order a new set because what it has is carp...

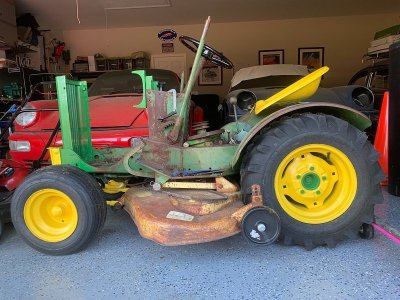
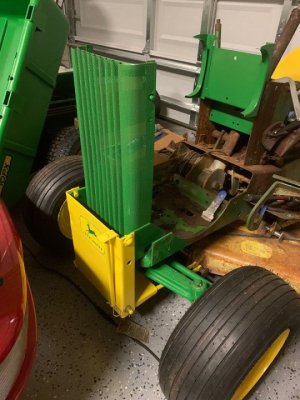
The sander just needed a lot of cleaning and new sanding belt and sanding disc. The sanding disc is the one that comes with adhesive backing. Removing the old one was a PITA as it had been there for over 20 years... Then to clean the surface with some gunk cleaner to remove all traces of the old adhesive... I was tempted to paint it to match the grinder... but I need the paint for the tractor, can't spare any more paint until it is back in stock...

These are tools that a friend gave me... they have been sitting in his shed all this time... Next is getting the 16" variable speed scroll saw (that he also gave me) working again...

IMG_3715.jpeg
 
Last edited:
Well, back in Ocala... finished the grinder... as mentioned, all I had was JD Green spray paint (out of Rust Oleum Hammered Green) so I saw fitting to put a John Deere sticker on it :D . I installed the old wheels back... but I have order a new set because what it has is carp...

The sander just needed a lot of cleaning and new sanding belt and sanding disc. The sanding disc is the one that comes with adhesive backing. Removing the old one was a PITA as it had been there for over 20 years... Then to clean the surface with some gunk cleaner to remove all traces of the old adhesive... I was tempted to paint it to match the grinder... but I need the paint for the tractor, can't spare any more paint until it is back in stock...

These are tools that I friend gave me... they have been sitting in his shed all this time... Next is getting the 16" variable speed scroll saw (that he also gave me) working again...

View attachment 389092
Looks real nice, except for the sticker. ;)
I like the lights, the safety shields usually suck, but the lights are always valuable especially as you get older.
 
Looks real nice, except for the sticker. ;)
I like the lights, the safety shields usually suck, but the lights are always valuable especially as you get older.

Safety shields where gone... and it had a broken support... Figured I would install the wire wheel where the support is missing...

One of the light bulbs was blown out... I replaced both of the light bulbs for LEDs.

The sticker!?? Hahahahah... I have a few from the other project that I am working on...

JD112-1.jpg

JD112-2.jpg
 
Back
Top