A lightweight temperature monitoring solution

Mauzinette

Tool Junkie
H-M Supporter - Silver Member
Joined
Aug 9, 2023
Messages
438
Hello H-M,

Yesterday I was visiting a friend in Pornainen and ended up chatting about temperature monitoring with her dad. Unfortunately I had to leave quite early due to a migraine, but inspired by the discussion I've decided to come up with a lightweight solution to monitor the temperature and the humidity of my shop.

While there are dozens of fancy cloud based plug and play options for temperature monitoring out there, e.g. Ruuvi Station, in this thread the goal is to create a robust, lightweight, standalone temperature monitoring solution with minimal dependencies and low code footprint. I will try to keep the posts not too technical, but still informative enough for fellow hobby machinists to reproduce the steps.

As I do not have much progress to share with you just yet, here is a couple of photos from my day trip to Pornainen!
IMG_1152.jpeg
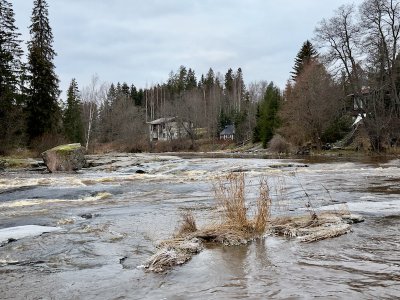
The water level was unusually high at the Laukkoski Rapids.
IMG_1155.jpeg
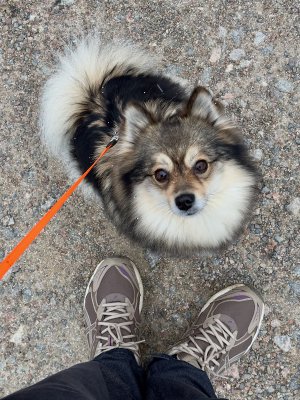
Friends' dog Sylvi, who'd prefer me to walk instead of taking photos.
IMG_1164.jpeg
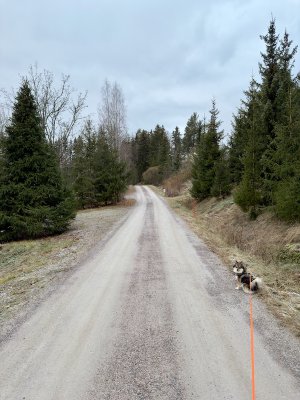
If you observe carefully, you might notice how the color of Sylvi's leash perfectly matches the one on the marker posts for snow clearance.
 
Let's kick off the project by choosing the proper hardware for the job. For a small shop like mine, a single sensor setup will probably do just fine. I might add another one inside the ventilation air inlet later on, to monitor the temperature and humidity of the air coming into the shop.

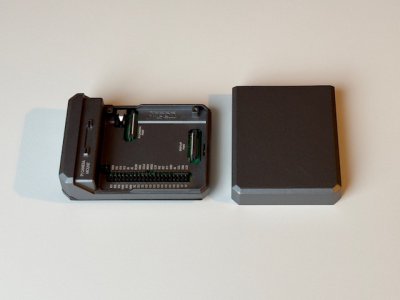
The server will be running on a leftover Raspberry Pi 4 from a past customer project. The Raspberry Pi 4 in question seems to be a 4GB model. A friend of mine also offered a spare Intel NUC of his for this project, but as I’ve had very bad experiences with NUCs in a business IoT environment, I’d rather stay clear of them.

IMG_1209.jpeg
The SBC is neatly tucked into an Argon 40 Neo aluminium case.

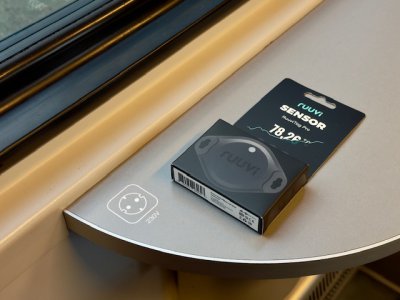
I have a day off today and what would’ve been a better way to spend the morning than going to Helsinki (Christmas music everywhere, yuck :chunky:) to pick up one these:

IMG_1210.jpeg
A RuuviTag Pro BLE sensor.

In the reviews people complain that it doesn’t particularly shine in tracking sudden changes in the temperature due to its rugged construction, but in my use case this shouldn’t be a problem. I’m more interested in long-time trends. The regular non-rugged RuuviTag would’ve probably been fine as well, but in the shop I feel that the additional protection is welcome. The reason why I chose to go with a Ruuvi product over the others in the market, is that there seems to be a lot of open source Linux libraries written in modern high-performance languages like Rust, available for them.

In the next update we’ll set up the OS and establish a SSH connection to the RPi.
 
Last edited:
Hello H-M,

Yesterday I was visiting a friend in Pornainen and ended up chatting about temperature monitoring with her dad. Unfortunately I had to leave quite early due to a migraine, but inspired by the discussion I've decided to come up with a lightweight solution to monitor the temperature and the humidity of my shop.

While there are dozens of fancy cloud based plug and play options for temperature monitoring out there, e.g. Ruuvi Station, in this thread the goal is to create a robust, lightweight, standalone temperature monitoring solution with minimal dependencies and low code footprint. I will try to keep the posts not too technical, but still informative enough for fellow hobby machinists to reproduce the steps.

As I do not have much progress to share with you just yet, here is a couple of photos from my day trip to Pornainen!

View attachment 467323
The water level was unusually high at the Laukkoski Rapids.

View attachment 467324
Friends' dog Sylvi, who'd prefer me to walk instead of taking photos.

View attachment 467325
If you observe carefully, you might notice how the color of Sylvi's leash perfectly matches the one on the marker posts for snow clearance.
looks like a part of heaven to me. I would not want to leave
 
In the next update we’ll set up the OS and establish a SSH connection to the RPi.
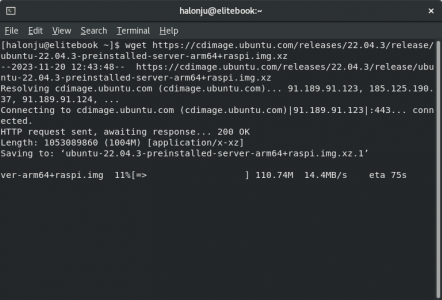
Okay :encourage: Let's start by downloading an Ubuntu Server image, preferably a release with Long Term Support. I'm running Red Hat Enterprise Linux 8 on my desktop so I'll use wget to download the image to my home folder:
Bash:
$ wget https://cdimage.ubuntu.com/releases/22.04.3/release/ubuntu-22.04.3-preinstalled-server-arm64+raspi.img.xz

001.png

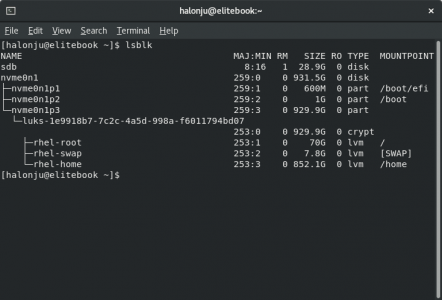
What we want to do next, is to write the image to an SD card. In case you're on a Windows machine or prefer a GUI approach to this, you can use balenaEtcher. For this project I'm using a Panasonic class 10 32GB UHS-I microSDHC memory card, so let's plug it in and see where it mounts using lsblk:

Bash:
$ lsblk

002.png

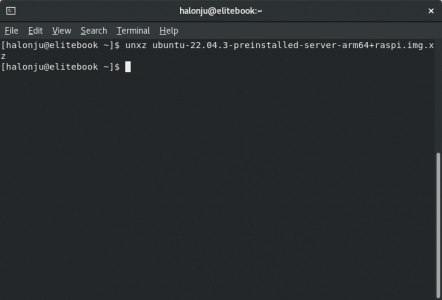
Before using dd to write the previously downloaded image to the SD card, we need to unxz the image:

Bash:
$ unxz ubuntu-22.04.3-preinstalled-server-arm64+raspi.img.xz

003.png

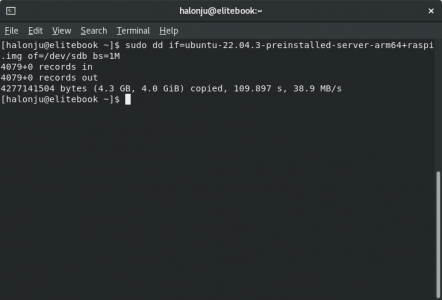
Now let's go for the dd:

Bash:
$ sudo dd if=ubuntu-22.04.3-preinstalled-server-arm64+raspi.img of=/dev/sdb bs=1M

004.png

Et voilà! Let's insert the SD card into the RPi, power it and it should boot into Ubuntu Server 22.04.3. Before connecting the device to a network, we should at least change the password for the user "ubuntu". I will use a physical keyboard and an external monitor to do this.

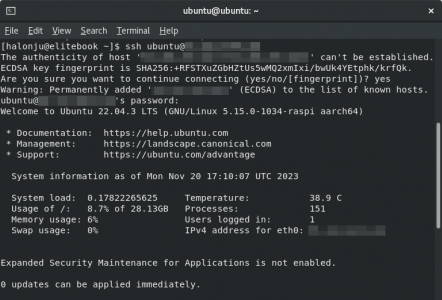
Log in using the default Ubuntu user/password combination ubuntu/ubuntu, the system will force you to change the password. Now we can connect the device to a network and as the OpenSSH Server is enabled by default, we should be able to log in remotely using SSH:

Bash:
$ ssh ubuntu@***.***.***.***

005.png

In case you don't know the IP Address of your RPi, just use the ip address command:

Bash:
$ ip -4 a

In the next update we'll further tweak the server before we start collecting the sensor data.
 
Last edited:
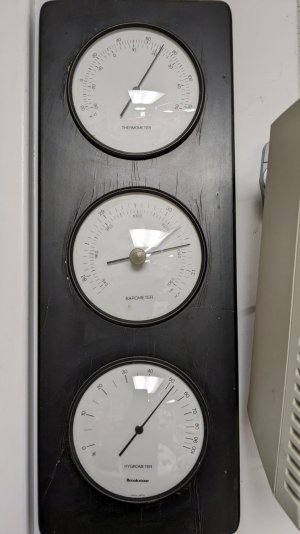
my solution... a garage sale find... no history.
But I know what's going on. The most useful thing to me as a woodworker is the hygrometer.
edit: I need it to determine gaps for expansion in panels. When high humidity, almost no gap, when it's lower like it is now, a normal gap so there is room for expansion...
PXL_20231120_172433376.jpg
 
  • Like
Reactions: B2
In the next update we'll further tweak the server before we start collecting the sensor data.
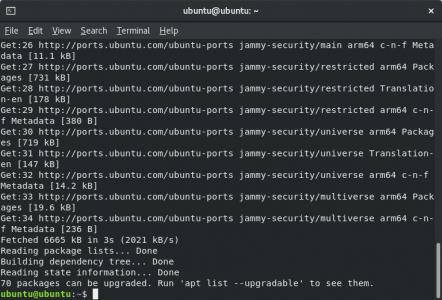
Let's start by bringing the system up to date before any further tweaking. First we'll get the latest information about available package updates...

Bash:
$ sudo apt update

006.png

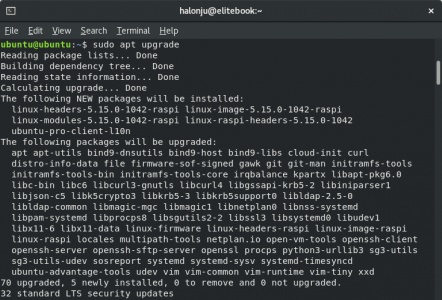
...and upgrade the system:

Bash:
$ sudo apt upgrade

007.png

After the upgrade it's recommended to reboot the system:

Bash:
$ sudo reboot

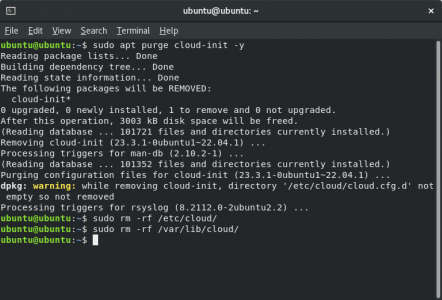
Then it's time to get rid of the cloud-init package as we won't be utilizing it in this solution.

Bash:
$ sudo apt purge cloud-init -y
$ sudo rm -rf /etc/cloud/
$ sudo rm -rf /var/lib/cloud/

008.png

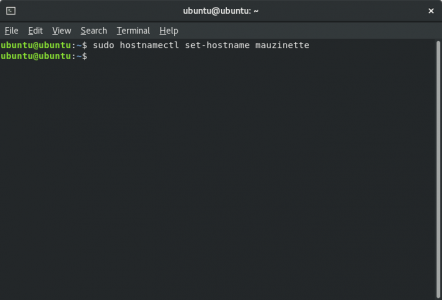
ubuntu is not a very unique hostname, so let's change it! While the RPi won't be used to measure railroad track geometry, it still kind of carries out measurements (and is tiny), therefore we'll call it Mauzinette:

Bash:
$ sudo hostnamectl set-hostname mauzinette

009.png

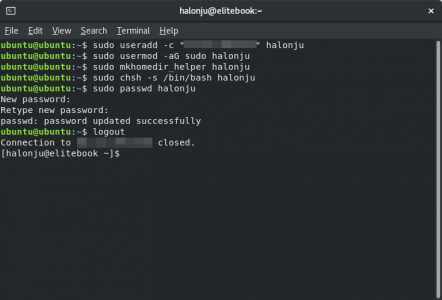
A relogin is required for the changes to take effect, but before that we'll create another user to the system...

Bash:
$ sudo useradd -c "Full Name" halonju
$ sudo usermod -aG sudo halonju
$ sudo mkhomedir_helper halonju
$ sudo chsh -s /bin/bash halonju
$ sudo passwd halonju
$ logout

010.png

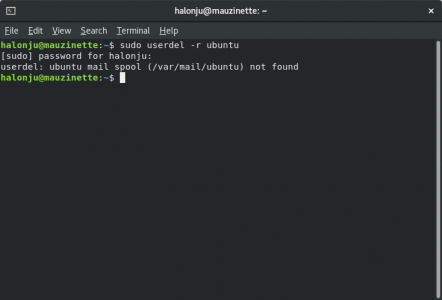
...log in with it and get rid of the default one:

Bash:
$ sudo userdel -r ubuntu

011.png
 
Last edited:
Back
Top