Custom build of a crankshaft trueing stand

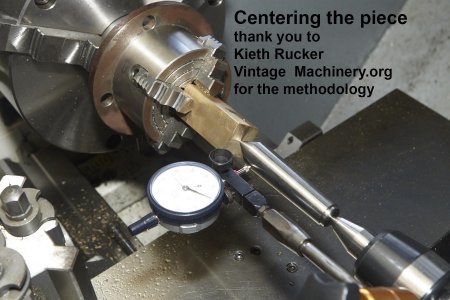
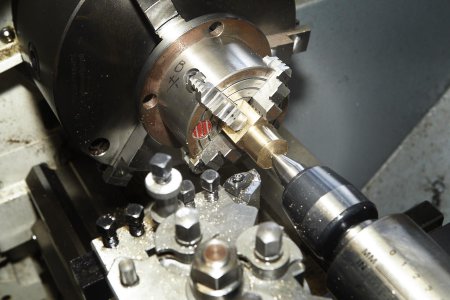
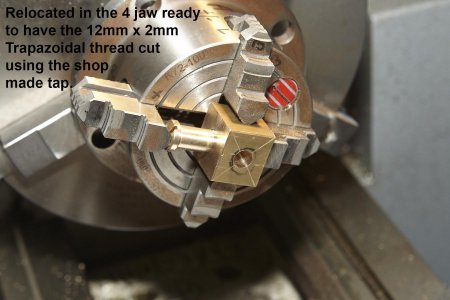
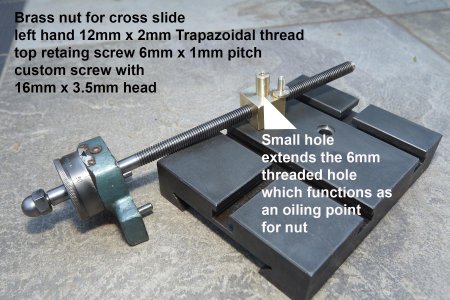
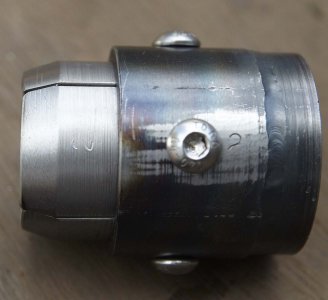
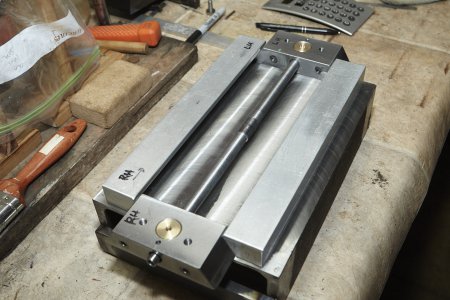
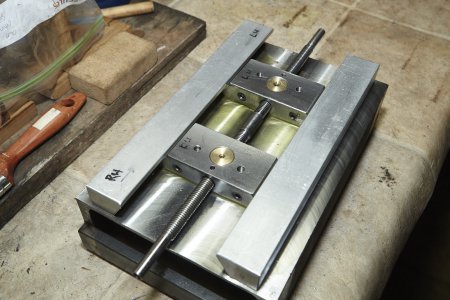
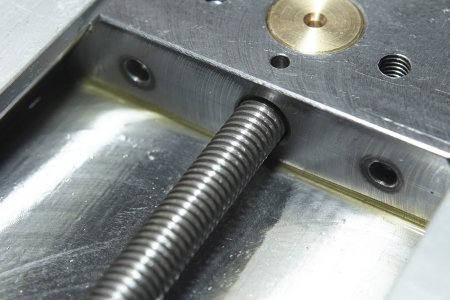
I am sure you all know that small job that jumps into the middle of a larger project and you see that there will be an element of cross over. Well this was a small project to make a new cross slide brass nut for a friends old lathe. It just so happens that I am going to use the same trapazoidal thread on our trueing stand...... so now I have the custom taps made and have made a new nut for his cross slide.

Now its time to get back to the main project.

Mal
 

Attachments

  • MAL_0745.jpg
    MAL_0745.jpg
    219.9 KB · Views: 51
  • MAL_0746.jpg
    MAL_0746.jpg
    212.4 KB · Views: 47
  • MAL_0747.jpg
    MAL_0747.jpg
    191.4 KB · Views: 48
  • MAL_0748 1.jpg
    MAL_0748 1.jpg
    310.9 KB · Views: 49
I’m curious, how do you find the performance of the taps? They look great from here, but I’m just wondering if you’re pleased with how they’re cutting for you.

-frank
 
Frank, it is the first time I have made taps for an acme/trapazoial thread profile. Some things have worked and some things only just work.
The 1 degree taper for these threads is the way to go in my opinion.
The taps are working on the brass but not fantastically, as in the cutting process is very slow, but the thread is fine when the cut is finished.
How could this be improved I ask myself?
Well I plan to reharden the taps to a higher hardness as when I tempered them, I think that too much hardness was lost. I think this is the biggest problem I have at present. The taps have a zero rake, neither positive or negative, so they would probably not be much good in their current form for cutting other than brass. I hope this answers your question.

Mal
 
It does, thanks. Like I said, they look great from here and kudos to you for endeavouring to make your own :encourage:

-frank
 
Before I continued on with the trueing stand I heated the taps up to red hot and held them there for about 3 minutes. Then quenched them in water. Then I heated my shop oven up to 450F with the two taps on the shelf. After 30 minutes I took them out and let them air cool. I then just touched up the cutting faces on the diamond D bit grinder stone.
The taps cut like they had been bought in a shop. Admittedly I was only cutting a thread through 22mm of brass but that is what I set out to do and it worked perfectly.
The centre holes in the brass nuts are for oiling the interface between nut and shaft.
Next step is to machine up the threaded shaft with LH thread one end and RH thread the other. It will have a centre bearing and two end bearings. Well bushes anyway.
Once I get the shaft all operational I can finish off the legs which involves some careful TIG welding.

MalMAL_0749.jpgMAL_0751.jpgMAL_0752.jpg
 
Project looks great! Wish I had that talent, this is my rough and ready trueing stand.. needed it asap to rebuild a 2 smoke crank it done the job but no where near as flash as that thing!

I just cut a wedge out of some acetyl and that was how I adjusted the crank webs.
6f8f131a93a10a9cd0749aaf8aa5d986.jpg


Sent from my SM-G950F using Tapatalk
 
Project looks great! Wish I had that talent, this is my rough and ready trueing stand.. needed it asap to rebuild a 2 smoke crank it done the job but no where near as flash as that thing!

I just cut a wedge out of some acetyl and that was how I adjusted the crank webs.
6f8f131a93a10a9cd0749aaf8aa5d986.jpg


hey hey hey, you have the job finished and I assume to your satisfaction, so you are way ahead of me.

I like making special tools to work on my old bikes. Making the tools is half the satisfaction. Yes I want them to work and I want my bike to come together. But still making the tools is satisfying.
For example here is a bearing puller I made recently to reach in and grab a difficult to get at bearing. Works like a treat, but it only does that one job. I have two old bikes which are exactly the same model, so each tool can be used at least twice.

I suspect you know a lot about old crankshafts and I am just starting that journey.


Mal


Sent from my SM-G950F using Tapatalk
 

Attachments

  • MAL_0643.jpg
    MAL_0643.jpg
    121.6 KB · Views: 32
  • MAL_0644.jpg
    MAL_0644.jpg
    247.7 KB · Views: 28
  • MAL_0645.jpg
    MAL_0645.jpg
    89.8 KB · Views: 28
  • MAL_0646.jpg
    MAL_0646.jpg
    85.6 KB · Views: 29
Nice, to be honest.. this was a first for me aswell. My race bike big end bearing was about shot and in need of replacing so I thought it cant be that hard? Well... it took me ages to get the crank trued up, it took a while for me to realise where to give it a wack.

I enjoy making tools also but lacking a milling machine makes things more challenging sometimes.

I will follow your progress with great interest, keep up the good work!

One thing I will mention is that my DTI was picking up on the ball bearings rotating, next time I would make some discs with bushings, but the V's you have will work perfectly well.

Sent from my SM-G950F using Tapatalk
 
Looking forward to seeing the assembled unit. Nice work!


Sent from my iPhone using Tapatalk
 
Back
Top