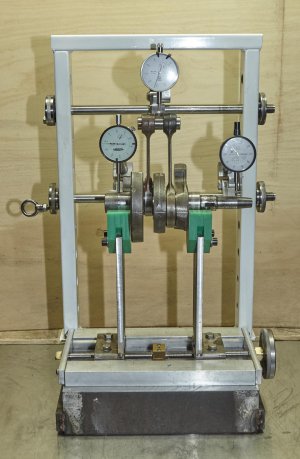
Custom build of a crankshaft trueing stand

I find it quite frustrating when I find a thread I am interested in and the thread comes to an abrupt ending part way through the project.MAL_0848.jpg
So in an attempt to avoid that for my fellow machinists.
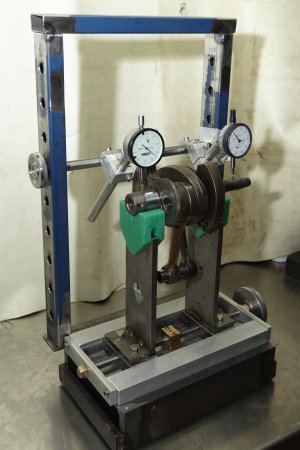
Here is the trueing stand with the latest additions.
These really sturdy and totally adjustable arms will allow me to put my dial gauges where ever I want them.

Still a few things to go but getting close to being ready for checking runouts.

Mal
 
I’m guilty of that as well, although with me I really have to watch that I don’t lose interest myself before i finish something!

Nice progress on the stand — I like how all of the parts seem well thought through and of robust design.

-frank
 
Great work! Well thought out, I'd definitely like to see it in action.
 
Great work! Well thought out, I'd definitely like to see it in action.

I did a short video of activating the dovetails and tried to post it, but it was rejected as a too large file.

If you use Facebook, you can search my small facebook page "Wasted Gears" and scroll down to view that video.

However you are right, I should do a short video on setting up and running a runout check on a crankshaft.

Cheers


Mal
 
I’m guilty of that as well, although with me I really have to watch that I don’t lose interest myself before i finish something!

Nice progress on the stand — I like how all of the parts seem well thought through and of robust design.

-frank

Frank

I suspect some projects don't get finished, however many probably run into time delays and then the motivation to post the updates just gets lost.

I searched a lot on the internet looking for a good design and really didn't find anything that seemed achievable with what materials I had laying around. So what you see has been built totally from scrap I had on hand.

Mal
 
Well got the third shaft finished today, so now I am ready to use the contraption.
Because this will the first time I have had a go at adjusting a pieced together crank, I have homework to do get get my ducks in a row in terms of process.
Its one thing to wack the crank and get a feel for how hard to hit but really I need to make sure I know where to hit and measure.
I have set up the stand so that each time I give it a wack I can measure both runout and crankpin offset without having to move gauges around which is time consuming.

Mal
 

Attachments

  • MAL_0913.jpg
    MAL_0913.jpg
    179.4 KB · Views: 18
That is an awesome piece of kit you have built. Have you ever watched any of Allen Millyard's videos? https://www.youtube.com/user/millyardviper

I was not aware of him, but on your recomendation I will certainly check him out. Youtube is an endless supply of amazing material. Thank you for your compliment and the link.

Cheers

Mal

I did not recognize his name so went and checked out the first test ride. Then I realised I did watch one of his videos some time back of how he built the 6 cylinder crankcase out of two four cylinder jobs. Very clever man.
 
Last edited:
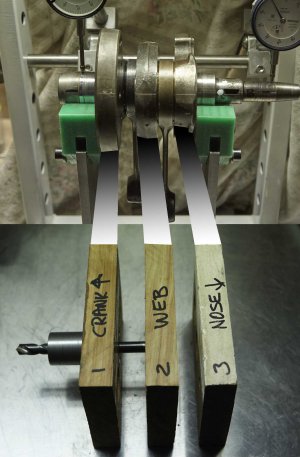
before I start flogging the crap out of my crankshaft I would like to clearly conceptualise, where to hit to get a given change in the crank alignment. I am not a really smart person so I thought to help me get my mind around how the crankshaft alignment works I would build a play crank out of wood and steel. I didnt get it finished but here is the beginning. The three members that will be connected together. I am not sure how much precision plays a part in the process but I figured this is a non destructive exercise and should help my understanding of the alignment issues I am up against.

MalMAL_0962.jpg
 
Back
Top