few questions

couple pics the lathe is pretty grimey plans are to go through the whole thing and clean it up hopefully with all your guys help and experiance.
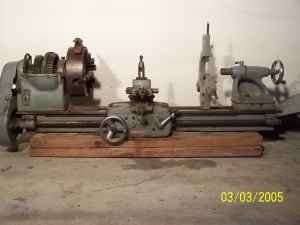
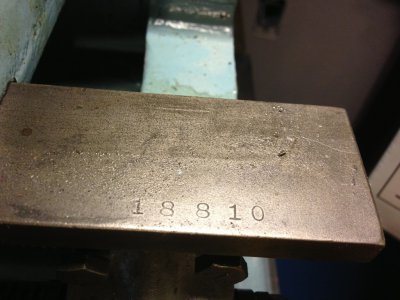
Your Lathe looks a lot like mine. I have 1946 Craftsman 101.07403 lathe. If yours is like mine, the model number is on the back of the ways, in the center. There is a nameplate there. There is also a serial number stamped in the top of front way, at the far right.

AtCraftCraigslistBefore.jpg
This how it looked when I found it on Craigslist.
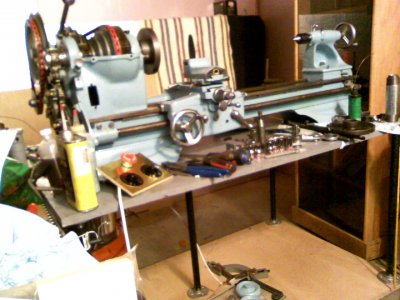
AtCraftPartAssemblyLathe.jpg

And after some cleanup and paint.

I used some kerosene in a 5 gallon bucket to clear the crud off.

Then to further clean the rust off, I bought a 5 gallon bucket of evap-o-rust from Northern Tool. That stuff is amazing. Drop the part in, leave it overnight, wipe it off the next day. Or week, or month. It does not hurt to leave it too long.

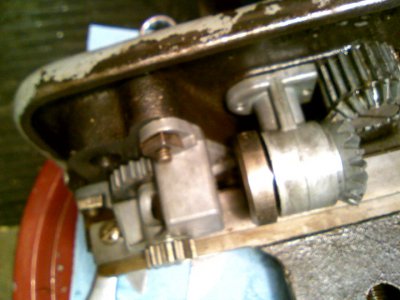
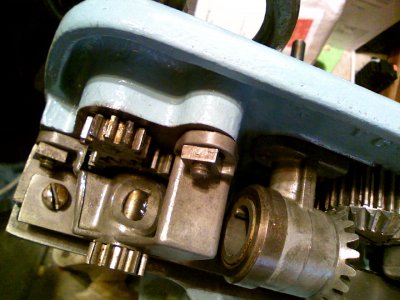
The Apron Before/After/Painted:
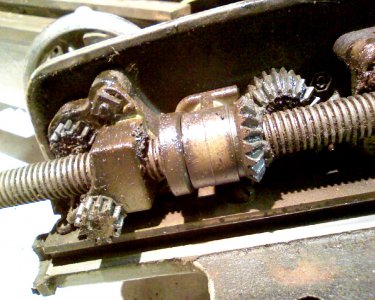
2010-06-12_0005.jpg2011-11-25_0001.jpg2011-12-06_0005.jpg

Hope that helps. If your lathe is the same and you have questions, ask. I may have hit the same problem.

AtCraftCraigslistBefore.jpg AtCraftPartAssemblyLathe.jpg 2010-06-12_0005.jpg 2011-11-25_0001.jpg 2011-12-06_0005.jpg
 
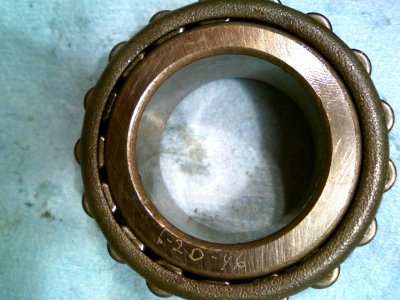
There was a question on where I found the date and serial number. This is what I found as I was cleaning up the lathe.

AtCraft 101.07403 serial number.jpgR-2011-11-25_0016-BearingDate.jpg

AtCraft 101.07403 serial number.jpg R-2011-11-25_0016-BearingDate.jpg
 
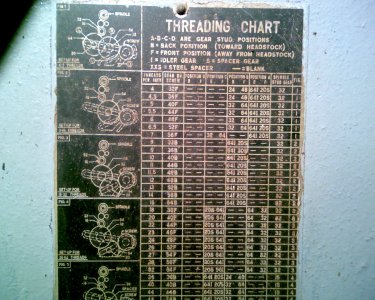
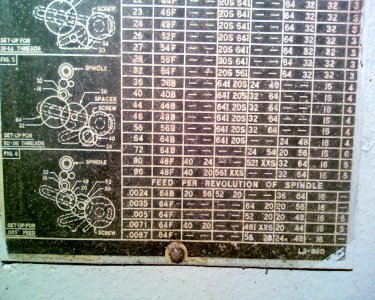
yup looks exactly like mine. i just got done cleaning the apron gears and stuff then i did the change gears but it sat apart longer then i wanted now im not 100% sure how the change gears are supposed to go. if someone could snap a pic of theres that would be great. mostly of the lower 3 gears the one attached to the drive screw. thanks.
 
yup looks exactly like mine. i just got done cleaning the apron gears and stuff then i did the change gears but it sat apart longer then i wanted now im not 100% sure how the change gears are supposed to go. if someone could snap a pic of theres that would be great. mostly of the lower 3 gears the one attached to the drive screw. thanks.
If I understand correctly, those gears change depending on the number of threads per inch you want to cut.

There should be a chart inside the change gear cover. This is mine:

2010-06-11_0016.jpg2010-06-11_0017.jpg

2010-06-11_0016.jpg 2010-06-11_0017.jpg
 
Also, the threading chart for all standard change gear 12" machines from 101.07360 to end of production is on page 135 of the later Manual of Lathe Operation editions (I don't have an early edition so can't quote page numbers). The following pages give more detailed information on setting up for various feeds and threads, including metric. The 6" section begins on page 155. I presume that for the 10", you would have to go to a pre-1958 edition.

Robert D.
 
ya i got that little label buts its so small its kinda hard to see. but i dont have a manual. ill just try and google image it.
 
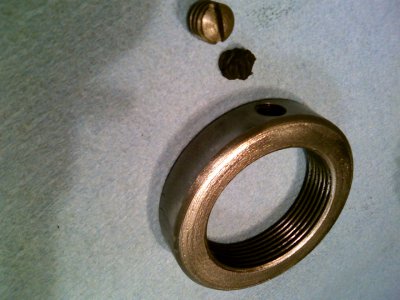
also how tight to you get that ring nut thing on the very top gear? im guessing it puts the tension on the bearings for the chuck.
 
also how tight to you get that ring nut thing on the very top gear? im guessing it puts the tension on the bearings for the chuck.

You need to tighten it enough to remove all the play from the bearings, but still should still turn freely. If there is any roughness, you need to find out what is causing it. Better to err on the side of too loose.

I left mine pretty loose at first and thought that it was tight enough, but then I was measuring the runout and found that there was quite a bit. Had to go back and tighten it more eliminate the runout.

Don't loose or forget the little lead ball under the set screw. I lost mine, so I replaced it with a hard sponge rubber ball I carved from some scrap. But you need it to prevent marring the threads.
2011-11-24_0002.jpg

Also, to prevent marring the ring with a wrench, screw a properly sized screw partway into the setscrew hole and use that screw length to tighten or remove the ring.

2011-11-24_0002.jpg
 
The short (official) answer is to tighten the spindle collar finger tight while turning the spindle to seat the rollers. Spindle should turn with little drag (assuming that you aren't turning the gear train and the motor, too). Then tighten the collar 2 teeth of the adjacent gear.

For instructions on disassembly and assembly of the headstock (10F and early model Timken bearing 12"), go to the Atlas Downloads folder and download the file Atlas Bulletin 10F Early 12T Headstock.

Robert D.
 
Back
Top