- Joined
- Feb 2, 2014
- Messages
- 1,069
As I said before I seldom make any drawings but this cylinder head is different from anything I have made before. All of my other cylinder heads I have made were round. Simple to layout the head bolts in a bolt circle for the head and the block but this one is rectangular. I drew this up in Aspire and included cutting the head gasket as well.
I cut the head gaskets first and boy am I glad I did. Somehow I got the gasket size 0.080 too short and 6 of the head bolt locations off as well.
I haven't found just where I went wrong but I redid everything and now it is right. My only loss was 1 head gasket so not so bad.
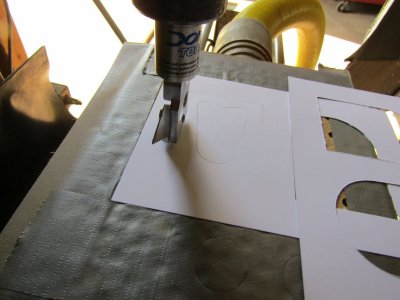
This is the way I cut my gaskets using a drag knife so I made several on my vacuum table.
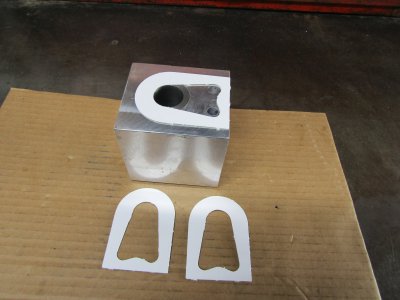
Fits good.
I mounted a piece of 0.625 aluminum plate with a spoil board under it and milled out the combustion chamber. I made the chamber 0.200 deep but I am not sure that is right. I am shooting for a 5.5 to 1 compression ratio so it should be close. If it is too deep I can shave some off the head to raise it.
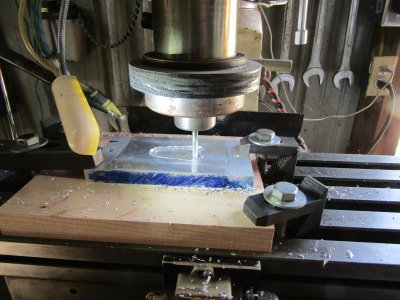
I then flipped the piece over and milled the top side of the head and cut it out.
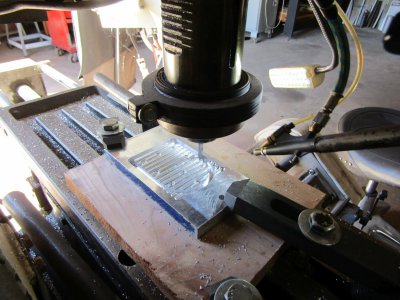
Top done
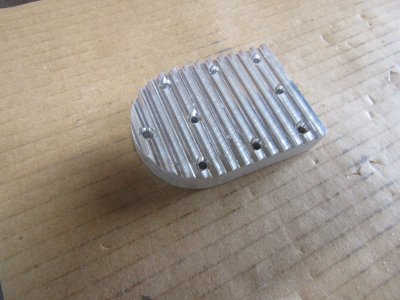
Bottom side
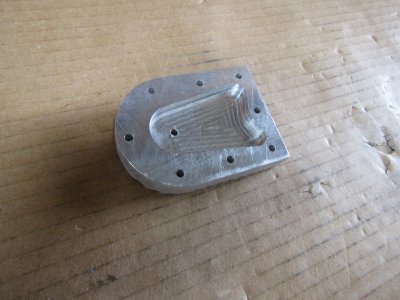
It turned out just right after all.
All the bolt holes even lined up.
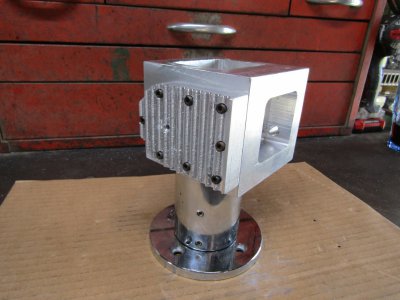
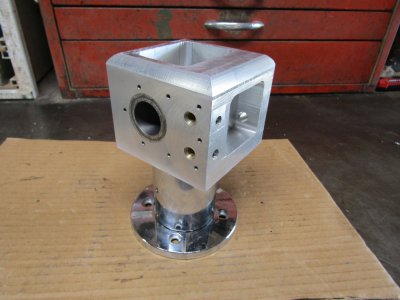
I put it up on a pedestal for show.
Ray
I cut the head gaskets first and boy am I glad I did. Somehow I got the gasket size 0.080 too short and 6 of the head bolt locations off as well.
I haven't found just where I went wrong but I redid everything and now it is right. My only loss was 1 head gasket so not so bad.
This is the way I cut my gaskets using a drag knife so I made several on my vacuum table.

Fits good.

I mounted a piece of 0.625 aluminum plate with a spoil board under it and milled out the combustion chamber. I made the chamber 0.200 deep but I am not sure that is right. I am shooting for a 5.5 to 1 compression ratio so it should be close. If it is too deep I can shave some off the head to raise it.

I then flipped the piece over and milled the top side of the head and cut it out.

Top done

Bottom side

It turned out just right after all.
All the bolt holes even lined up.

I put it up on a pedestal for show.
Ray


