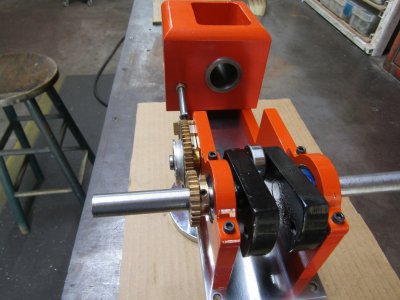
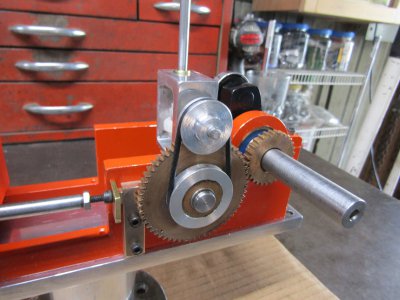
My Flat Head Hit Miss Engine

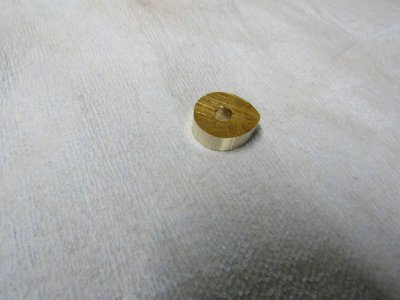
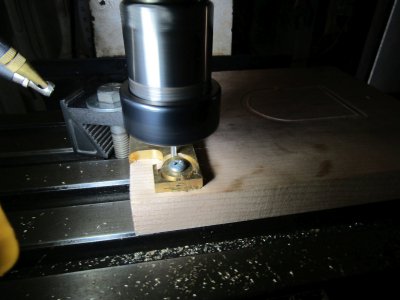
I thought I would have a short day today so I cut out the cam for the engine.
CNC makes it so easy.
IMG_1338.JPG

IMG_1341.JPG
And then why not cut out a flywheel slug. It shouldn't take too long.
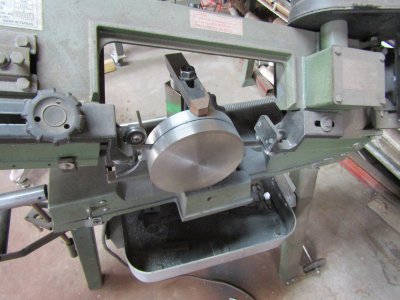
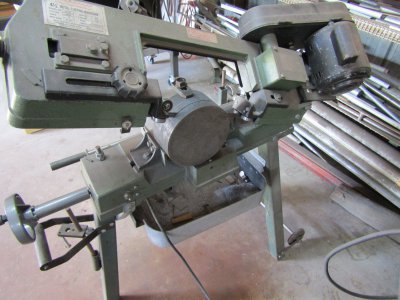
I bought a chunk of cast iron on E-Bay at a good price to make the flywheels out of. It was advertised to be 6 1/2" in diameter and 3" long. Well it was over 7" in diameter and that may seem to be an even better deal but not for my band saw.
IMG_1344.JPG

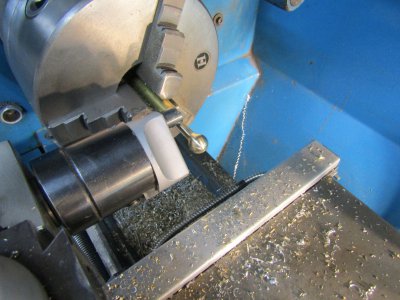
It is kind of hard to see from the picture but the blade roller on top hits the part and stops the cut before it half way through the bar. That leaves about 1 1/2" in the middle uncut. I was able to find a hack saw with a deep enough throat to reach over half way to finish the job. Total time to cut one slug was 2 1/2 hours and a sore arm. I may just put the remaining part in the lathe and make the OD smaller so my band saw can cut all the way through for the next one.

Ray
 
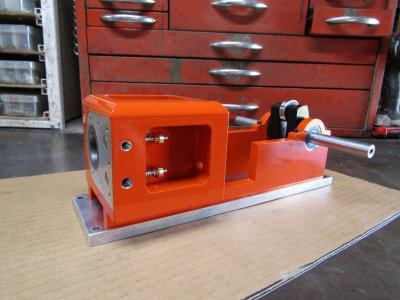
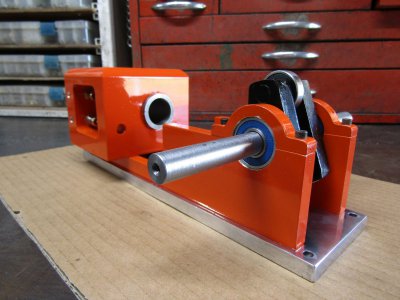
I decided to polish the main frame and paint the cylinder and side frames Allis Chalmers orange.
IMG_1345.JPG
IMG_1346.JPG

Painting at this stage has a tendency to make me more careful and precise during the rest of the build.

I have other commitments for the rest of this week which will put a hold on this project for now.
Ray
 
Back from my short trip and had some time to work on the project.

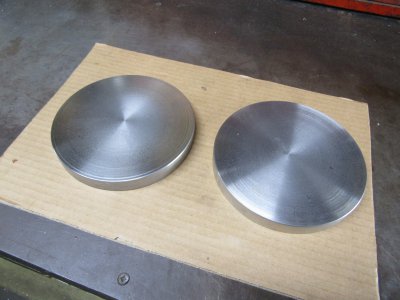
After I reduced the diameter of the cast iron chunk it was much easier to split it into two disks.
IMG_1349.JPG
After some cleanup at 6 1/4" in diameter.
IMG_1350.JPG

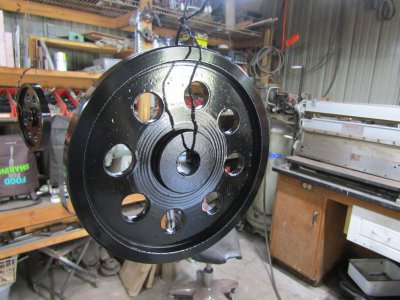
I reduced the web on both sides of the disks and bored the center hole with a 5 degree taper. I will be making taper locks for the crank shaft as I really like that design. No key ways, no set screws, and the flywheels can be moved in and out easily.
I even got them painted.
IMG_1352.JPG

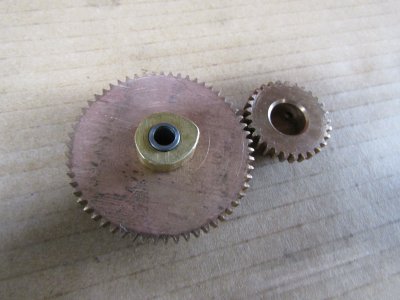
After a lot of cast iron cleanup time I started on the timing gears. I made these gears for a project over a year ago but it ended up I didn't need them so they should work fine here.
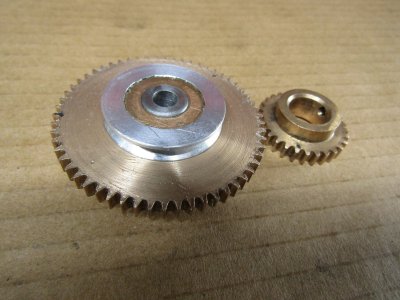
The large gear has a steel bushing pressed into the bore and the cam lobe is pressed onto that.
IMG_1355.JPG
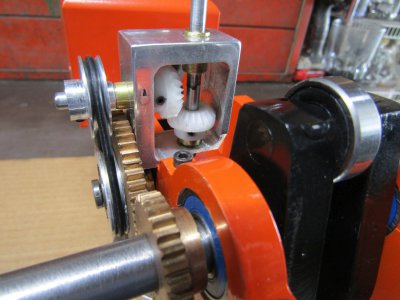
The other side has a pulley pressed onto the hub of the timing gear. This pulley will transmit power via a o-ring to the governor mounted above.

IMG_1357.JPG

Ray
 
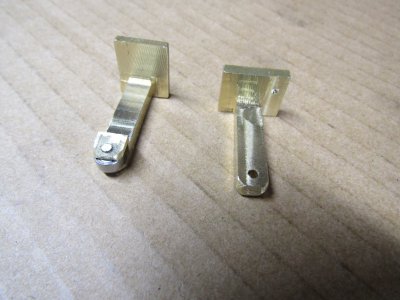
Today I made the valve lifter or I made two of them. I forgot to leave material for the roller bearing on the first try and then I thought maybe I might be able to salvage it but I knew it would never be right so the second one turned out fine.

IMG_1364.JPG

Things went well after that and I have the exhaust valve train completed.
IMG_1366.JPG

IMG_1367.JPG

Will work on the governor next.

Ray
 
Looks good. A lot of time spent making a couple small parts, I'm sure.
 
Yes the little parts can take the most time.

Ray
 
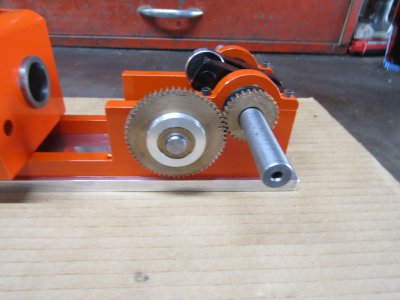
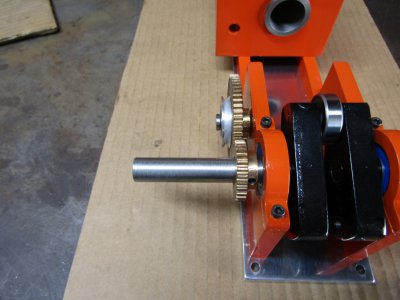
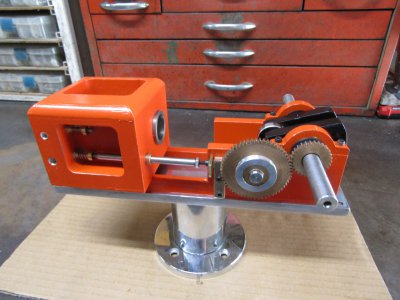
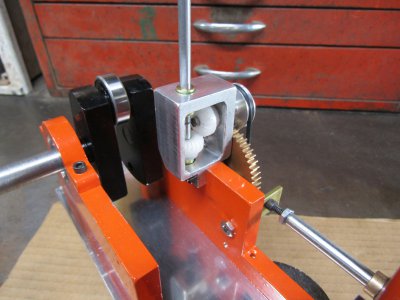
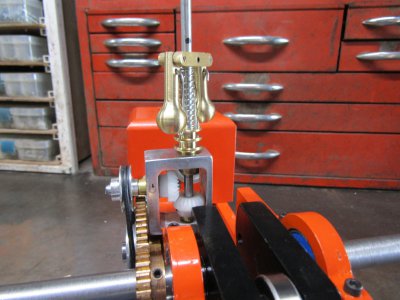
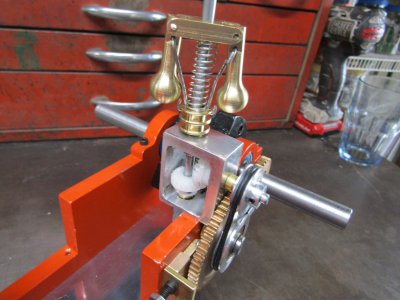
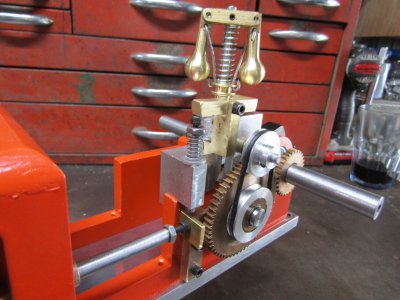
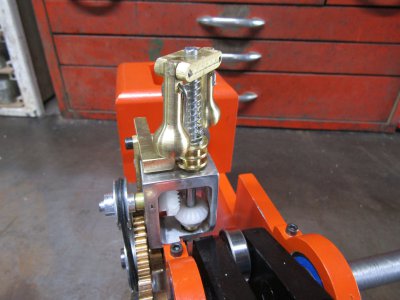
I was able to get the governor gear box completed today. It runs off the cam shaft so there is some speed increase to the fly balls. I have made this governor type on two other hit miss engines but they ran with a gear reduction and powered from the crank shaft. Nothing real scientific here I will try this setup and see how it works.
IMG_1370.JPG

IMG_1371.JPG

IMG_1373.JPG

Thank you everyone for the "Likes" it lets me know how I am doing.
Ray
 
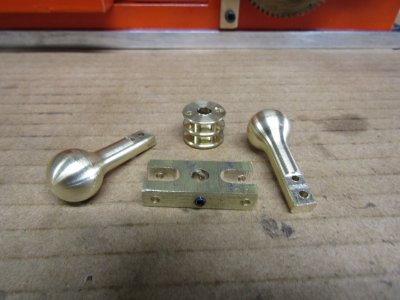
In the past I have always made the fly balls separately and drilled and taped them for the arms.
I thought I would try making them all in one piece on the lathe.
IMG_1375.JPG

This worked out very well and a lot less work. I also made the spool and cross brace.
IMG_1378.JPG

And a couple of pictures of the completed governor.
I still have to cut some off the shaft.
IMG_1381.JPG

IMG_1383.JPG

Next will be the hit miss mechanism.

Thanks for looking
Ray
 
Lots of fiddly little things to get sorted out but I have the Hit-Miss mechanism completed.
Spinning the crank shaft with a cordless drill confirms it does work as designed. There will still be changes to the spring tension and other adjustments after the engine is running but it is working as I hoped.
IMG_1384.JPG

IMG_1386.JPG

I had one oops today in that I broke a 6-32 tap in a deep blind hole. I was able to eat the tap out a little piece at a time using an 1/8" end mill and then taped for a larger size screw.

Thanks for looking
Ray
 
Back
Top