My Flat Head Hit Miss Engine

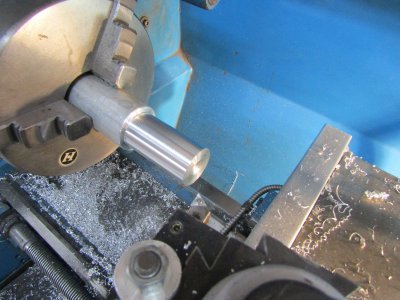
In the past I have always made the fly balls separately and drilled and taped them for the arms.
I thought I would try making them all in one piece on the lathe.
View attachment 440435

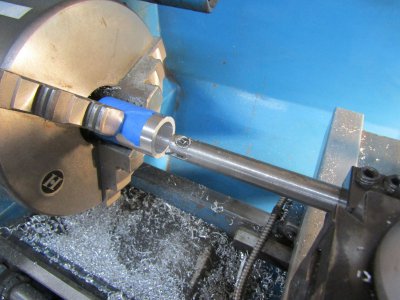
This worked out very well and a lot less work. I also made the spool and cross brace.
View attachment 440436

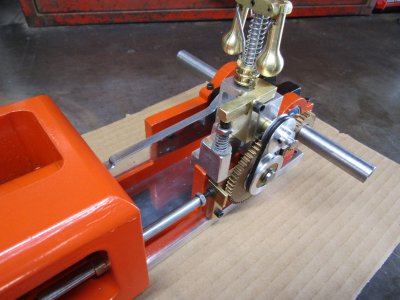
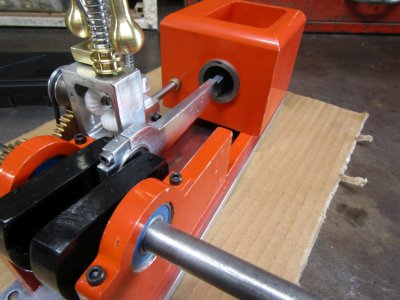
And a couple of pictures of the completed governor.
I still have to cut some off the shaft.
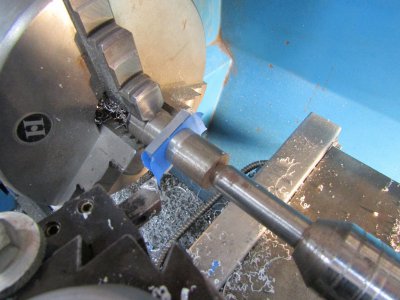
View attachment 440437

View attachment 440438

Next will be the hit miss mechanism.

Thanks for looking
Ray
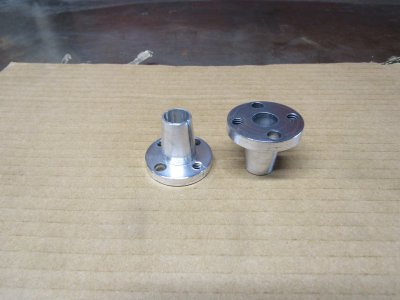
Ray, could you elaborate on the setup using the boring head on the lathe in the first picture. Can't quite figure it out and my curiosity won't give up. Really nice work. Thanks.
 
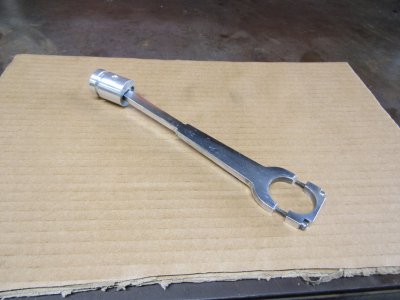
I finished up the piston and connecting rod today. Since I had moved the crank shaft and the cylinder block an inch further apart than I had originally planed I was hoping the connecting rod would not hit on the piston liner. Well it still did so you can see how I narrowed the rod to compensate.

IMG_1388.JPG

IMG_1390.JPG

IMG_1392.JPG

My connecting rod length came out right, almost flush with the cylinder face.
IMG_1393.JPG

I will finish work on the flywheels next.

Thanks for looking
Ray
 
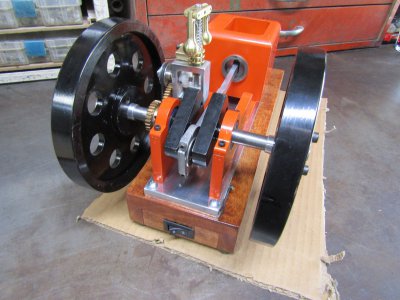
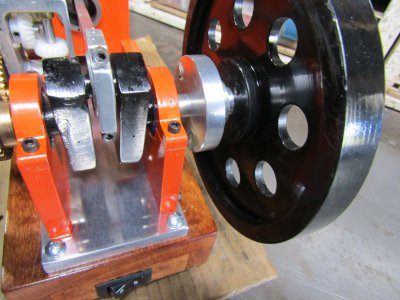
I made and polished the flywheel taper locks and mounted the flywheels on the engine. Everything fit and lined up correctly.
IMG_1398.JPG

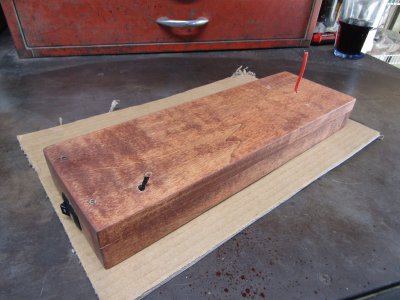
It was time to make a wood base for the engine and I had a piece of poplar that would work fine. Before applying the finish to the box I drilled holes for the wiring and made a cutout for the switch.
IMG_1401.JPG


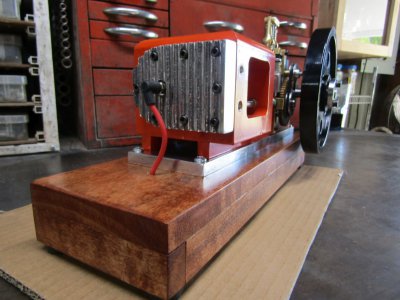
This is what it looks like with a spray finish and the engine mounted.
IMG_1404.JPG

I polished up the cylinder head and drilled and taped for the spark plug.
IMG_1407.JPG

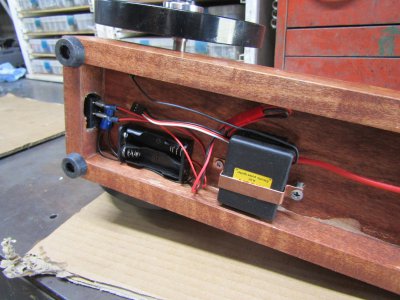
A view from underside showing the electrical components and the rubber feet.
IMG_1408.JPG

Thanks for looking
Ray
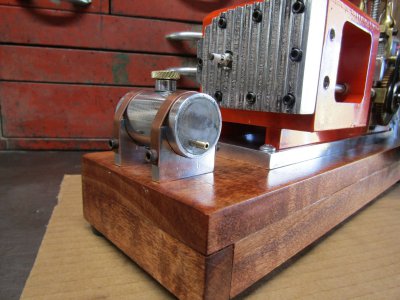
 
Lets make a gas tank.
I started with a 1 1/2" diameter piece of aluminum that I turned down to 1.200.
IMG_1410.JPG

I cut it off at 3" and bored out the inside to leave me a nice wall thickness. (I didn't measure it)
Then bored an inside lip for the tank ends to sit in.
IMG_1413.JPG

I like to have a tank I can see the fuel level in so I cut a couple of 1/4" plexiglass squares larger than the size I needed. I put some masking tape on both sides of the squares to protect them from scratches. I put one steel slug in the three jaw chuck and then squeezed the plexiglass with another slug in the live center of the tail stock. This really works well and I was able to turn the square into the correct size round to fit the ends of the tank.
IMG_1415.JPG

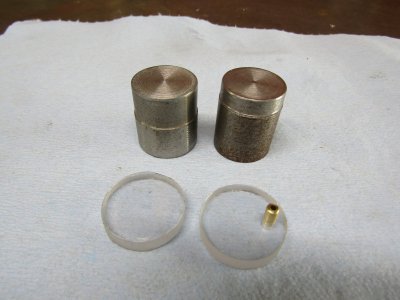
Here are the completed ends and the two slugs I used plus I turned and pressed in a brass nipple for the gas line.
IMG_1417.JPG

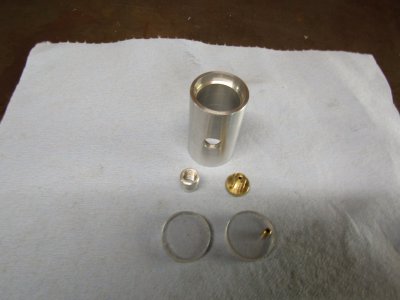
These are the parts for the tank with a filler bung and a brass gas cap.
IMG_1418.JPG

I used 5 minute epoxy to seal the ends of the tank and the filler bung.
A couple of aluminum stands and copper straps finishes off the gas tank.
IMG_1422.JPG

Please let me know what you think.

Thanks for looking
Ray
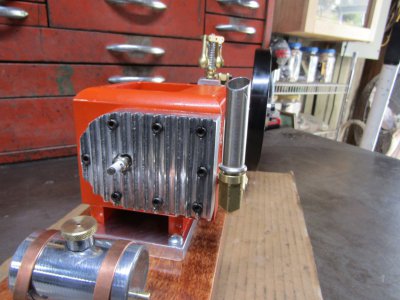
 
Today saw a lot of progress as I got a couple of 1/8" brass 90s in the mail. I turned one of the male ends down to 0.312 and threaded it 5/16-24 to fit in the cylinder head. The other street 90 threaded into the first one and things lined up as planned. (hoped)
I found a chromed lamp tube that threaded right into the 90 so the exhaust is done.
IMG_1424.JPG

Since I was on a roll I made the carburetor and it fit too.
Also checked the gas tank for leaks and none found.
IMG_1429.JPG

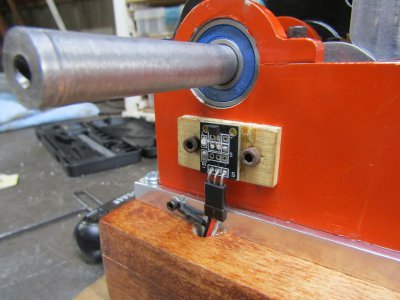
I glued a hall sensor on to a piece of wood and mounted it on the side of the frame.
IMG_1431.JPG

Turned an aluminum disk for the magnet and set the timing.
IMG_1434.JPG

There isn't much left to do but I ran out of time for today.

Thanks for looking
Ray
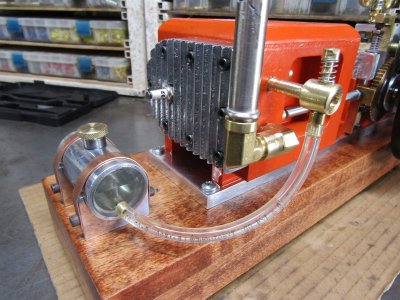
 
Looks like tomorrow might be the day.

Looks good
 
Oh man that looks great.
Well done sir!!!
Can't wait to see it run. Post a video.
 
Back
Top