New PM-25MV Mill

Ok, I will reply to you directly. The tolerance you talk about is for a C6 ball screw, not a C5.
This not an opinion, it is fact.
I am not sure which tolerance you are referring to. The classes specified by Hiwin and THK both have C5 permissible variation of 18 um (.0007") per 300mm and 8 um (.00034") variation per rotation.

I’ve been machining since 1981. If you can’t grind anything to .0001”, you don’t know how to use a grinder.
Well I don't know how to use a grinder, nor how to make a ballscrew, but I know that parts simply aren't made to that level of precision for most applications.

Why is it that machine manufacturers can guarantee.0001”?
It’s because they use ground ball screws that are ground to less than .0001”
I’ve also been building machines for the last 10 years.
My guess is that those machine manufacturers aren't using C5 screws and they are also using software error correction to make up for any of the deviation in the ballscrews. And I am not aware of many machine manufacturers that make those kinds of guarantees. But I also don't see how that is relevant, because no one is making claims about these machines being able to hold tolerances of less than .0001". Nor is that expected for a C5 screw.

I’m sorry, it just doesn’t look that great to me.
Please go find the tolerance ratings.
They are not what you think
I’m really not trying to be a jerk here. I’m just trying to explain how it really is.
That would be the shipping oil in that picture. The screw I took pictures of under the microscope is the same screw that was in the picture you posted. I noticed you didn't mention anything about the finish of the screw in an actual up close picture.

I did look up the tolerance ratings. They both say the same thing. 18 and 8 um. I would be interested in seeing what you are looking at that says a C5 screw is supposed to be less than .0001" on the lead.

 
Well, believe me or don’t. I am just offering a public service. As you said, you are guessing. I am not.
 
Well, believe me or don’t. I am just offering a public service. As you said, you are guessing. I am not.
Ok, well the sources I posted said you are wrong. Your only reference is your experience, which holds no weight when you posts things anonymously. Anyone can pretend to be anyone online, but the things you say really don't reflect any amount of experience and you are unable to back up any of your claims. That isn't a public service, that is just spreading an uninformed opinion.
 
I figured I would be viewed poorly. I wasn’t trying to start an argument.
I haven’t seen any data from you either.
Just some shiny pictures.
As I said, if you are happy, that’s all that matters. It’s your machine. For what it’s worth the build looks nice.
 
Well at least I am learning about ball screw accuracy through this!
Robert
 
I deal with Thomson linear more than any other company. They don’t use the same C scale for tolerances.
They make two different rolled ball screws. One is .004” over 12”. The other is .001” over 12”
Then they get into the ground ball screws.
I didn’t really mean to hijack the thread.
I understand what Hiwin and THK have listed as the C tolerances.
I was asking you O.P. what the company you bought these from has listed.
I just couldn’t find anything.
 
I think that making strong inferences from a single picture, especially when that picture wasn't taken to show the specific thing you're talking about, is a little unwise. Refer to the high magnification pictures the OP posted and direct your comments at them. Do you see the things that you were concerned about originally?

It's ok to misinterpret a picture, happens all the time. I'm a trained microscopist and my postdoc PI was even more experienced than I was and we misinterpreted pictures (not at the same time, thankfully).
 
Similar to HeavyMetal747, I want to make damn sure the facts are out there, so that people looking to build hobby machines make informed decisions. So here are some cold hard facts, supported with a few links so you can judge for yourself, and a little of my experience thrown in:

Hiwin and THK use a JIS (Japaneses Industrial Standard) standard for rating their ball screws. Thompson uses an ISO standard. That is why THK/Hiwin/NSK and other Asian industry big boys will have a "C" grade, and Thompson has a "P" grade. Generally, the largest difference between the two standards is in how the working load of a ball screw is calculated, though accuracy is graded differently as well, it's just not by a lot. From what I can tell looking at the JIS standard and what Thompson is calling a P5, the JIS standard is a tighter tolerance. For example Thompson says "P5" is 0.023mm/300mm. So on a 900mm screw, you could have 0.069mm of positional error end to end. Where as with a JIS C5 screw, you would be limited to 0.040mm. Or in units we understand, the JIS screw is about 0.00114 of an inch better, over 36". Or 0.001" over a yard. That would actually be very difficult to measure with out a CMM... but I digress.

To be clear, Thompson does make some high quality stuff. I'm not knocking them at all, they are just rating their stuff to a different standard. Also remember that a screw has to meet or BEAT the published value in a standard, and quality manufactures are beating it.

From THK, showing C grade tolerances (SAME EXACT THING SHOOTER POSTED ABOVE):
1588197675148.png


And from Thompsons website:
1588197650741.png


Interesting tid bit I found trying to fact check myself...

If you want a ball screw that can hold 0.0001's of an inch positional tolerance, you are going to pay an insane amount for it. Like absolutely insane. And yes, holding 0.0001's for positional accuracy would be an incredible feat. Grinding a diameter to 0.0001's, not really a huge feat today, my tool and die maker does it regularly for our fixturing (not to discredit the trade, I can't do it, like at all. The only thing I can do on a surface grinder is burn through abrasive. My tool and die maker is a regular bad ass, and there is a reason he builds this stuff, not me). However, positional tolerance on a screw is EXTREMELY difficult to grind to that tight of a tolerance (not to mention it's an assembly, so you have tolerance stack issues), so much so that if you want ±0.0001" positional tolerance for a 12" ball screw you are looking at a Grade C0 in the JIS standard (I have no access to the ISO, so I'm not sure what it comes out to, but probably a P0). Want a ball screw over 12" to hold that tolerance? Look somewhere besides the Japaneses because the JIS standard doesn't even go there, and I would put serious money on the ISO standard not going there either. Considering how accurate our Mazak and Mori machines are... they are running some kind of ball screw mapping/compensation, almost certainly.

I also know that Okuma (at least they used to) and others offer linear scale feedback, which removes the need to have incredibly accurate ball screws, as the control uses the feedback to verify position constantly. Many in the industry, including myself, consider this to be the most accurate way to control position on a machine.

*STEPS OFF SOAP BOX*

Shooter, your HOBBY machine is already kick ass, and it's going to be more kick ass with those ball screws. That being said, if you want more accuracy out of it, I'd look at adding some linear scales and having them feed back to Linux cnc. There are some people doing it on the youtube, and it looks like it's working pretty damn good!

Onward and upward with the build man, we're really enjoying it!

PZ
 
Just to add another anecdote to the thread (because we don't have enough), I work as a service tech for an importer of high end Japanese machines (twin/triple/quad turret lathes, B axis mill-turns, etc.). The ballscrews we put in are C3 grade, usually from Koyo or THK. I don't usually pay attention to prices too much, but for a 32mm screw ~1000mm long our price is between $5000-$6000. Our machines don't have scales and we don't mess around with pitch error comp, just throw them in, reset backlash comp, and you're good. The biggest challenge to holding tenths is not the ballscrew, it's thermal growth, even on 10-15 year old machines worn to the bone.

As with most things made in Japan, they set their own internal standards much better than the official standard.
 
On a slightly different subject, the BT30 spindle for this machine is happening. The design has been modified a little bit since it was last mentioned, and it will now be a drop in spindle replacement with no modifications to the machine needed. This means that if I mess something up terribly, I can switch it back to the R8 spindle and not have to worry about the machine being broken while (or if I suppose) make a new one.

The spindle shaft is being made out of 12L14 and the main housing is being made out of 6061 aluminum. The reasons for this are mostly for cost and ease of machining. I know the spindle isn't going to be as strong or last as long being made out of 12L14, but this is mostly for a proof of concept and work out the kinks in the design. If everything works the way I expect it to, the next iteration will be made out of a more appropriate material and hardened.

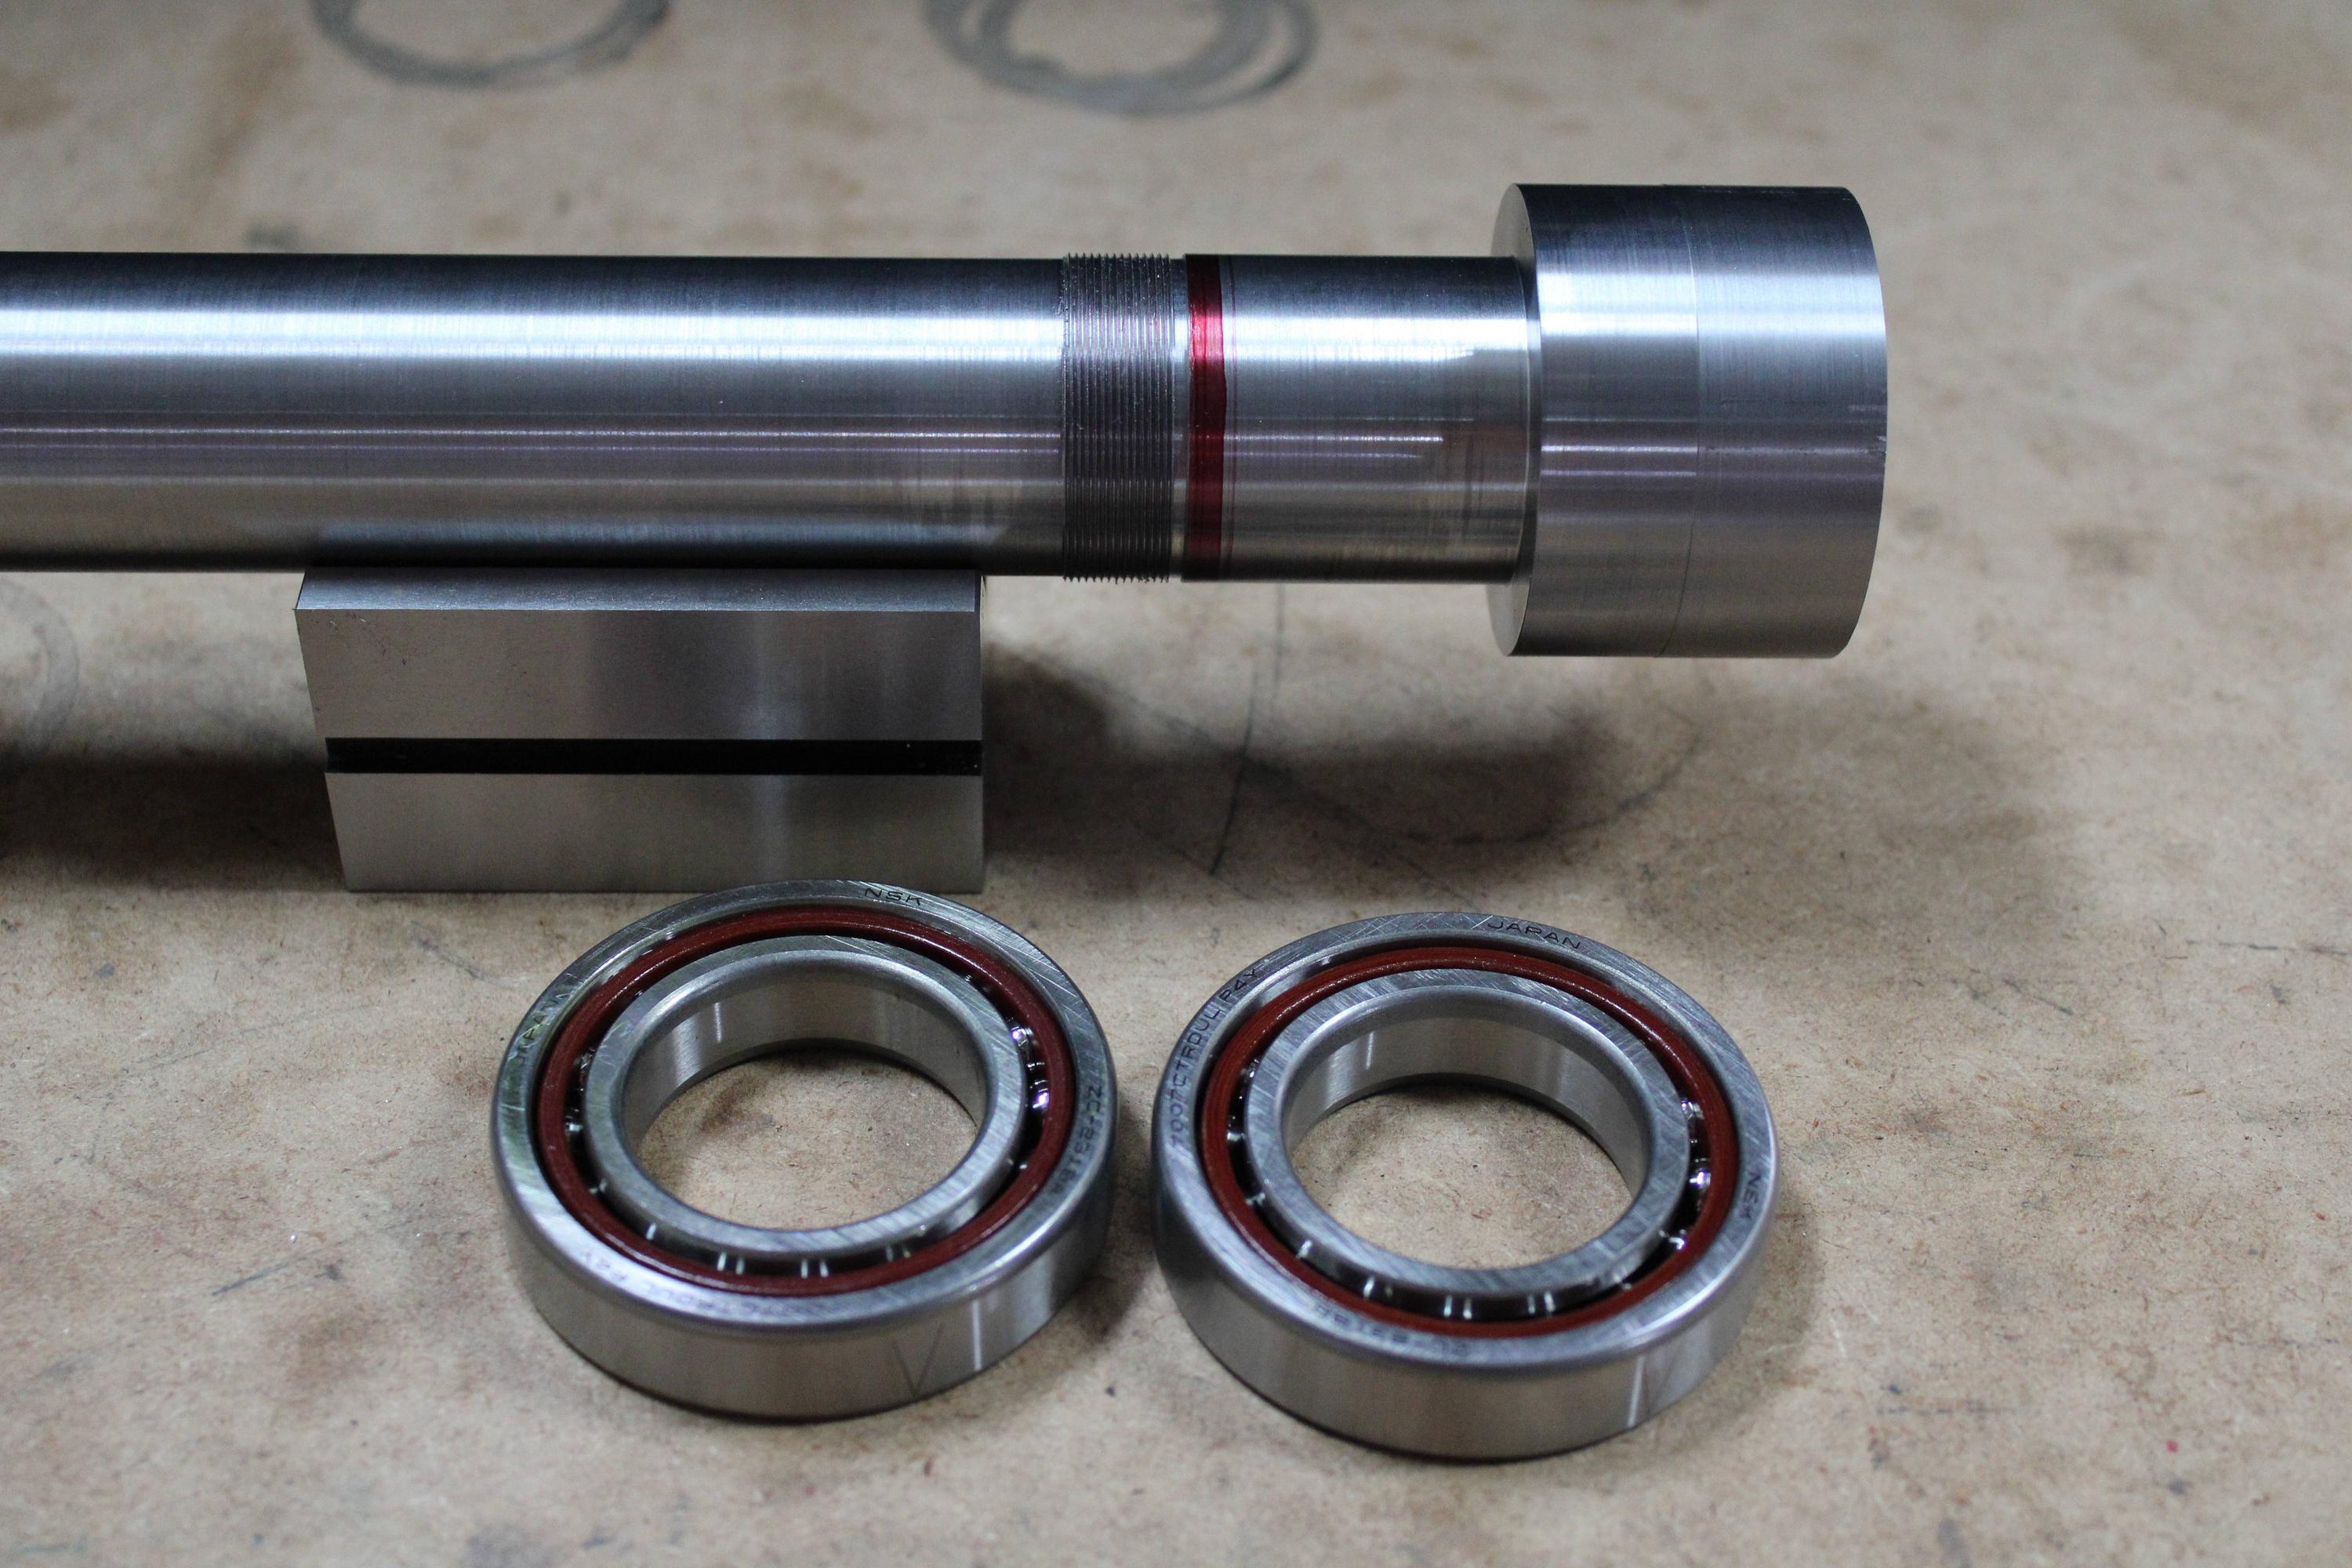
For bearings, I am going with 2 7007C NSK universally matched bearings (7007CTRDUL P4Y) and it will have an additional 2 6906 deep groove ball bearings supporting the top of the shaft. The lower AC bearings are rated for 13,000 RPM with grease. I will be shooting for 10,000 RPM. Since it will have drive dogs, I will also need spindle indexing at the very least for a tool changer. I am thinking of adding some kind of low resolution encoder so that it can handle rigid tapping as well. I will be using the same air cylinder I currently have to actuate the drawbar. It can do about 2500 lbs so it will have more than enough force. I will be using the same kind of top hat assembly to keep the drawbar pressure off of the bearings.

I will be using a ball gripper and belleville stack so it will be ready for an ATC. I am going to add a hardened bearing surface to keep the balls from damaging the inside of the spindle. The bottom bearings will have a labyrinth seal to protect them. I don't plan on adding seals to the top bearings, but the top of the spindle housing and head will be mostly sealed so I don't have many concerns about contamination at the top.

For the pulley system, I am planning to use a taper lock assembly. This way I don't need to worry about keyways or splines.

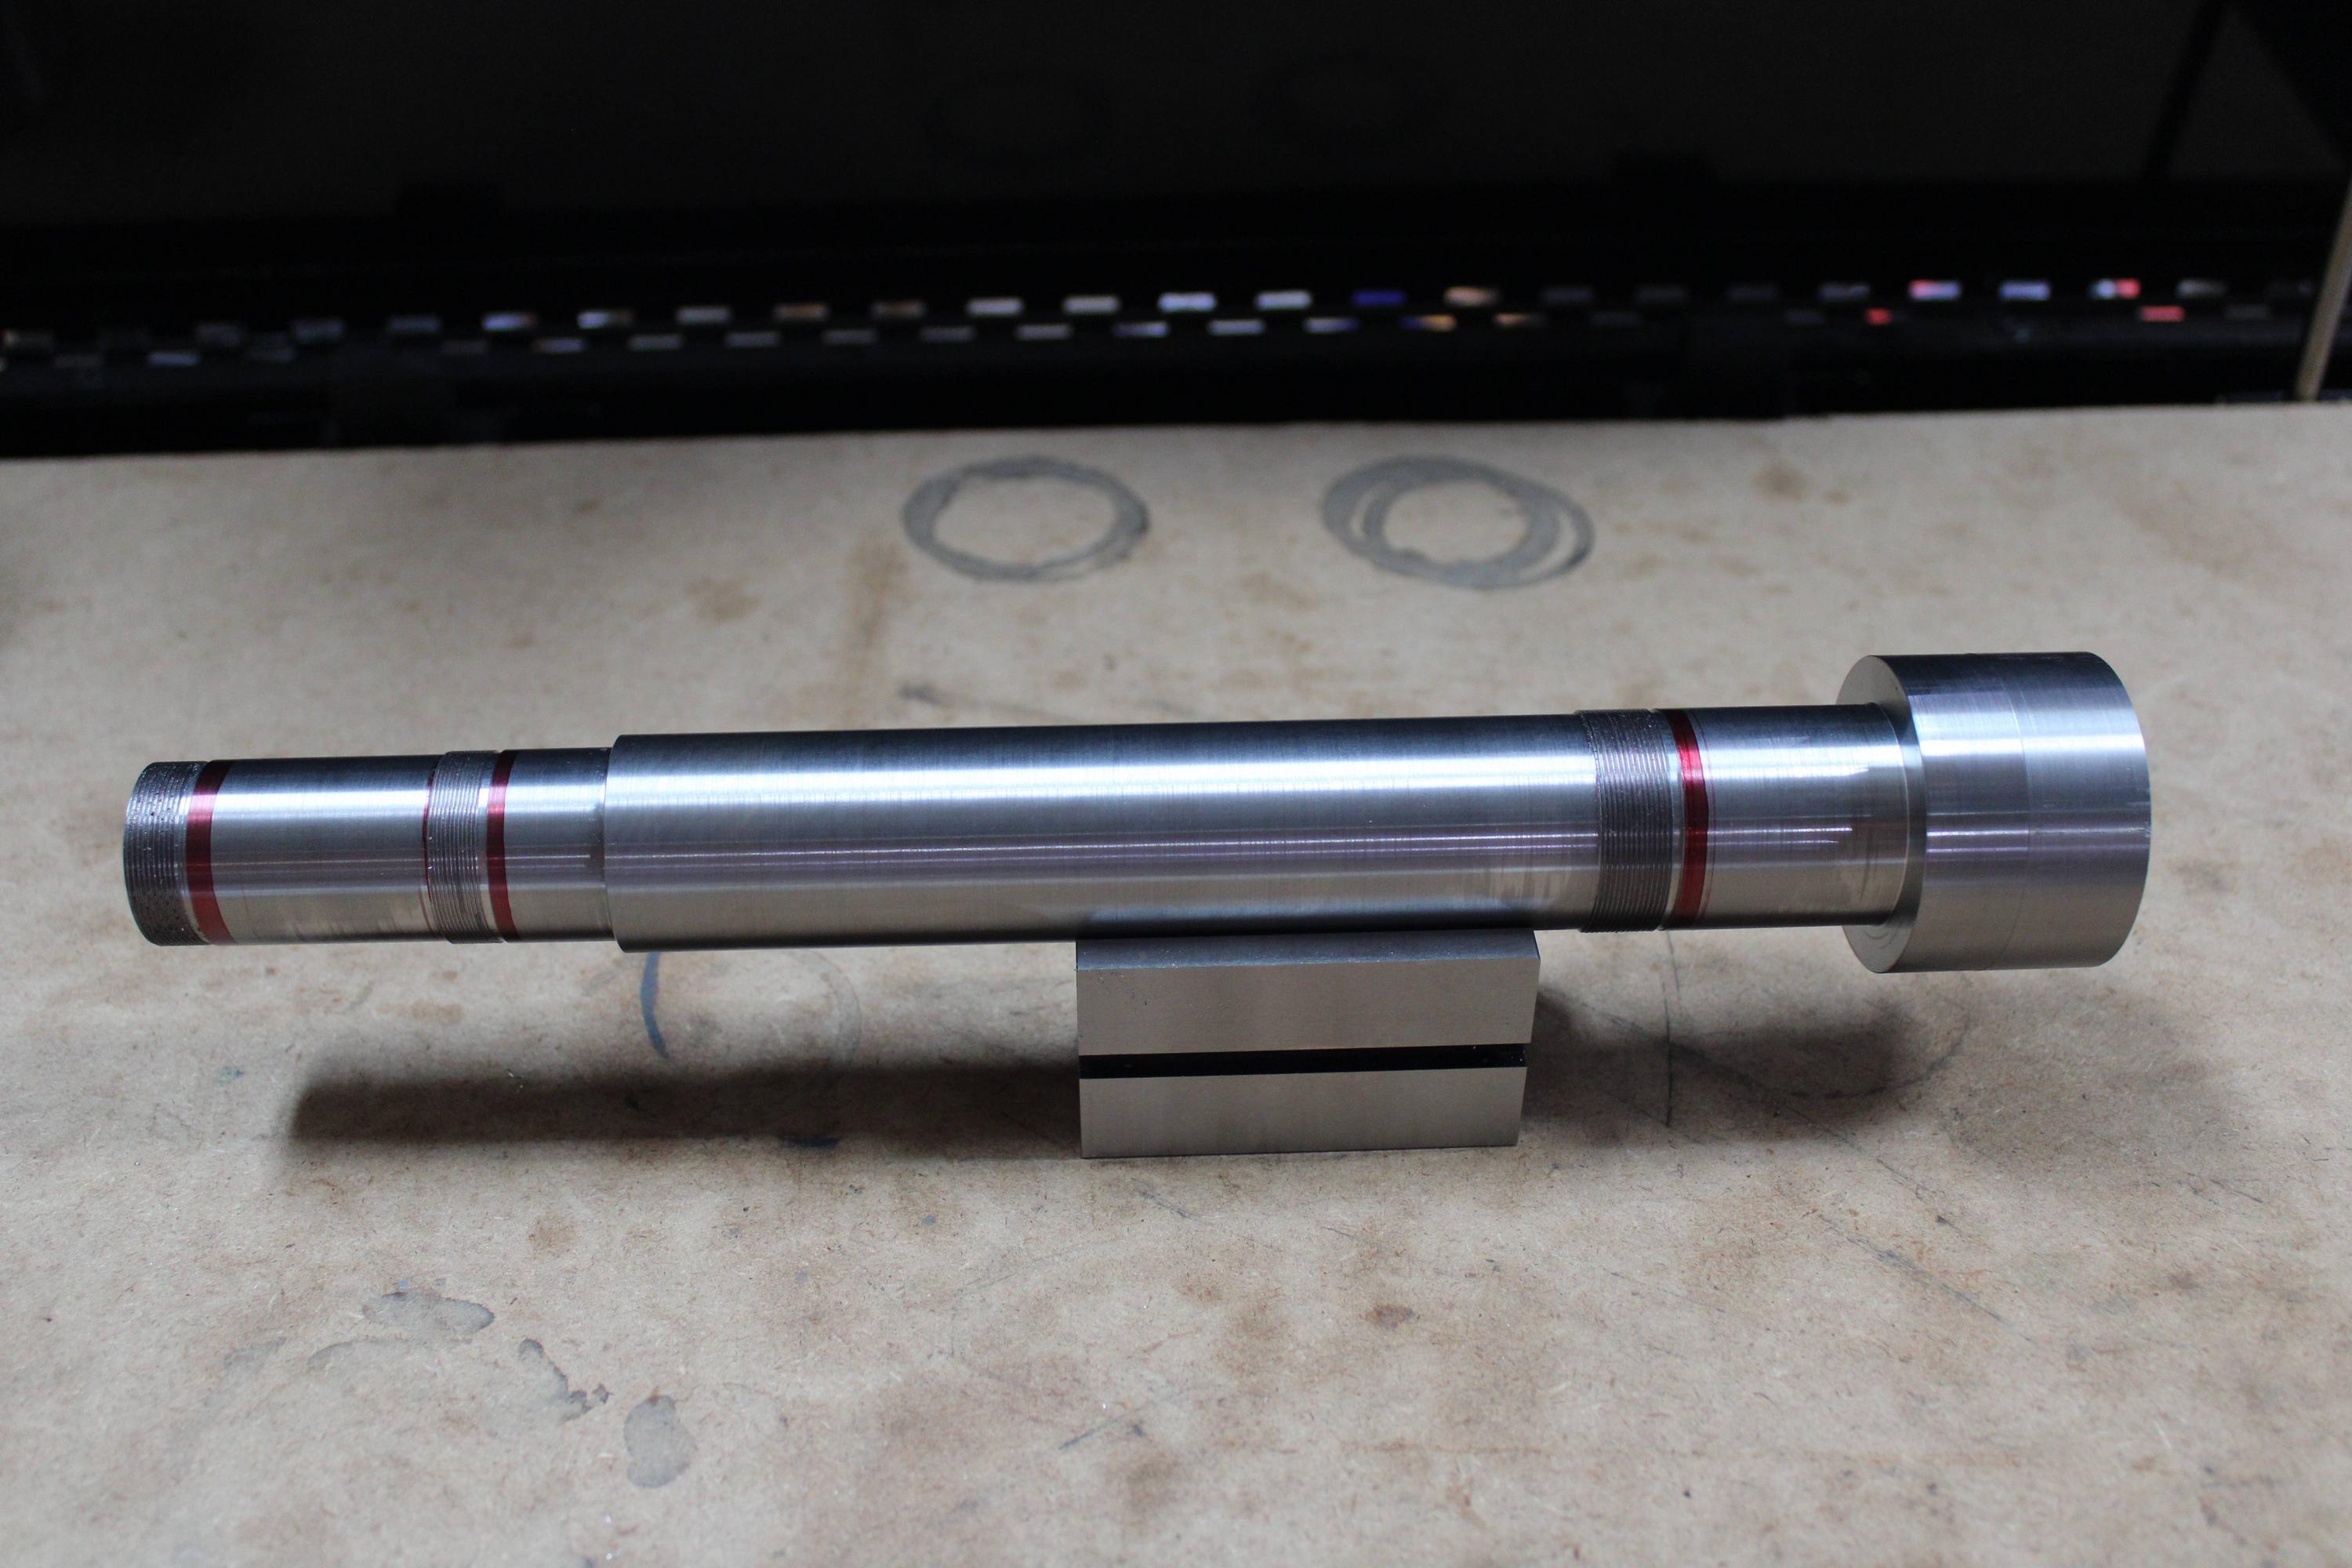
The ODs of the main shaft have already been machined. It has 3 threads, 2 for securing the bearings and one for the top hat. I have drilled about halfway through already but stopped since I didn't have drills that could reach. I will be getting a few longer drills soon to finish that.

Here is the main shaft.
1vELjFt.jpg


Here it is with the NSK bearings.
cBs5sji.jpg


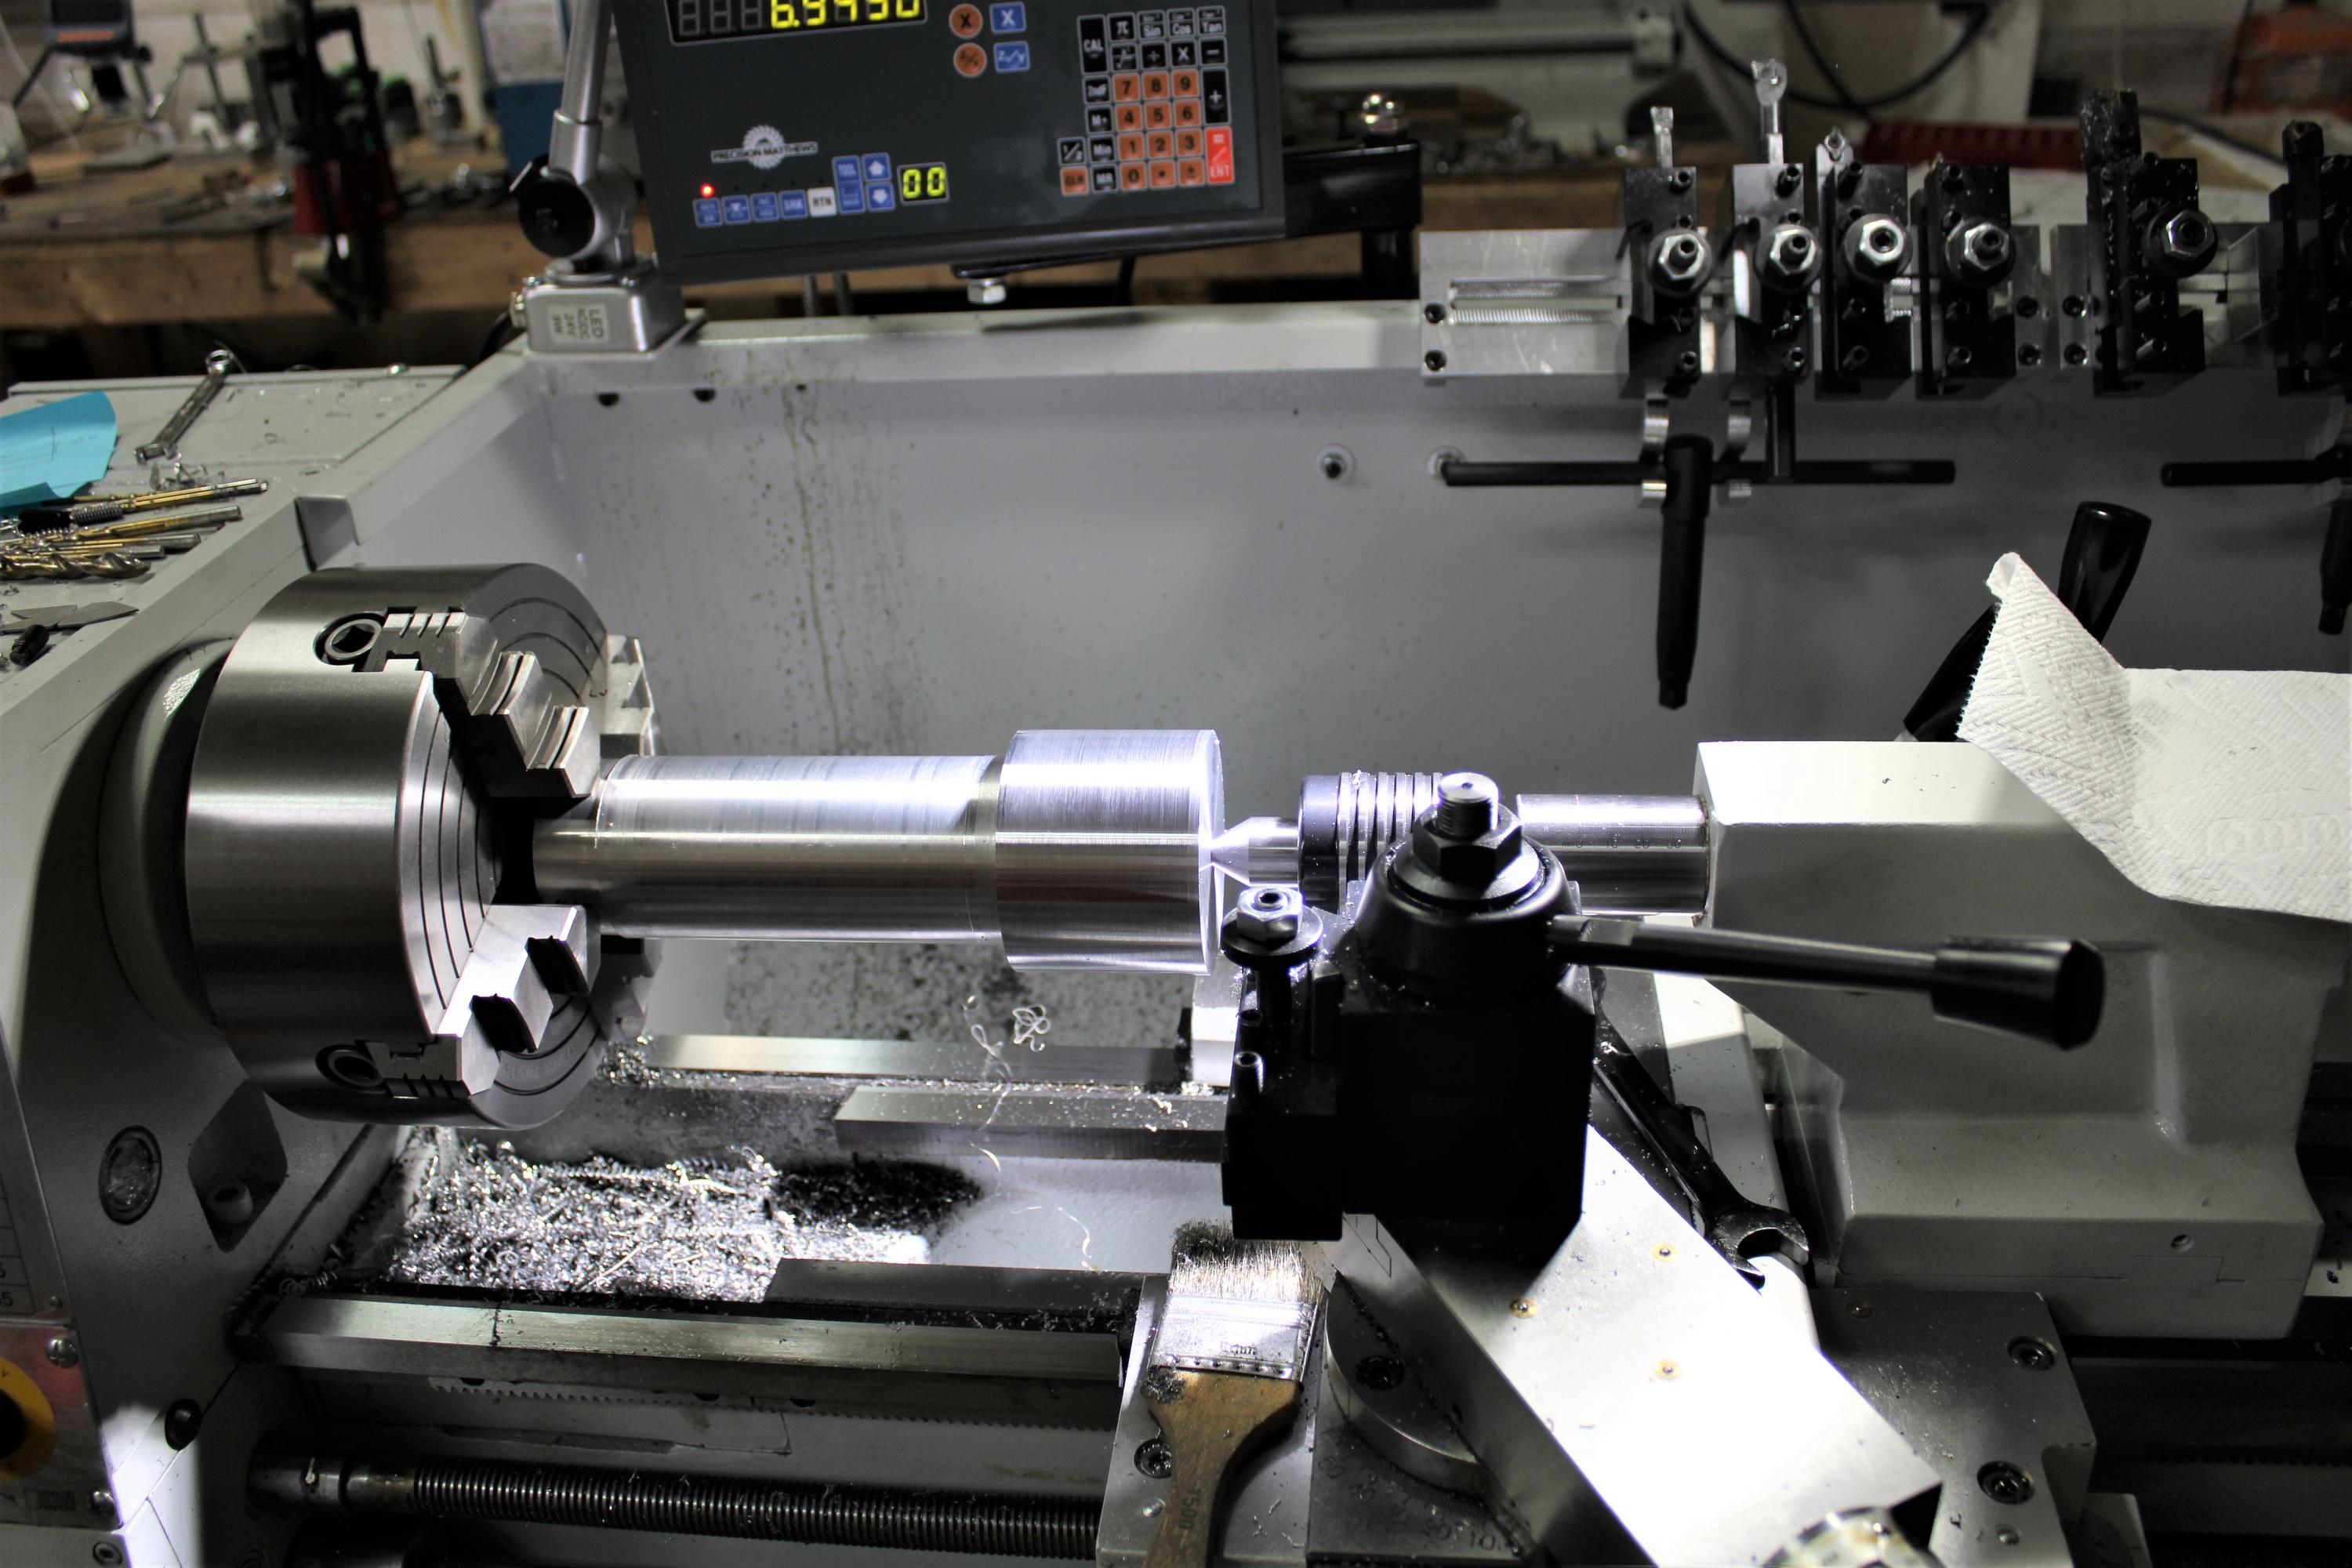
Here is the main spindle housing being roughed in.
OxzZEwL.jpg


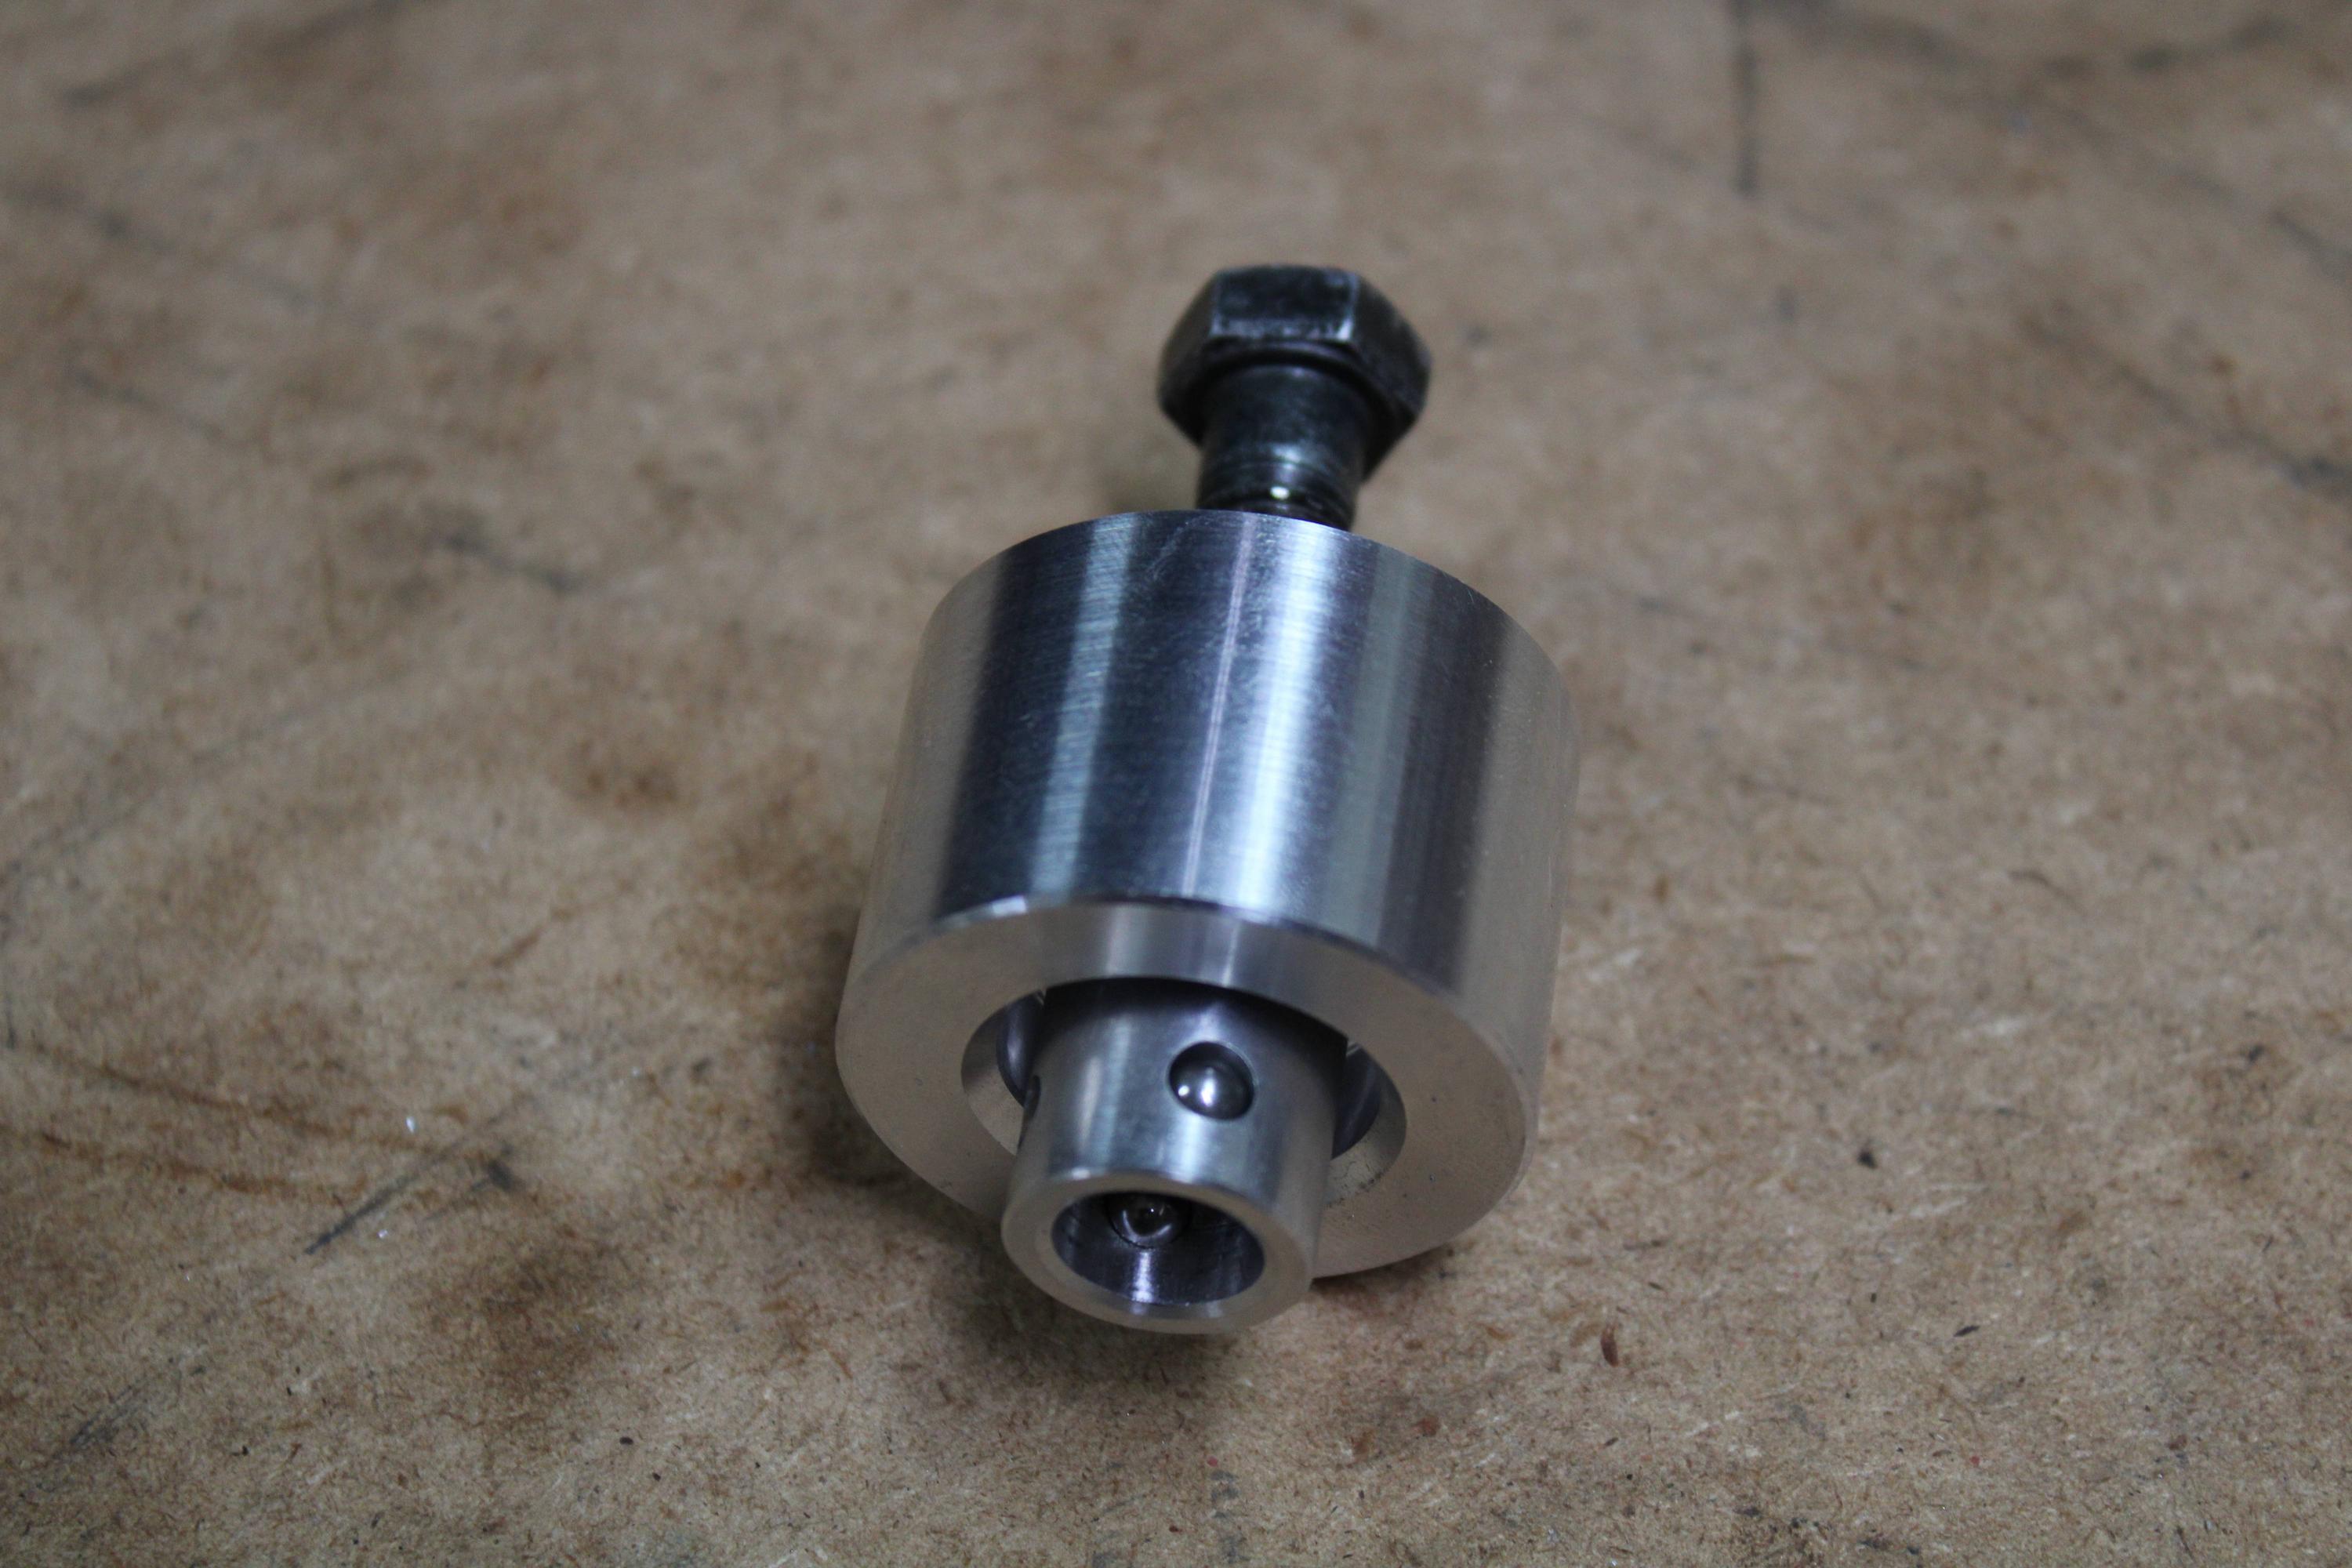
Here is my test for the gripper assembly. The balls are 3/16".
rQkdJWx.jpg


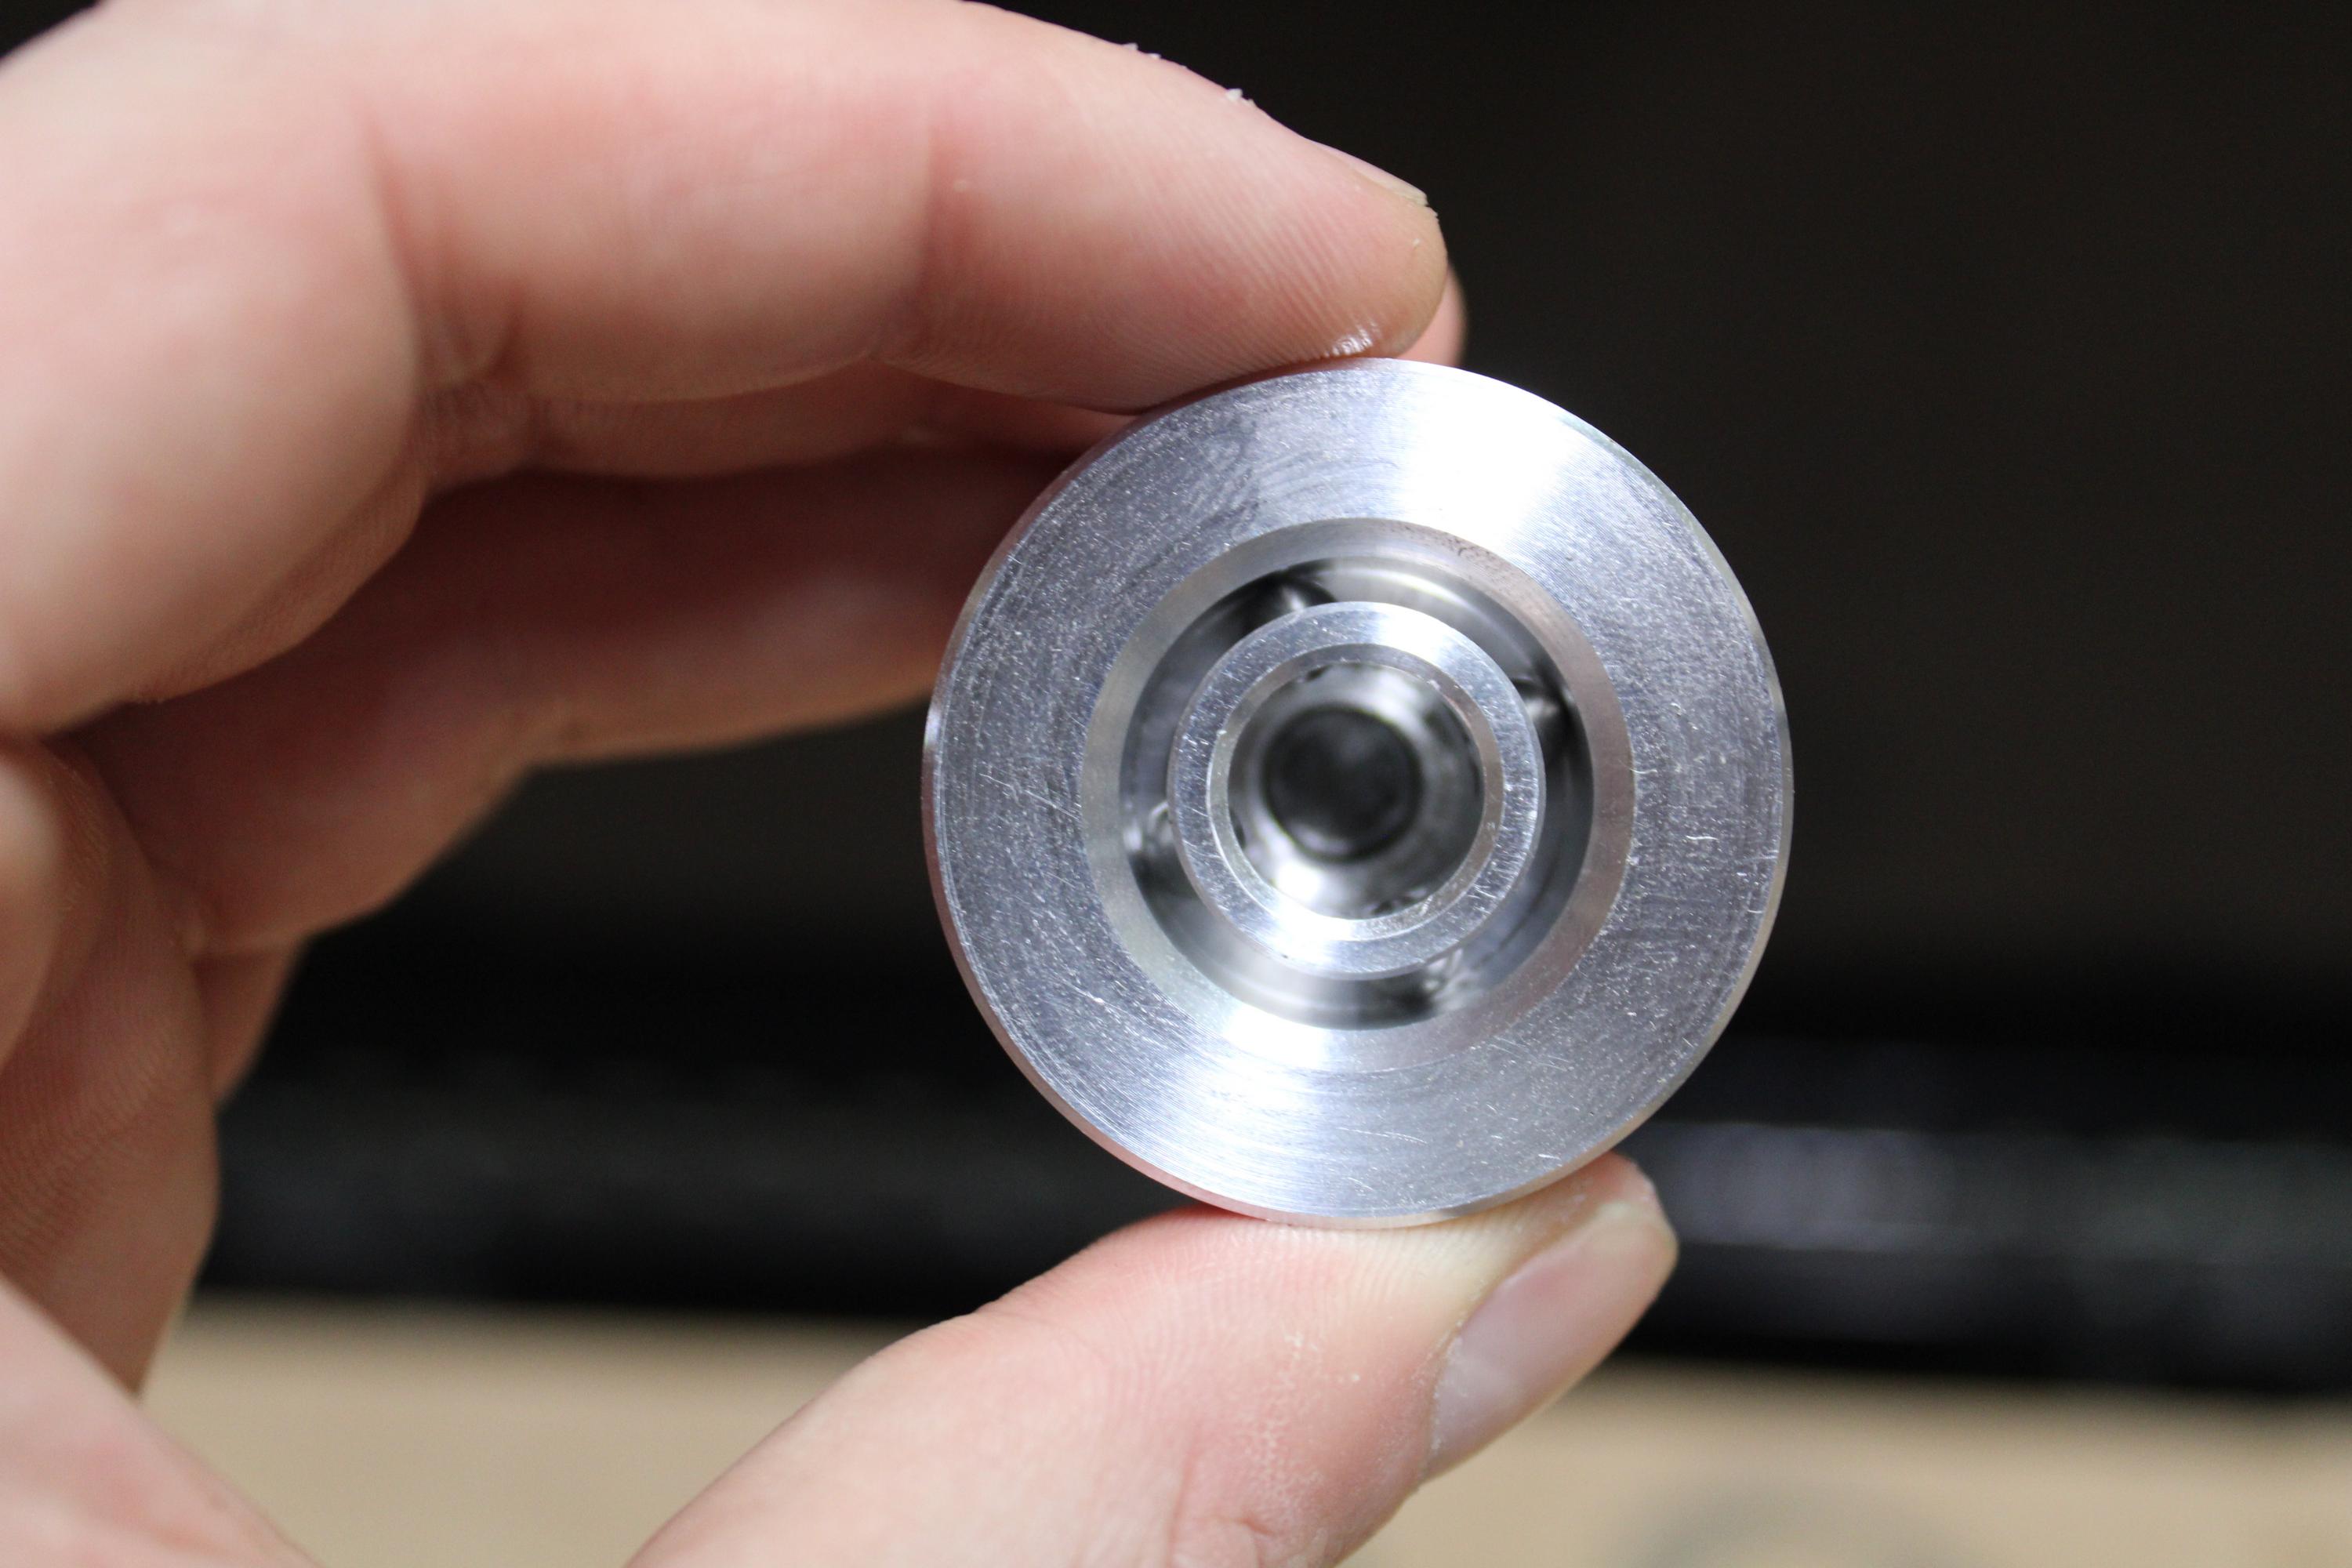
At this position, the gripper allows the pull stud to drop free.
nDD7MEY.jpg


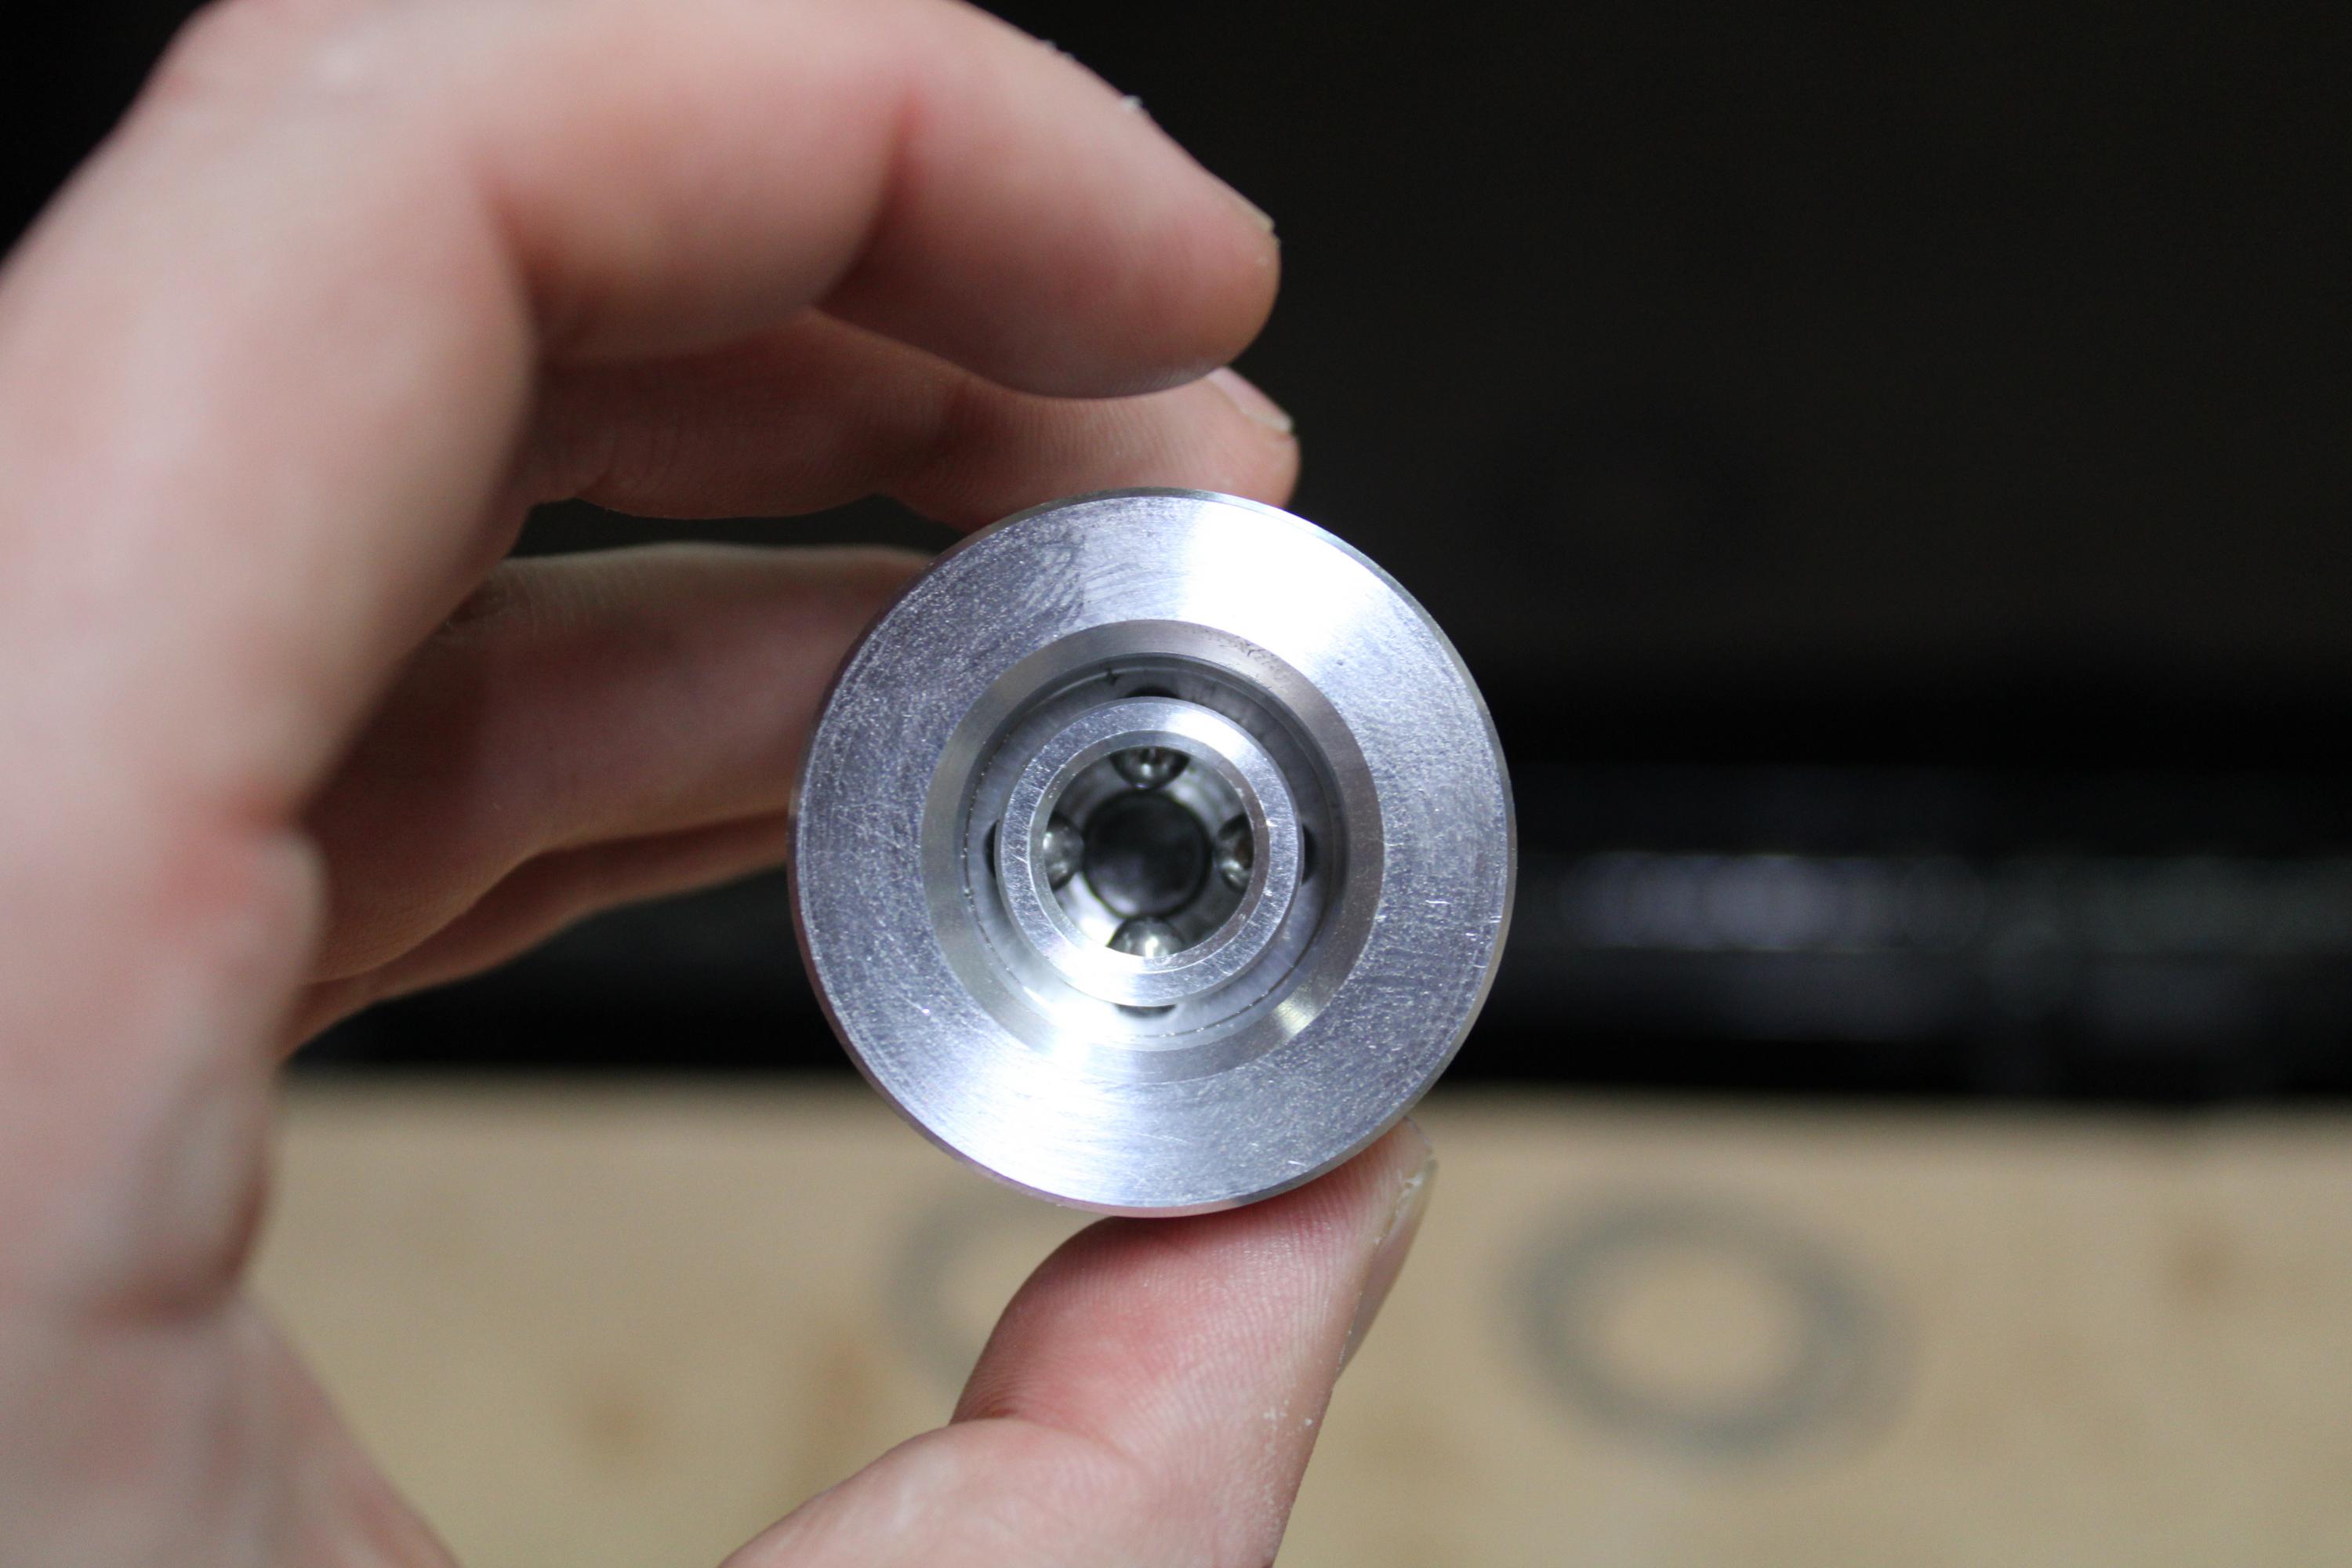
And in this position, the pull stud is retained.
v6pasdS.jpg


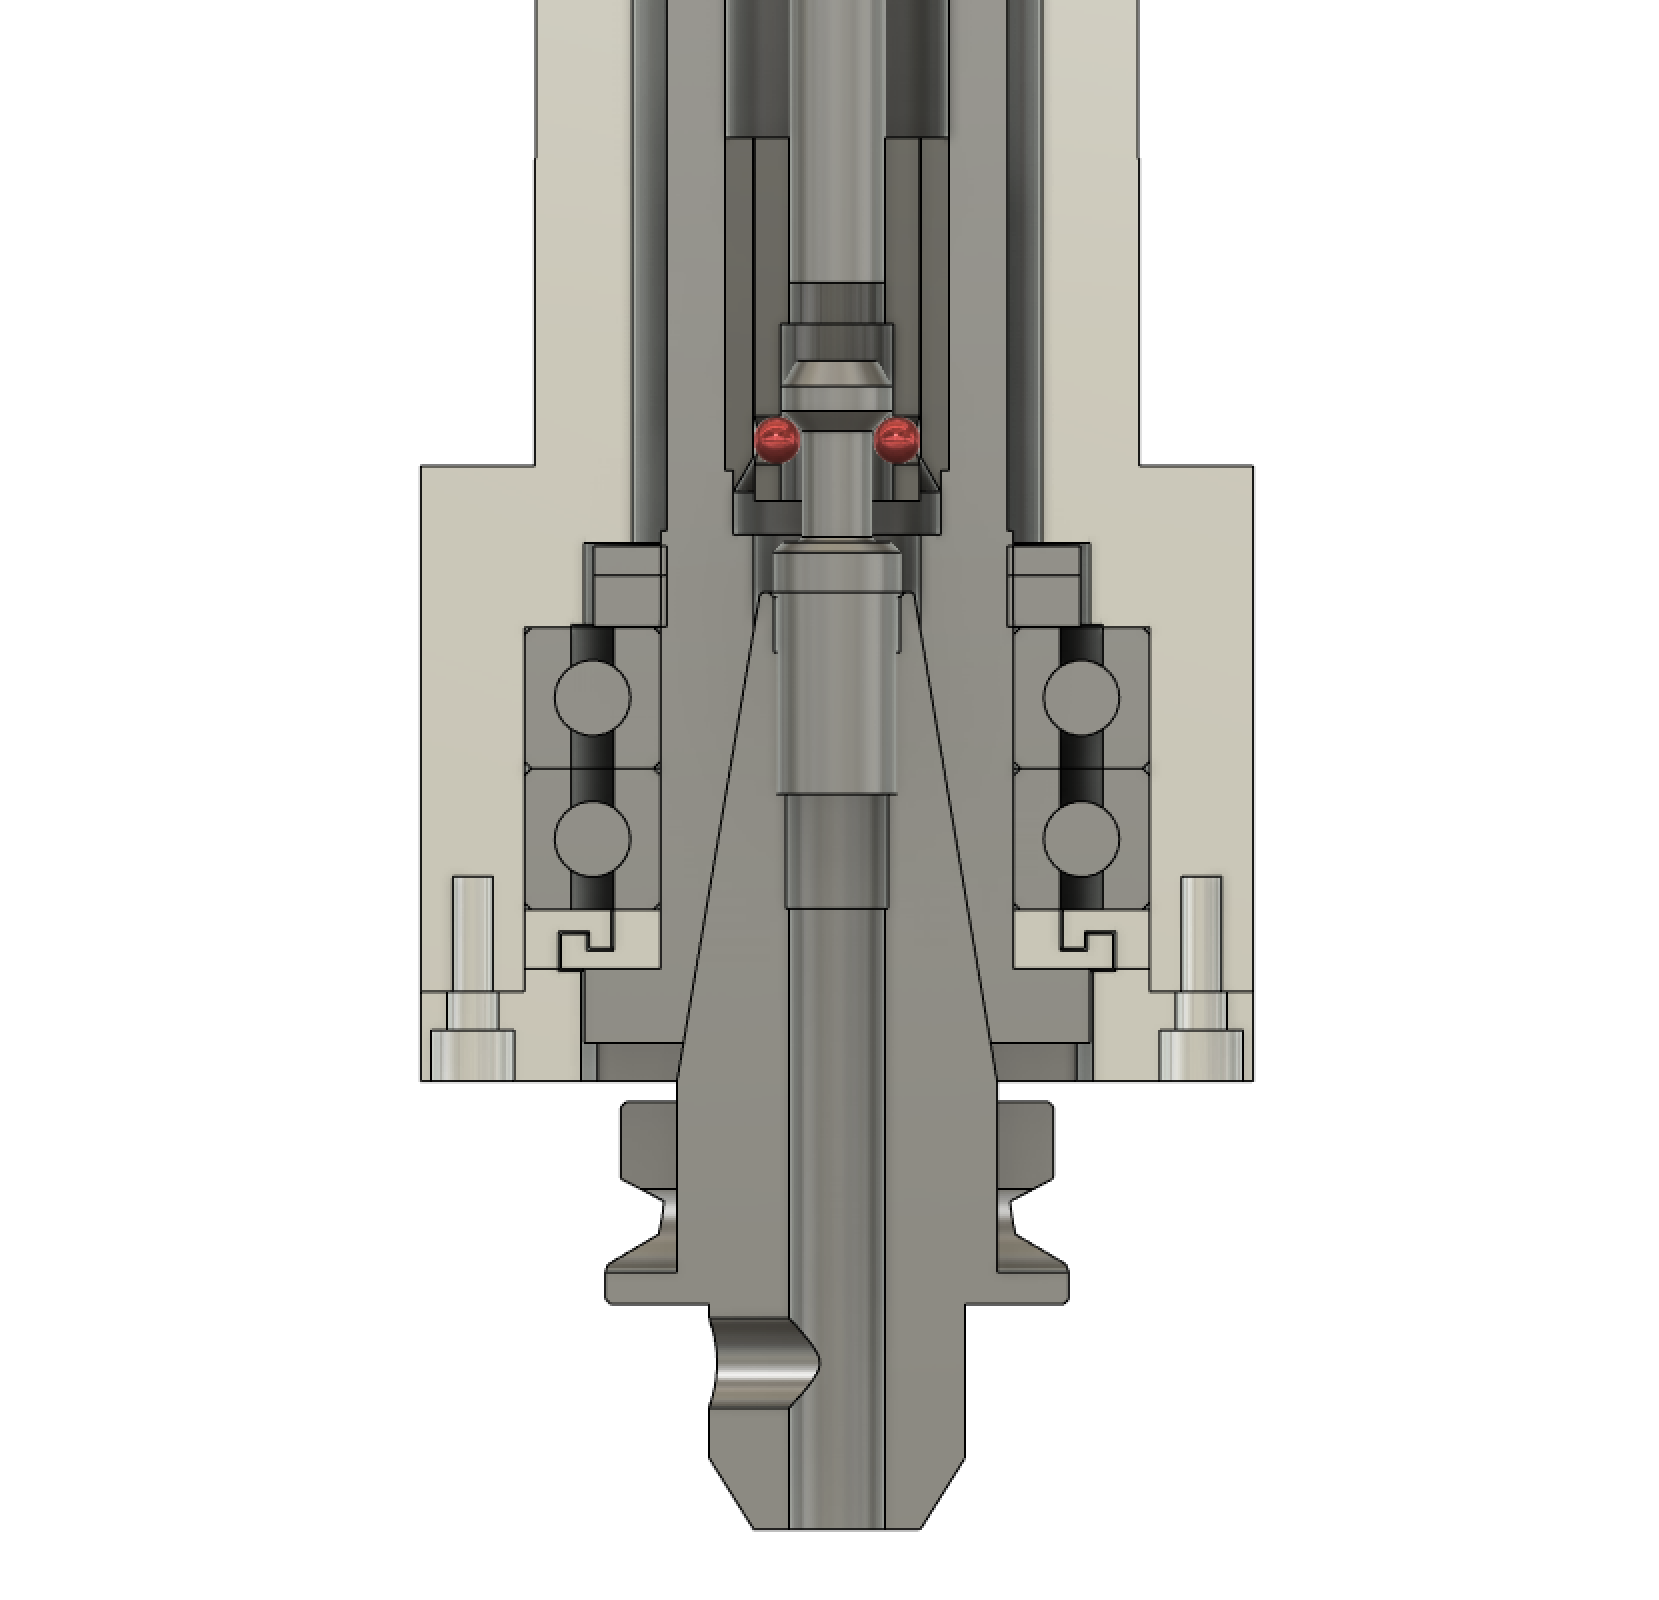
Last, this is the model as I am currently working with it. If anyone has input that could help, that is always welcome!
a2TIAzY.png
 
Back
Top