Old Bridgeport Gets New Lease On LIFE

rb67mustang

Registered
Registered
Joined
Sep 22, 2021
Messages
115
Hi, Everyone, I joined the group a short time ago looking for help to wire a drum switch for my 3 Phase to Single Phase Conversion. I worked as a Machinist for 21 years, and then the unthinkable happened, I was injured on the job and that ended my career. There are two things I miss the most from my Machinist days. I miss many of the guys I worked with, and I miss doing Government Jobs (Personal Jobs).

I have many interests and a few hobbies, but my hobbies revolve around making things that require machine shop equipment. So, since my last day as a Machinist, I've wanted a Bridgeport and a Lathe. I have a small Harbor Freight metalworking lathe I inherited from my Dad. I didn't like it at first because it wasn't big enough, but I've made parts on it that pushed its limits and I gained some respect for it. I still want a bigger lathe, but I finally have an old Bridgeport that needs some work, but it's mine.

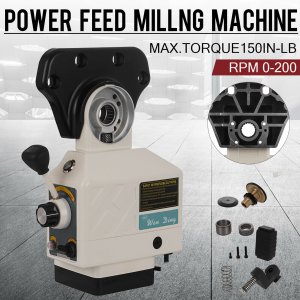
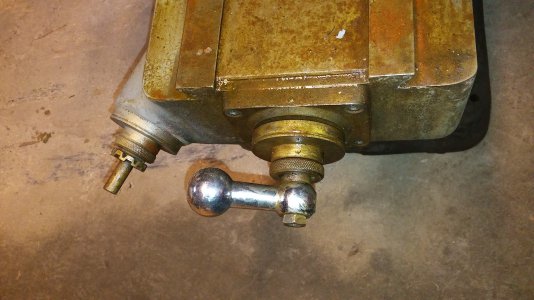
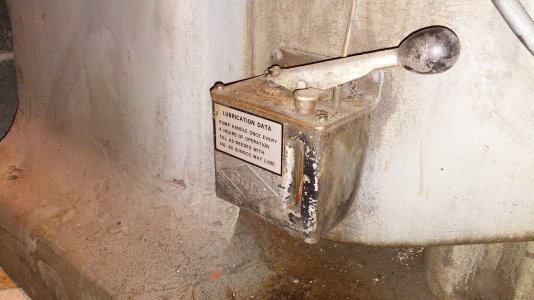
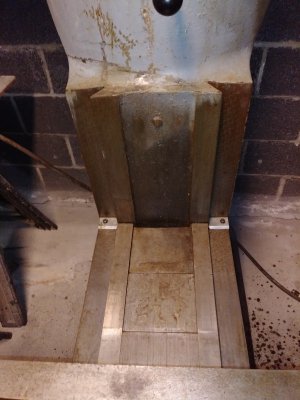
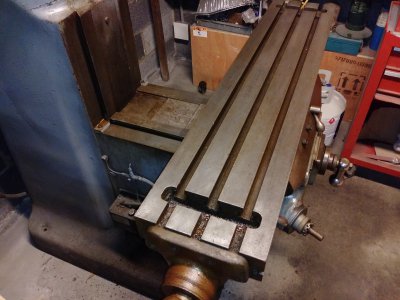
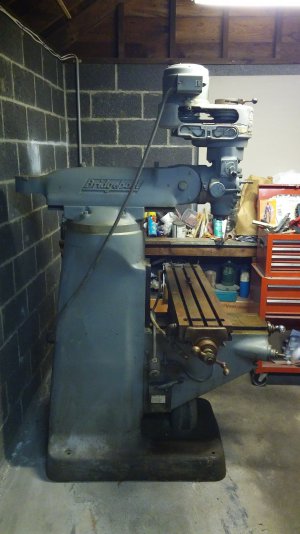
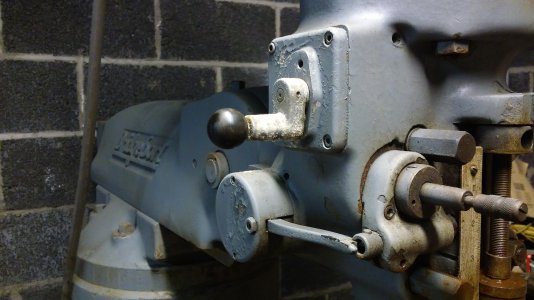
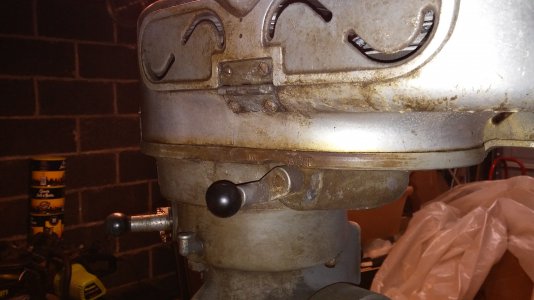
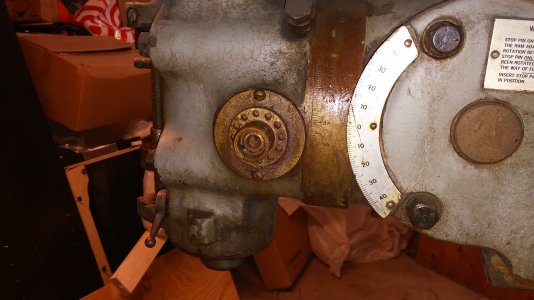
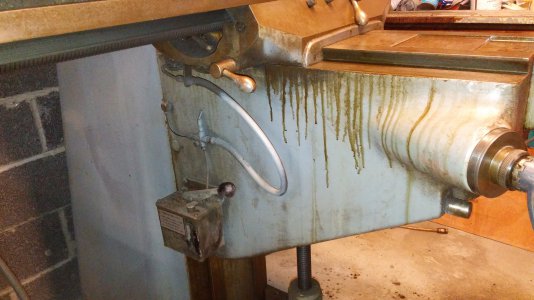
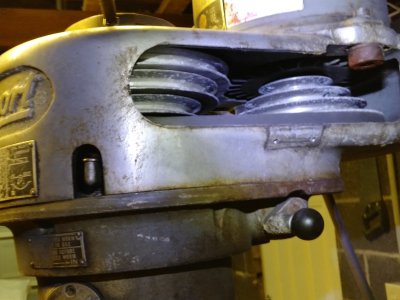
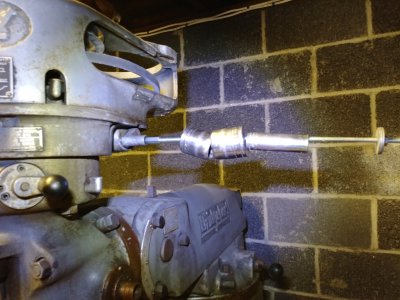
It's a 1hp step-pully J Head and according to the serial number on the saddle, it was made in 1974. The biggest problem the machine has is that the Ram is frozen from being stored in a damp place. It had a power feed on the X-axis and the Y-axis screw has excessive backlash. The Y-axis hand crank is broken and I think that has something to do with the backlash problem. Also, the back gear handle and the quill feed selector were stuck.

I completed the conversion from 3 phase to single phase and I had it running for the first time since I bought it on September 29th. But, I'll start this thread from the beginning. Enough background, here are a few images.
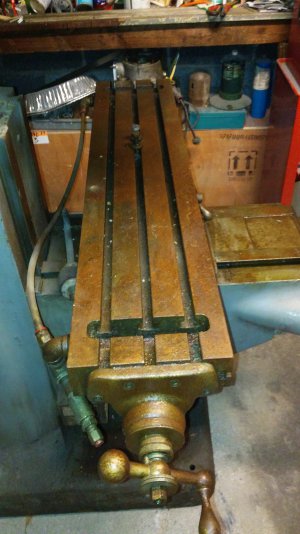
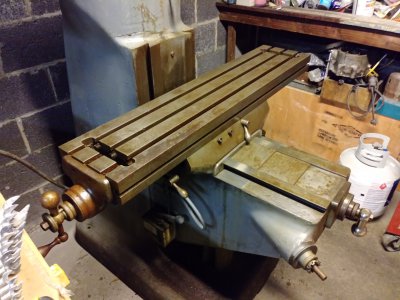
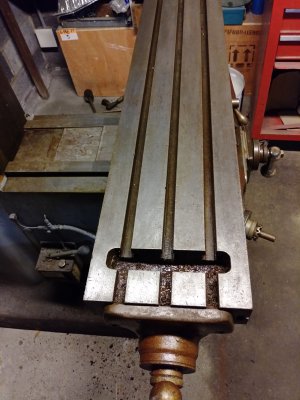
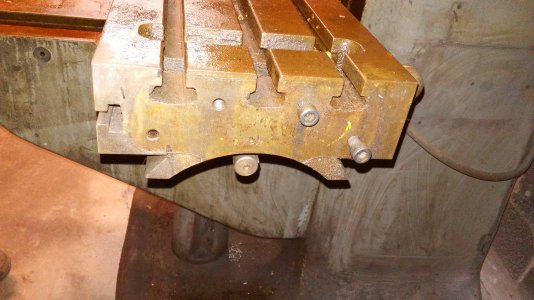
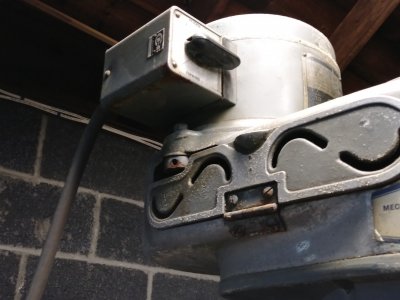
1st photo is the day I bought it. Notice broken and missing items.
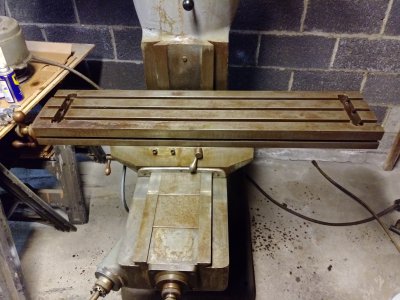
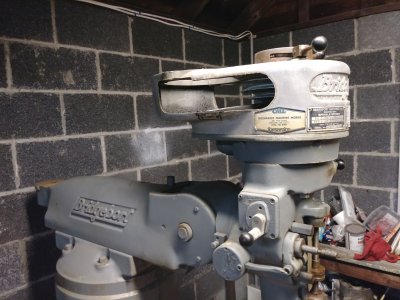
Next photo is the day after in my garage.
20210320_105533.jpg
 

Attachments

  • 20210321_120232.jpg
    20210321_120232.jpg
    1.7 MB · Views: 67
The first thing I did was to assess what was missing and broken, and I took a bunch of photos to show the progress. Then I removed the original motor because I don't have 3 phase power and I didn't want to go the phase converter route. Then I made a slide hammer out of things I had on hand to free up the back gear and the quill feed handles.
1. Broken & missing parts on quill feed.
2. The X screw isn't short, the power feed was removed and probably sold.
3. Stuck in back gear.
4. Missing clock retainer screw and quill handle.
5. Broken Y crank and missing knee crank.
6. Broken knee lock handle.
7 & 8. Broken motor lock handles on both sides.
9. Motor removed.
10. homemade slide hammer.

Here is how I freed up the stuck back gear handle/plunger.
The slide hammer is made up of a 1/4-20 coupling nut, 1/4-20 threaded rod, washers, assorted 1/2 inch drive sockets as the hammer, and one standard 1/4-20 nut. To free up any plunger handles, remove the 1-inch bakelite ball and screw on the coupling nut, and then assemble the slide hammer. Pull the plunger out and push it back in while applying WD-40 until it's working freely, and then reattach the bakelite ball.

That's it for now, more simple repairs to come.
 

Attachments

  • 20210321_120248.jpg
    20210321_120248.jpg
    2.5 MB · Views: 55
  • 20210321_120305.jpg
    20210321_120305.jpg
    2.2 MB · Views: 48
  • 20210321_120330.jpg
    20210321_120330.jpg
    2.1 MB · Views: 41
  • 20210321_120341.jpg
    20210321_120341.jpg
    2.7 MB · Views: 37
  • 20210321_120356.jpg
    20210321_120356.jpg
    3 MB · Views: 35
  • 20210507_152837.jpg
    20210507_152837.jpg
    3 MB · Views: 33
  • 20210407_154040_HDR.jpg
    20210407_154040_HDR.jpg
    3.4 MB · Views: 33
  • 20210407_154305.jpg
    20210407_154305.jpg
    2.7 MB · Views: 33
  • 20210407_155252.jpg
    20210407_155252.jpg
    3.5 MB · Views: 39
  • 20210407_161906.jpg
    20210407_161906.jpg
    3.5 MB · Views: 44
Short video of freeing up the back gear plunger.
BTW, the quill feed selector was freed up easier than the back gear handle. I guess moisture didn't get into the quill feed selector as easily as the back gear handle.
That's it for tonight, more progress later.
 
Last edited:
Welcome ;) Do you have the X-axis lead screw support on the right side? I wished I had the room for a machine like that:adore:
 
Welcome ;) Do you have the X-axis lead screw support on the right side? I wished I had the room for a machine like that:adore:
Thanks, Steve for the welcome!!! My Bridgeport at one time had a power feed on the table. The original power feed was coupled onto the x-axis lead screw and that's why it looks short. I bought one of the Cheap Chinese power feed units from E-bay, and I will have to make a shaft for it to connect to the x-axis lead screw. I didn't take a photo of the power feed I bought, but here's a link to E-bay to show you what I got. https://www.ebay.com/itm/154360416870

The attached image is from the E-bay listing.
 

Attachments

  • Chinese Power Feed.jpg
    Chinese Power Feed.jpg
    352.6 KB · Views: 39
After my slide hammer show, I decided it was time to clean the nasty looking table (I still need to clean the T slots). I used WD-40 and a Scotch Brite pad. I also lightly rubbed the ways to clean them up. Oops, I need to go out photos to follow.
 
Thanks, Steve for the welcome!!! My Bridgeport at one time had a power feed on the table. The original power feed was coupled onto the x-axis lead screw and that's why it looks short. I bought one of the Cheap Chinese power feed units from E-bay, and I will have to make a shaft for it to connect to the x-axis lead screw. I didn't take a photo of the power feed I bought, but here's a link to E-bay to show you what I got. https://www.ebay.com/itm/154360416870

The attached image is from the E-bay listing.

That's the same unit I put on my Acra mill this past fall works great.................
 
That's the same unit I put on my Acra mill this past fall works great.................
Thanks, Norseman, it looked like a good unit and after seeing in in person when it arrived, I think its worth the money I paid for it. Before buying it, as I searched on E-bay, I found an old Bridgeport power feed like what my machine should have had for $600 dollars. So a guy could throw this unit away when it dies and buy three more of them and pay less than the old original unit I found.

When I get home I'll add more to my thread.
 
OK, so as I cleaned the table & ways, I noticed that there was way oil in the Bijur Oiler, so I gave it a few pumps as I moved the table, cross slide and knee the full length of their travel. The machine still needs a major cleaning.

I ordered a clamp set and a set of V Blocks I'll be using on the first job. Little by little I'm getting what I need. My Bridgeport's main purpose is to make parts for my other Hobbies, not to start a business. LoL!

Note: I mentioned cleaning; it was more like an initial cleaning so I didn't get really dirty as I'm working on it.
Image Captions:
1. Table as purchased
2. Saddle as purchased
3. Bijur as purchased
4 through 8, after initial cleaning
 

Attachments

  • 20210321_120556.jpg
    20210321_120556.jpg
    2 MB · Views: 35
  • 20210321_120356.jpg
    20210321_120356.jpg
    3 MB · Views: 34
  • 20211003_184352.jpg
    20211003_184352.jpg
    3.1 MB · Views: 34
  • 20210407_191905.jpg
    20210407_191905.jpg
    3.3 MB · Views: 34
  • 20210407_191933.jpg
    20210407_191933.jpg
    4 MB · Views: 35
  • 20210407_192255.jpg
    20210407_192255.jpg
    4.5 MB · Views: 35
  • 20210407_194333.jpg
    20210407_194333.jpg
    4.9 MB · Views: 33
  • 20210407_194350.jpg
    20210407_194350.jpg
    3.6 MB · Views: 37
This is an interesting video that I made before the initial clean up. I'm moving the quill up and down for the first time. The quill handle walked away long before I got the machine, and I was excited that it moved as easily as it did after sitting for an unknown amount of time. Sorry, the video is jumpy because I'm holding my cell phone.
 
Back
Top