- Joined
- Sep 22, 2021
- Messages
- 115
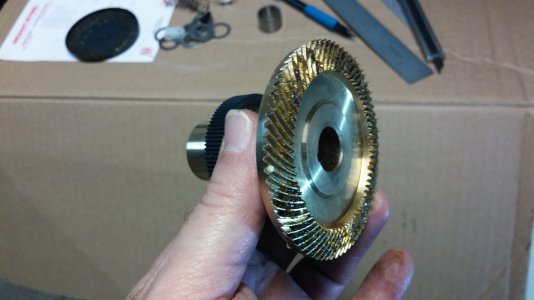
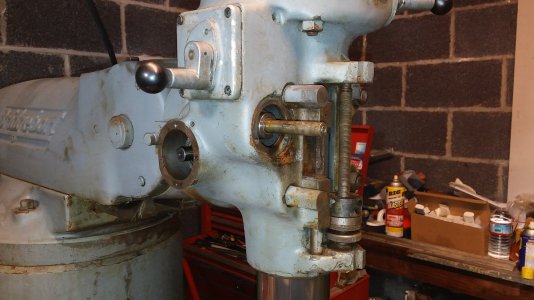
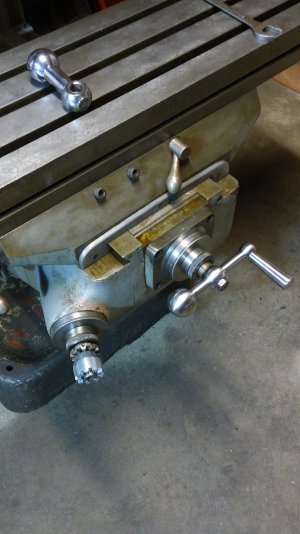
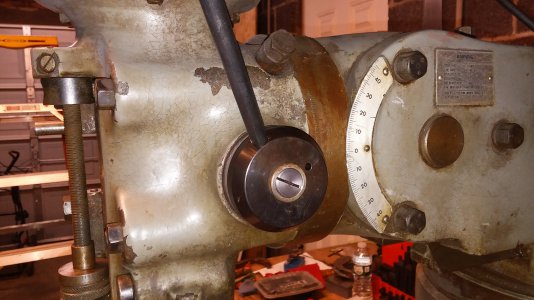
Thanks, tweinke, for the like and for taking the time to check out my project.Way cover opened to clean chips off of Knee Bevel Gears.
Chips removed from Saddle to the trash where they belong.

Thanks, tweinke, for the like and for taking the time to check out my project.Way cover opened to clean chips off of Knee Bevel Gears.
Chips removed from Saddle to the trash where they belong.
Thank,s again my friend!I've enjoyed watching your progress, keep it coming!
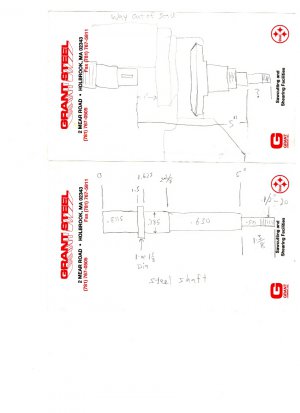
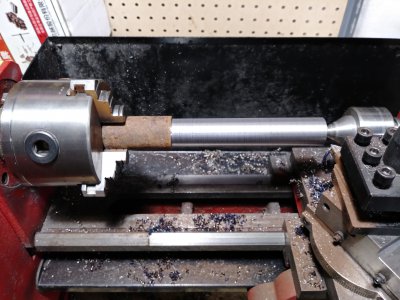
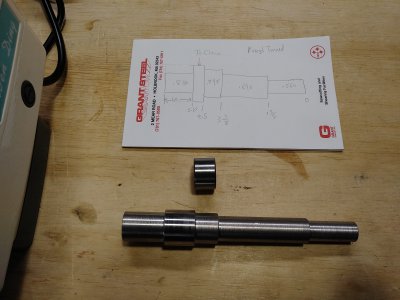
Thanks again, Steve, for following my thread. I should have the shaft finished turned this weekend. I'll be cutting the first thread on the Harbor Freight Lathe, but I'll do a test part first to make sure I use the correct gear for the thread. Yeah, no quick change gear box on the Hobby Lathe.I hope everyone's having a great weekend. That's it for now, more progress to follow.