POTD- PROJECT OF THE DAY: What Did You Make In Your Shop Today?

My genuine Indicol 178 has plastic washers and wave washers at each joint.
b0453dc9757fdeb6fec3c724de9b9f8e.jpg
Same here. I have a love / hate relation with the indicol. Mostly love, but it can be a pain to get it just right. I also have multiple arms with mine, a short set, and a long set.
 
I like your choice of what looks like brass washers at each of the arms. I have a genuine Indicol and a cheap import. The import has plastic washers which may be a factor? I tighten the crap out of the knurled nuts, bring the DTI up to a vise jaw and watch the number move. One of these days I'll try replacing the soft washers with something harder.

Bruce

Yeah, I made brass washers since I wanted something harder than plastic but not too hard. They seem to work good so far. I made them with 1/2" OD to match the arms width with a 1/4" ID to match the screws.

Overall, I'm very pleased how it works so far. The official Indicol isn't sized for my PM25 mill. I have a Noga holder and an Edge Tech holder, but this one seems be the best. The Edge Tech clamps on the spindle also, but seems to be not rigid enough. The Noga needs to be inserted into a 8mm collet.
 
Last edited:
Made a new nut to hold the wire on the back of the cigarette lighter in my 36 Chrysler. The original tiny nut was hard to reach and though threaded for 8X32, it was 1/4” wrench size. The new nut was made from 7/16” aluminum hex stock. Drill and tapped, parted off a 1/2” section and cleaned it up. Installed in the dash and call it done.
 
Made a new nut to hold the wire on the back of the cigarette lighter in my 36 Chrysler. The original tiny nut was hard to reach and though threaded for 8X32, it was 1/4” wrench size. The new nut was made from 7/16” aluminum hex stock. Drill and tapped, parted off a 1/2” section and cleaned it up. Installed in the dash and call it done.

I suggest you coat all faying surfaces of the nut with dielectric grease to minimize the effects of galvanic corrosion.
 
Lately it seems all i'm doing it seems i'm just changing brakes. My brother's astra started to sound like a train so it got new discs and pads, also all contact surfaces got a good cleaning. The old disc and pads was steel on steel and deeply grooved much thinner than the minimum thickness to get resurfaced. With my brother's driving even the new ones won't last more then a year.
IMG_20220317_215011.jpgIMG_20220317_215004.jpgIMG_20220317_223858.jpgIMG_20220317_223902.jpg
 
I’m in the process of replacing the engine on a wood chipper I bought late fall . My neighbor loaned me his home built engine picker . With out a swivel it’s hard to maneuver the engine . I struggled getting the old engine out and the new one on the engine stand . I made a swivel for the hook so it should be easier to line up when installing . Ill let him decide if he wants to use it , plenty strong for my 4 cylinder . AD66CAFE-A981-4385-AD54-7BDCFD84271C.jpeg5DB952A8-B2DF-431C-A9C7-87E1C2B6AEE4.jpegAD66CAFE-A981-4385-AD54-7BDCFD84271C.jpeg
 
Customer needed the spare tire holder on his dump trailer raised up about 3 inches so he could open and latch the lid to the dump trailer controls. I used 3/8" Plate for the job, and used my Jet Mill Drill with a Newall DP700 DRO to Drill the Bolt Hole Circle for the wheel to mount. I cut the plate to shape with an Oxy Acetylene cutting torch and then used my Lincoln 180C Welder to mount the new plate. Good cutting torch practice and good vertical welding practice for me since I don't do those tasks very often.

I am not a professional welder, I do a lot more machining than welding, but this is a Hobby forum so maybe I do some things here that will give you some new ideas. And we all learn together so if you have any tips, they are always welcome.

 
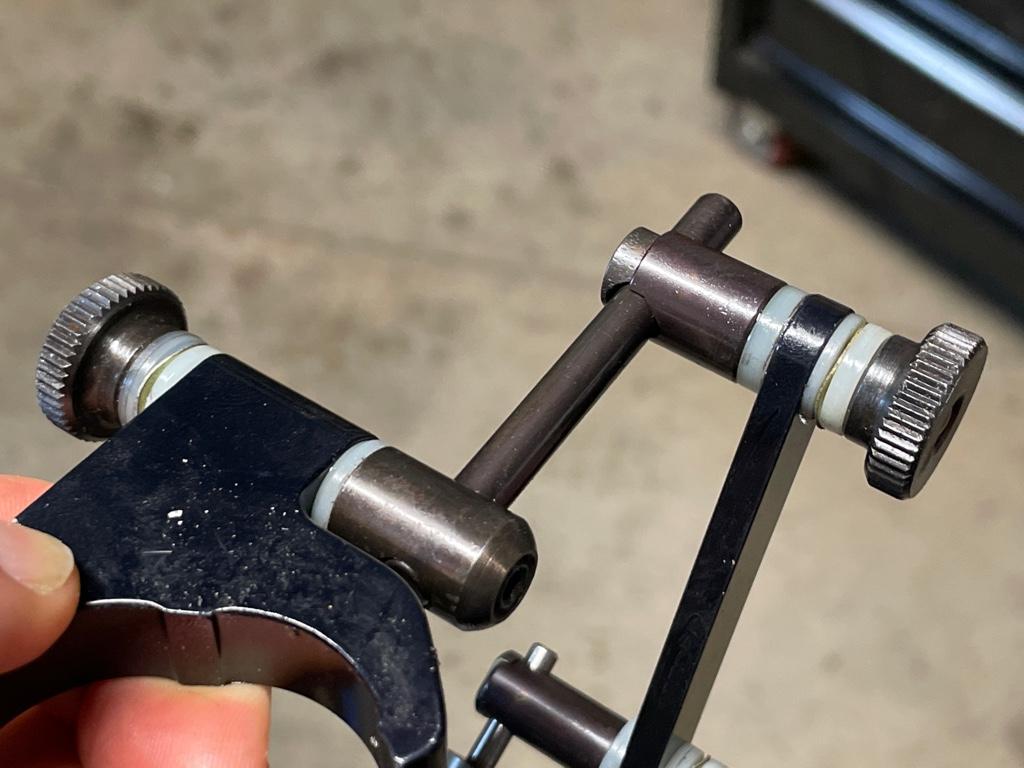
Finished it today, but spent a good part of the week building a boring/facing head from castings and plans supplied by MLATOOLBOX.
Put in a plug for Andrew, some of the nicest castings I've ever worked with. Absolutely no porosity or hard spots, a joy to machine.
Had to spend some time grinding a cutter for the feed nut, 1/2 -40 left hand thread 1 inch deep.
IMG_4575.jpeg

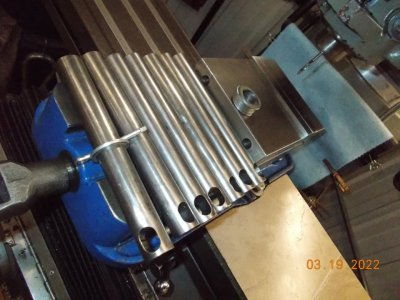
Lots of parts, tried just setting the parts on the oven rack rather than hanging them to spray the powder coat. Could not get an even coat near the grate with or without the electric charge on ? Lesson learned, hang them.

IMG_4573.jpeg

Now I need a project than needs facing or an o-ring groove. lol

IMG_4576.jpeg

Interesting note, I made the feed knob out of mystery metal from the bin, machined nice. I usually chemically blue my dials then polish them off leaving the graduations black.What ever this was wouldn't react with the blueing, its magnetic, possibly ferritic stainless ?????

Thanks for looking

Greg
 
Finished up a batch of lift pins for the IH Cub tillers.
Just sold the last one I had in stock this morning so figured it was time. Les is going to weld the stop washers on yet and I'll get 'em painted tomorrow.

Carolyn came through once again with a cover for the recently acquired rotary table to match the ones she made earlier this winter.
 

Attachments

  • DSCN9224.JPG
    DSCN9224.JPG
    125.7 KB · Views: 37
  • DSCN9225.JPG
    DSCN9225.JPG
    88.1 KB · Views: 34
Back
Top