POTD- PROJECT OF THE DAY: What Did You Make In Your Shop Today?

SPC = Static Phase Converter???
Yes. After the VFD died I just wanted something "KISS" because the 10EE and the need for the RPC was on the horizon. The 10EE, and I suspect most non-insulated bearing motors, don't play nice with a VFD. Eddy currents tend to kill the bearings. Pretty sure that's what happened to my 1950's GE 3ph 1hp motor on the Logan when I got it. :( Also the Logan has a 3ph 1 hp over-kill motor because it was available cheap.

Even with the RPC the RPM is what it is, and I figured lot's of people had done lots of decent work with the available RPM. And I simply don't hog out enough material on my Logan 10" to worry bout the HP loss. I have more trouble with oil leaking out of the pulley cone and slicking up the synthetic belt than the motor stalling. :rolleyes:

Added benefit is it's quiet. If I really need more power I can just plug it into the RPC. The 10EE has a very primitive paddle fan that reminds users of an air raid alarm. So the added SPC noise isn't really noticed.

The 10EE is a work in progress. Been an education.
 
The 10EE, and I suspect most non-insulated bearing motors, don't play nice with a VFD.
Ahhhh, OK. I've heard it's the high frequency dv/dt voltage transitions capacitively coupling into motor frame via the bearings.

I put a couple VFD's on an old surface grinder I have here. After having put new (very expensive, they were shot when I got the grinder) spindle bearings in it, I put a carbon brush contact on the spindle shaft directly grounding the spindle to the frame of the motor. No path for voltage through the bearings if all the races are at the same potential. At least that's the theory.
 
No path for voltage through the bearings if all the races are at the same potential. At least that's the theory.
Exactly. If you know who Robin Renzetti is, many consider him a master machinist. Very humble guy. He posts more to his Instagram now, but a recent post was doing just what you did on a new motor. Sorry I looked hard but couldn't find it. Just anther one of his numerous tricks in the search for ultimate precision.
 
Exactly. If you know who Robin Renzetti is, many consider him a master machinist. Very humble guy. He posts more to his Instagram now, but a recent post was doing just what you did on a new motor. Sorry I looked hard but couldn't find it. Just anther one of his numerous tricks in the search for ultimate precision.
If you stumble across that, I'd be interesting in seeing what he did.

MotorBrush.jpg
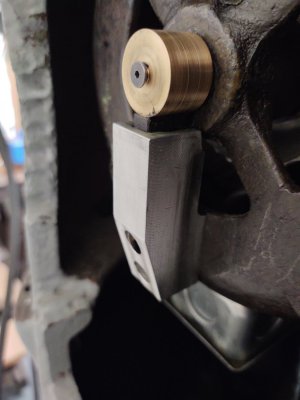
I did this one probably 15 years ago. It was sort of a hack job, but it's been holding up. I just noticed I never got around to replacing the flat socket head cap screw with a button. Maybe one of these decades... :)

Honestly, I don't remember all the details. The motor had a hex or something on the back, so I turned the contact/cap to fit. I think. (Probably picked a small 4-40 screw to drill/tap the center with, so it didn't disturb it too much.)

I'm sure the brush was probably a hardware store brush. Replacements if they're ever needed will have to come from the same place.
 
If you stumble across that, I'd be interesting in seeing what he did.
Happy too make another try. I thought I'd bookmarked it, but will check to see if got put in an odd folder.

The 10EE co-axial motor generator DC generator is at the open end of the lathe but with a capped bearing. The AC end would be possible, but only by removing the fan. I've read second hand reports of this being done to quiet the lathe down, but no details on how a replacement was placed.

Ron
 
Happy too make another try. I thought I'd bookmarked it, but will check to see if got put in an odd folder.
No worries. If you happen to stumble across it, post a link.

Otherwise, don't sweat it. Unless others here want to see what he did... :)
 
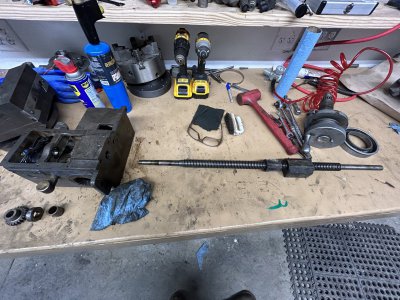
Editted to add: this is the cross-slide leadscrew, not the bed/carriage leadscrew.

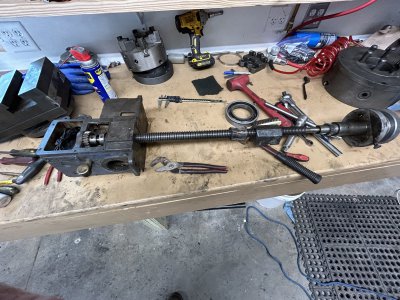
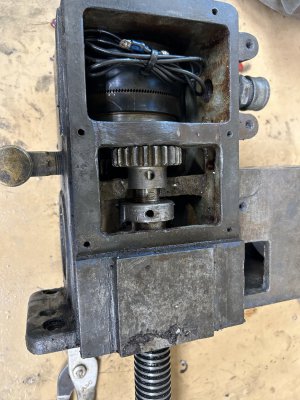
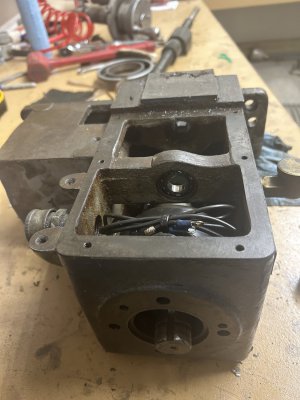
This leadscrew was a real bugger to get out. This lathe had a originally had an electronic tracer, so this casting in has some complexity. The wires go to an electronic clutch, erh, toothed clutch?, and the side of the casting at one time had some sort of small motor that could drive the leadscrew. The casting also acted as an oil reservoir.
IMG_5381.JPG
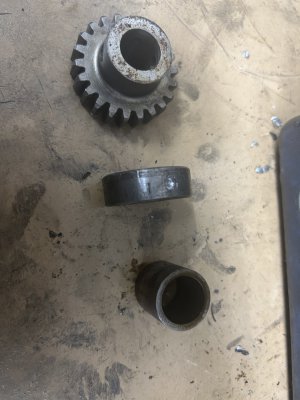
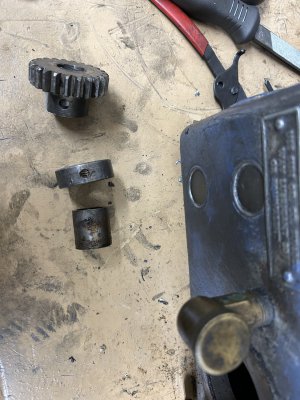
The first challenge was getting the casting off the back of the lathe. Two obvious socket head capscrews, but there was a third hidden up inside the casting lost in the gunk and shadows. Got the assembly on the bench to work on separating the leadscrew from the casting. Gear had a taper pin, then the bearing nut had a setscrew. But someone had gone gorilla on the bearing nut so it was incredibly tight. Yes, the reason for taking this apart, other than general cleaning, is to replace that bearing. Being a round nut with no flats it wasn't easy to get a good grip on it. Tried a pair of channel locks with my wife holding the leadscrew dials with a strap wrengh, not any other good way to get a grip on it as most of it is either thread or bearing surface. Ended up drilling a small blind hole in the bearing nut to set a punch and drive it loose.
IMG_5380.JPG

IMG_5383.JPG

IMG_5385.JPG
Interesting side note: This leadscrew has two nuts, one bolts into place like a normal leadscrew nut, the other, with the longitudinal teeth, is a jam nut with a worm gear that is adjustable from the side of the cross slide. This allows backlash to be adjusted out of the cross slide.

Tomorrows chore after cleaning everything up, including the bench, will be to get the bearings out. The middle rib appears to have a straight roller bearing. The far rib in this picture has some sort of assembly, I suspect two opposing angular contact bearings. I'm anticipating some work to get those out, but maybe I'll be lucky.
IMG_5384.JPG
 

Attachments

  • IMG_5382.JPG
    IMG_5382.JPG
    365.3 KB · Views: 17
Last edited:
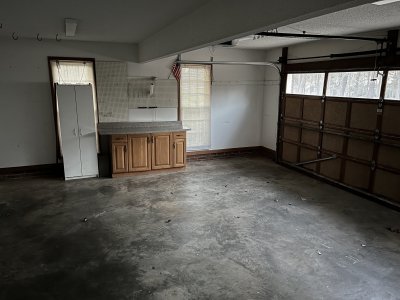
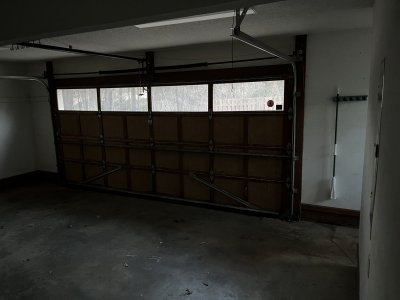
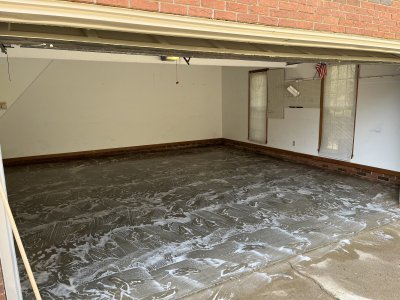
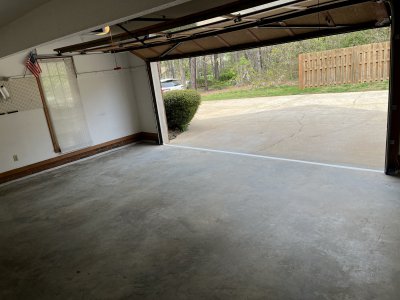
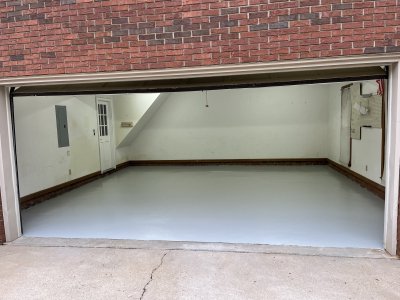
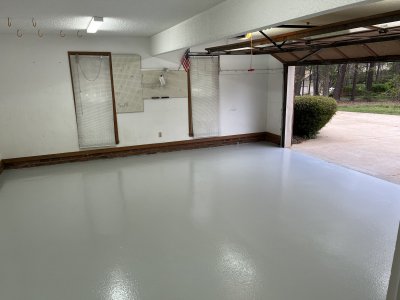
Finished doing an epoxy coating on my new garage floor. Used an Armorpoxy kit from Amazon

Before
IMG_2543.jpegIMG_2544.jpeg

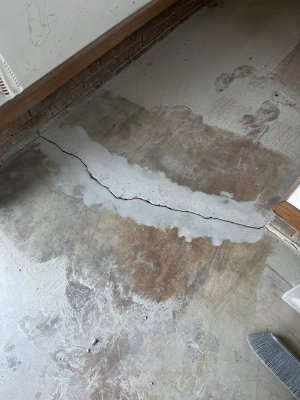
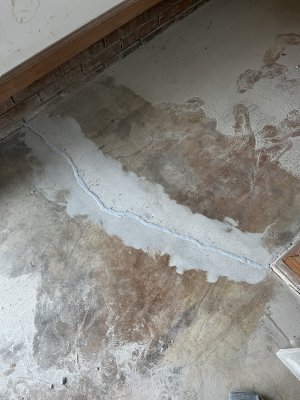
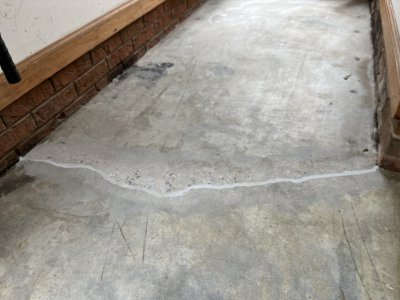
Ground out and fixed the crack in the floor with sikaflex crack flex seal
IMG_2767.jpegIMG_2768.jpegIMG_2798.jpeg
Degreased, scrubbed and pressure washed the floor
IMG_2786.jpeg

Washed, etched and washed again
IMG_2802.jpeg

Painted, flecked, painted some more after I screwed up the flecking, picked a bunch of insects out of it, then did the top coat. It’s incredibly non slip with all the (painted) flecks and grit. Has some small blown in crap in the clear coat by the door from the gusty wind, but it looks great of you don’t look too closely. Giving it at least two weeks before moving any of my smaller machinery in there

IMG_2820.jpegIMG_2821.jpeg
 
Thanks Boswell. I have a coated floor of some description in our Texas house and it’s much easier to keep clean. I figured I had a golden opportunity to do the same before everything gets moved in
 
Back
Top