Good stuff for a wannbe tool maker like me!Sorry to hear that it is not working out. Your improvements sound like the right approach.
-
Welcome back Guest! Did you know you can mentor other members here at H-M? If not, please check out our Relaunch of Hobby Machinist Mentoring Program!
- Forums
- THE PROJECTS AREA
- PROJECT OF THE DAY --- WHAT DID YOU DO IN YOUR SHOP TODAY?
- Project of the Day Mega-Thread Archives
You are using an out of date browser. It may not display this or other websites correctly.
You should upgrade or use an alternative browser.
You should upgrade or use an alternative browser.
2018 POTD Thread Archive
- Thread starter 2volts
- Start date
- Joined
- Jun 26, 2014
- Messages
- 619
Thanks for all the thumbs up on this broach guys, but it does not work.
Each step is too much meat to remove, and the gullets are too small to carry the chip load.
Today I annealed the broach and when it gets back in the lathe I plan to triple the gullet size and split each step in two.
Might be a while before I get to it.
Did you cut any relief on each of the teeth?
I did not, but will this time.Did you cut any relief on each of the teeth?
- Joined
- Nov 23, 2017
- Messages
- 1,191
- Joined
- Nov 23, 2014
- Messages
- 2,607
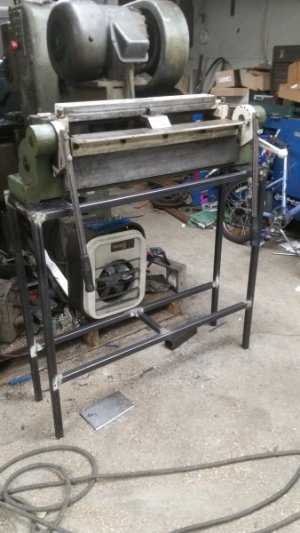
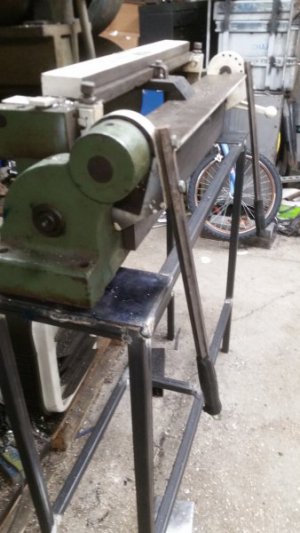
Nice stand. I have the same brake, beast of a machine. I regularly bend 1/8" HRS 1" wide and could go wider with ease. Have bent 1/8" aluminum plate 18" wide before. Be careful on bending, lots of load pushing rearward on the brake making it want to tip over. At least the tip is away from your toes . . .I just put together a quick stand for my Diacro 24" box and pan brake......
View attachment 277246
View attachment 277247
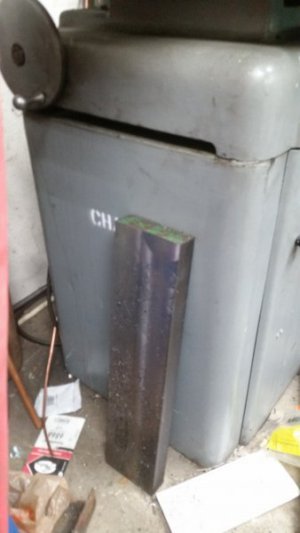
It only came with a 3" finger..... This bar stock it going to be milled into the rest of the fingers.....
View attachment 277248
I haven't hit my fingers with a file, but believe they are fairly hard. At least 1040 steel. Naturally beefiness requirements are driven by the materials you plan on bending. Mine was missing a 1 1/4" finger which I got off eBay for around $30.
Bruce
- Joined
- May 4, 2018
- Messages
- 143
I've been needing a better way to use an indicator to center work on my lathe. Had an entire evening free -- so tonight was the night!
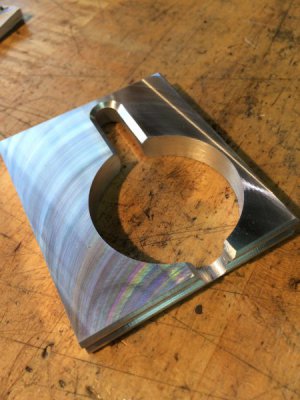
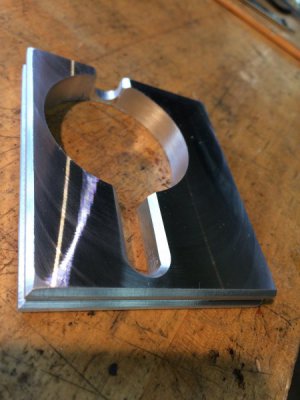
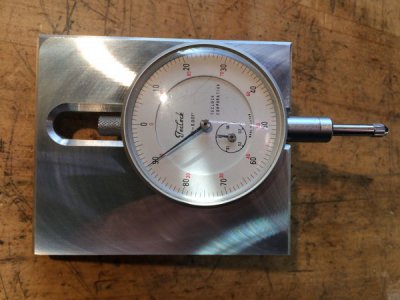
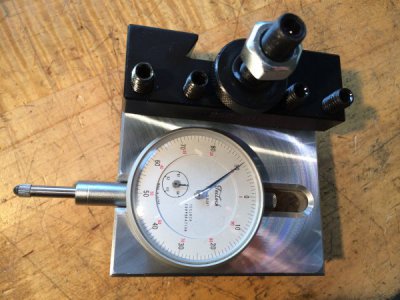
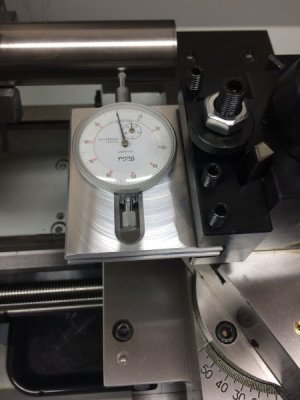
The indicator is a "light" press fit into the holder. It's not going anywhere.. Put a bevel on the slot, top and bottom, so I can reach in with a thumb and finger to pull the shaft back when needed.
[edit] Forgot to mention, I took care to square the holder up properly so I can also use it to quickly and easily align the tool post to a chuck/faceplate or the tailstock..
Thanks for the bandwidth,
MetaKey
Last edited:
Started making another ramp for my trailer, to be attached to the side of it, for smaller, lighter equipment.
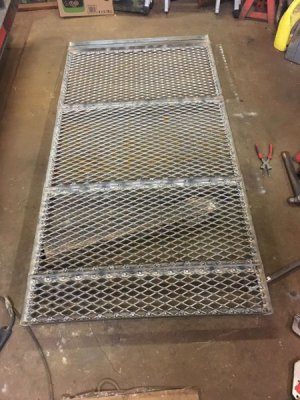
Didn't turn out as good as the earlier ramps I made, as this one has significantly twisted/bent up from
-my poor welding skills
-thinner metal (frame is 1x1x.125" angle)
-should have laid out more of the frame & crossmembers and tacked them together before welding them them, as I first welded the outside edges together, and the long side pieces wound up bowed slightly inwards, so I had to force them apart to fit the crossmembers in place, which further warped the frame
Tomorrow, I'll work on flattening it out, then add some ribs to strengthen it.
Was not liking the wrench to remove the left hand nut off my surface grinder. You have to use the end of the wrench which can tilt on you. Like this.
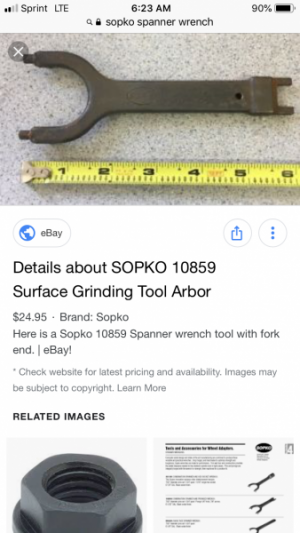
Then you’ll end up pooching the female on the nut so I needed to do something. My nut is round with two slots in it not like the picture.
So I took a old wrist pin from a old engine cut out the basic length and started work
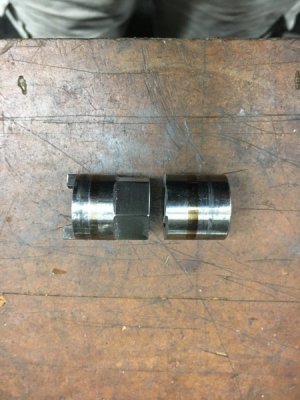
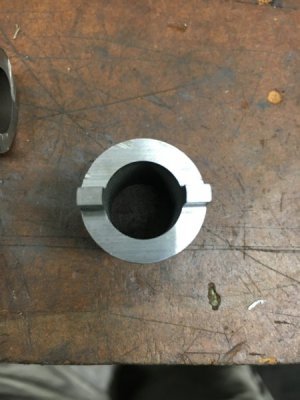
Ground the little ears first I ended up ruff cutting them with a angle grinder then throwing on the surface grinder. Very hard material.
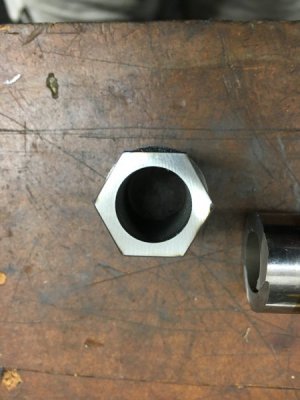
Then I used a collet block and ground the hex on the backside. Ground for a 7/8” wrench or socket.
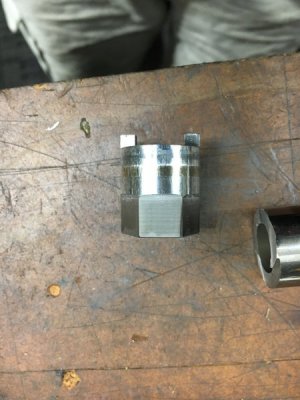
This would be the first “tool” I ground and found the flat surfaces very sharp which made me think about making some punches and dies for popping holes in sheet stock. On to the next project.

Then you’ll end up pooching the female on the nut so I needed to do something. My nut is round with two slots in it not like the picture.
So I took a old wrist pin from a old engine cut out the basic length and started work

Ground the little ears first I ended up ruff cutting them with a angle grinder then throwing on the surface grinder. Very hard material.

Then I used a collet block and ground the hex on the backside. Ground for a 7/8” wrench or socket.


This would be the first “tool” I ground and found the flat surfaces very sharp which made me think about making some punches and dies for popping holes in sheet stock. On to the next project.
- Joined
- Jul 14, 2017
- Messages
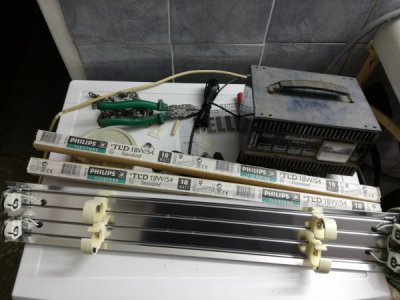
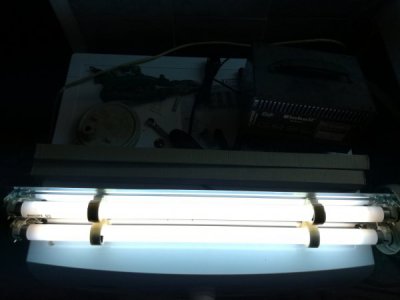
- 2,448
Today i had some time to spend in my shop's, first i spent some time cleaning also cut up couple of car axles, i got couple of pieces of solid bar and thick wall tubing for future projects, then i got started on the used bazooka light that i bought yesterday, i removed the ridiculously thick cable and installed the right gauge cable also replaced both light bulbs and starters, clean the cover and reassembled it, now is ready to get mounted.
