Saving a Logan 825

New nut is finished. I made it a little bit wider than the original 3/8" vs 5/16". I find singlepoint threading so satisfying. I drilled two cross holes at 180 degrees apart. I used a #21 so that they can fit my 1/8" pin spanner and I have the option to tap one or both at 10-32 in the future. One more part down, many many more to go.

BkTVNlPvhZ7nP_4Jxb7A4gsXernQ6b1axj-NJK9J_bPLaylL2rWU2ndqC0Eu0hL5DJHR6QKn-dJELTWbgRBQC4uykzb7TZTUmBs5-vYII3phH__eJCp415fkf12jN_xxssm_hOZTU7U=w2400

DmMk2EKkb7CrjZp6_NjyR8UmU-sswqlVREab-bHt_HmV4BjSqjGN2ec1By_PVDNSK8U5BMoLKzYwq4zAyxmOi1D_rfm6oj4vPJA8J1TuD1-KYRUZWqrFO7ObZLD5t4z9yxm9bI1Zp9w=w2400
 
I'm really glad that I have this lathe to work on while we are staying at home. It's been good to take small breaks and head down to the shop to work on cleaning, removing paint, repairing, etc while trying to work from home. In an act of biblical optimism, I also picked up some paint before the stay home order went into effect.

Today I did some more work on the spindle. The nut retaining the main bearing was RFT and required some work to get it off. Now I need to rig up some sort of press using threaded rod to get the bearing off of the spindle so I can properly clean it and then assemble my replacement spindle. The new rear bearing should be delivered tomorrow. What is the torque spec on the front retaining nut? I don't know if the PO used loctite or if it was really that tight. Getting the back gear bushings out was also interesting because the PO had gone after them with a punch too.

I have also been cleaning up the QCGB. I thought that the original Gits oilers were brass, but I think they may just be zinc plated. Mine are painted shut and currently soaking in a bath of lacquer thinner. I also found the mystery bracket I showed in one of my previous posts.
DyI1kHFXnhFSfU0-MYueenMiq2w7SxRC8aGOceJenCuZ2RpSP2CtjtLDJIDkj9LDbTlQWD_aOsiucvRh6hnrSmqpWlRZPPF1k8YHw2EcHGb-t8ofgvI_cfIpiF9gx70qNezhBvL12Gc=w2400

I assume it's just to take up the weight of the gearbox and keep the leadscrew straight? Does anyone have any information about the pins that hold on the sprung handles for the gearbox? I tried using a wire brush to clean them up so I could get a better look and tapping them with a pin punch, but so far no luck. I don't want to break anything trying to get them apart.
 
When I replaced the bearings on my lathe I used a punch and a hammer to remove and replace the nut for the big
bearing. This was suggested to me by Scott Logan. There is no torque spec specified. If yours is like mine there is a dust shield on the spindle: I would suggest leaving it alone since they are no longer available. My stock New Departure bearing was unshielded on one side. If yours is the same, I would clean and re-grease in place if possible.
 
With the poor condition of the actual spindle shaft, I've decided to replace it, so the bearing needs to come off of the old spindle and get installed on the new spindle. Originally I wanted to just leave it alone, but the deeper I dug, the worse it got. Why replace the nut? Its only purpose is to retain the bearing since the pre-load is already set within the bearing. This is why I didn't understand why the nut needed to be so tight. While I've got the main bearing off, I want to give it a good cleaning and new grease. What sort of grease do people recommend for this application?

The dust shield on the the spindle nose is in rough shape and I've already done some work to straighten it out with a hammer and dolly. It's functional, but not pretty.
 
The nut on the left end of the spindle does not need to be that tight. That was why I said that the nut needed a brass-backed set screw. So that you didn't have to tighten it enough that it probably wouldn't come loose.

The reason that @bhusted made a new one is that the old one looked like it had been used to practice how to use a chisel. There is a photo of the old one a few posts back. I wouldn't want that thing on any machine of mine, either. Anyone seeing it might assume that I had done it!
 
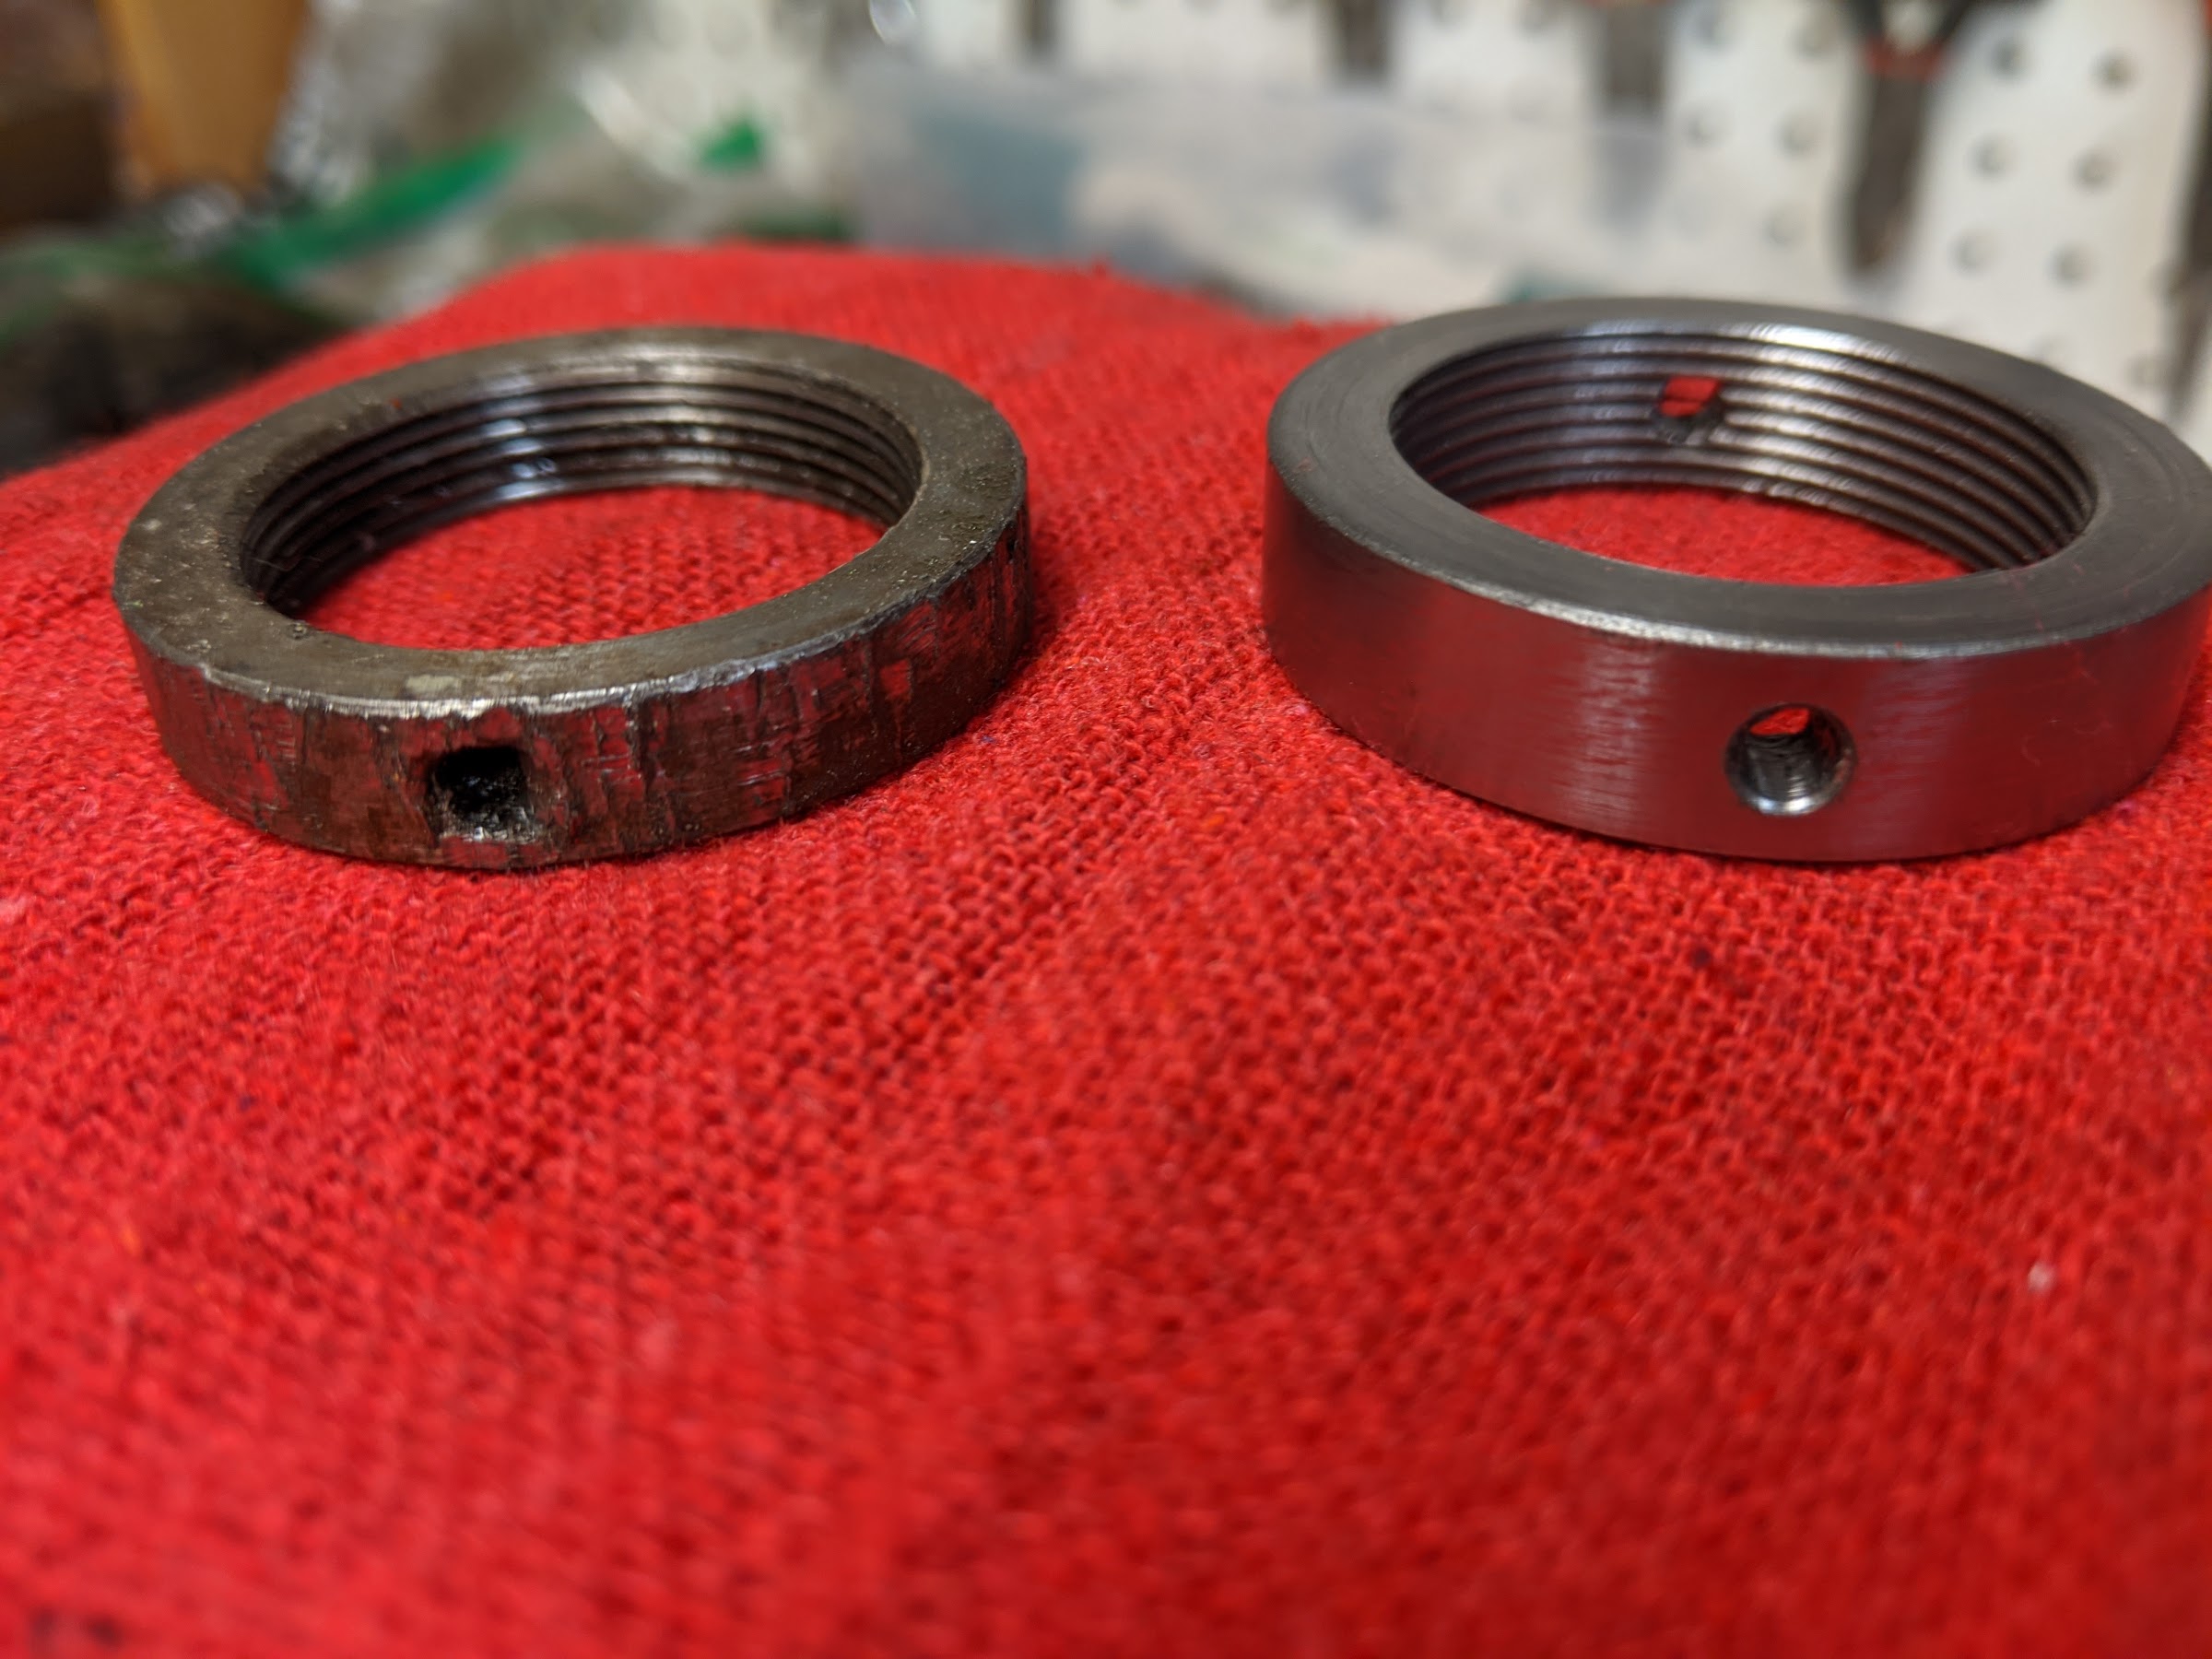
I think we're talking about two different nuts. The small nut that bhusted made goes on the end of the spindle
adjacent to the small bearing. The other, bigger nut secures the larger (chuck end) bearing.
That nut is normally quite tight and is the nut I was talking about when I mentioned using a punch and hammer.
Mine was slotted for a (very large) hook wrench so that's how the factory tightened them but even if I found one
that size, it would have been prohibitively expensive. I used a proper wrench for the small nut on mine.


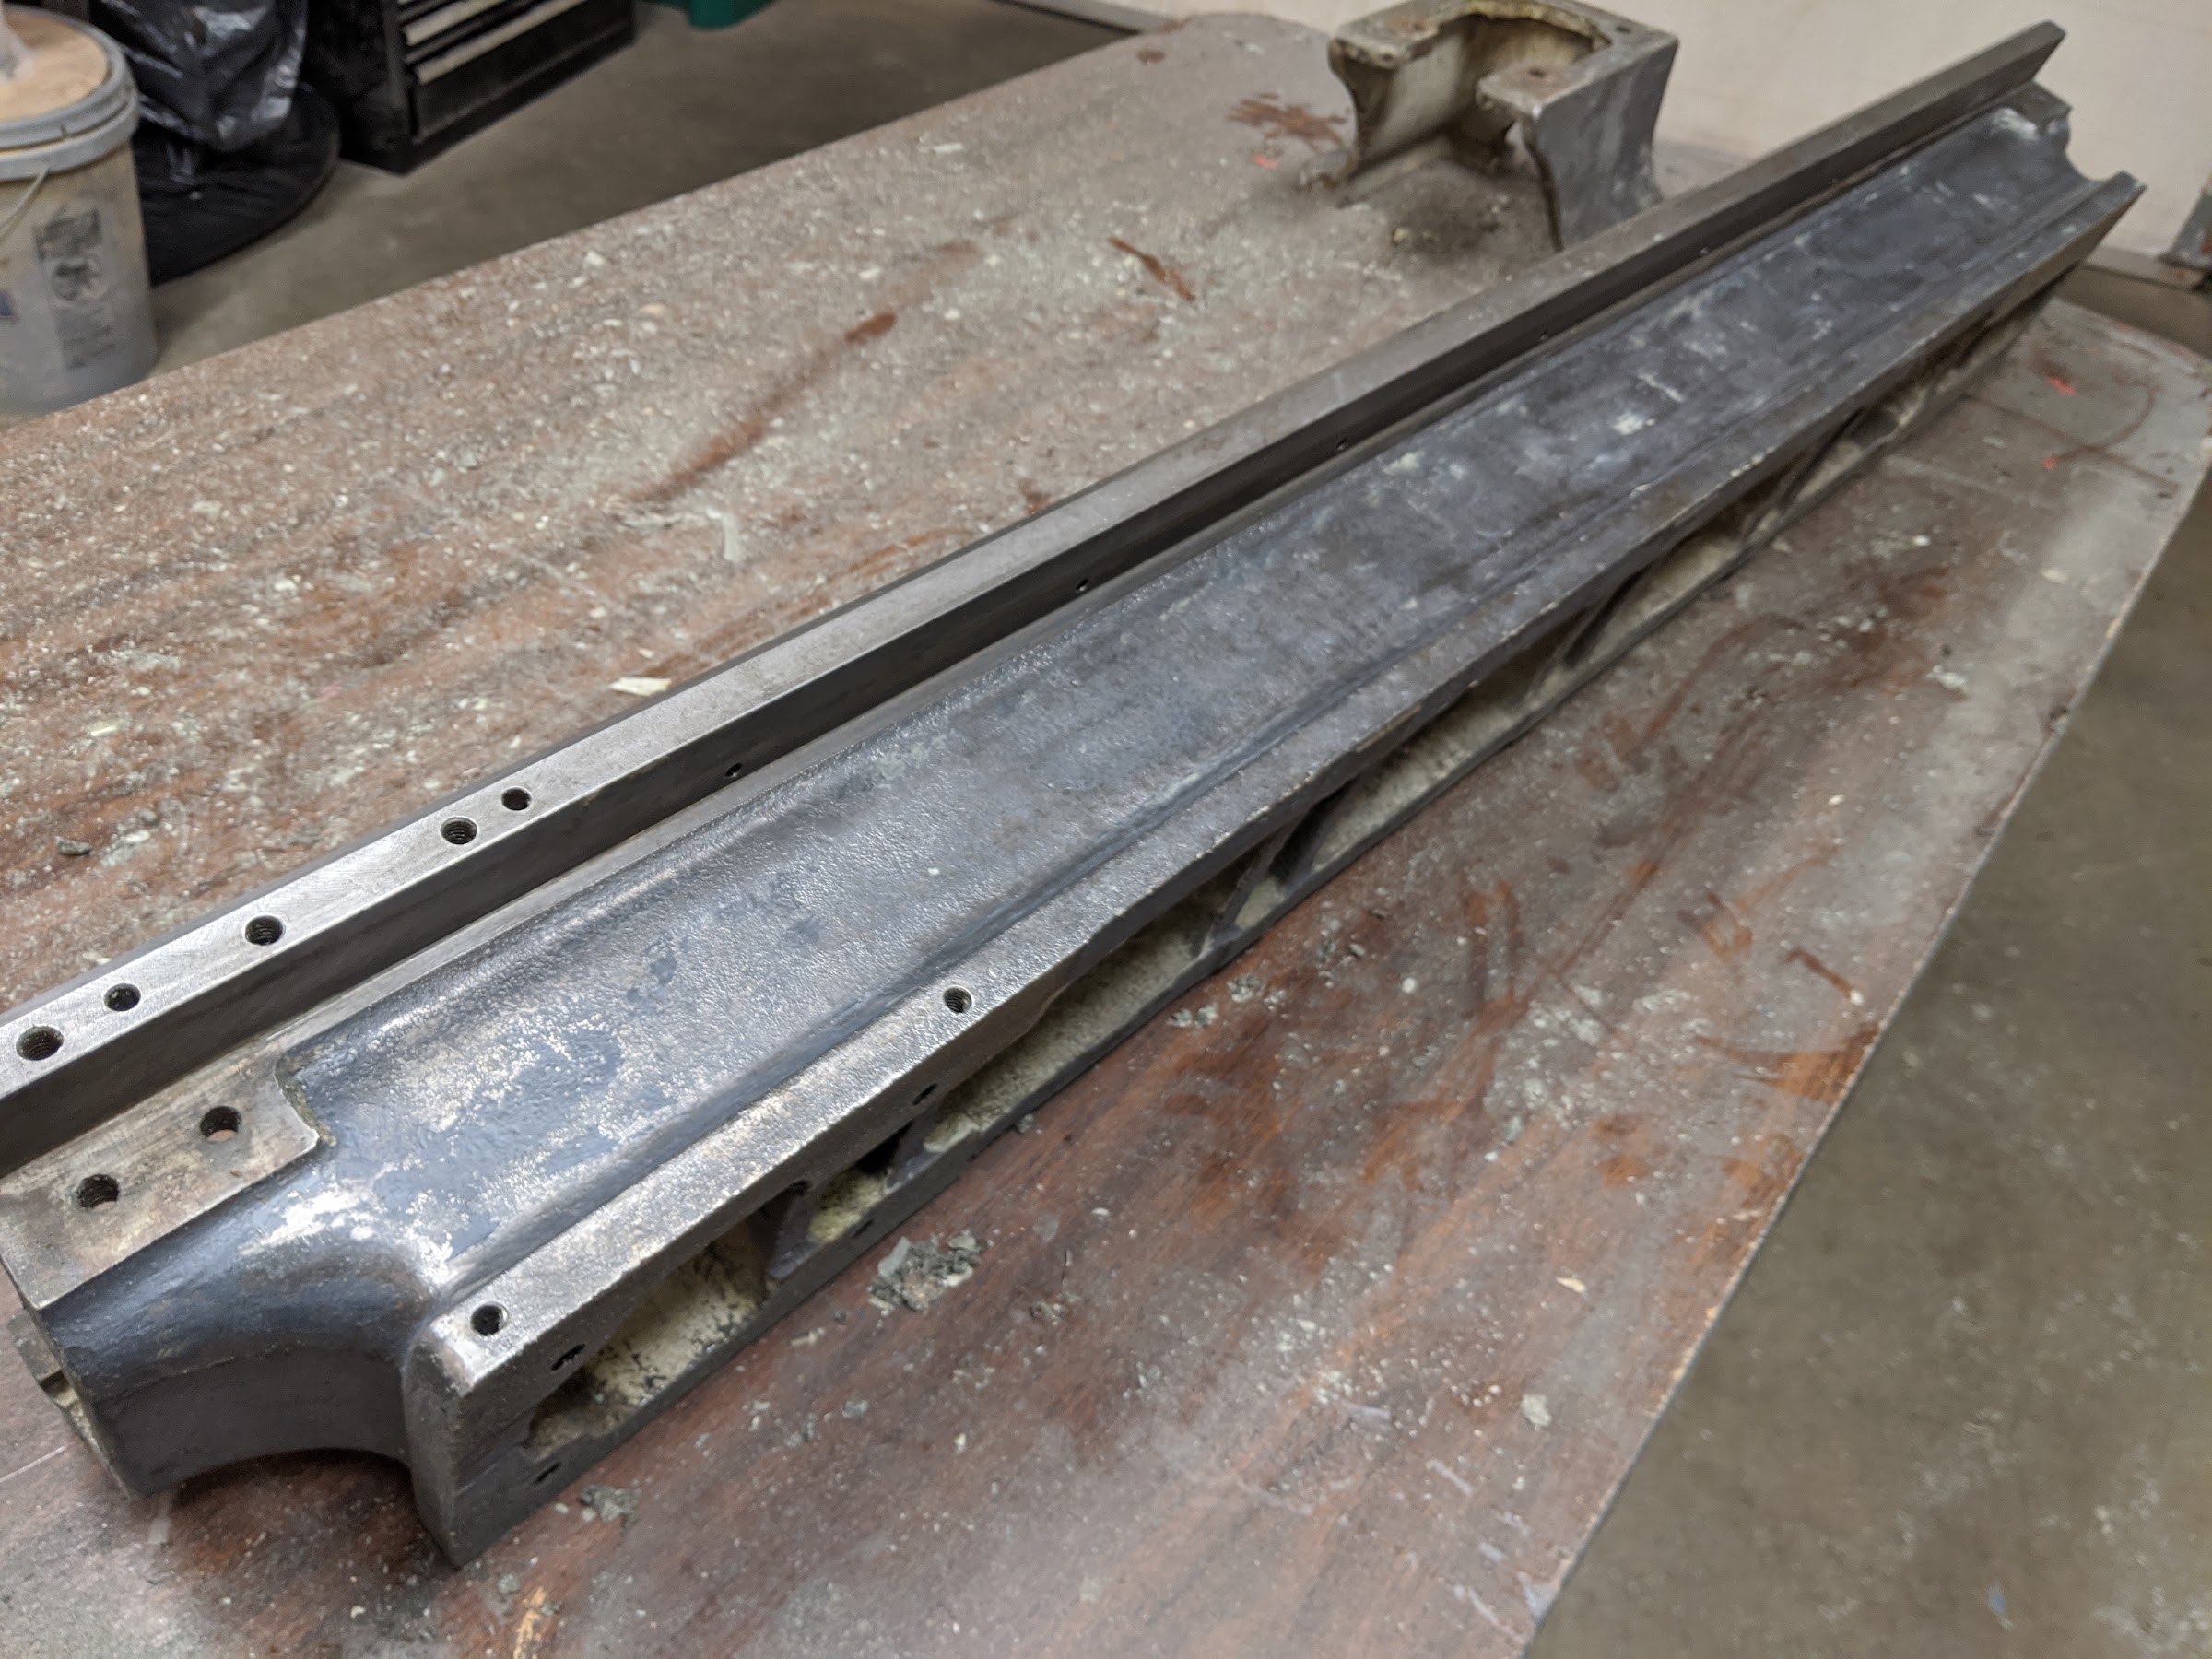
bhusted, this is how I held the spindle when I re-installed the nut: the material is a thick piece of leather I bought
at a crafts store. I only tightened the vice enough to keep the spindle from turning to avoid distorting the spindle.

DSCF7109_zpsuj6sjmlt.jpg


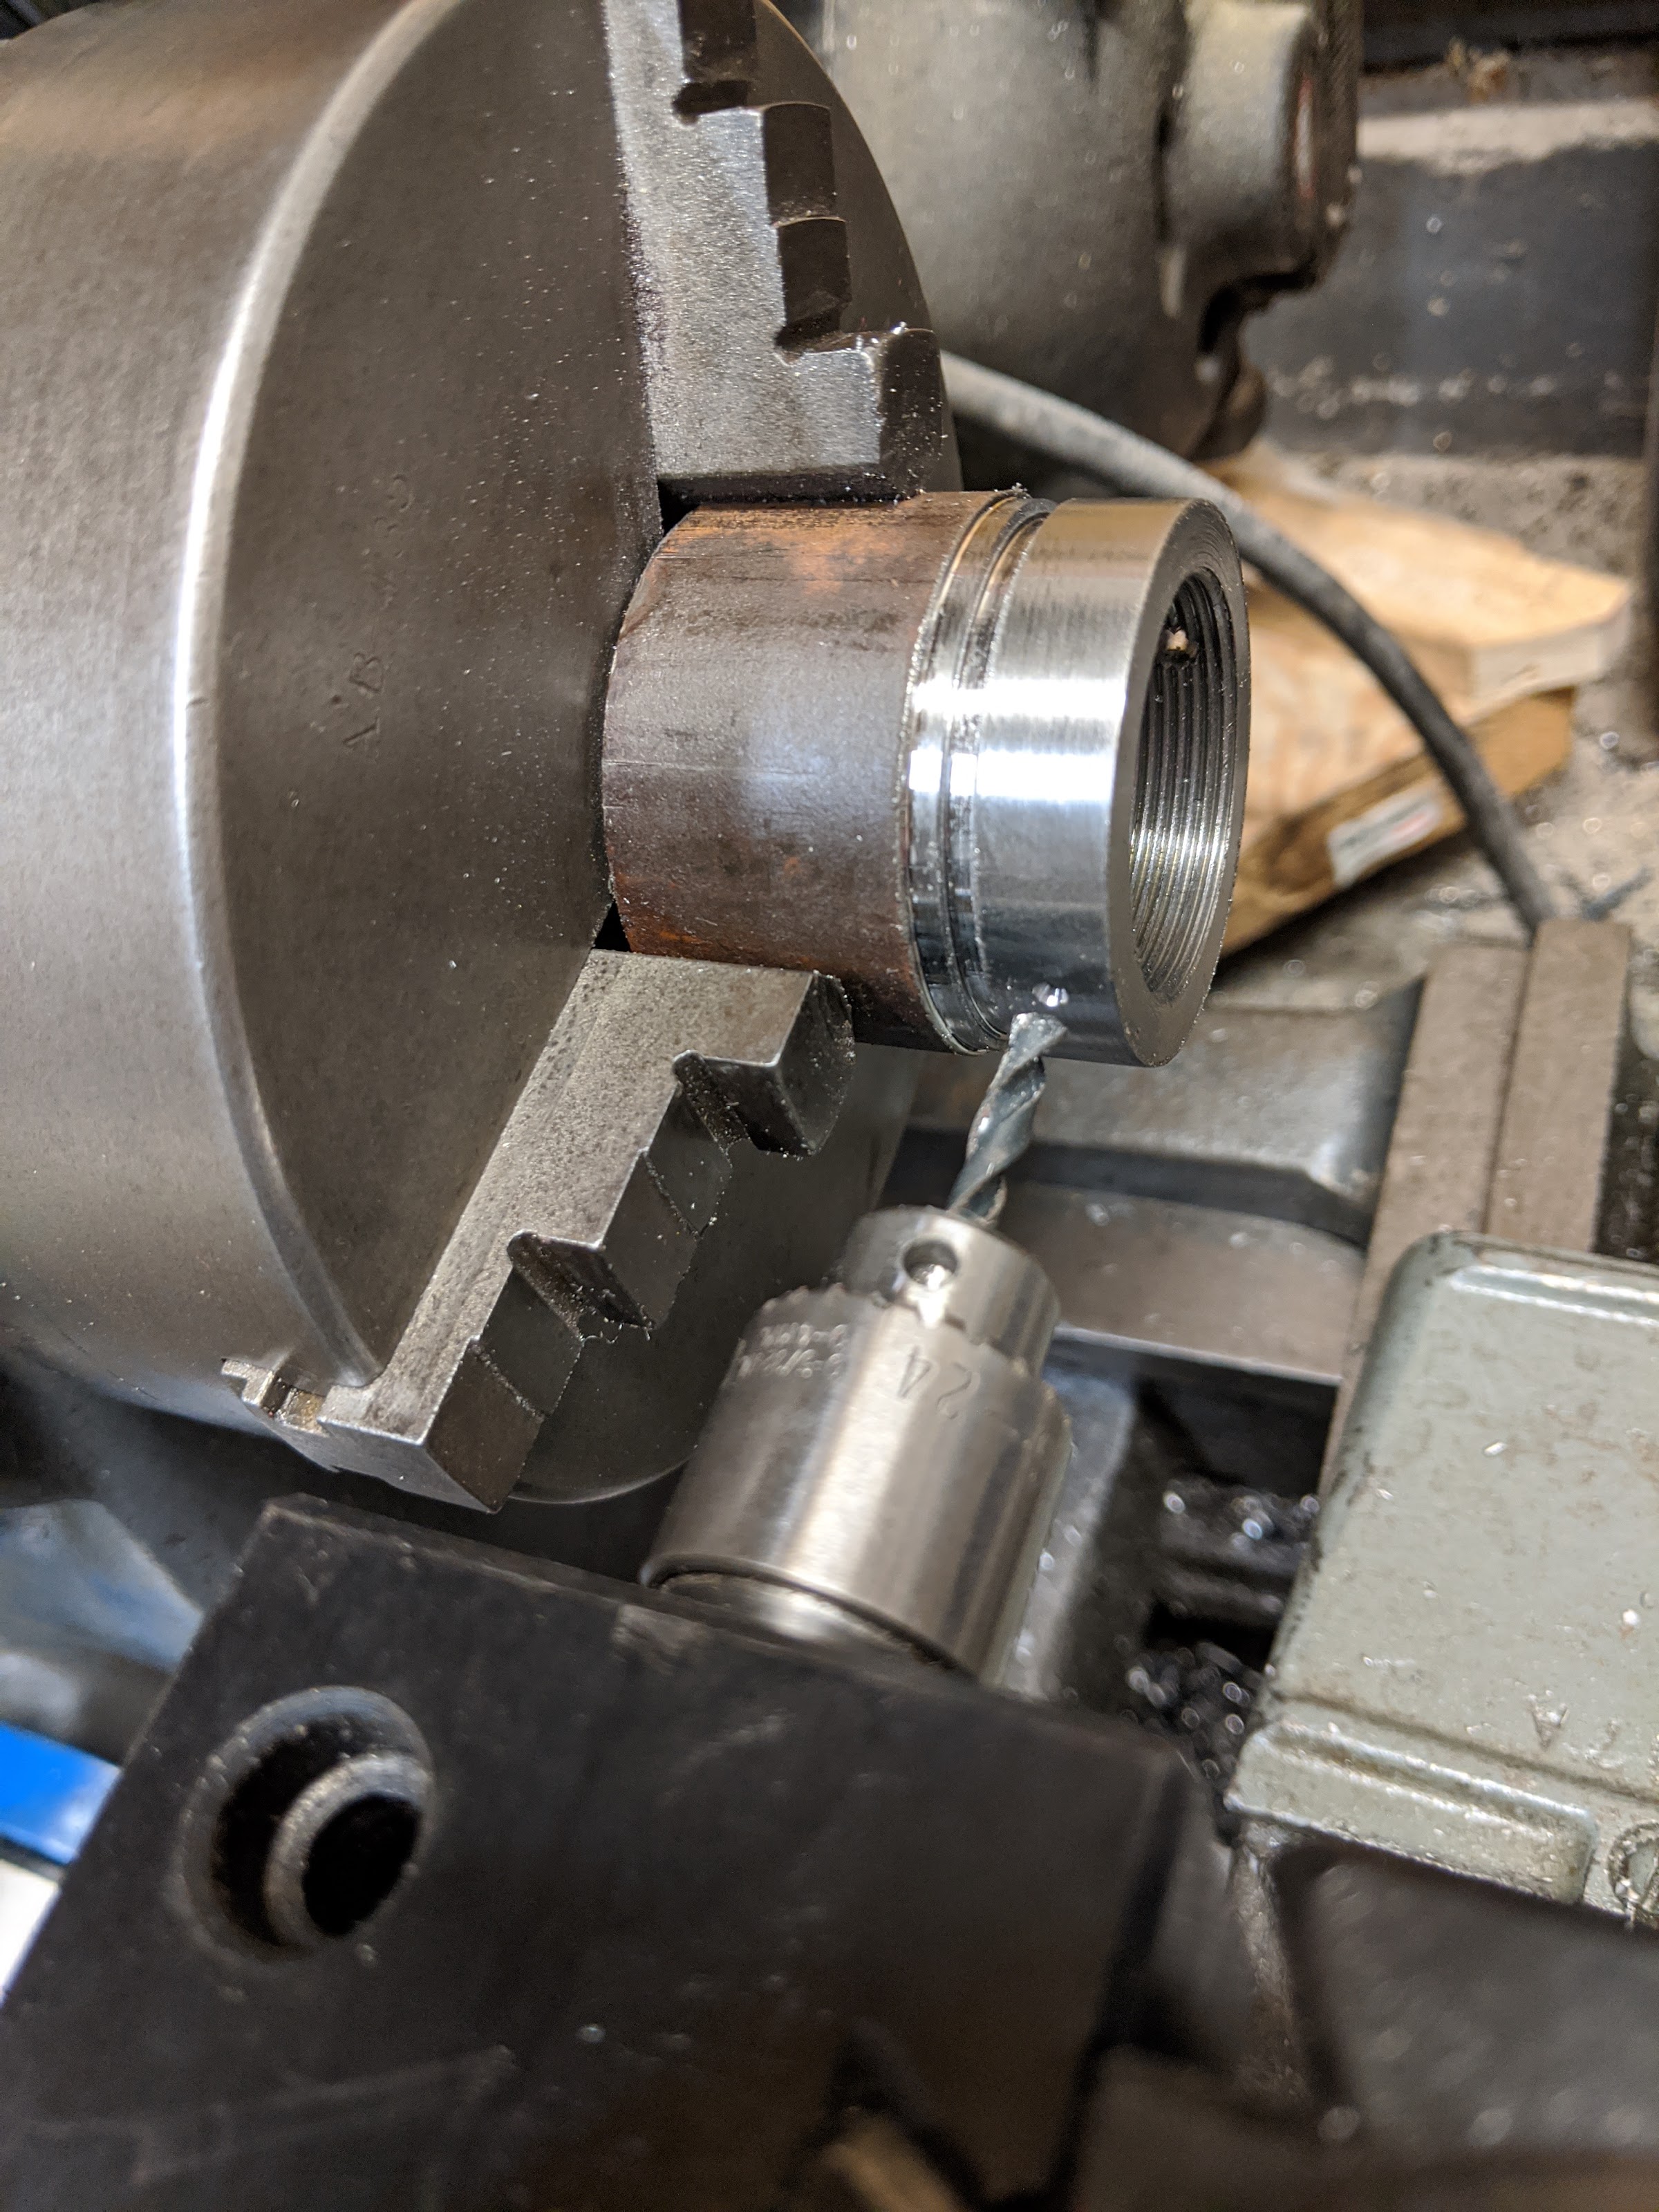
You mentioned using a drawbar to re-assemble the spindle. This is how I did it, though the plastic
pipe was a poor idea. I would use a steel tube next time, with properly squared ends. The spindle
is threaded into the body of a four jaw chuck for support.

DSCF7108_zpsrhhliewi.jpg


I don't know about grease, but a call to a bearing supply place would probably give you the answer.
My understanding is that over greasing is to be avoided, and that the bearing should be about a third
full, but don't quote me on that. :). If you post your question in the general section, there are folks around
here that know more about that subject than I do.
 
Last edited:
It's true, I think we were referring to 2 different nuts. I have already replaced the nut on the left end of the spindle. The nut that retains the main spindle bearing next to the chuck was the one that was ridiculously tight. I didn't damage the nut taking it off, but it took some serious torque to remove it. This nut seems to have the same function as the smaller one on the left, so my question is why does it need to be so tight? It's only retaining the inner race of the main bearing.

The PVC seems like a bold move, but that is exactly what I was thinking of doing for the bearing. Thanks for the confirmation. I'll do some more looking and asking about grease for the bearing. My new one for the other end didn't show up today, so I did some other work instead. After sitting at the computer for 6 hours today I wanted feel like I accomplished something real. Instead of scraping and cleaning more greasy, rusty parts I decided to clean up the hand wheels. The first two were fine, but the tailstock came with a surprise. I found that the handle had been replaced with a brass one at some point in its life. For the others I was able to drill a small hole behind the handle and drive them out with a punch. When I drilled the hole in this one I saw threads. I hit the outer part on the buffing wheel to shine it up a bit and the inner part will get painted when I get to that stage.

lG3jh47arHsqs2QzuDxysQOT4cXjMFzqTOlqK_T8HvS8sL3fQTE8-91sJdCKPvmQ0Ow7YbZbEMV-mGEIriohoGYHp9ErgHQ_Si1zTrw7GG1iDWgtCgN-TVFpasaLgzWcwTw8sF-yj_0=w2400
 
When I removed the large nut, I couldn't get it to loosen up at all until I gave a session with a heat gun. After that it was
easy.
When I installed it, I used the punch/hammer method until it was "just right". :)

Like I said, PVC pipe really wasn't the greatest idea though I did get it to work. Steel pipe is a much better idea.
If I were doing it today, I'd use my arbor press...
 
After another day of sitting inside on the computer I was ready to start working on one of the more disgusting jobs of this project, removing the layers and layers of paint, grease, oil and gunk from the lathe bed. I started with a paint scraper, but eventually had to resort to the wire wheel on the grinder. You can see that some of the original blue gray is still there.

DCjxKcVK0OoQa5gjFAKjyQDTYTqUEIQ0pdzVv0Svh6cEdezV0Ibhnxk5DlU4zTWhT2mUuRQGE_S5RouwiCdYXMd-vyLJGhBTmyy1eJZ60v4z_Ny-r4zQS7nHCHBc_c2mSPxtWJ4q4_4=w2400


As with other parts of this project the deeper I go, the more I find. I wasn't going to take the legs off until I looked underneath and found out how bad it was. I also discovered that 3 of the 8 bolts holding the legs on were missing...

67YwtjptukM7wcu-dy8syu2qoYhn3gAK6i9zUEp8WZpYwtaSSvIMeoy6X_p0xiocNwybTD3xDaqGMKg3ERMhwXhh9srlpBe80kzk9zClQVYoBDxViF1pnDqqxim5TJlGuv7oejeAoXs=w2400


While I'm not going for a show piece here, cleaning up the space between the ways is going to be difficult. The casting is much rougher and the old paint/grease is going to be difficult to clean so that new paint has any hope of sticking.
 
I am planning on using paint stripper to prepare my bed.
 
Back
Top