2014 POTD Thread Archive

And I like the mag strip to hold the chip brushers & other stuff.

Don't they all become magnetized, collecting all the little fine metal splinters that get in your hands? I have enough trouble when some of the cutting tools become magnetized and hang onto chips. I bought a demagnetizer off of Craigslist to deal with that.
 
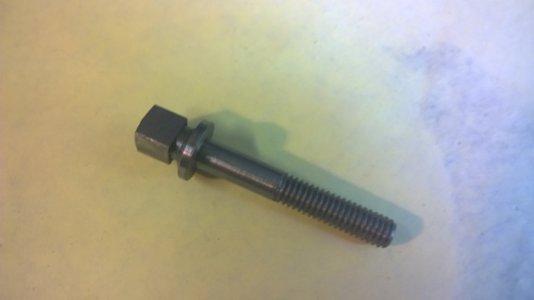
I finally made a replacement lock-down nut for the tool holder on my lathe:


I've been planning to make one of these for a while. Realized I had a perfect handle sitting in my pile of "spare" parts, so no time like the present.
Even used my recently complete tilt-table to mill the starter hole for the handle at *exactly* 20 degrees (it's so important that angle is precise ;))

Nice looking nut there.:whistle:

Mike.
 
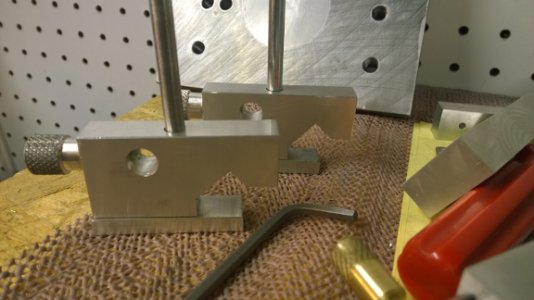
Nice work on all the parts. The Zero-it is quickly climbing my need to do list. Did you make or find plans for it?

John

Hi John. Google "Building a Zero-It Type Indicator Holder". Should be the first item in your search results. I built mine using these plans.

Tom S
 
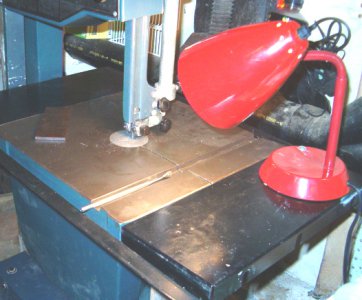
I fear Mike has put my project to shame. I installed two cheap lamps as machine lights. They only had red at the store. If it ever bothers me I suppose I can paint them. I drilled holes in the bases. The one on the bandsaw is held by a single machine screw that fit through a hole in one of the table extensions.

lamp3.jpg

lamp1.jpg

lamp3.jpg lamp1.jpg
 
Don't they all become magnetized, collecting all the little fine metal splinters that get in your hands? I have enough trouble when some of the cutting tools become magnetized and hang onto chips. I bought a demagnetizer off of Craigslist to deal with that.

I haven't noticed it being a problem.
The mag strip is from HF and honestly it's so weak it can barely hold onto a 14mm wrench. It does work well for lighter stuff though.
 
How do you get such beautiful finishes???


that what makes a machinist :)). it is not hard to get a good finish. I cut mostly with HHS and cut to size. My finish cuts are usually only one or two thousandths. Then I polish with 320 or 400 grit paper. The paper will only remove a tenth or so to get the polished finish. Guys who try to polish with 100 or 180 grit paper are messing up their size and accuracy A good machinist doesn't try to "sand' the last couple thousandths. He CUTS to size and polish with VERY FINE paper. I also use a very sharp tool (no radius) and I sharpen my tool just before the last couple finish cuts.

Mark

- - - Updated - - -

​Mark nice work did you do the working prints also ?Keep it coming.********************
******************Just Saying******************Gator*****

I draw prints for everything I make. If anyone wants them , email me and I will send you the prints. I share all my ideas and plans with anyone who asks.

Mark
 
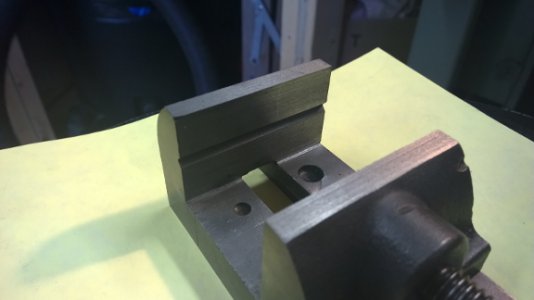
I finally got my Burke #4 mill running and am finishing up projects that have been waiting because they needed a little mill work. The first thing I did though was rebuild the vise I got with the mill . The jaws were all gouged up and not square anymore plus a lot of "accidents" (cutter marks). I milled the end square with the bottom and then milled the jaws square. Then milled the top to be flat, fit the sliding jaw to be tight but still move smooth. It is like a new vise now. I finally milled the head of the saddle lock screw square that I made for my South Bend lathe. And I am always making indicator holders for the ways. I make them from scrap when there is left over form another project.

This was yesterday. I am starting a project that may take awhile. I am going to build a steady rest for my lathe from scratch. I will try to remember to take photos as I go.

Mark

SBL 9 Saddle lock screw.jpgsouth bend 9 way stops.jpgyanke vise repaired.jpg

SBL 9 Saddle lock screw.jpg south bend 9 way stops.jpg yanke vise repaired.jpg
 
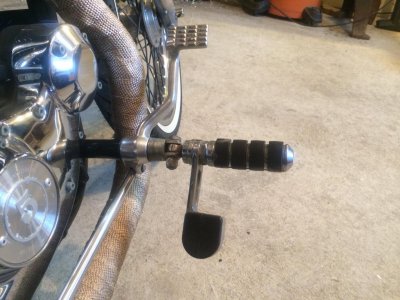
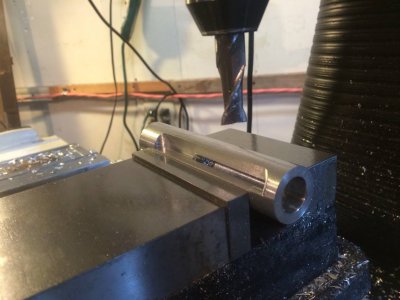
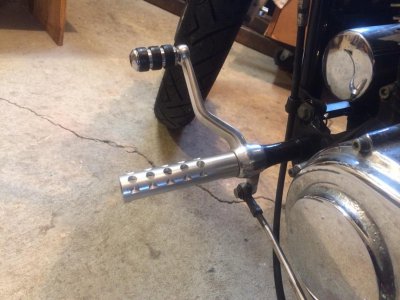
so i was riding to work the other day, looked down, and the end part of my foot peg was gone. so, left me no choice but to build some new ones. i often find myself lacking in the artistic area, so the are kinda plain; not the hardest thing to do, but it was a fun quick project that i was able to do in an afternoon vs several days. love the sense of accomplishment upon finishing something.

here is the old peg that was left,
10463687_897166676978597_8568732198420136671_o.jpg

here is a shot of the underside, can't see it when its on the bike, but i was really just playing around.
10604503_897166673645264_5978169423227994530_o.jpg
and on the bike. still need to make the piece to match for the shifter knob.
1491325_897166680311930_1010233066820473381_o.jpg

10463687_897166676978597_8568732198420136671_o.jpg 10604503_897166673645264_5978169423227994530_o.jpg 1491325_897166680311930_1010233066820473381_o.jpg
 
Hi John. Google "Building a Zero-It Type Indicator Holder". Should be the first item in your search results. I built mine using these plans.

Tom S


The zero-it is a nice project but it can be difficult. You have to be always conscious about keeping every thing square and aligned when drilling and reaming or it will bind. If you are careful about that, you will have a nice smooth sliding adjustments. I added a nylon washer to the front and back of the screw adjustment for bearings so it could be tight and still operate smoothly. ( I can't stand backlash and wanted no more than .0001")


Mark
 
Back
Top