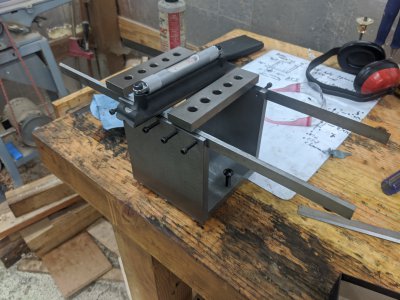
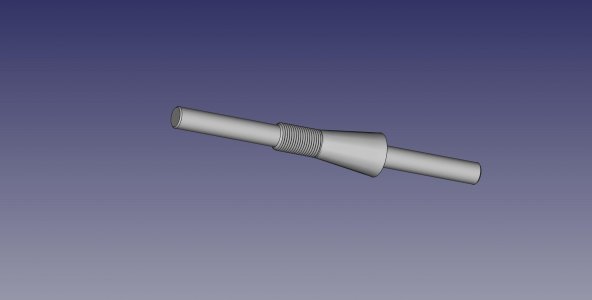
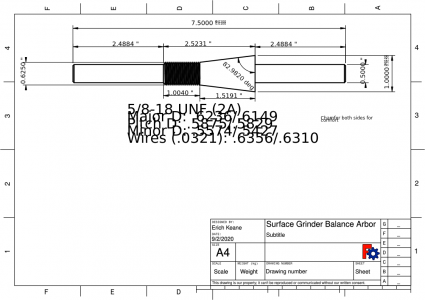
SO, I got a few hours in the shop, and I have some progress!
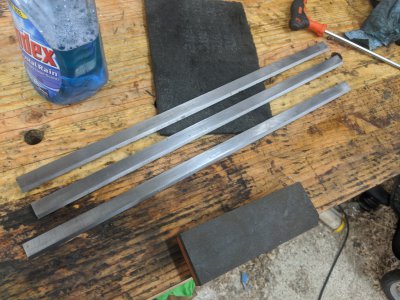
For the life of me, I couldn't find the old blades to my 6" jointer, but I DID find my 18" planer blades

I spent a few minutes with some scotchbrite and a stone cleaning them up. They were covered in a lot of wood pitch, so windex helped with that. I didn't bother cutting them down yet, but I will eventually...
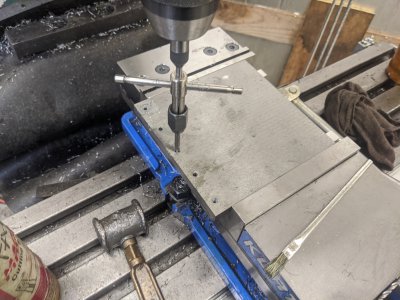
First, I drilled 5 holes for the set screw. Why 5? Because I had 10 bolts! In retrospect, I'm probably going to shorten or buy much shorter ones, but 10-32 bolts seemed fine for now. This was the most time consuming part, because for some reason despite drilling/milling reasonably well, this material seems to tap terribly.
I have a 1/8" cutter that I made an arbor for a few months ago, so I cut a 500 thou deep slot down the side. The blades fit in a little tight, but loose enough I can slide them with my hand. I figured thats a good fit, and I can find a thin stone for the inside of the slots if I need to make it better.
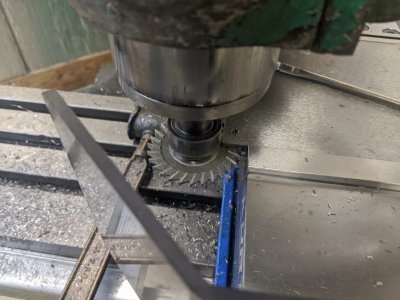
I did those steps 2x. However, the 2nd one came out worse due to 2 mistakes:
1- I messed up one of the bolt hole locations. They are .300 off the side, and located at 2.500, 1.250, 0, -1.250 and -2.500 on the Y axis as cut. I messed up and drilled one of them at 1.500 instead of 1.250, so its a 1/2 inch off.
2- I forgot to tighen my quill until the slot cutter was already about 1/4 of the way. By the time I noticed, it had 'climbed' 50 thou, so the slot is 50 thou off center.
However, neither of those problems are a deal-breaker for a shop-project, so lets keep going

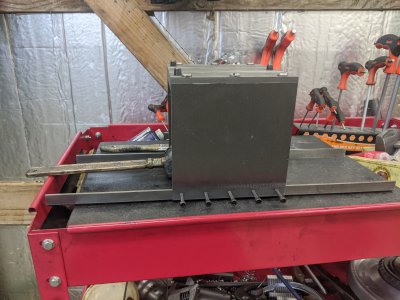
This is how I got the blades co-planer (also, you can see how ridiculous 18" blades are

). I tried putting a stack of blocks inside and then getting the blades level from there, however I found that just putting the blades straight down on the surface plate, then tapping them with a lead hammer got me perfect contact all the way across! Because of this, I'll likely leave them ~2-3" over-length when cutting them to make this part easier (likely, just cut an 18" in half

).
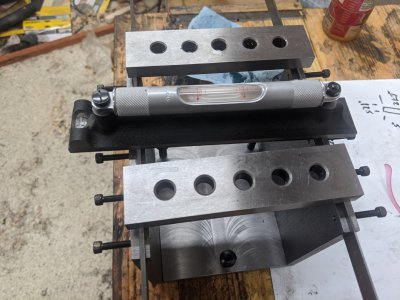
Finally, I leveled it on my bench to see how the adjustments worked. I used a pair of parallels to do the other direction, and just my 8" starrett (bought for this purpose, and likely about 75% of this project's cost!) for the other. First I leveled it with the 2 on the same side, which went really quickly. I found myself happy I used the fine thread (3/8-24 I think!), as it made dialing it in simple.
Then, I put the parallels on, and flipped the level the other way and leveled it in that direction with the other screw. I confirmed back and forth with the level in both directions, and is dead-on!
Overall, leveling took ~45 seconds. It took longer to find my level

I think i've still got 3 things left to do on this :
1- Paint! I have some blue and orange somewhere, as well as some green hammerite. I hope I can find the latter, and paint it with that.
2- Cut the blades down. I think I can just use my cut-off wheel and cut 1 of the 3 blades in half and be perfectly happy here. ~8.5" seems about perfect, the overhang will give me plenty of room to tap them for co-planer reasons.
3- Made some sort of blade-guard. I might just do this with some spare oak, but this thing looks like a death machine while in storage. I think I'll just grab some wood scraps and make something that fits nicely over the blade.


