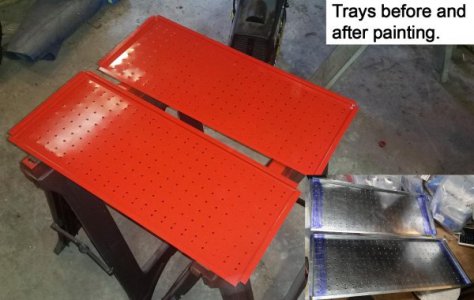
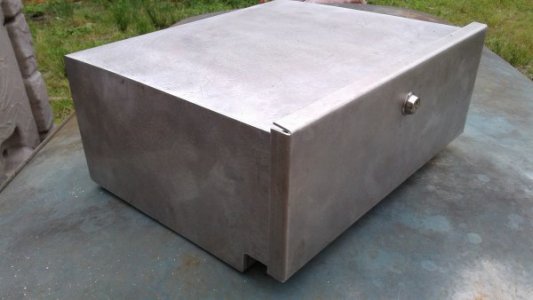
POTD was making a couple of sheet metal trays for some Erector sets I’m restoring for sale on eBay. Quick history lesson . . .
The A. C. Gilbert Company started displaying parts on sheet steel trays in the wooden boxed sets starting in 1928. One of the appealing things about these sets was the display of all the shiny new parts when you opened the box lid. The sheet steel was 0.020” thick and had a double bend on the edges so it rested on the edges of the wooden box and was recessed to give some clearance for the parts setting on top.
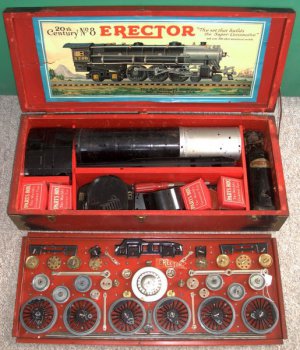
I’m putting together a couple of 1931 No. 8 Hudson Locomotive sets for sale on eBay. The one in the attached picture sold for $1600 a few years ago. I have one set all inventoried and ready to go, plus a second one that just missing one key piece. Well, one key piece other than the sheet metal tray.
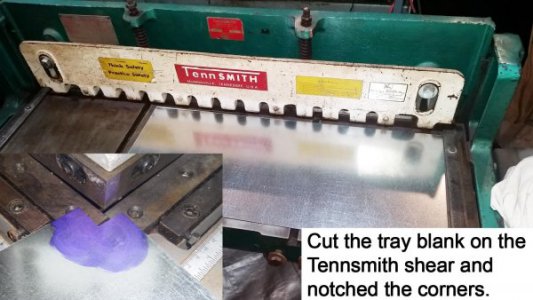
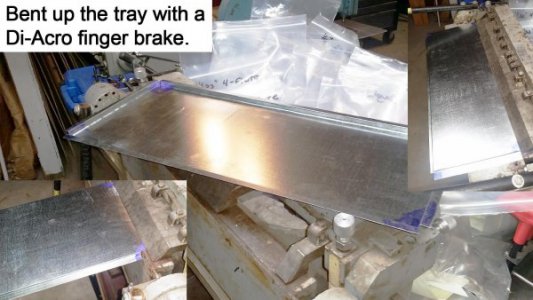
Pretty simple project if your wife lets you have the proper tools in your shop! Cut the blanks to size on my Tennsmith shear. Then notched the corners on a 6” x 6” 4-ton notcher. Did the bending of the trays on my Di-Acro finger break.
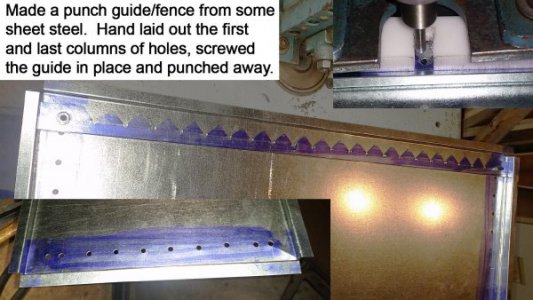
Now the fun part. The No. 8 Hudson trays had 10 rows of holes by 23 columns spaced 1” apart. The top and bottom rows are spaced ½” from the adjacent rows, rest are spaced 1” apart. I’ve made these before by gluing in some graph paper and going to town. This time I made a fence/ punch guide from some 0.018” sheet metal. Hand laid out the holes, center punched and punched them with a Roper Whitney No. 5 Junior hand punch. Folded a 90 on one edge to give the guide some stiffness.
Hand laid out the first and last columns of holes, center punched, and punched the holes on my Roper Whitney No. 218 punch press. Used a piece of Delrin for a stripper as the sheet metal catches on the punch after knocking in the hole. Screwed the punch guide to the tray and punched away. Took me about 30 minutes to knock in the 230 holes. Then a wipe down with some lacquer thinner and a couple of coats of Chevy Orange Red engine paint.
Hope to get at least $1200 for each of the sets once they hit eBay. Papa wants a Doall 20” band saw!
Thanks for looking, Bruce
