- Joined
- Sep 5, 2013
- Messages
- 3,207
This could be one of projects where you go "Really? You spent how long on that?...".
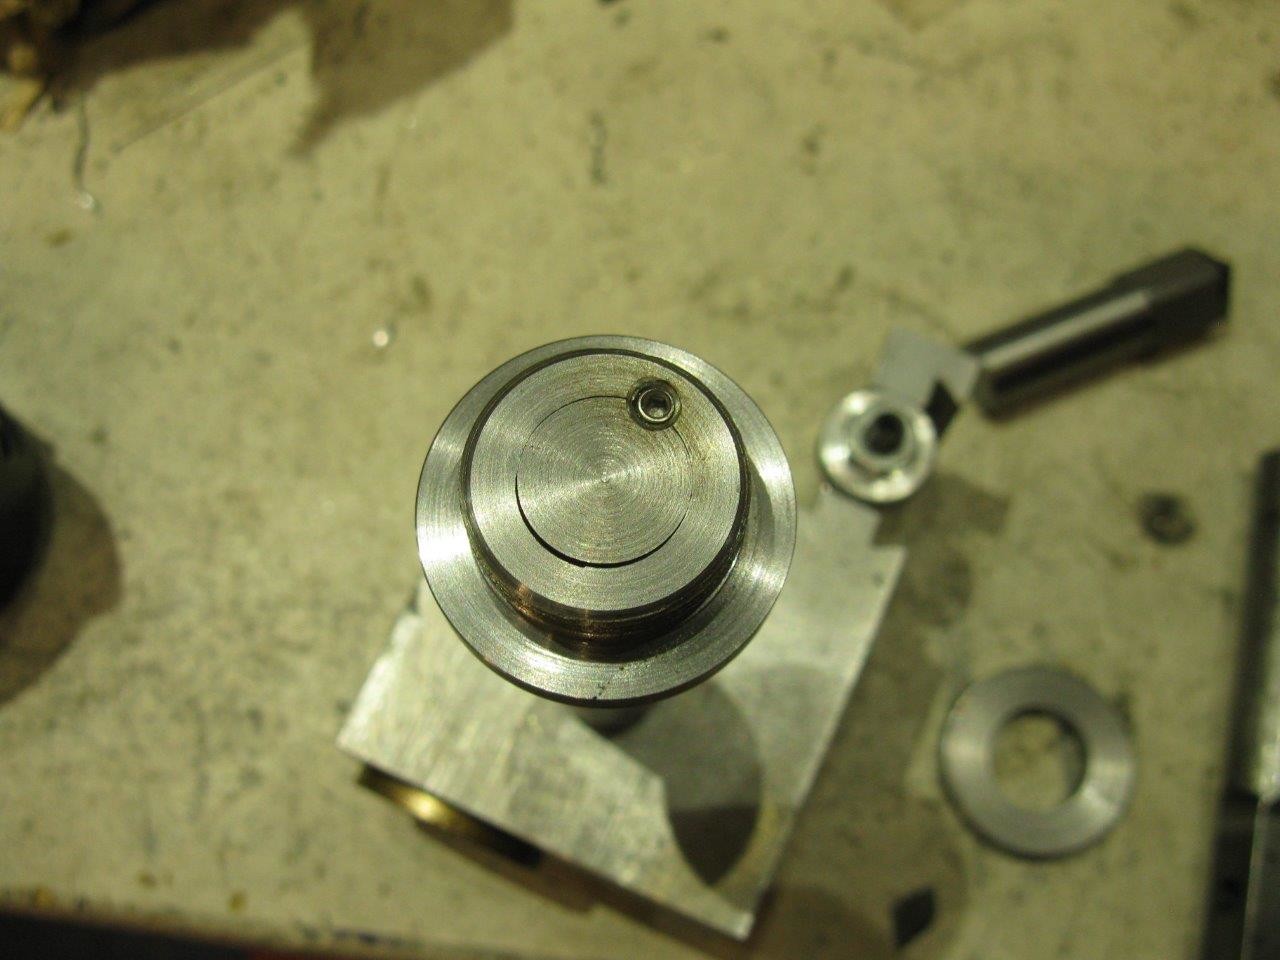
When I got my shaper the stand as well as the whole motor drive assembly was kind of screwy. I ended up rebuilding the whole thing and designed a new drive that incorporated a kind of clutch (slack belt -- tight belt for either disengaging or engaging the stroke) as well as a strokes-per-minute indicator. But I never got around to making a scale for the indicator part. Finally, two years later, I got around to making one.
The machine itself has a nice looking, cast aluminum scale for indicating length of stroke so I decided to emulate that. My other choice was a painted label to match some of the other original badging on the stand, and that still may be the nicer way down the road. But for now I went with the aluminum version.

I wanted to mimic the look of the cast original, so I laid out out the pattern in AutoCAD, glued it to to a scrap of 1/8" aluminum, and proceeded to relieve all of the background using a dental burr in my hand held Dremel tool. Hmmm, this will take some time....

Actually it didn't take that long, a few hours over two evenings and it was all over. I wasn't worried about the background looking uneven -- I kind of wanted that actually, a little on the random side like a sand casting. There is, however, a great tendency to try to "just tune up the numbers a little" once the paper pattern is removed. Resist this at all costs, it will only lead to grief. If you haven't cut the shapes nicely with the pattern to guide you, there isn't a hope in hell you will improve it without!


I was also going to colour the background red like the original but I'm not so sure any more. The scale shows up enough the way it is, and it's just meant as a loose guide to know roughly where the speed is at anyway. So I think I'll leave it like this for a while and see what happens down the road. Some other brainwave will come along, I'm sure.

Thanks for looking!
-frank
When I got my shaper the stand as well as the whole motor drive assembly was kind of screwy. I ended up rebuilding the whole thing and designed a new drive that incorporated a kind of clutch (slack belt -- tight belt for either disengaging or engaging the stroke) as well as a strokes-per-minute indicator. But I never got around to making a scale for the indicator part. Finally, two years later, I got around to making one.
The machine itself has a nice looking, cast aluminum scale for indicating length of stroke so I decided to emulate that. My other choice was a painted label to match some of the other original badging on the stand, and that still may be the nicer way down the road. But for now I went with the aluminum version.
I wanted to mimic the look of the cast original, so I laid out out the pattern in AutoCAD, glued it to to a scrap of 1/8" aluminum, and proceeded to relieve all of the background using a dental burr in my hand held Dremel tool. Hmmm, this will take some time....
Actually it didn't take that long, a few hours over two evenings and it was all over. I wasn't worried about the background looking uneven -- I kind of wanted that actually, a little on the random side like a sand casting. There is, however, a great tendency to try to "just tune up the numbers a little" once the paper pattern is removed. Resist this at all costs, it will only lead to grief. If you haven't cut the shapes nicely with the pattern to guide you, there isn't a hope in hell you will improve it without!
I was also going to colour the background red like the original but I'm not so sure any more. The scale shows up enough the way it is, and it's just meant as a loose guide to know roughly where the speed is at anyway. So I think I'll leave it like this for a while and see what happens down the road. Some other brainwave will come along, I'm sure.
Thanks for looking!
-frank

")