
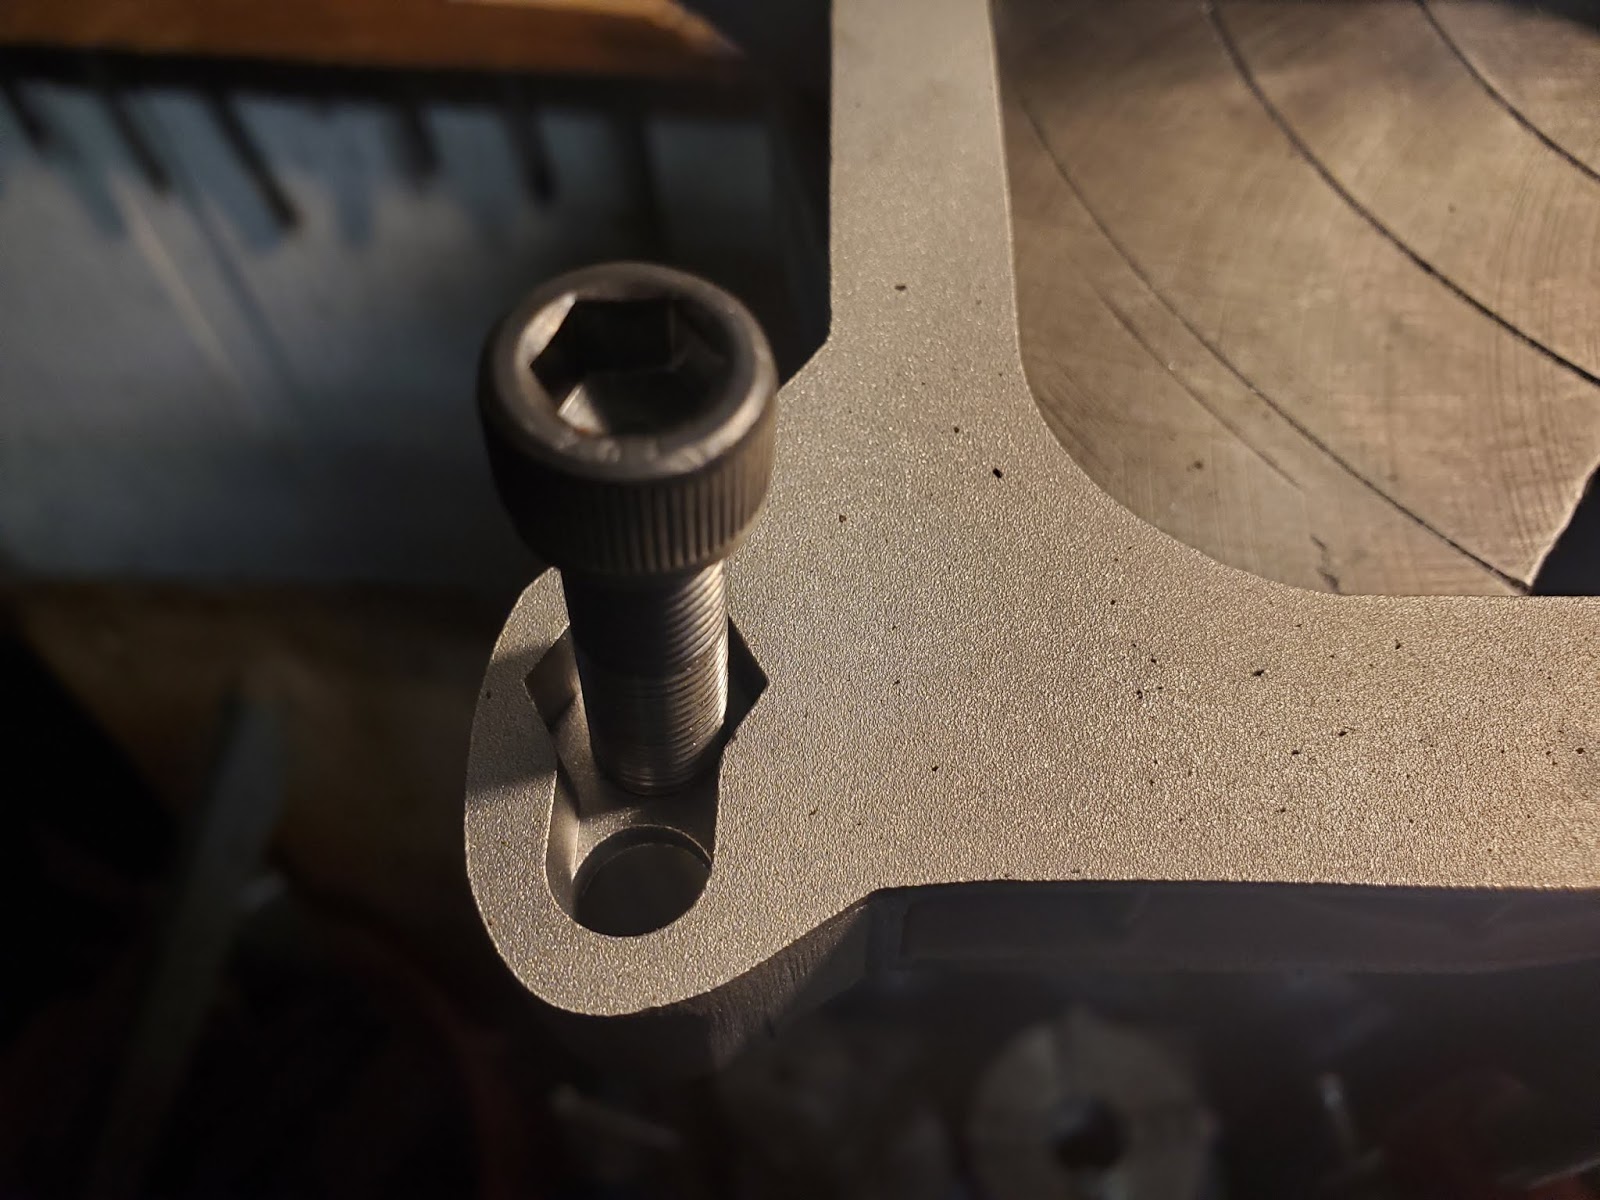
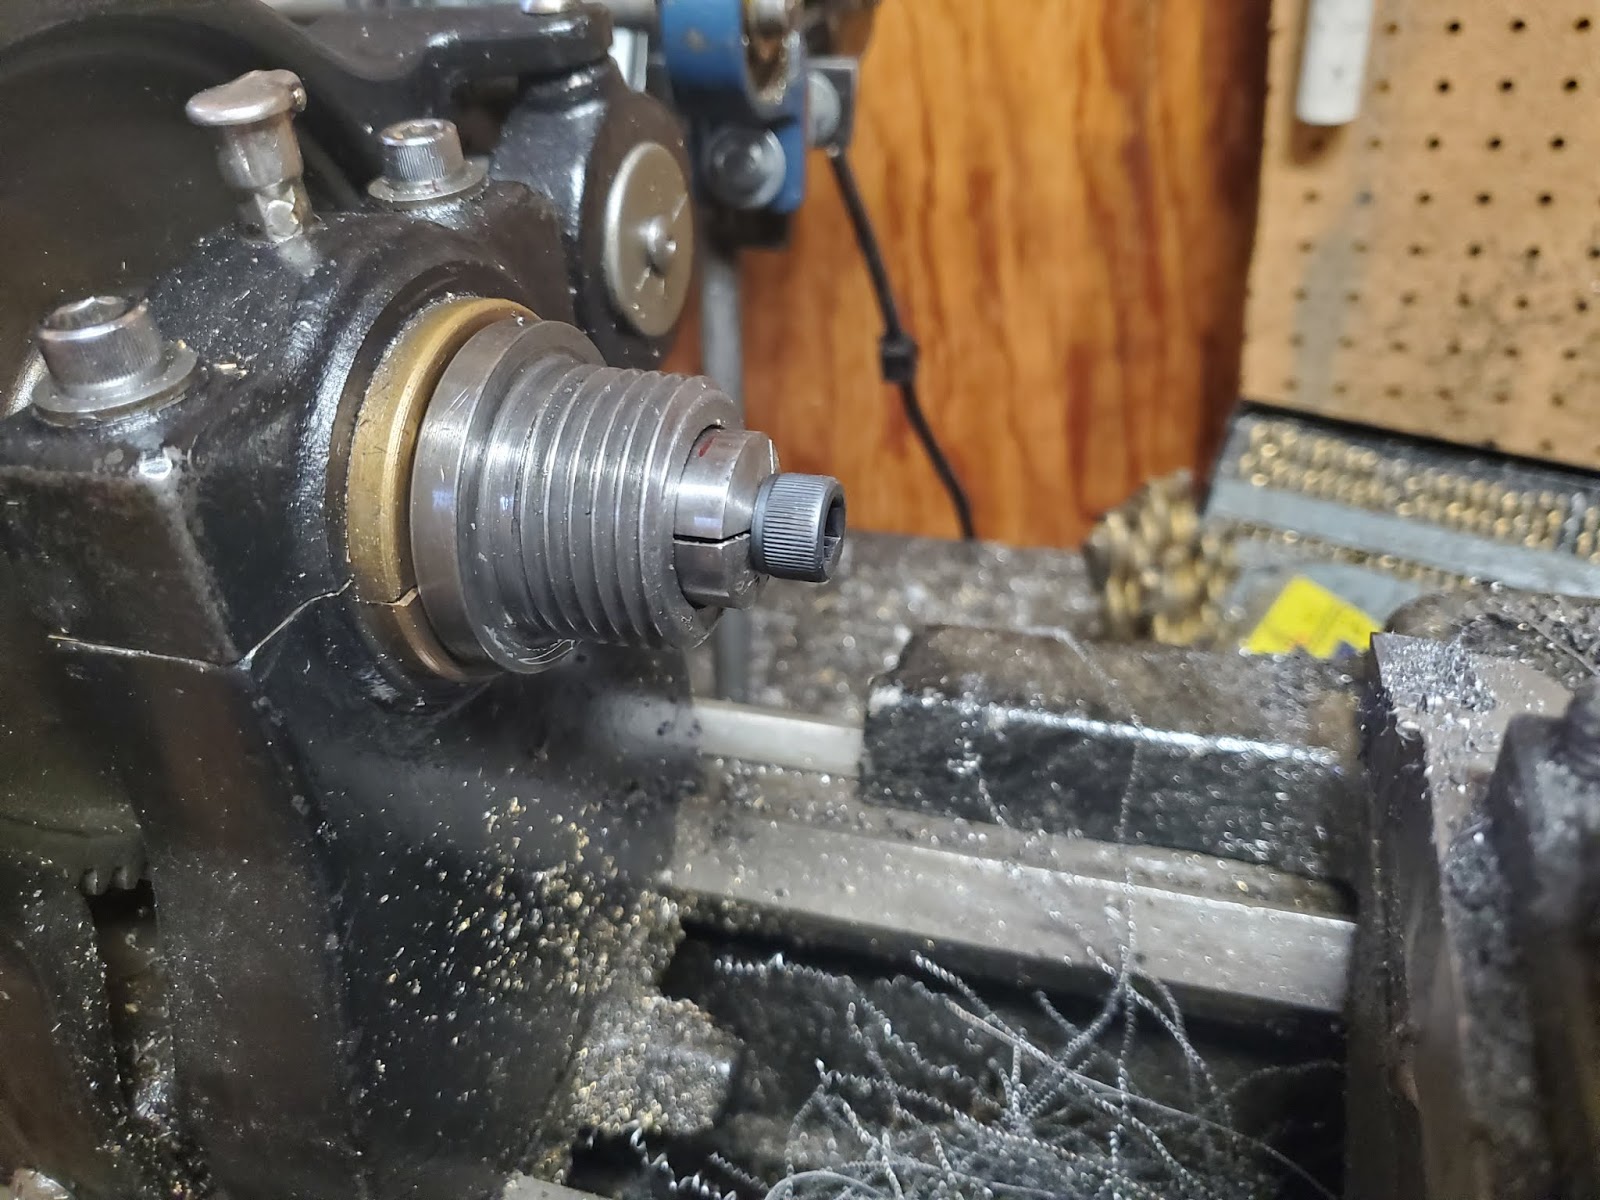
I have been working on my "basket case" 9A for a while now. Today I decided to try to make a turnbuckle for the motor tensioner. I've been using a cheap aluminum one that I picked up at the buy hardware store. It was bending when I tightened the belt for heavy cuts. I don't have a 3/8-16 LH tap. I thought about making it bigger to major the internal threading easier, but decided to give 3/8 a try. Their wasn't much meat left in my tool by the time I got it small enough to fit in the hole. I took a lot of spring passes. The RH side was a breeze. I milled a 3/4 hex and a slot in the center to adjust it. Next up....change the motor.
Ok....I know I said the motor was next, but this came in the mail today.
I have been using a dial from an atlas. It works but the gear is too small in diameter. Used SB thread dials seem to be made of gold. I was surfing ebay and found this 3D printed kit for not a lot of money. So I thought I would give it a try.
All I needed was a couple of reamers and a tap. I also turned a 1/4" driver to seat the bushings.
I tapped the shaft into the dial and then lightly reamed the gear so it fits real snug on the shaft. There is a hole for a set screw on the gear that needs to be tapped.
It went together in minutes. I still have to mount it and get the dial in position before tightening the gear. Time will tell how it performs, but I'm impressed with it so far. It's cheap and it's made in the US.

-
Welcome back Guest! Did you know you can mentor other members here at H-M? If not, please check out our Relaunch of Hobby Machinist Mentoring Program!
- Forums
- THE PROJECTS AREA
- PROJECT OF THE DAY --- WHAT DID YOU DO IN YOUR SHOP TODAY?
- Project of the Day Mega-Thread Archives
You are using an out of date browser. It may not display this or other websites correctly.
You should upgrade or use an alternative browser.
You should upgrade or use an alternative browser.
2019 POTD Thread Archive
- Thread starter GoceKU
- Start date


I mounted my printed thread dial today. I used it to thread the square headed lock bolt that holds it in place. I'm happy with it. I'm not a real believer in using plastic parts on machines, but for this application I think it will hold up just fine
Chuck, I had one but after about 3 months the gear started to wear badly. I used the 3D unit as a model to make one out of aluminum. Was really easy to build one when all I was doing was copying the plastic one.
That was my concern. I thought as long as I kept it backed away when not in use it would be alright.Chuck, I had one but after about 3 months the gear started to wear badly. I used the 3D unit as a model to make one out of aluminum. Was really easy to build one when all I was doing was copying the plastic one.
That does help. Just keep it in the back of your mind that if and when it shows signs of wear... don’t toss it. It’s a perfect model to copy for making an all metal thread dial. Really makes it easier than just reading prints in my opinion. That’s why I’m mentioning it. I have no regrets buying the one I bought because it worked for a while and made it easy to copy when I decided to make one. 
LOL. You think exactly like me. I have become a master (at least in my own mind) at copying parts. My initial thought when I looked at the parts was...I should just make one of these.That does help. Just keep it in the back of your mind that if and when it shows signs of wear... don’t toss it. It’s a perfect model to copy for making an all metal thread dial. Really makes it easier than just reading prints in my opinion. That’s why I’m mentioning it. I have no regrets buying the one I bought because it worked for a while and made it easy to copy when I decided to make one. View attachment 308172
- Joined
- Jul 14, 2017
- Messages
- 2,448
Today i spent some time in my machine shop, my lathe is a real mess dirty, and the chip pan is full also the floor is a mess, i started with the chip pan on my lathe, i got two steel buckets a fresh set of gloves and started filling them, after filling them only the fine chips are left and they are soaked in oil so i pulled them all the the side so the oil can drain down, then i moved on the big 4 jaw chuck, removed it from my lathe, found it a place to store and install the 3 jaw back on the lathe. Then i moved on to moving staff and reorganising the small garage and left the rest to clean up during the day.


- Joined
- Dec 6, 2015
- Messages
- 810
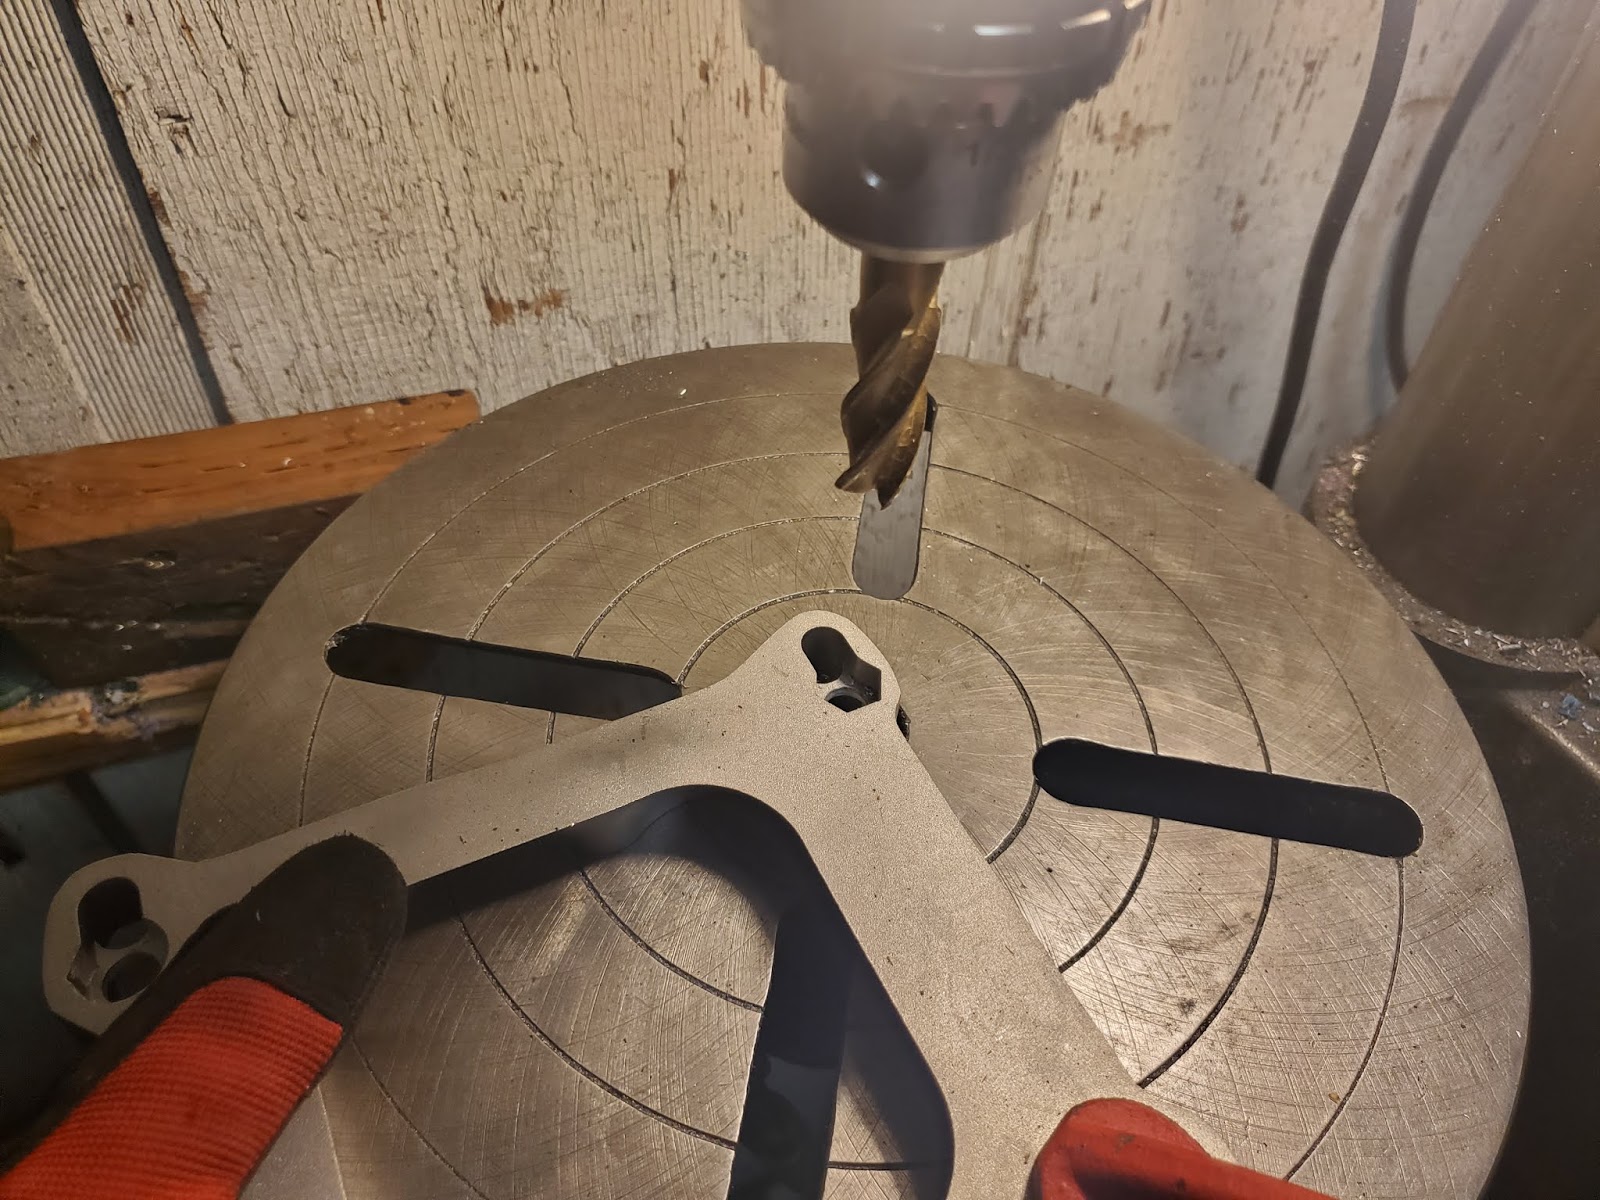
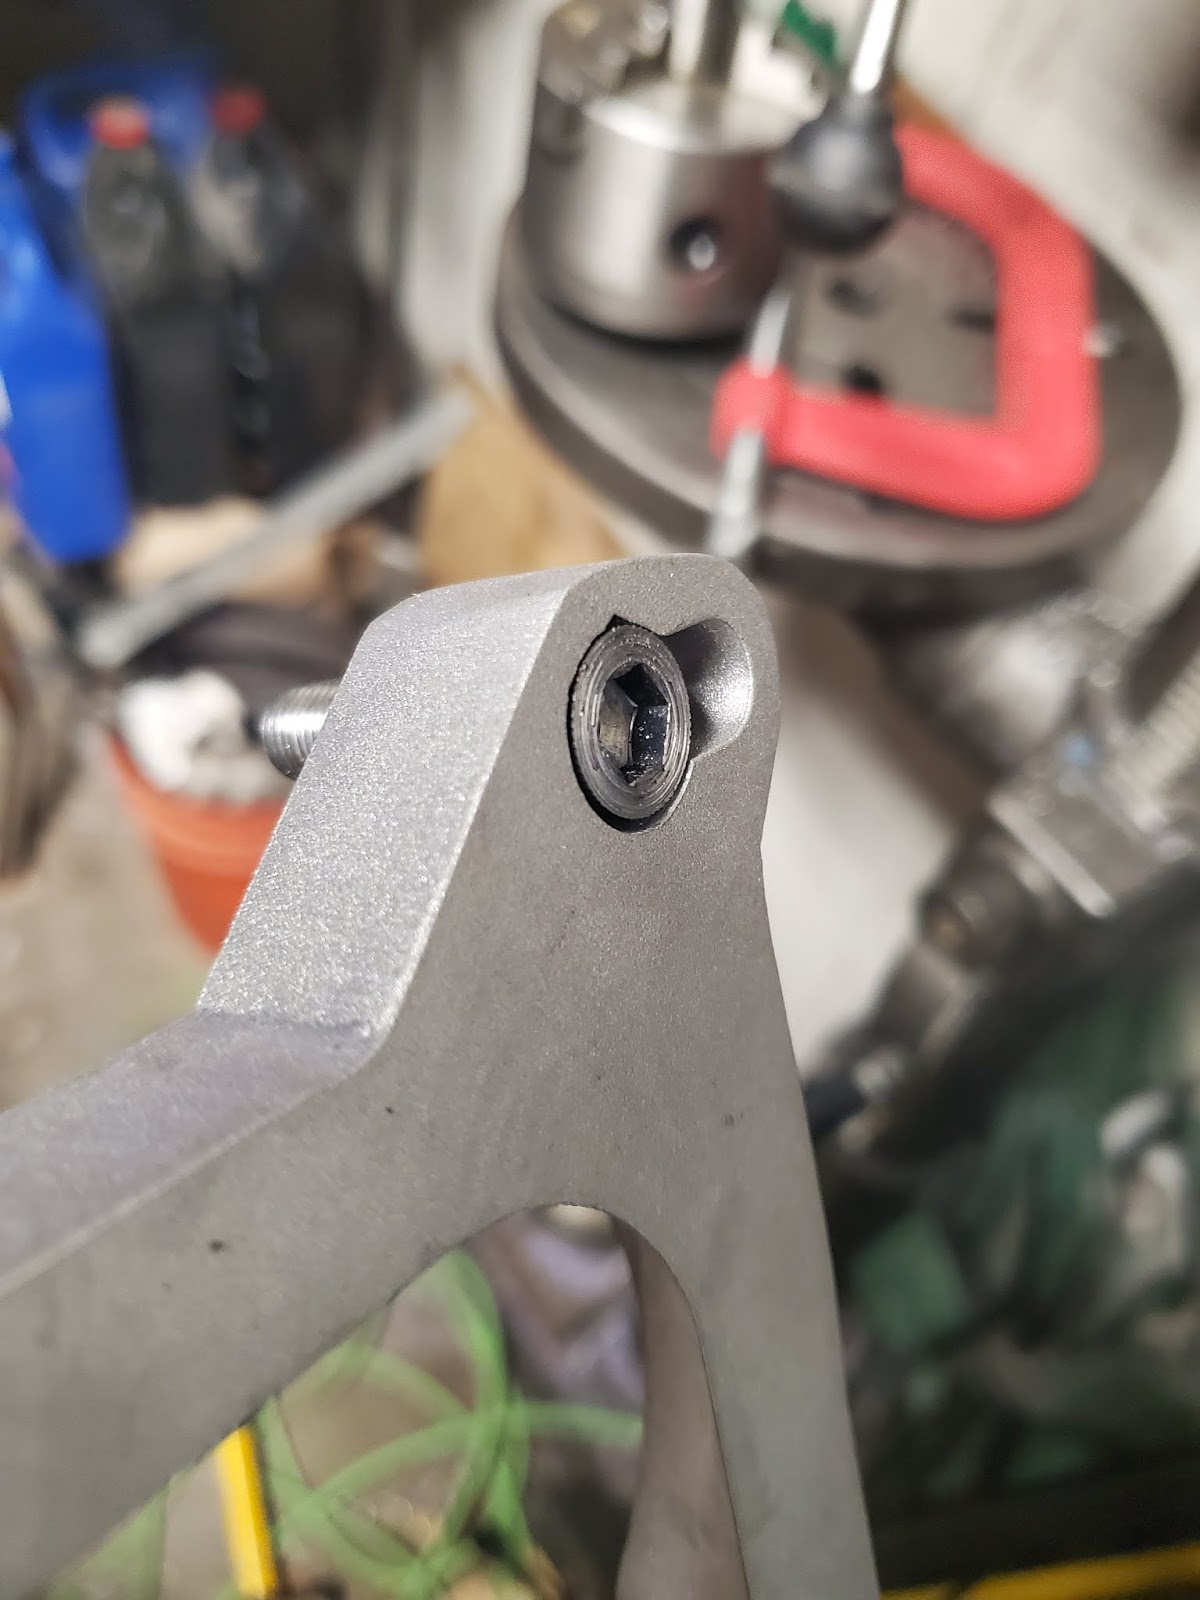
I had to modify the carburetor adapter. It was designed for a 5/16" bolt to the intake. My intake is 3/8-24. So, I grabbed a U drill bit, locked the drill press table in place and used the U bit to line the adapter hole up with the drill press spindle while clamping it down.
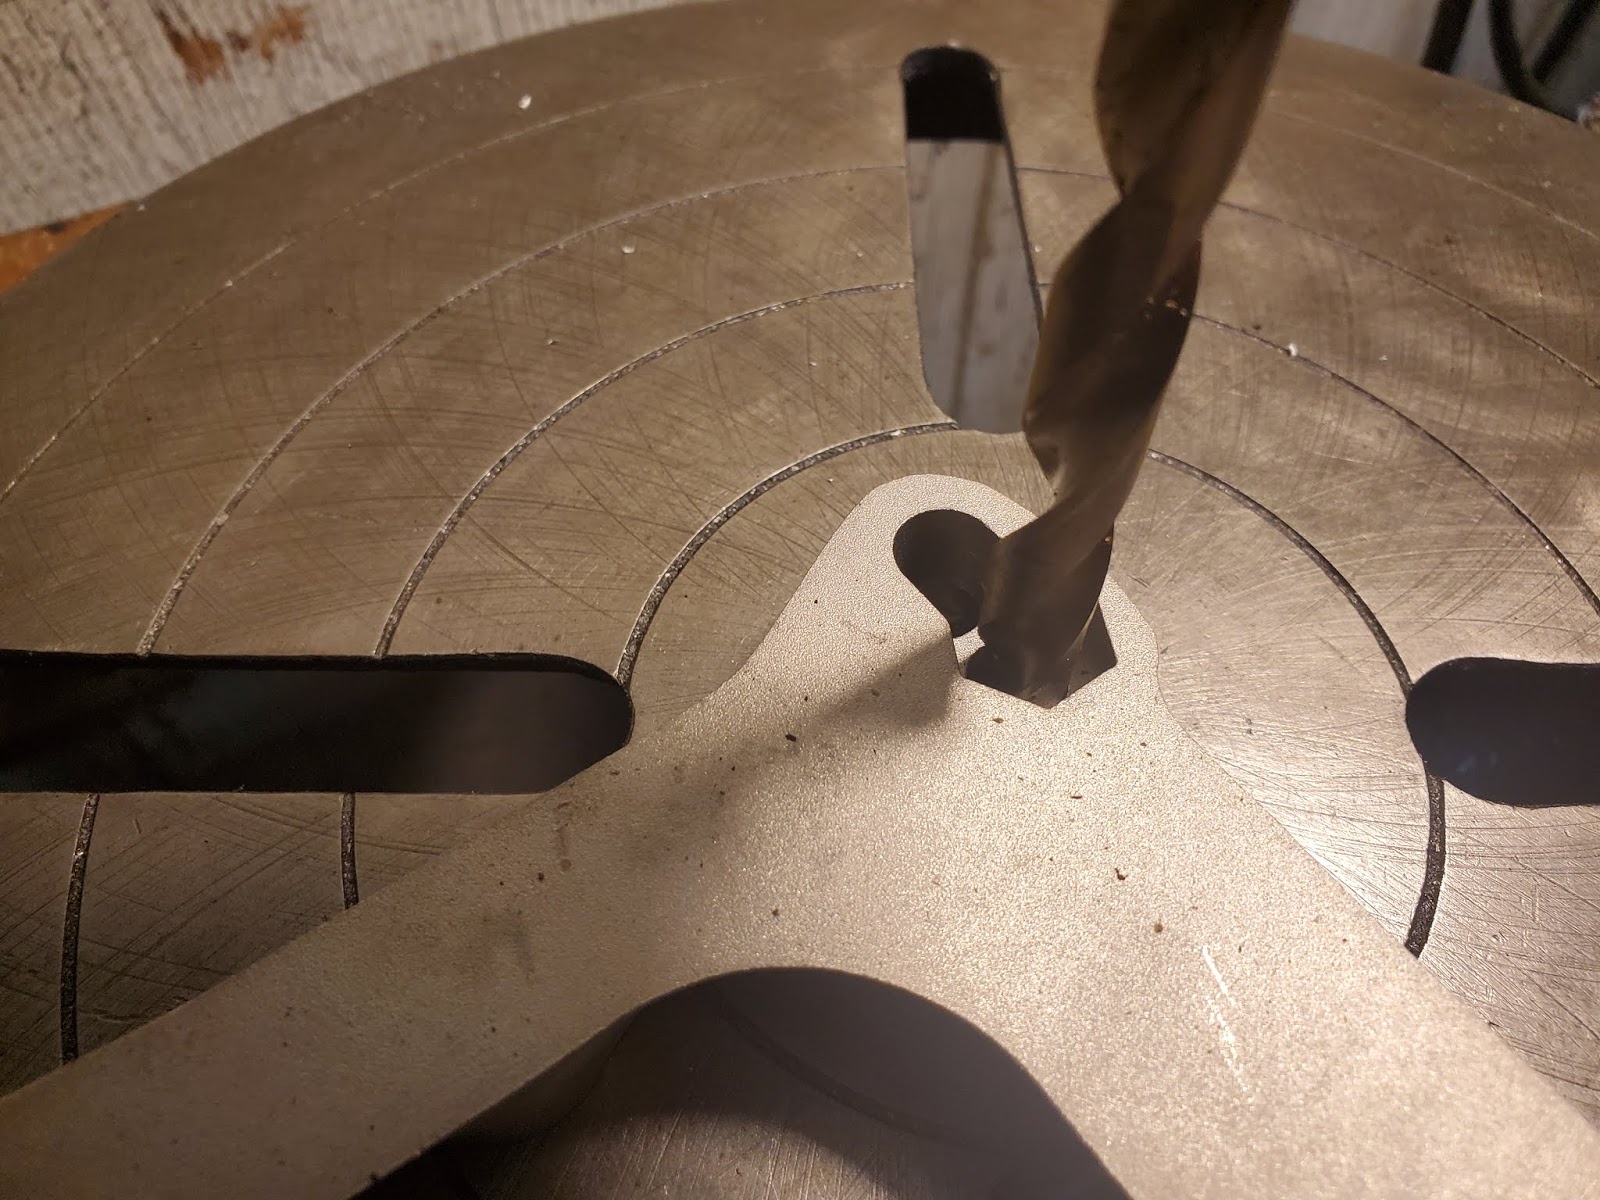
I then swapped it for the 3/8" drill bit, and drilled the hole out.
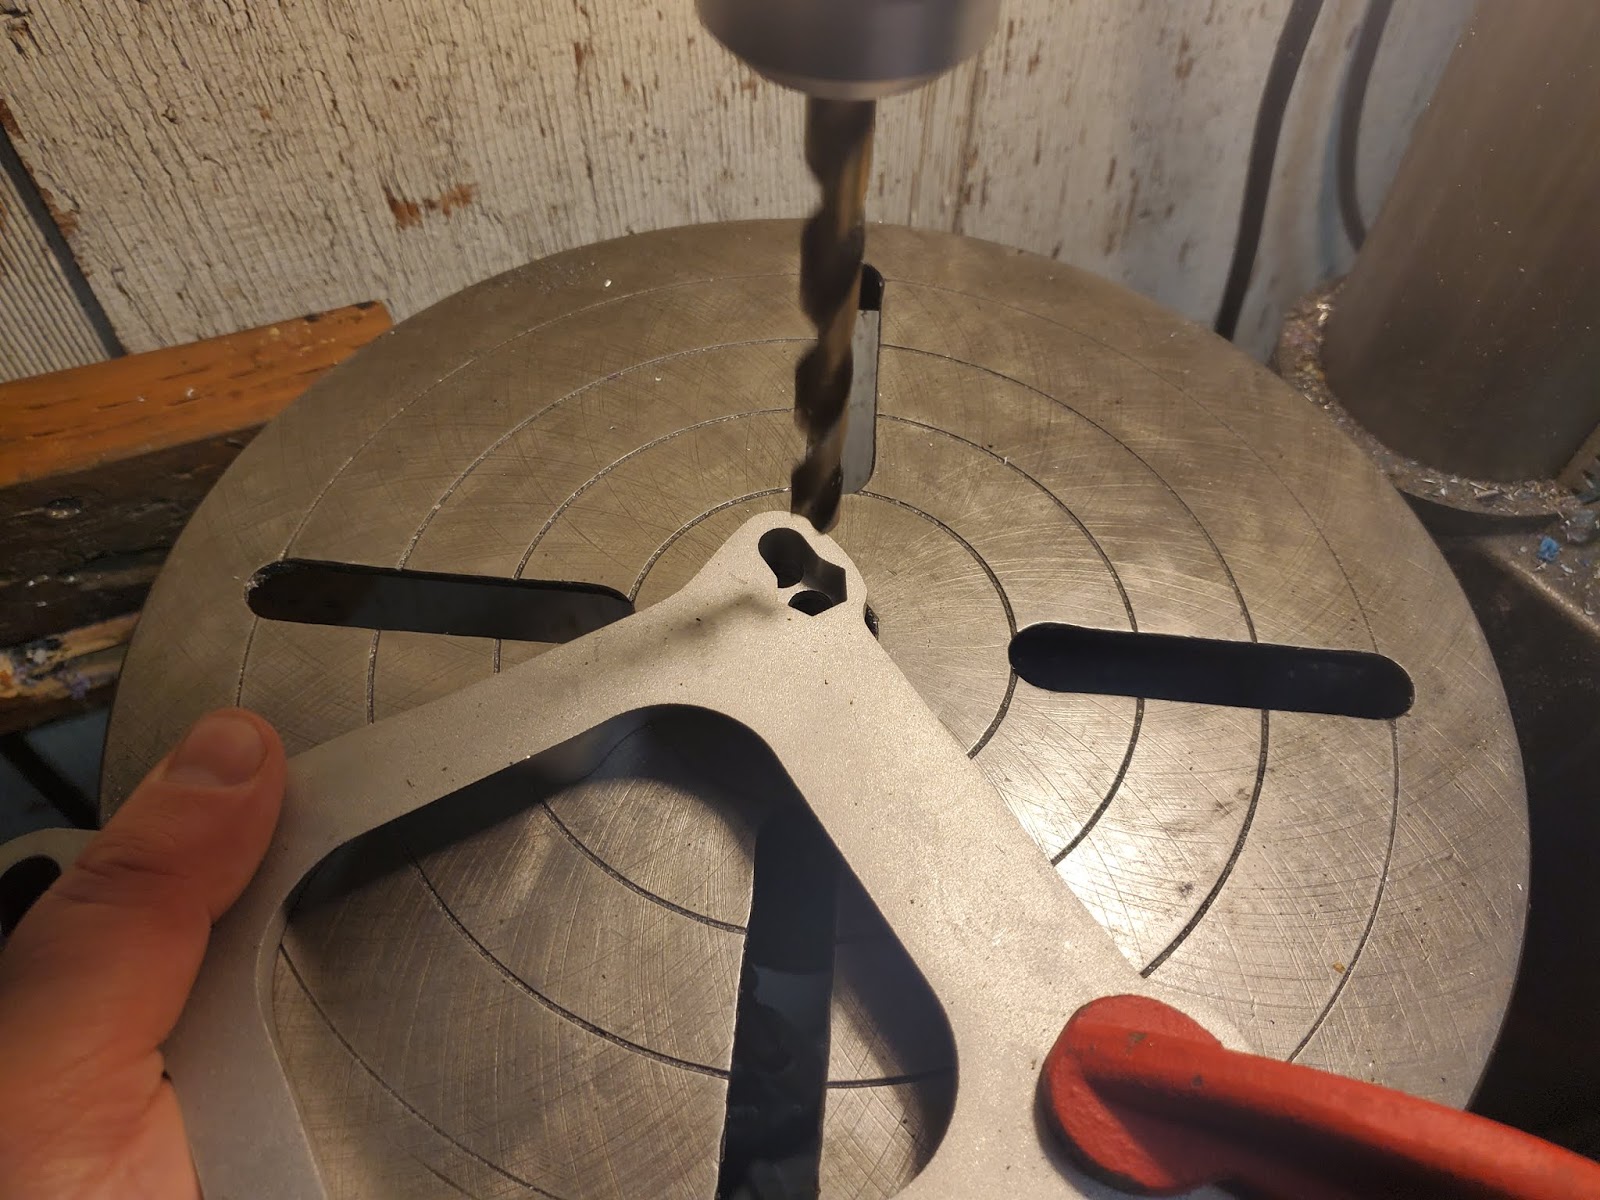
The socket head bolts still wouldn't fit into place because the head was too big, so I grabbed the 9/16" end mill and chucked it into the drill chuck (no side loads, just drilling a square-bottomed hole for the bolt seat).
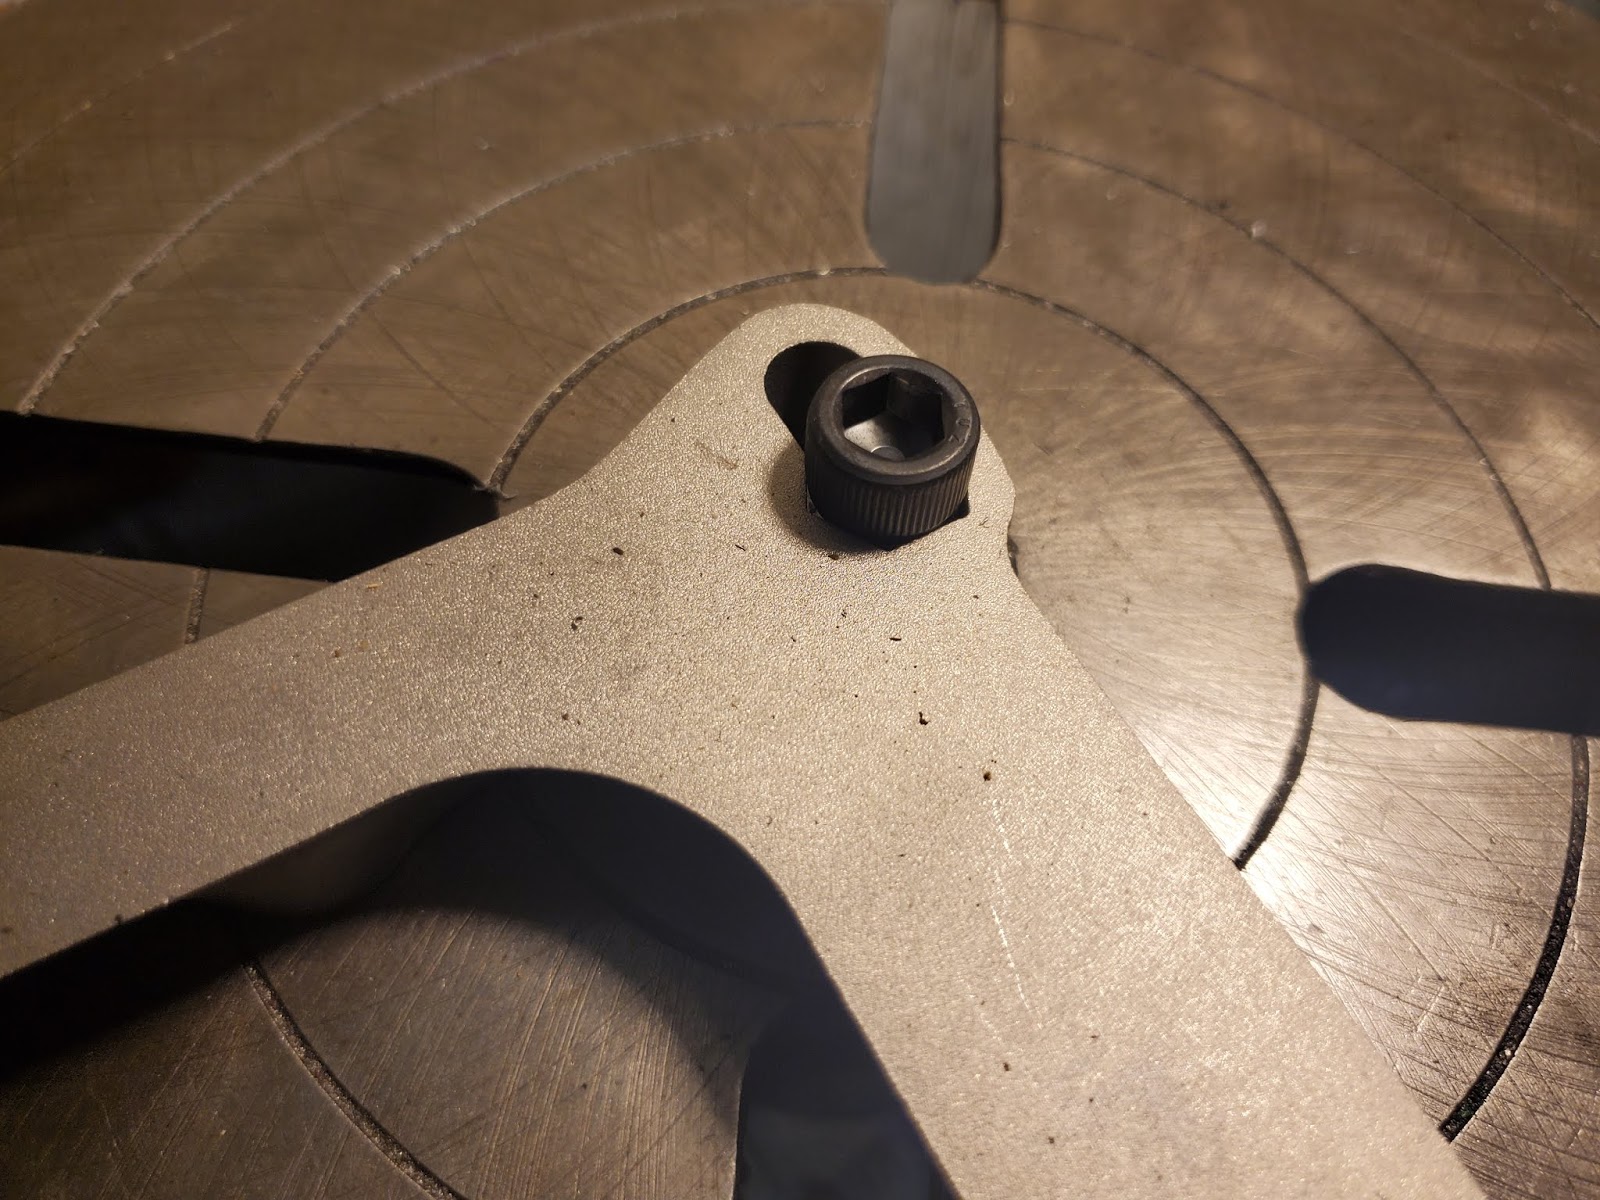
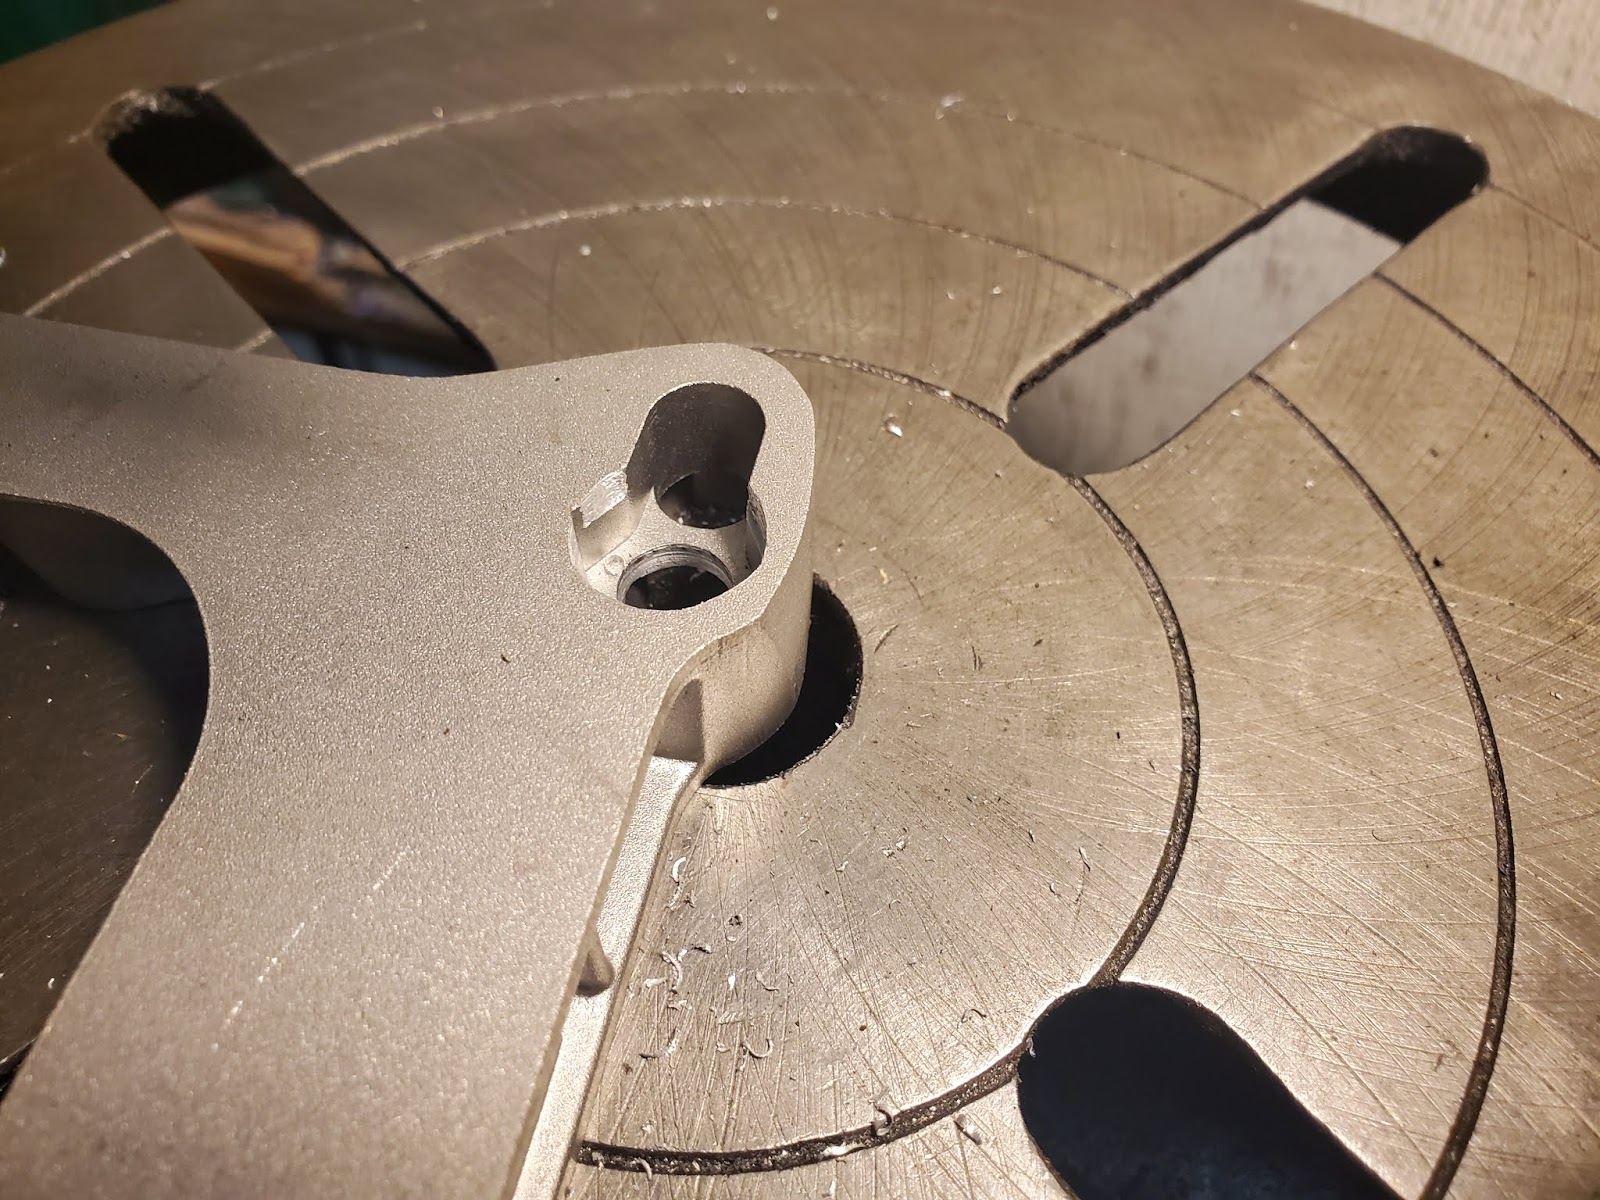
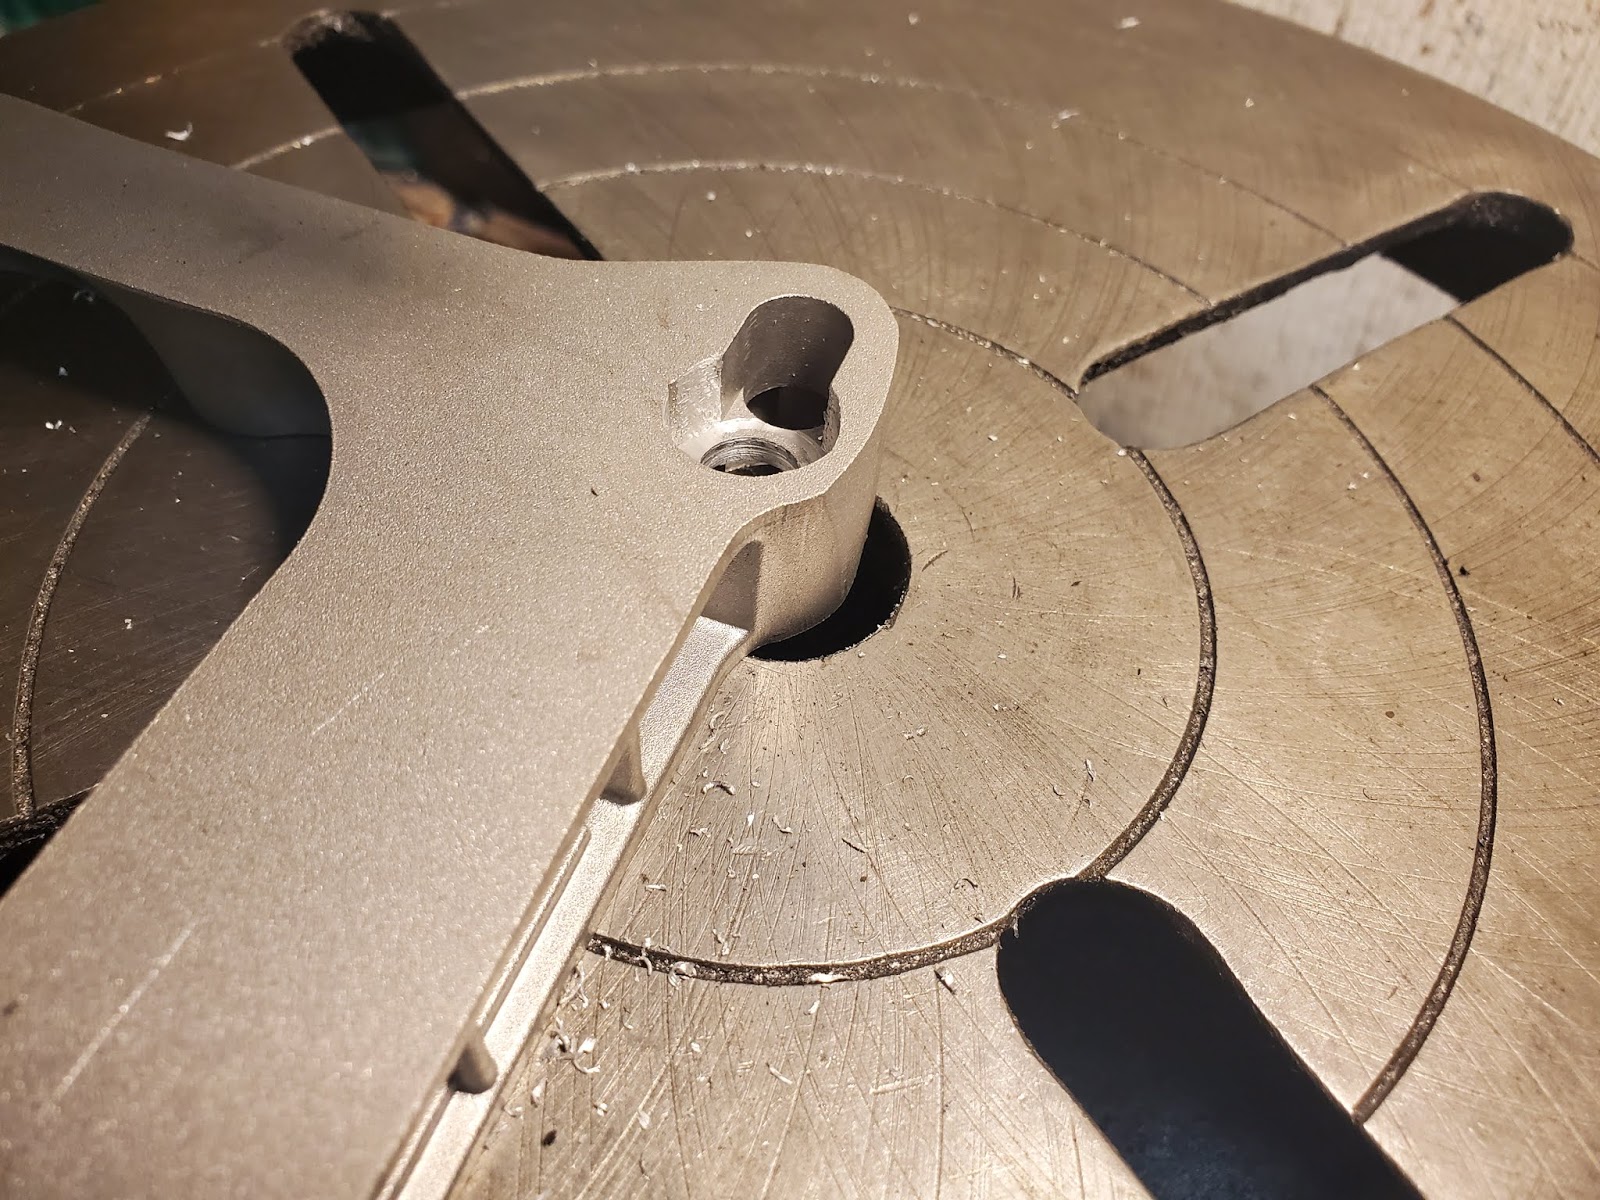
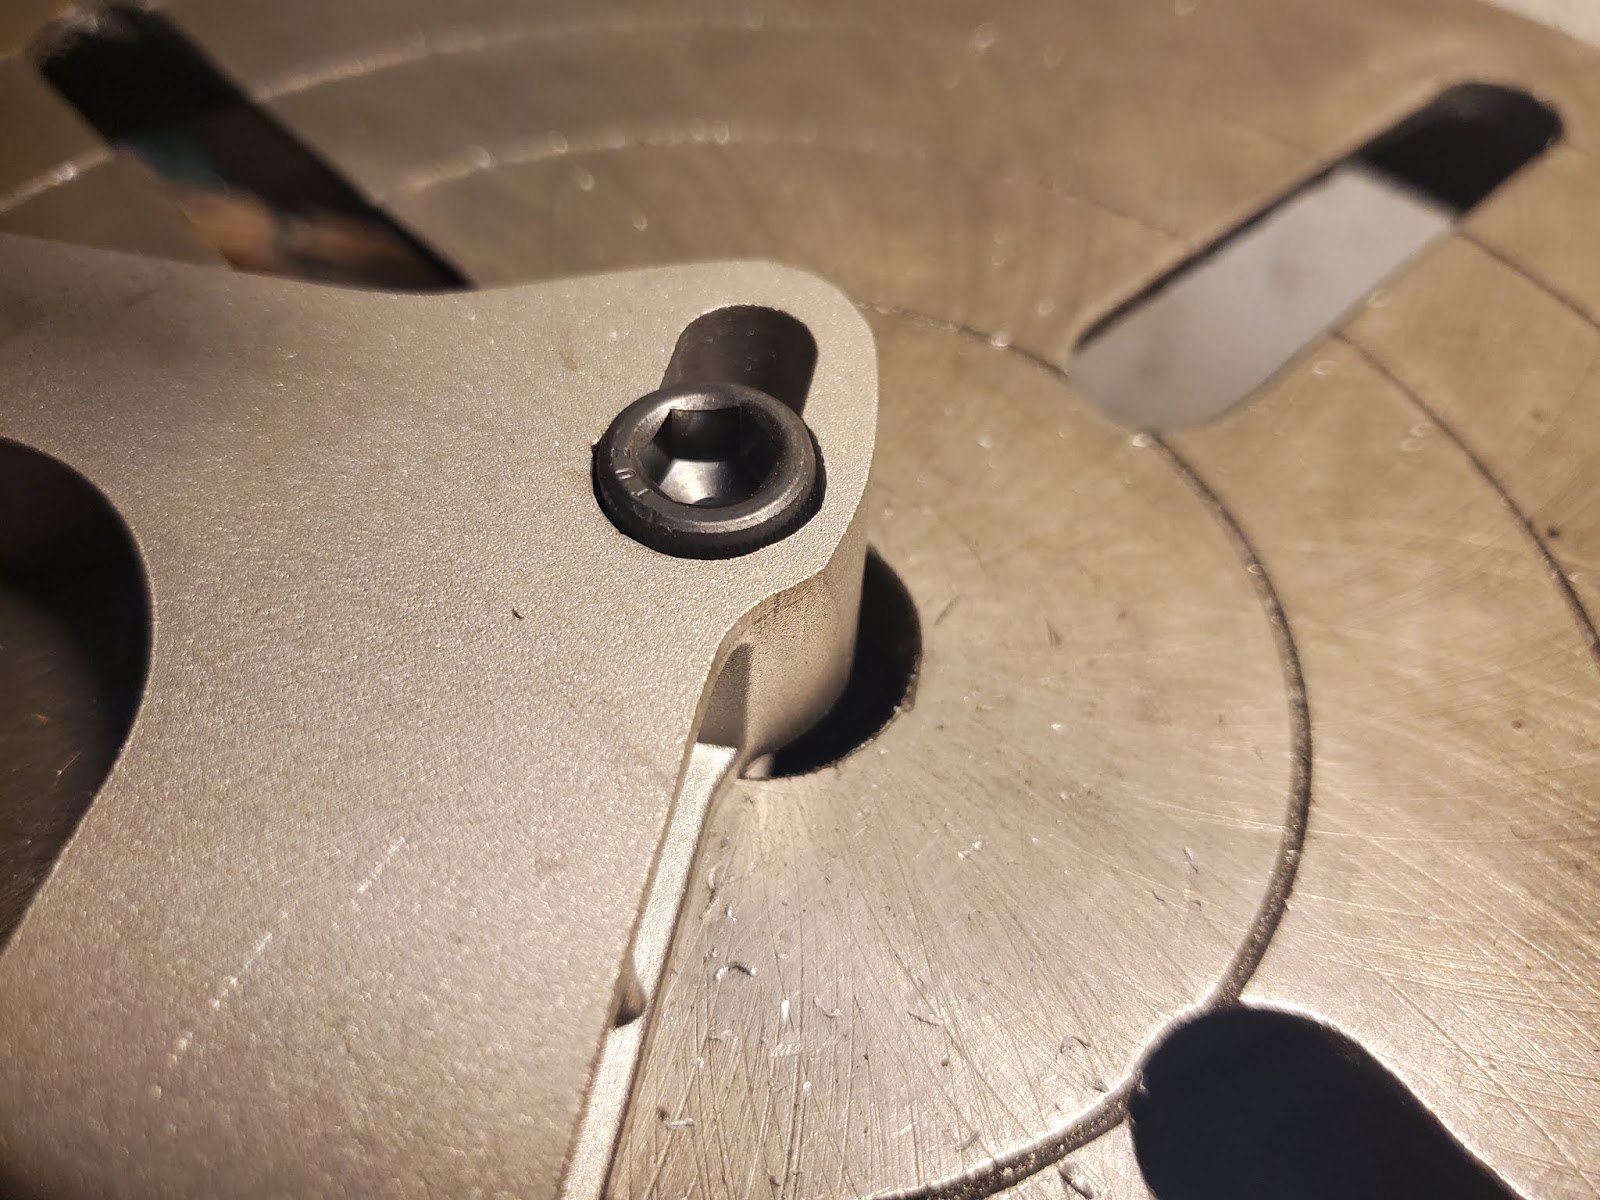
With that done, I put the collet in place and the bolts in (they sat proud of the adapter). I faced them off far enough to not be proud (yeah, I humbled those silly bolts).
Then I could install the adapter :
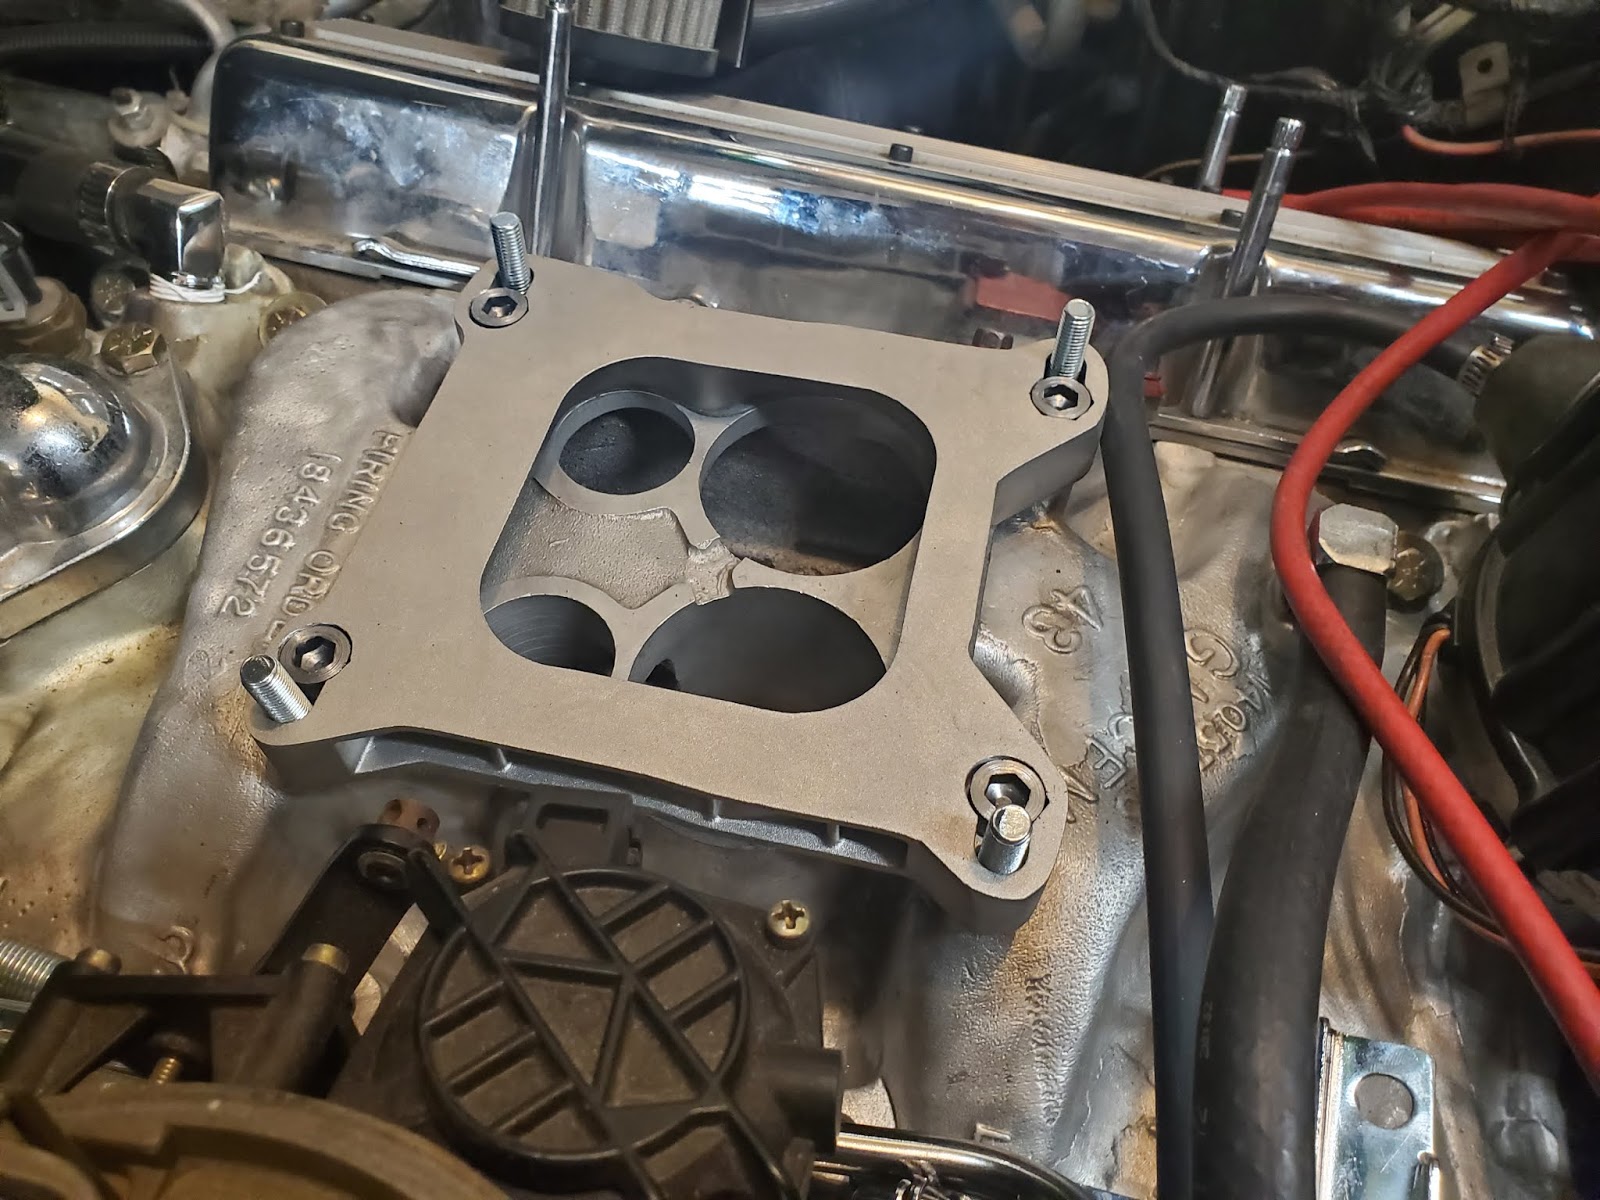
Now, I have to make a throttle cable adapter, then build the fuel lines.
I then swapped it for the 3/8" drill bit, and drilled the hole out.
The socket head bolts still wouldn't fit into place because the head was too big, so I grabbed the 9/16" end mill and chucked it into the drill chuck (no side loads, just drilling a square-bottomed hole for the bolt seat).
With that done, I put the collet in place and the bolts in (they sat proud of the adapter). I faced them off far enough to not be proud (yeah, I humbled those silly bolts).
Then I could install the adapter :
Now, I have to make a throttle cable adapter, then build the fuel lines.
Today I started working on a different motor for my 9A. I have a few 2 hp 3 phase motors but they have 7/8 shafts. The motor pulley is 5/8. I decided to try turning the shaft down.
After working out my setup, I wrapped it up in plastic to keep the chips out, and turned it to size.
Then I moved it to the mill to cut the keyway.
I removed the motor plate and drilled and tapped new holes to mount the new motor.


Now I need to slot the holes on the motor and wire it up. 2 hp is definitely overkill....but this has been a low budget operation from the start and the motor fits in that budget.
After working out my setup, I wrapped it up in plastic to keep the chips out, and turned it to size.
Then I moved it to the mill to cut the keyway.
I removed the motor plate and drilled and tapped new holes to mount the new motor.
Now I need to slot the holes on the motor and wire it up. 2 hp is definitely overkill....but this has been a low budget operation from the start and the motor fits in that budget.
- Joined
- Nov 23, 2014
- Messages
- 2,609
POTD was helping our son Steven make a Christmas ornament holder for mom. He’s currently studying Computer Engineering in college and did a semester abroad in Waterford, Ireland last fall. He gave my wife a Waterford crystal star ornament for Christmas last year. She asked for a stand to display it through the year.
His design was a wood base with a vertical brass rod and a copper curly-Q to hang the ornament on. We started by cutting a spiral pattern on the CNC Bridgeport mill. My BP has a circa 1981 Anilam Crusader II control with a built-in routine for cutting spirals. My Tormach has a 4th axis, could have done a simple "G1 X 3.0 A 2160" to do a 5-loop spiral with a 3” radius, but had the Tormach set up for another job so went with the BP. Proved out the routine in a block of wood, then ran it in a piece of aluminum.
I didn’t take pictures of it, but we spiraled a piece of #10 bare wire into the spiral pattern and threw it in one of my heat treat ovens at 900 F to anneal the copper. The copper had some spring back when pulled from the fixture; the annealing held it to size.
Steven cut a block of walnut and turned a ball on the end of a piece of 5/16” brass. Center-drilled and drilled a hole for the copper curly-Q.
We ran an engraving routine on the Tormach 1100 for a “Merry Christmas 2019” plaque. Used a diamond drag tool for that, then polished up the brass with a buffing wheel. Sprayed everything with a few coats of satin polyurethane. Should be a nice surprise for mom on Christmas morning (assuming she doesn’t read the forum!).
Thanks for looking.
Bruce
Ran the spiral CNC routine in a block of wood to prove it out

Final routine run in an aluminum plate. Needed something that could take 900 F for annealing a copper wire pressed into the spiral groove

Duct taped a piece of brass plate to a block for engraving on the Tormach

Final Christmas ornament stand

His design was a wood base with a vertical brass rod and a copper curly-Q to hang the ornament on. We started by cutting a spiral pattern on the CNC Bridgeport mill. My BP has a circa 1981 Anilam Crusader II control with a built-in routine for cutting spirals. My Tormach has a 4th axis, could have done a simple "G1 X 3.0 A 2160" to do a 5-loop spiral with a 3” radius, but had the Tormach set up for another job so went with the BP. Proved out the routine in a block of wood, then ran it in a piece of aluminum.
I didn’t take pictures of it, but we spiraled a piece of #10 bare wire into the spiral pattern and threw it in one of my heat treat ovens at 900 F to anneal the copper. The copper had some spring back when pulled from the fixture; the annealing held it to size.
Steven cut a block of walnut and turned a ball on the end of a piece of 5/16” brass. Center-drilled and drilled a hole for the copper curly-Q.
We ran an engraving routine on the Tormach 1100 for a “Merry Christmas 2019” plaque. Used a diamond drag tool for that, then polished up the brass with a buffing wheel. Sprayed everything with a few coats of satin polyurethane. Should be a nice surprise for mom on Christmas morning (assuming she doesn’t read the forum!).
Thanks for looking.
Bruce
Ran the spiral CNC routine in a block of wood to prove it out
Final routine run in an aluminum plate. Needed something that could take 900 F for annealing a copper wire pressed into the spiral groove
Duct taped a piece of brass plate to a block for engraving on the Tormach
Final Christmas ornament stand
Last edited: