2019 POTD Thread Archive

I committed a sac religious act. I have my vise mounted on a sub plate with pins underneath so that in theory it should stay aligned to the mill. Unfortunately, the center slot on my G0704’s table wasn’t very clean and every time I remounted my vise I had to realign it. I finally got tired of it. So yesterday I used a 3/8” carbide end mill to take a .003” clean up pass on the rear face of the slot. I’m hoping that it will cure that problem.

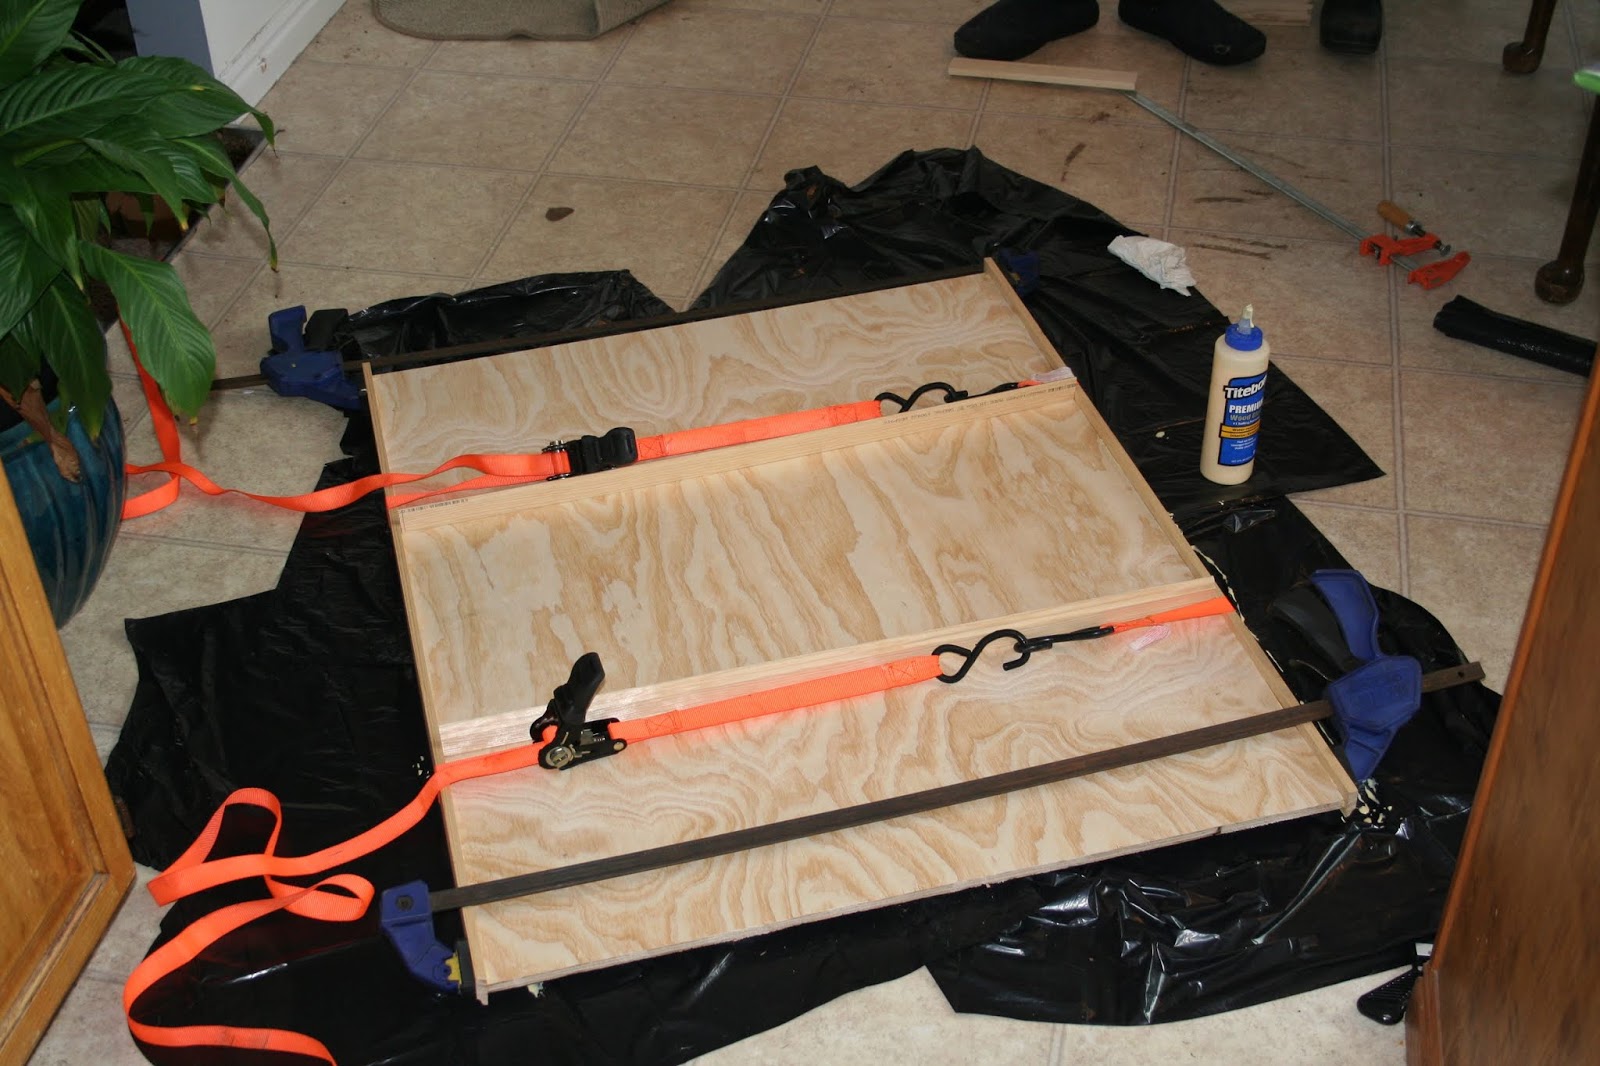
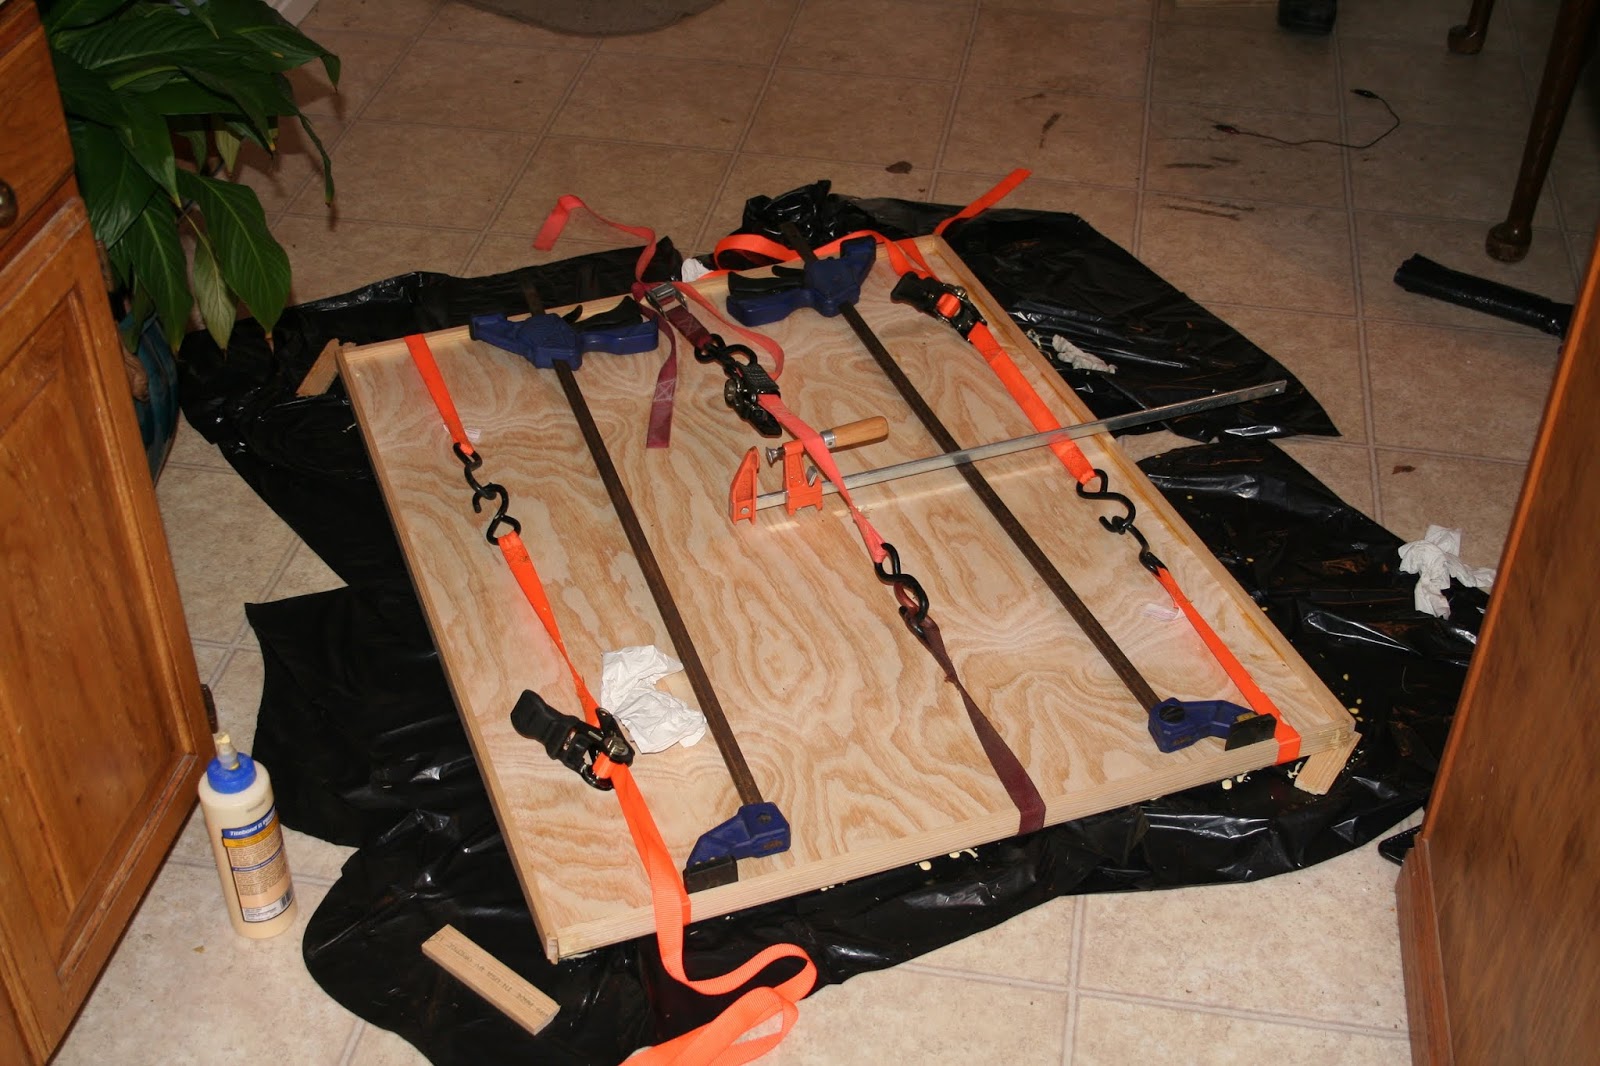
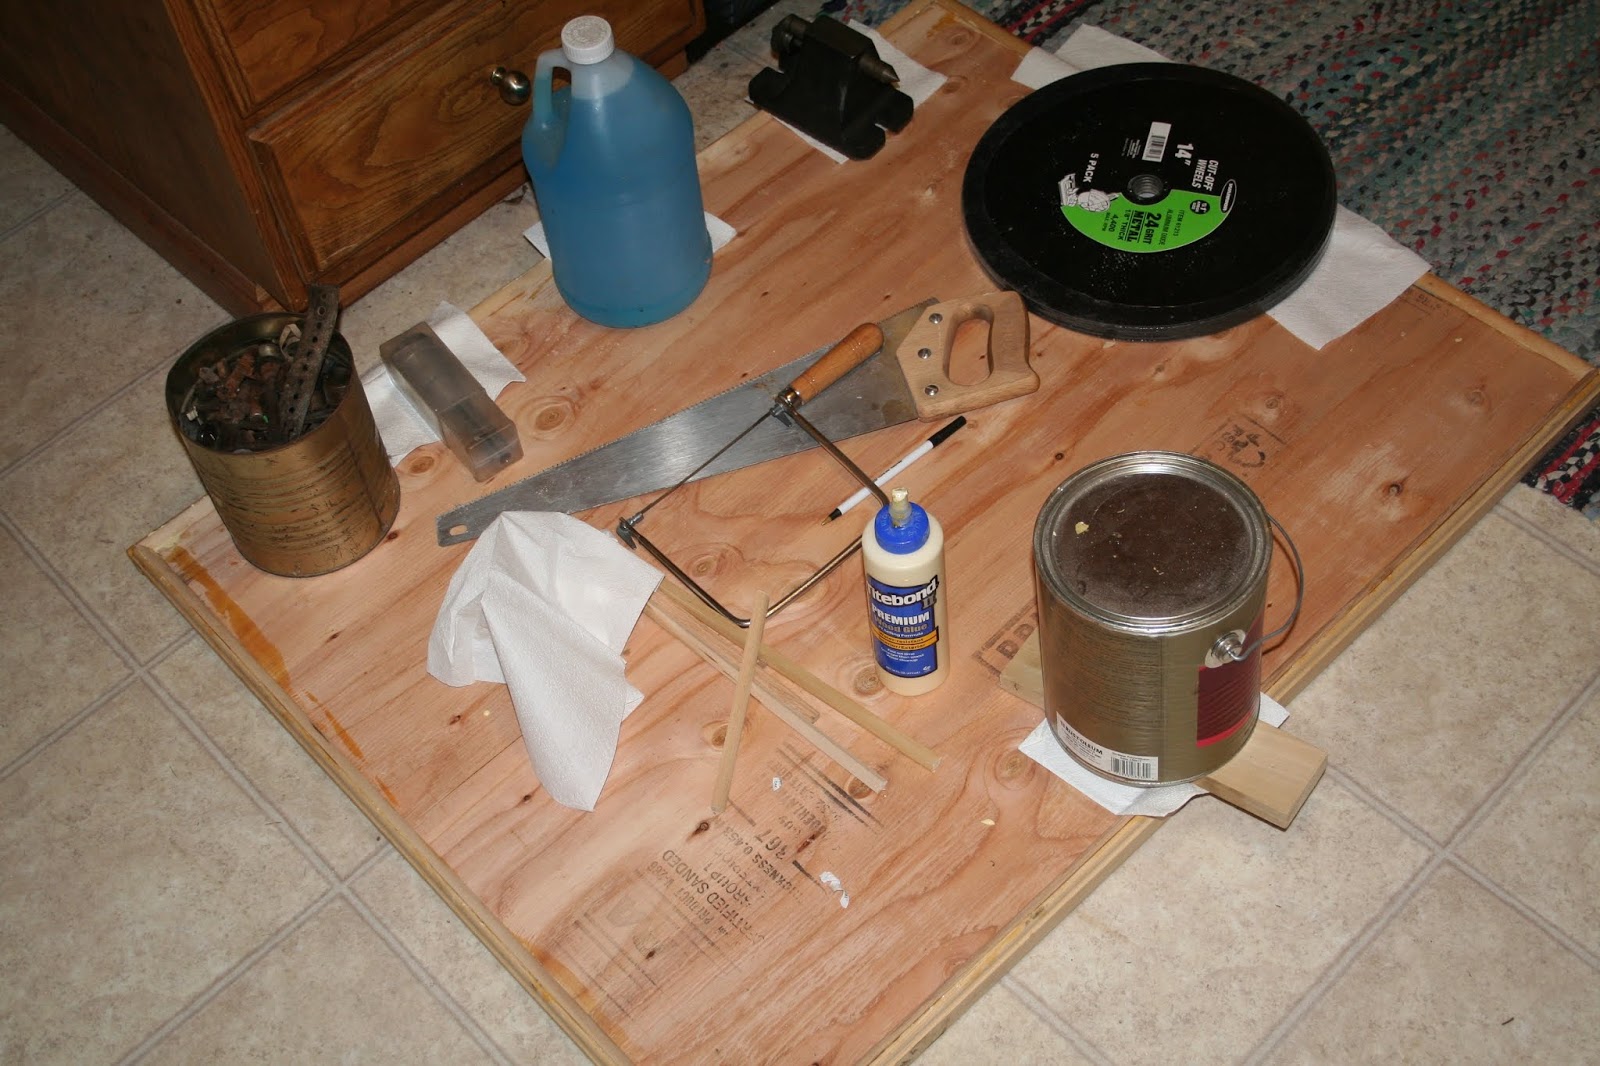
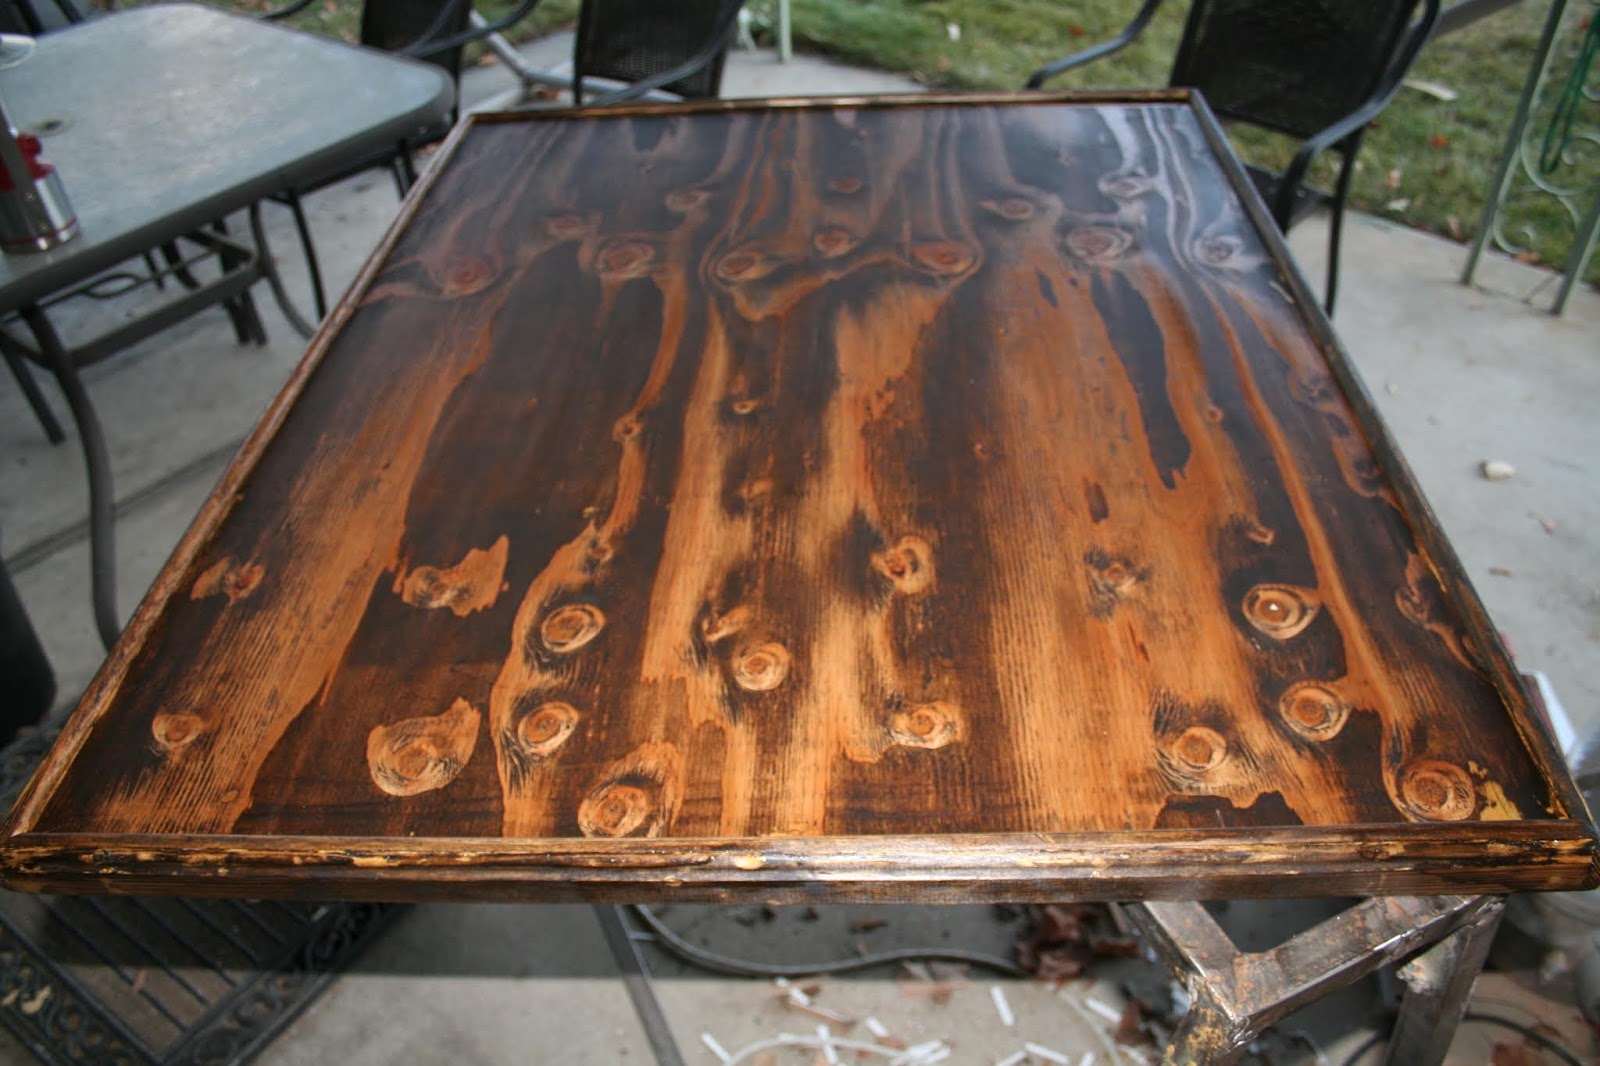
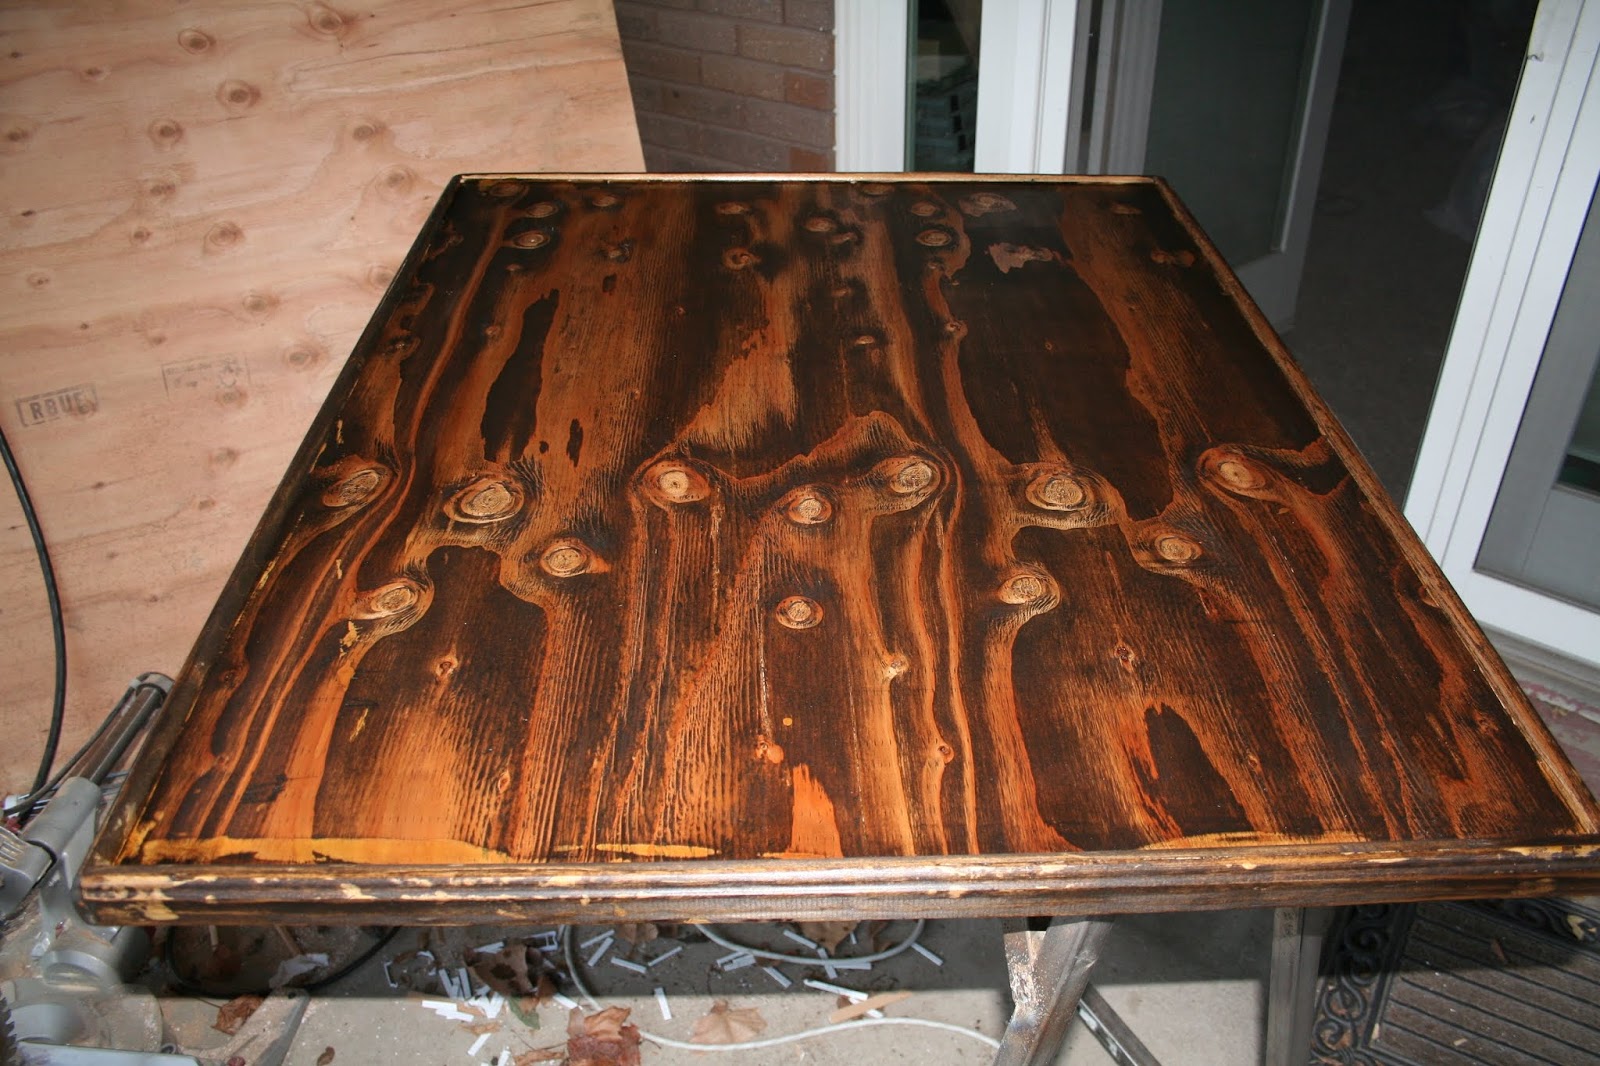
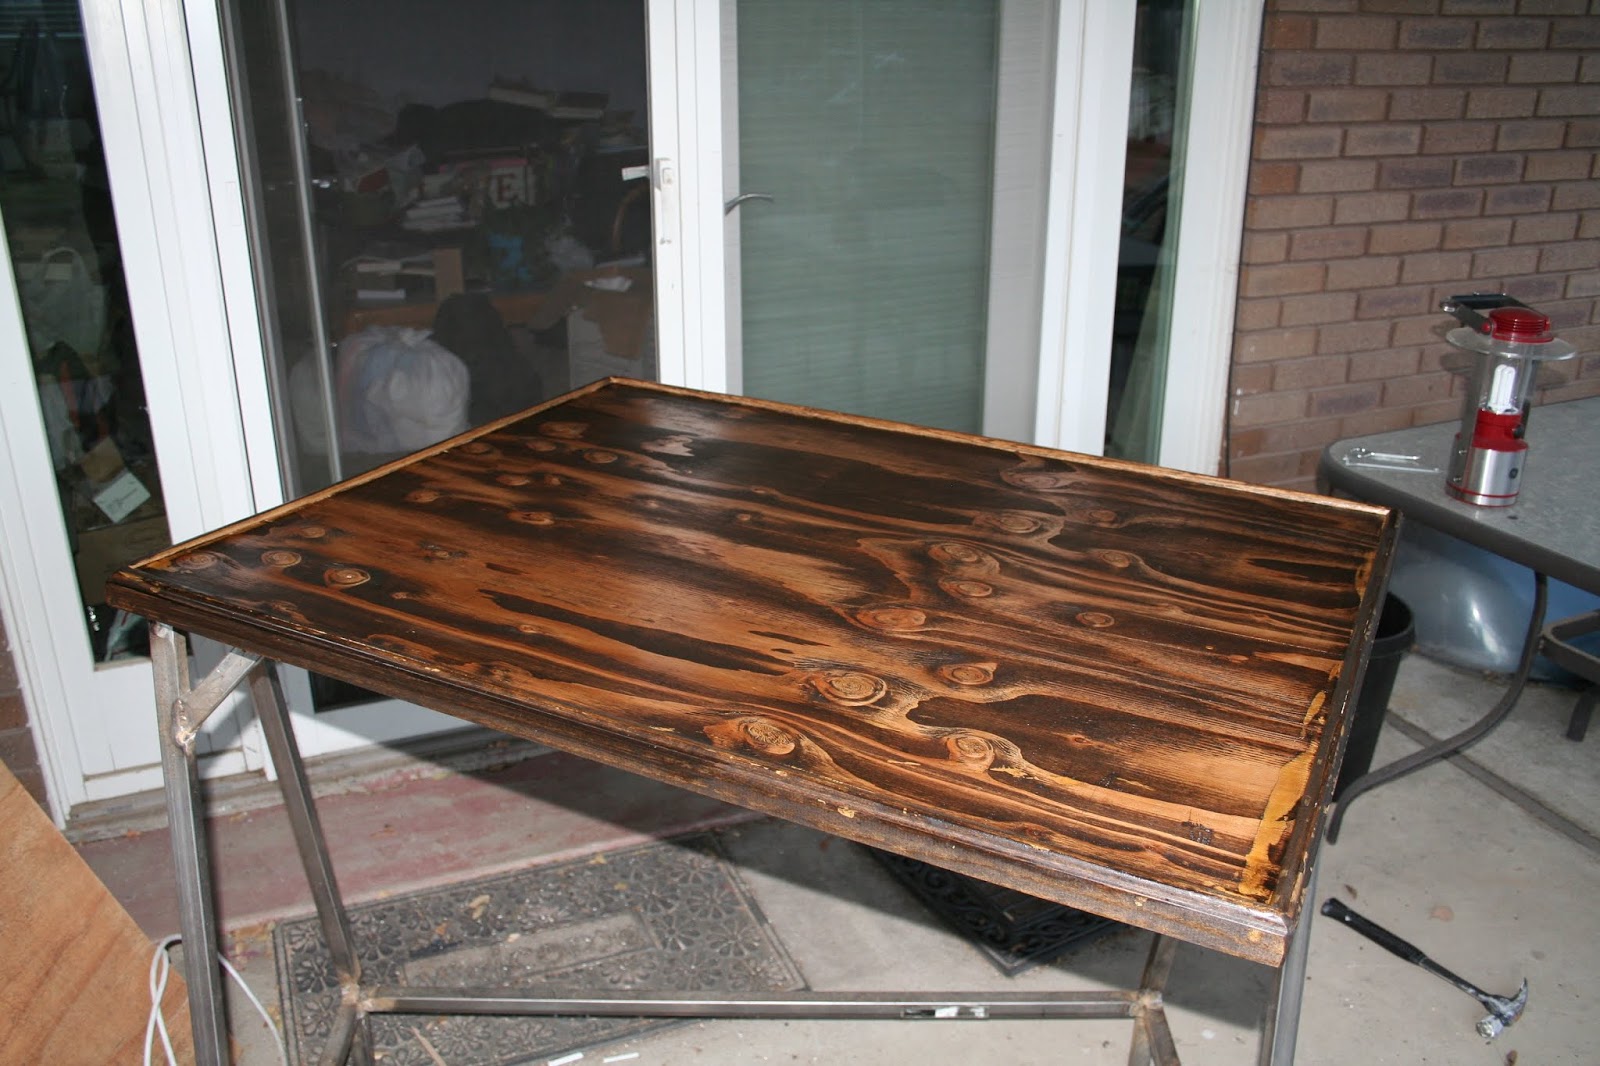
I also made a riser table. It should reduce the number of times I need to remove the vise in the first place. I started a new thread here:

Mill riser table.
https://r.tapatalk.com/shareLink/to...er-table..81301/&share_type=t&link_source=app
 
@BGHansen I hope you and your wife can tame any rebel chickens before they band together and launch a chicken coup!


Sent from my iPhone using Tapatalk
Hens are pretty tame though they will pick on each other. We had a rooster once, bought a hen chick but turned out to be a rooster. Real pain in the butt, thought he was all that and would attack when you turned your back on him. He was a barred rock. Our son named him "Barred Rock Obama"; eats your food, makes a lot of noise, craps all over, and serves no useful purpose . . . My nickname was "freezer meat".

True story (you can't make this stuff up), the radio was playing the Alice in Chains song "Rooster" as he met his maker. "Here they come to snuff the rooster . . .".

Bruce
 
POTD was fixing the ON/OFF switch on my Norelco shaver. I hit the switch a couple of days ago, dead as a door nail so threw it on the charger. Turned it on the next day and couldn’t turn the shaver off.

Took it apart and saw that a boss that runs from the flexible ON/OFF push button was broken off. The plastic boss has a curly-Q around it. The end is attached to the shaver cover, the curly-Q acts as a coil spring so the boss can travel up/down with the push button. I thought about making a completely new boss detail but went with an easier fix. Instead, went with a nail through the silicone push button that runs into the boss so it’s attached directly to the push button.

Chucked up the boss detail in a collet and center drilled, then ran whatever number drill is 0.063” (nail diameter). Stuck the nail through the silicone push button and into the boss. Then reassembled the shaver (always good to not have any left-over parts). Shaver works again, so should look my best for Santa in a few days.

Thanks for looking,

Bruce


Had to gut my electric shaver as the ON/OFF switch was stuck ON. A boss that hits the ON/OFF switch on the circuit board had broken off the housing at the flexible push button.
20191223_152746.jpg


The detail on the right has a curly-Q that acts as a coil spring. The end is attached to the bottom of the silicone push button but had broken off.
20191223_152823.jpg


Grabbed a brad which would go through the silicone push button and into the boss detail so it'd be attached directly to the push button.
20191223_160917.jpg


Center drilling the boss which was held in a collet
20191223_161246.jpg


Drilling a 0.063" hole for the brad
20191223_161444.jpg


Cut the brad to length, stuck it through the silicone push button and into the boss detail.
20191223_162025.jpg


Motor, circuit board back in place
20191223_164646.jpg


Hey, the switch works again!
20191223_164850.jpg
 
POTD was engraving a pair of soft jaws used on the Glacern vises on my Tormach 1100. I have at least 20 sets of soft jaws and admittedly have done a very poor job keeping them matched up.

I have a number of jaws that were machined for a particular job. The Tormach has a pretty easy to use conversational engraving feature, I’ve started engraving the job on top of the jaws for running them at a later time.

These particular jaws were trammed to each other and a 3/8” groove cut 0.110” deep into the matched jaws. Pretty quick routine in PathPilot to type in the text, pick a font, pick the text height, select a tool (diamond drag tool #75 in this case) and save the file. PathPilot gives the dimensions of the LH/RH and Top/Bottom extremes of the engraved text for easy positioning on the work. I position the drag over the work at the bottom LH corner where the text block should go, do a “Conversational Edit” of the routine, save it out and reload the file. That positions the text bottom LH corner at the current spindle location. Then hit “CYCLE START” and watch the table move.

Thanks for looking,

Bruce


These jaws were trammed to each other and a 3/8" groove cut 0.110" deep in both sets.
20191223_131947.jpg


Starting the engraving process on the LH fixed jaw
20191223_132634.jpg


Shouldn't have a problem figuring out which jaw goes where next time these hit the vises.
20191223_133644.jpg
 
I finally got my puzzle board built (my wife wanted one for her class room). Started with plywood, added a small moulding around the outside edge. Using truck tie down straps is a slick way to clamp large things together.

IMG_7899.jpg


IMG_7900.jpg


I added a small round-over piece underneath just to make sure the edges didn't break with kids handling them. Gluing them in, clamps wasn't so fun.

IMG_7901.jpg


Next, I found out she wanted it stained, not painted (ugh). But, happy wife, happy life. I grabbed my dark walnut stain used on the floors. It actually doesn't look too bad.

IMG_7906.jpg


IMG_7907.jpg


IMG_7908.jpg


I still have to tack some felt down onto it, but it's nearly complete.
 
Just turned the machine shop into a wood shop . The boss needed a wood thingie made up . Full radiused disc 7/16s thick , milled down to a half disc , and drilled and c'sinked to match the one that he received . Not a big deal , but at least I had something to make tonight . ( I live in a machine shop and can't dream up anything I need to make believe it or not ) :D
I'll pass you my 'wanna-do' list... :grin:
 
Today i had a hour to spare to i got back to the wheel hub i was making. I drill and thread 3 of the 4 holes and the battery on my makita died, having only one battery i had to leave the job half way but i plan to get back to it tomorrow.
IMG_20191225_192158.jpg
 
Today i had a hour to spare to i got back to the wheel hub i was making. I drill and thread 3 of the 4 holes and the battery on my makita died, having only one battery i had to leave the job half way but i plan to get back to it tomorrow.
View attachment 308702
And that is why you keep a couple of heavy duty 1/2" corded VSR electric drills in the shop. :grin:
 
The distance between my machine shop and big garage where i keep my electric tools is only few hundred feet but with my time frame i wasn't feeling rushing it there is always a new day tomorrow.
 
Today i has some time in the morning so i finished drilling and threading the wheel hub and then i mount the rim. I sharpen a HSS cut off tool and used it to part off the center of the rim. At the end of the cut i experience a lot of chatter. Then i grabbed the barrel of the rim and few tug's it come off, this rim is suprasing thicker then others i've dealt with. Next is to make a new centre and weld it in.
IMG_20191225_192209.jpgIMG_20191226_074350.jpgIMG_20191226_074558.jpgIMG_20191226_075844.jpgIMG_20191226_081150.jpgIMG_20191226_081205.jpgIMG_20191226_081300.jpg
 
Back
Top