2019 POTD Thread Archive

Bruce , I hope you visited him in Ireland ! My son went to U of Limerick for his Masters . We all visited the island for 2 weeks exploring all ends . Ireland is a very cool place I must say . :encourage:
 
Hi Bruce, what about tying the ribbon into a bow and sliding it down to the point of the star.
My ocd kicking in to make it all extra tidy.
 
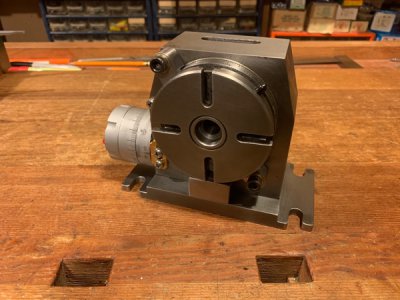
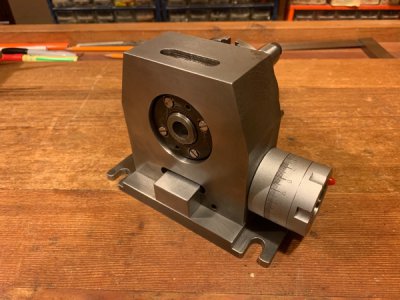
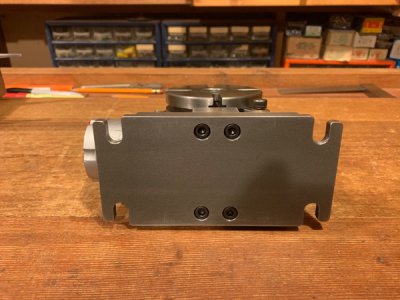
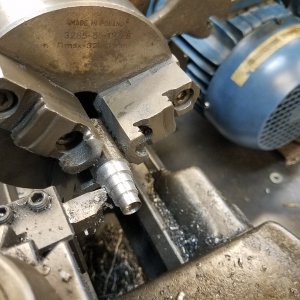
Finished this off yesterday in between a couple other projects: a secondary base for the little rotary table. My only miller is a horizontal and getting at the two slots in the casting for clamps can be a bit challenging. So I made a second shoe. The hole spacings match up with a clamping plate I use a lot too — 5/16” holes on a 1” grid.

F468AF0D-8664-4FBB-8337-BBABF01166C9.jpeg

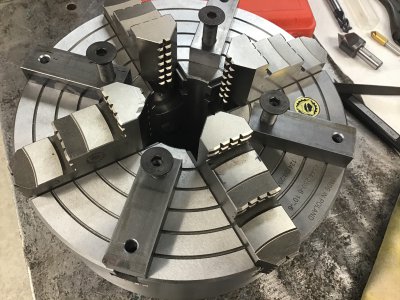
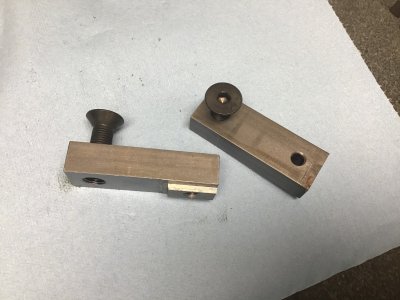
The shoe is held on with two clamp blocks...
CFC96DED-EE46-48B0-9E8D-EA1DBDCFDB97.jpeg

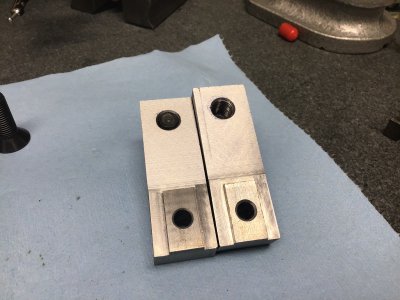
...that bolt on from the underside with four cap screws. Lots easier to get at now.
28191660-0BB0-4EE9-AC3A-EFFF0FC700A1.jpeg

Thanks for looking.

-frank
 
Bruce , I hope you visited him in Ireland ! My son went to U of Limerick for his Masters . We all visited the island for 2 weeks exploring all ends . Ireland is a very cool place I must say . :encourage:
We didn't at the time. He went to Waterford Institute of Technology and had a grin you couldn't wipe off his face. He was in a dorm room with 3 lasses; boy have things changed since I went to school!

I plan on retiring in a couple of years, we'll do some traveling then. Something about having the time to do it right. Plus our daughter finished law school 18 months ago at about $150k over 3 years. Going to be spending more time and money on the shop. Next additions will be a minimum 125k BTU heater so it's a 365 day shop and a minimum 20" DoAll band saw.

Bruce
 
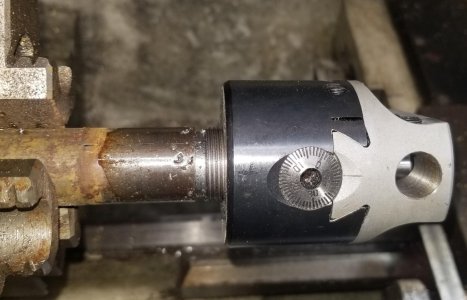
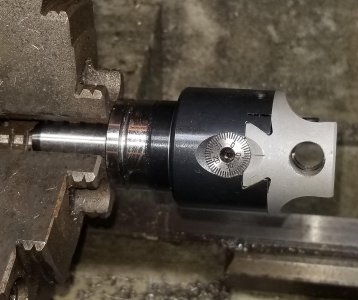
POTD was making an arbor for a 2” boring head for my Tormach 1100 mill. I bought the 2” boring head off eBay and had a Tormach TTS machinable arbor that was just begging to be used for something.

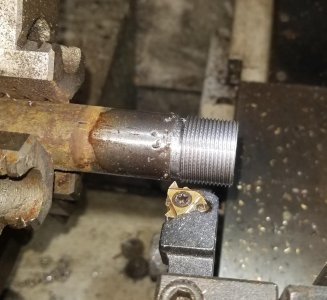
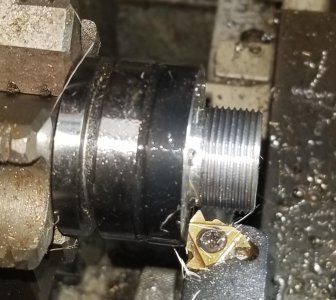
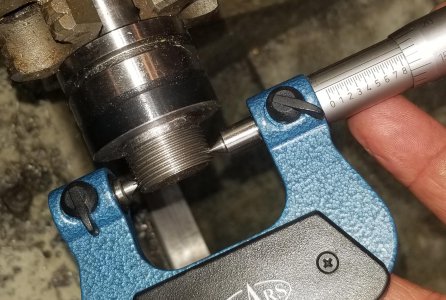
The boring head has a 7/8”-20 thread for mounting to an arbor. I started with a 7/8” piece of stock and single point threaded it. Not that I’m worried about messing up while single point threading, but took the precaution of making a prototype first. I checked the thread with the boring head and a screw pitch micrometer. The pitch diameter for a ¼”-20 thread is 0.2175”, or 0.0325” less than ¼”. My assumption is a 7/8”-20 thread would have a pitch diameter of 0.875” – 0.0325” or 0.8425”. Single point threaded to that dimension and verified the fit on the boring head.

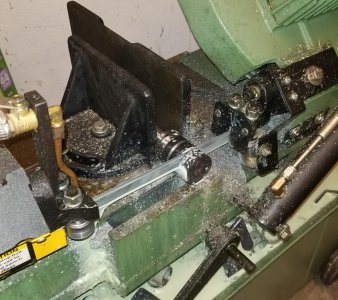
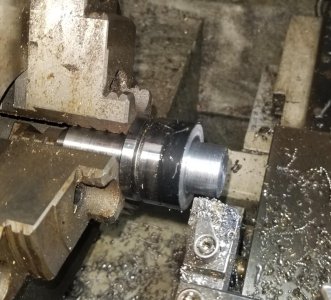
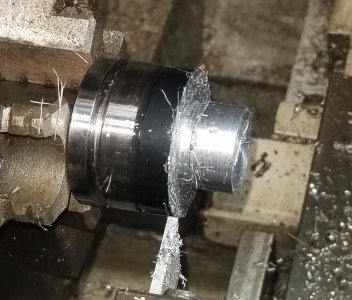
The Tormach machinable TTS arbor has about 2” of material below the ground portion with the auto tool changer groove. More material than needed, so started on the band saw. Then chucked up on my G0709 lathe with a set-tru chuck, dialed in the arbor at the TTS ground area to around 0.0002”. Faced and turned to 0.875”. Cut a relief at the base with a HSS cut-off tool and threaded.

Should work great if I need to bore an accurate hole. So why a boring head on a CNC mill that can easily cut a round hole? I’m able to hold about 0.002” diameter on the mill as there is a little play in the ball screws. For 99% of my projects that’s OK. The boring head will be used if I need a better than 0.001” tolerance of a hole. So, it’ll probably set on my tool rack and gather a lot of dust . . .

Thanks for looking.

Bruce


Verified the 7/8"-20 thread on a piece of CRS.
20191221_162449.jpg
20191221_162514.jpg


Cutting the machinable tool holder shorter on the band saw
20191221_163506.jpg


Faced and turned to diameter prior to threading
20191221_165035.jpg


Cut a relief at the base of the threaded area with a cut-off tool
20191221_165326.jpg


Last pass with a preformed threading tool
20191221_170145.jpg


Verifying the 0.8425" pitch diameter
20191221_170427.jpg


Proof in the pudding, boring head mounted on the arbor.
20191221_170306.jpg
 
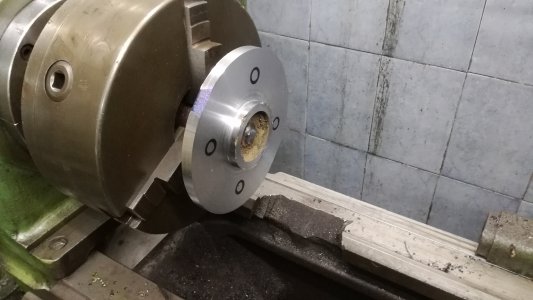
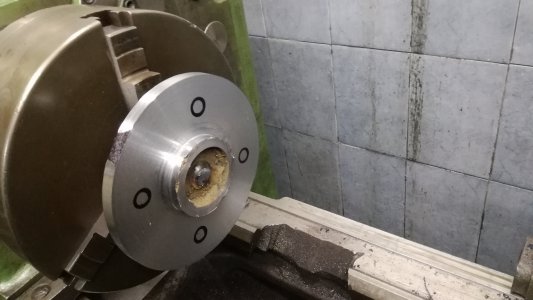
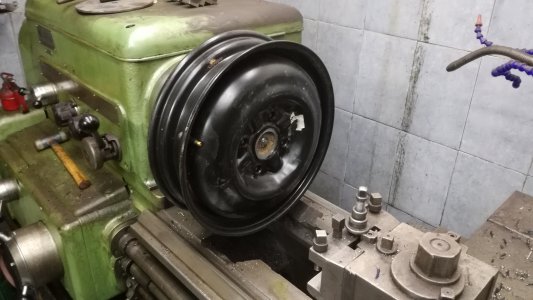
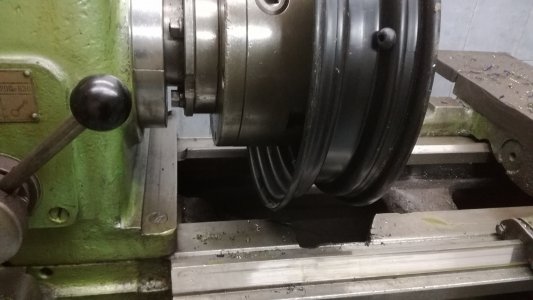
Today i had an hour to spare, so i continued to clean the chip pan on my lathe. And when i clean it out i decided to make some more chips not to leave it empty, i've been driving the little niva without a spare tire, so i need to make one. The van wheels are different bolt pattern and different offset so i decided to use a large space saver, with a 15" rim and just to change the centre with the bigger bolt pattern this required me making or finding a wheel hub to mach the wheel so i made one and today i machine it i also marked the bolt holes and found me some wheel bolts, i'll drill, tap them and continue working on it.
Thanks for looking.
IMG_20191222_194309.jpgIMG_20191222_194301.jpgIMG_20191222_194233.jpgIMG_20191222_194241.jpg
 
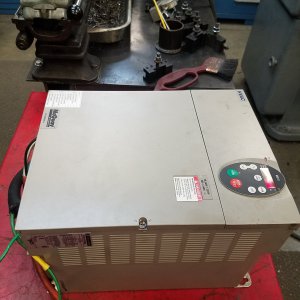
I slotted my mounting holes for my motor and started looking at power options. I could just put a furnace switch on it and run it with the rpc. I decided to try a vfd first. My buddy gave this unit to me to play around with. It has some quirks that I haven't figured out, but I was able to make a few cuts. The extra hp is a game changer. I was taking 0.070 doc on a piece of hot rolled without using backgear. That would have stalled out the old motor. I think I have enough hp to seriously mess up some gears....LOL.20191222_151856.jpg20191222_151926.jpg
 
Making some lathe chuck stand offs.
Im not done yet but you get the idea.
Tom Lipton and Dudley Toolright made some of these.27B1CEFF-5361-4733-9B97-F9F2B4976990.jpegC4F50F82-CC20-4953-99F6-E35EC57386EE.jpeg8EE06CA4-B8E0-4A65-80F0-085DBA128831.jpeg
I could have used these many times.
I decided to use brass set screws to hold the stand offs secure. Dudley did a set this way and it seemed much easier than using a slitting saw like Tom Lipton's version. It will do the job just fine.
 

Attachments

  • A15B0D8D-3EC5-4A48-8C9B-204737502E38.jpeg
    A15B0D8D-3EC5-4A48-8C9B-204737502E38.jpeg
    1.9 MB · Views: 17
  • 9C4E3EBF-D46D-4DEC-A907-8EF78EF2B4F8.jpeg
    9C4E3EBF-D46D-4DEC-A907-8EF78EF2B4F8.jpeg
    688.1 KB · Views: 16
  • 74F4134F-11A6-4907-A7D7-1E4129FFCC25.jpeg
    74F4134F-11A6-4907-A7D7-1E4129FFCC25.jpeg
    1.7 MB · Views: 17
  • IMG_4109 (2).jpg
    IMG_4109 (2).jpg
    62 KB · Views: 7
  • IMG_4110 (2).jpg
    IMG_4110 (2).jpg
    64.1 KB · Views: 7
Last edited:
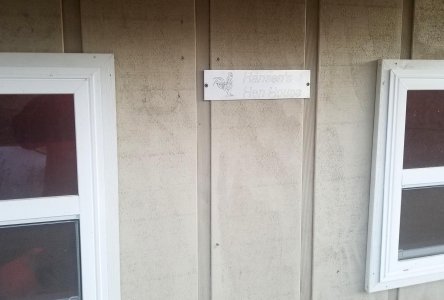
POTD was making a sign for our new chicken coup. My wife drew up the coup in Unigraphics, we did the cuts and assembly in the shop before breaking down the walls for final assembly behind our garage.

Found a DXF file on the web of a rooster, included some text to personalize the sign. Not that anyone looking at the building can figure out what it is, but nice to get out in the shop and take advantage of the 53 F first day of winter in Michigan.

Tormach has an on-line version of PathPilot which I used to size and put the routine together. It’s a nice feature though most CNC’ers on the forum probably do their CAD/CAM inside and take the final result to their shops for cutting anyhow. First use of on-line PathPilot for me; no surprises when running the routine in the shop.

I use TrimSol for coolant which is an opaque blue. I’ve never had a problem with it starting to stink with bacteria like other coolants, but it is hard to see the progress of a routine. Will go to a clear coolant when the TrimSol gets too filthy. I don’t know the name of the coolant Tormach uses on their YouTube videos, but it’s clear which makes it easy to see how the cutting is going. The sign was cut with a 15 deg. carbide engraving tool at a final depth of 0.015". D/A sanded after engraving, painted the engraving with a black paint pen and final sanded before cutting to length.

Thanks for looking.

Bruce


Did the pre-work for the routine sitting at our house computer using Tormach's on-line PathPilot. Really nice to have a cup of coffee with Baileys while watching the news and developing the routine. Dumped the file to a flash drive and headed to the shop.
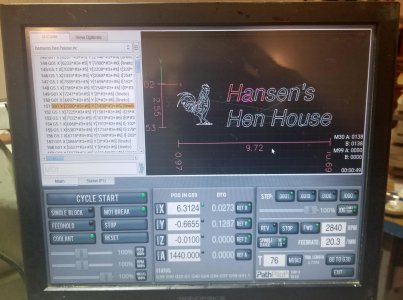
20191222_162556.jpg


Hard to tell what's going on when the stock is covered with coolant . . .
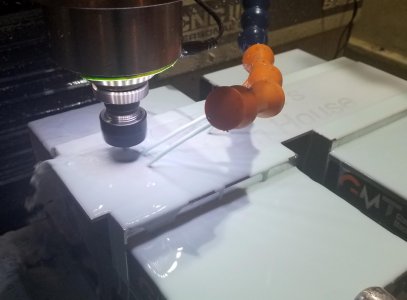
20191222_163242.jpg


Took about 12 minutes to run the routine. Used a carbide 15 deg. engraver at a final depth of 0.015" (in two passes).
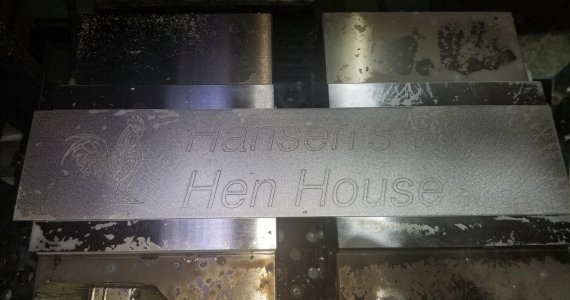
20191222_164332.jpg


Leaning toward the carbide engravers over a diamond drag. The engravers remove stock and leave a nice furrow while the diamond drag doesn't really cut, more plows through material. I sanded the aluminum plate after engraving and filled in the engraving with a paint pen. D/A sanded the plaque, cut to length and drilled/countersunk a couple of screw holes.
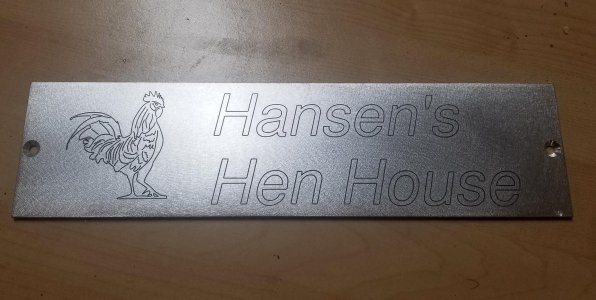
20191222_170351.jpg


Hansen's Hen House plaque in place on the coup, just in case anyone stopping over can't figure out what the building is . . .
20191222_170759.jpg
20191222_170806.jpg
 
Back
Top