2019 POTD Thread Archive

Today was the first weekend off i had in some time, so i continued working where i left off, i welded the shelf brackets i started, then i mounted them, i used some long bolts so it should hold for the shelf them self i used some salvaged 1x5" wood, then the hard work come to arrange and sort all the hardware i had laying on the floor, then to move it on the shelfs, when i did that more space opened up and give me hope to continue cleaning and i did manage to clean out the entire drivers side on the little Niva, i filled up one more trash bag, i'll have to store them for next week because i already have 10 for the trashmen to pick up. Then i took a small brake and exchanged the belt, on the way back i stopped by couple of junkyards but could not find an peugeot alternator bracket, but after i got back i looked thru my spares and found one, i really like this type of tensioner bracket, it makes it one hand job to change a belt and never loosens, i had to cut and weld a piece to make it work, couple more days like this i should have the Little Niva on the road.
View attachment 291045View attachment 291042View attachment 291046View attachment 291043View attachment 291044
i really like your storage system, same as mine.
 
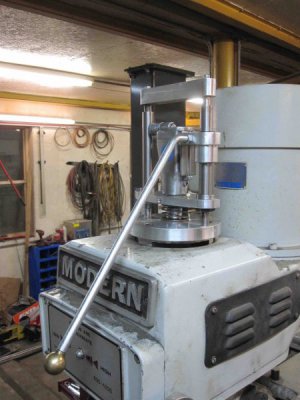
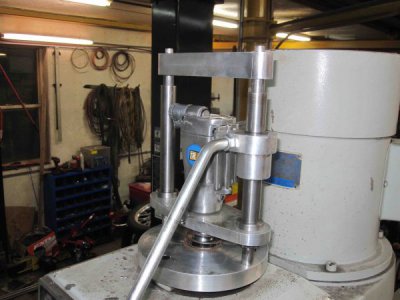
Got tired of climbing a step stool to reach the drawbar of the mill, have a 10 inch riser in the column that Im too lazy to remove. Have seen a few of these built. Bought a cheap butterfly impact from Princess auto, the rest was bits and pieces from the shop. Seams to work, but it had difficulty releasing the collect that I'd hand tightened. We'll keep an eye out for slipping end mills.
291222

291223

Greg
 
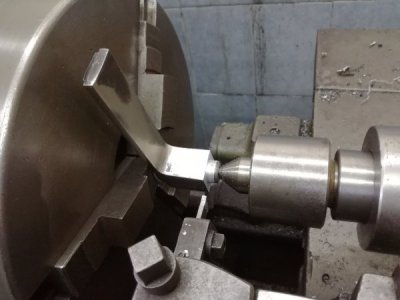
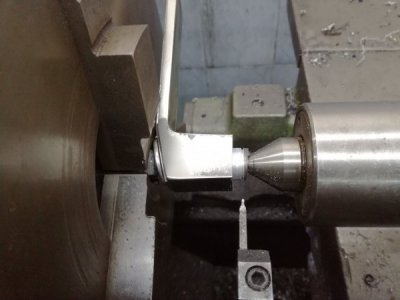
Lately i've been very busy, but today a friend come with broken door handle, that he could not find a replacement, it is from an armored house door and has a 7 mm square drive i looked at it and not have a 4 jaw chuck, i told him i don't have a way to hold it without damaging it, he went on his way but couple of hours later come back with a box full of handles and no one will work. I ask him if he wouldn't mind having a hole at the end, he said no so i drilled and threaded the end and put an bolt that i can hold in my chuck, on the other end i support it with a live centre and turned the end down, for a tool i use a parting HSS blade, then i grounded the end to make a C clip groove, this way the handle will work like before. At the end i put on some filler to fill the hole. My friend was thrilled.
IMG_20190324_141602.jpgIMG_20190324_142120.jpg
 
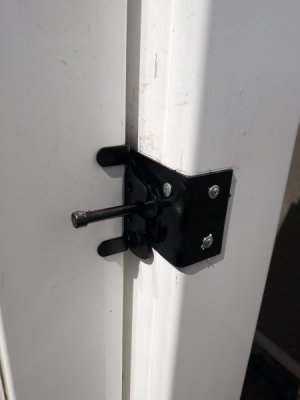
I put up fencing last week, it helps secure the back of the shop and keeps nosey neighbors from reporting me to the code officials.
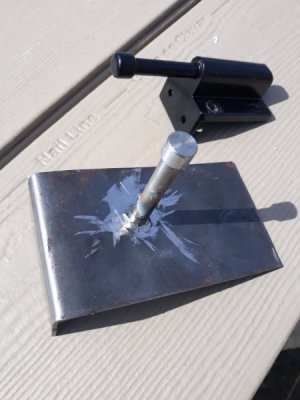
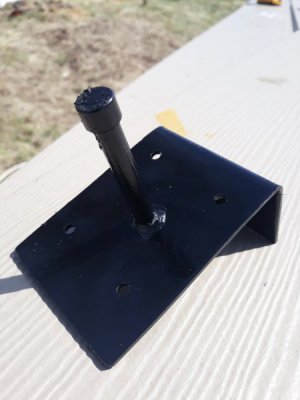
The gate and hardware installed easily... except for the latch, it did not have deep enough throat. So I made up something. 3/16" plate, bent up in a vice, a number 8 grade bolt turned down to fit. Did some quick welding, little grinding, drill some holes, spray on some black paint, screw latch to fence. Done deal
20190327_123139.jpg20190327_132744.jpg20190327_135520.jpg
 
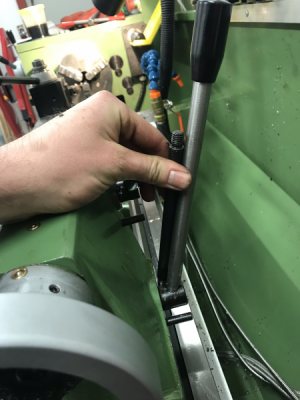
After a couple of years I've finally got round to making an extended lever for the tailstock locking cam. The old one was a bit short which caused two problems.
  • It didn't have enough leverage to really tighten it down causing the tailstock to be pushed back when drilling large(ish) holes
  • In its locking position it was at an annoying height where it would interfere with the coolant hose if the tailstock was too close to the carriage. For some operations moving the carriage out of the way to tighten the tailstock was impractical.
I used a bit of unidentified steel I had lying around, pretty sure it would be EN3B but I didn't stamp it up before putting it in the stock pile so I can't be sure. Surface finish was a bit rough but will be fine for the application.

I started with 19 mm bar and turned it down to 13 mm. Threaded both ends to M10 x 1.5. I really need to make myself a better tailstock die holder! A project for another day perhaps? I realised when I was done that the end that threaded into the tailstock cam needed to be turned down a little more to 12 mm. The original lever was 12 mm diameter but I left this one a little oversized to compensate for the additional leverage and cheapy steel used. I ground flats on one end on the bench grinder. It was too much hassle to set the lathe up as a mill just for that (one day I'll get a mill!).

Here it is with the old one held up to it for reference.

291391

And just for good measure here's a picture next to the coolant hose. It now sits nicely above the hose so it should make operating it a little easier.

291392
 
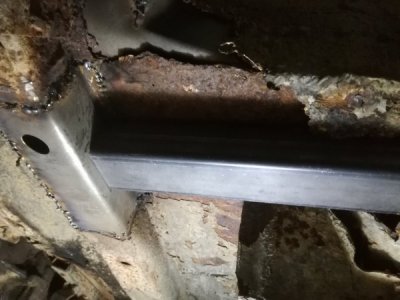
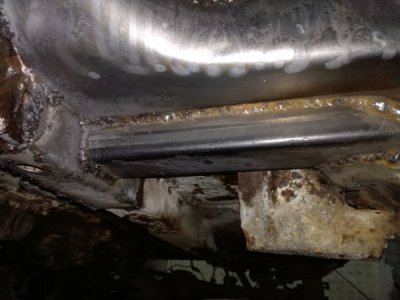
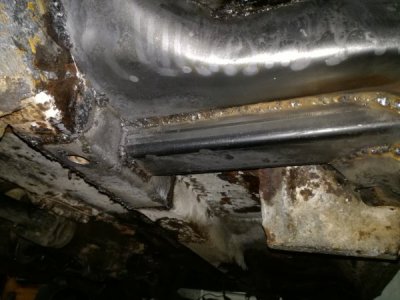
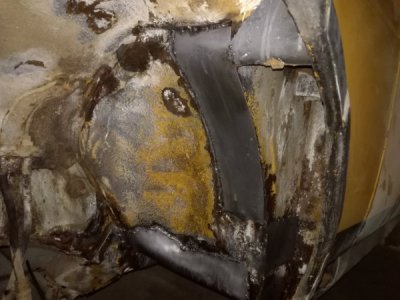
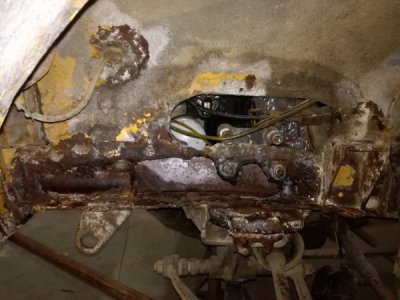
Last couple of days i've been putting in couple of hours of very hard dirty work on the Little Niva. Someone has done a bad repair, with some thin metal and all kinds of glue and undercoating, and all the frame rails looks fine, but when i started to check with a hammer they fall apart, so it took me 3 hours to cut everything back and prep it. This in not helped that i have to do this on jack stands with an injured back, i continued with making a new section of frame rail from some 2 mm cold rolled sheet metal i drilled a drainage hole in the same location as before, for the chassis mount instead of a crushed beer can i use a 4 mm wall thick piece of square tubing, then for the front piece i cut out as much rust as i could and welded on a new piece, i used the same 1,5 mm steel as the trunk floor to keep me safe incase of a tire blowout at speed, then i cut and welded couple more pieces upper in the wheel well and sprayed down everything with anti rust acide. I definitely wasn't expecting this much work up front.
IMG_20190326_173601.jpgIMG_20190326_192827.jpgIMG_20190328_190640.jpgIMG_20190328_190649.jpgIMG_20190328_190633.jpg
 
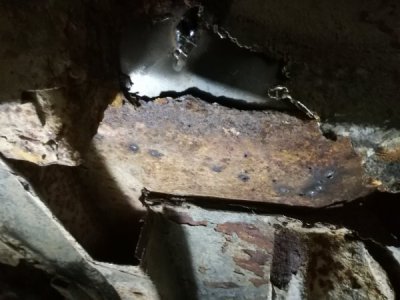
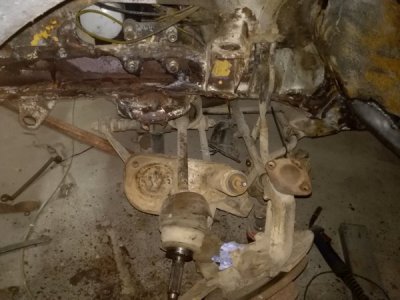
Today i decided to crack open the Little Niva's front suspension, i socked all the hardware with penetrating oil at first look seeing all the small bolts i thought i should be done in 2 hours, but that rust made the job a lot harder it took me way past midnight to remove the spring which was very difficult because the spring has welded itself to the upper mount. Than i took a hammer and took off the loose rust from the frame rail and sprayed some anti rust acide, as you can see the frame was very rusty in this structural part of this little car, i'm glad i found this to repair it now rather then when it fall apart.
IMG_20190328_135900.jpgIMG_20190328_135906.jpg
 
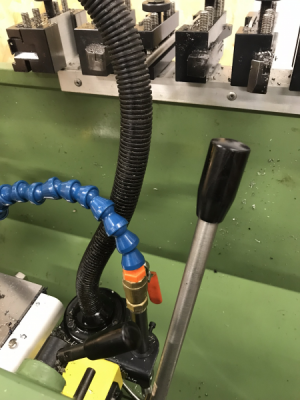
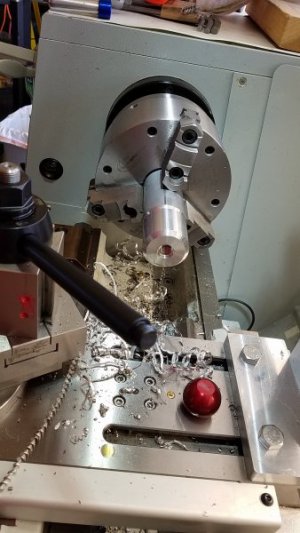
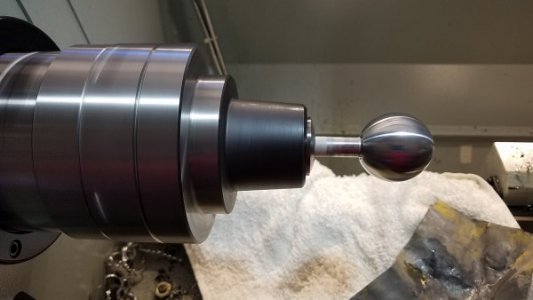
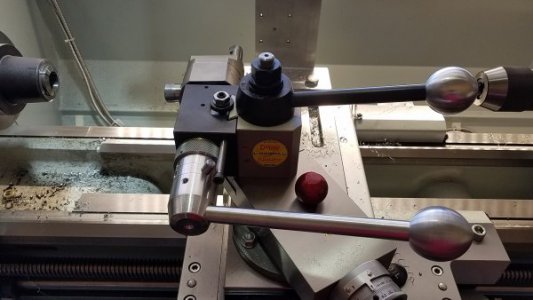
Purchased a Dorian BXA QCTP a while back and had installed it on my ERL-1340, but the ball for the handle came all beat up and was about 2/3rds the size of the one previous one that I had. Found it difficult to use because of the small ball size. Threaded some 1.75" aluminum round stock to fit on the QCTP shaft and then used my ball turner to cut the ball. Small project, for the day.
291538291539
291540
 
Back
Top