- Joined
- Sep 28, 2013
- Messages
- 4,306
nice!

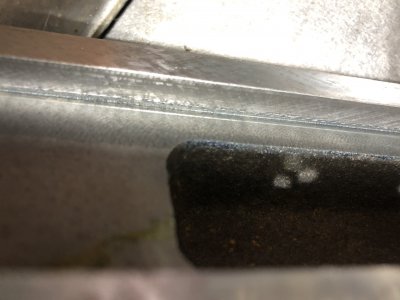
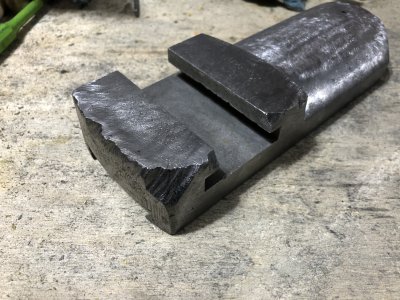
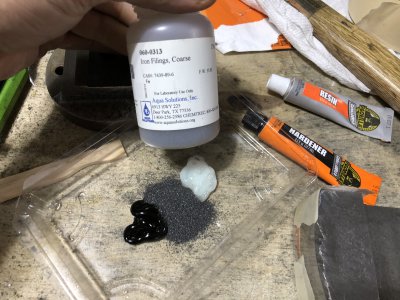

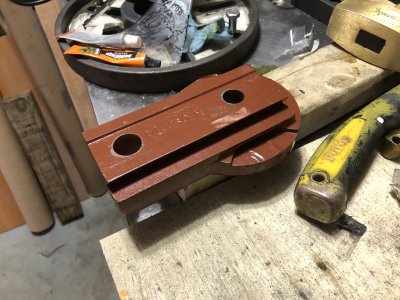
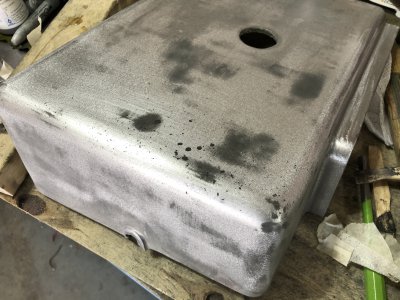
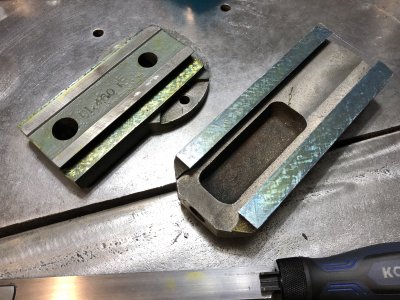
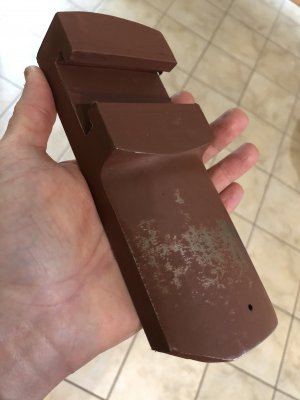
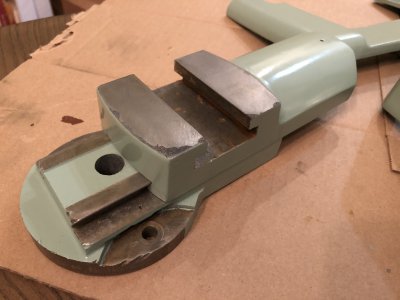
I was wondering if you were going to fill in the damaged areas on the compound or just grind them smooth and maybe even symmetric. You obviously have some experience with machine rebuilding and this is looking great. Instead of epoxy mix would you ever consider brazing filler?
Robert