Group Project: Dividing Head - The Build

Is it going to be an oil-harden? I think I am going to have to do that. I'm not particularly worried about doing it with the the aluminum (though it might be a 2 flute thanks to the size of the bolt and my cutoff wheels :) ), but I'm a touch concerned about the brass...
I'd use oil. The point of oil vs water vs horse dung is how fast it cools the metal. Cool it fast, and all of the carbides stay in solution. Cool it slow, and they have time to precipitate out, leaving you with bits of carbide held together by wrought iron. Maybe a bad analogy, but it works in my head. A #10 screw is so thin, that anything more than air cooling is going to be almost flash freezing.
 
Look at pulley taps. They are extra long. Not expensive on Amazon. You will use it again someday!


That brass should not be hard to tap even with a cheap tap.

I wonder of you could do some kind of expanding mandrel trick to hold the worm gears while hobbing? Maybe like a shaft collar in reverse? Or what about making a conical holder for the top of the bore?

Robert
 
Last edited:
Look at pulley taps. They are extra long. Not expensive on Amazon. You will use it again someday!


That brass should not be hard to tap even with a cheap tap.

I wonder of you could do some kind of expanding mandrel trick to hold the worm gears while hobbing? Maybe like a shaft collar in reverse?

Robert
I looked at that one actually, but unfortunately it doesn't have a reduced shank according to the comments. They end up being pretty expensive to get one with a reduced shank, though I might just have to spend the $50 at travers.

The expanding mandrel is not a bad idea... I DO have a taper attachment, so I could perhaps make something like that...

That said, I guess I'm not really envisioning how the gear is supposed to turn on something like that. I thought I'd have to make a replacement for my tool post to hold the gear in place, plus some sort of extension to make the hob itself clear my spindle. And then just let it rotate on its own inner bore. I'd considered using a brass bushing to have it rotate on (which I could make a 'best fit' for each gear I guess) to reduce wear.

Ugh... the hobbing is just pretty intimidating. I have to figure out what the fixture is actually going to look like at one point.
 
I missed that about the tap. Damn, that's useless.
R
 
That's a good idea with doing those in order! I hadn't thought of that. I have to make a jig 1st for turning OD and I likely have to do the same thing.

One concern I have is the set screw hole actually. I think it doesn't end up being an issue when turning the teeth (since I have to let it free spin to cut the teeth, right? So the set screw can't be there, right?), But is a bit deal when cutting the OD.

And that concern is: I don't think I can get a tap that can go that deep! At the moment the tapped hole would be more than 1" long, and even on the finished product ends up being (3.6-1.5=2.1 / 2 == 1.05).

Is there an allowable counterbore, or do I have to track down an extra long 10-32 tap?

Just make a bigger starter hole.
 
Just make a bigger starter hole.
Ah! I didn't remember that was allowed. Ok, great, thanks!
 
I looked at that one actually, but unfortunately it doesn't have a reduced shank according to the comments. They end up being pretty expensive to get one with a reduced shank, though I might just have to spend the $50 at travers.

The expanding mandrel is not a bad idea... I DO have a taper attachment, so I could perhaps make something like that...

That said, I guess I'm not really envisioning how the gear is supposed to turn on something like that. I thought I'd have to make a replacement for my tool post to hold the gear in place, plus some sort of extension to make the hob itself clear my spindle. And then just let it rotate on its own inner bore. I'd considered using a brass bushing to have it rotate on (which I could make a 'best fit' for each gear I guess) to reduce wear.

Ugh... the hobbing is just pretty intimidating. I have to figure out what the fixture is actually going to look like at one point.

I think you're going to find it rather anticlimatic once you start hobbing, and wonder if you've been measuring firewood with a micrometer.

The one I made was held by bolt through a drilled hole. The tolerance can be loose, since the hob is going to search out the starter slits you make. (Now, those DO have to be right). The wear in the fabrication process will be negligable. You'll only rotate it a couple thousand times at most, and not under that much pressure. Slather some axle grease on a post that is a wobbly fit, and go for it. :)
Do you happen to have any pictures of your 'starter slits', or any tips on how to make them? Do you just put them in a vise on an angle-plate and cut with an endmill or something? Do you cut near final depth?
 
Sigh. Long story short; I scrapped my first part.
I drilled the hole for the lever handle in the wrong place and it intersects one of the mounts for the index plate. It is not fixable because a hole in the correct place would overlap the incorrect hole. I will have to make a new one.
Having said that, my plan is to send this to Jeff (or whoever is receiving?) for the QA part since that is the only error, with the understanding that the lever will be correct on the next 8 parts. This will not end up in a finished device.
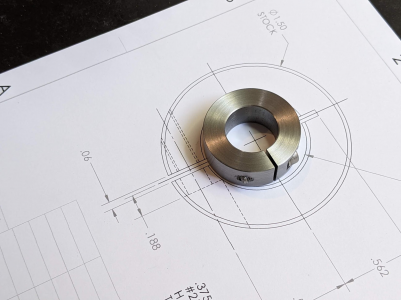
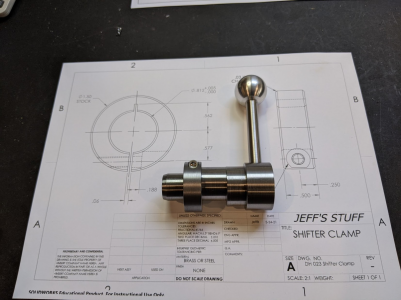
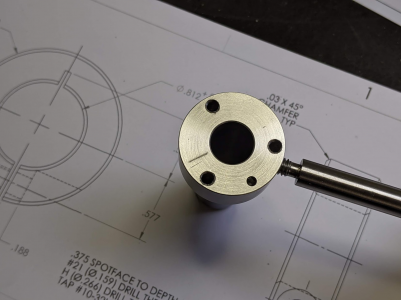
I did finish the clamp without an issue. Here are some pics.

1622653174671.png

1622653218094.png

1622653426336.png

Hard to tell in the pic but the lever hole is well above 35 deg from the 3 o'clock position (referenced as 0 deg)

Robert
 
Do you happen to have any pictures of your 'starter slits', or any tips on how to make them? Do you just put them in a vise on an angle-plate and cut with an endmill or something? Do you cut near final depth?

I used a bolt as a mandrel and mounted it in my lathe chuck. The bull gear on the Craftsman Commercial lathe has 60 dimples and a pin that locks into them. I used that to index the part every 1.5 holes. That is, pin in the hole, make a slit, skip one, pin between holes, make a slit, skip one, pin in the hole, make slit, etc, so that I ended up with 40 slits.

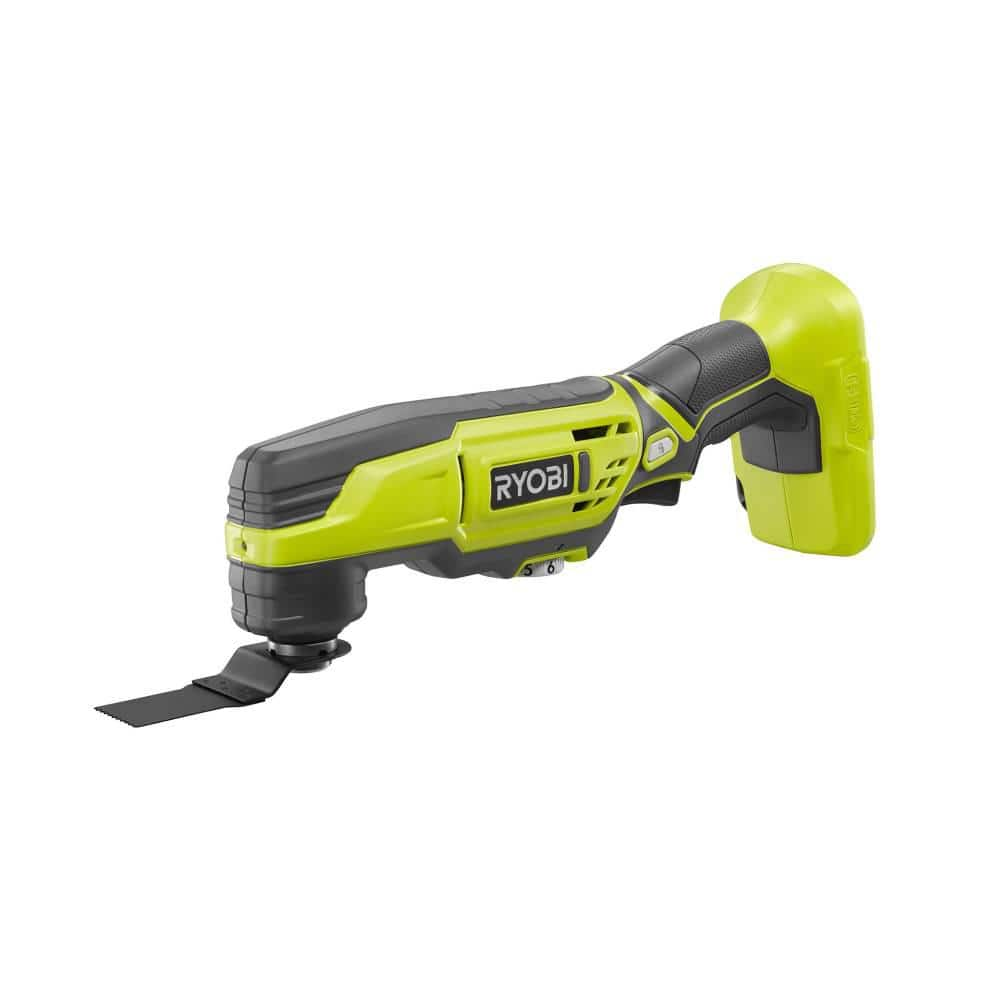
To make the slit, clamped a block of wood to my cross slide, such that the top of the wood was flat and at center height. The height isn't critical, but you want every slit to be the SAME height. Then I used a cordless oscilating tool to make the slit.


You don't need to go deep. You don't even need to cut more than the center. If you see the teeth of the blade disappear in the middle, you've gone plenty deep. The teeth of the hob just need to find the slits on the first few passes, and five thou will be a big cut at that point. The hob is both cutting and pushing the blank around, and the slits are really just to help the hob find its place and give it something to push against. Even with the slits, you may need to help the blank spin on those first few rotations. Gotta make sure the hob teeth find the slits. 60 RPM on the hob will be fast initially.

Once the hob cut is established, the hob will have no problem finding it's own groove and you can advance to deeper cuts and speed up the spindle.
 
Back
Top