Just bought an old 1994 -12 X 36 Enco Lathe 110-2075

A cold chisel or engraver will probably make marks you can reference later.

john

Hey matthewsx, I read a couple threads on here where some peoples lathes had factory registration marks, I can't find any on this one so cold chisel it is..

For final setup it looks like the preferred method on here is the double collar, my southbend book has info and there are tubalcain and other videos I'll have to watch.

Thanks for the feedback, have a good morning.
 
Last edited:
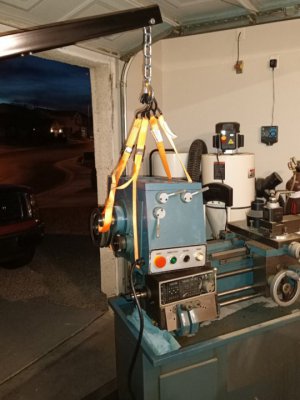
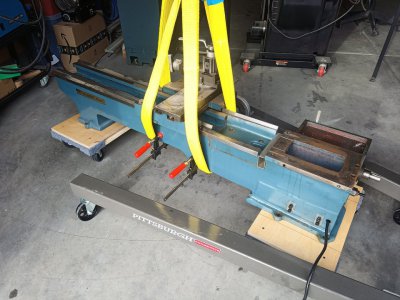
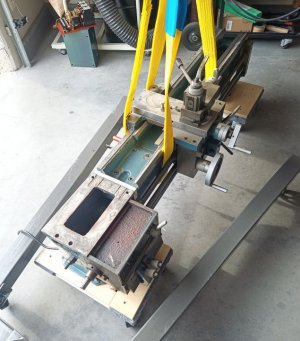
The Headstock has been removed, 2 people could remove it by hand but where's the fun in that.

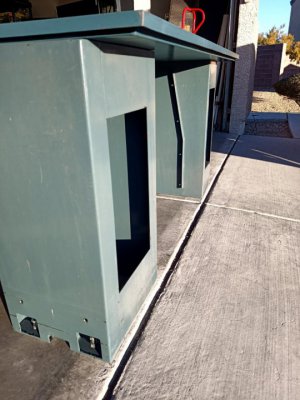
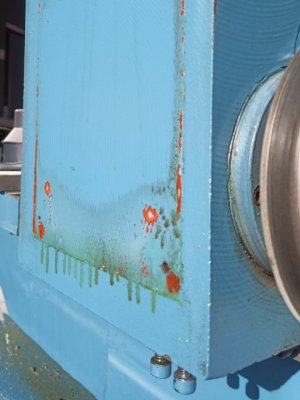
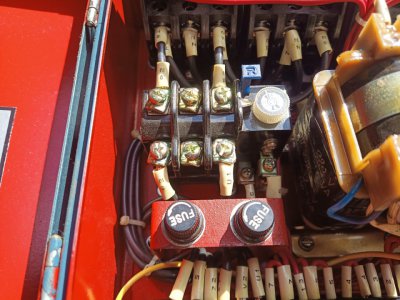
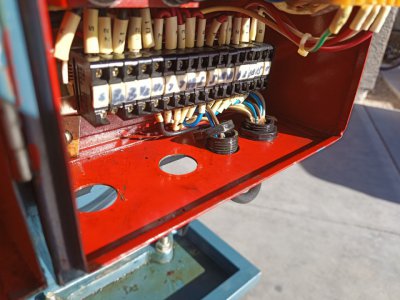
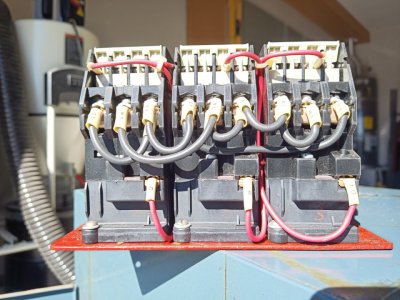
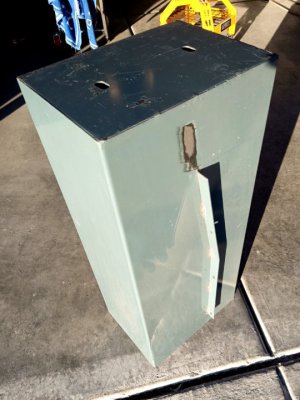
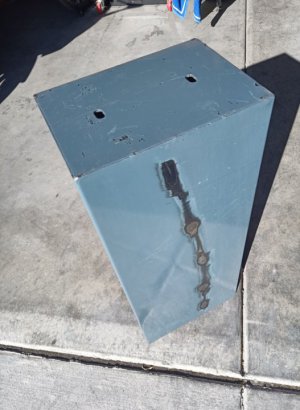
Of note was oil in the lower portion of the Power Distribution Box seen in the 2nd photo.

Elecboxoil.jpg
Powerdistrabution.jpg
Lathbackoil.jpg
Headstocklift.jpg

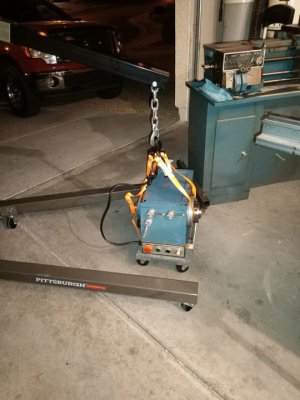
The straps did not touch or wrap around the spindle under tension. The load was carried through the straps from the bottom of the headstock, I should have shown that clearly with a couple more photos..! I'll show the anchor points when I reassemble it.

Headstockoff.jpg

I just have a little prep to do on the two small floor dollies so I can secure the lath bed to them, making it a little safer to move about.

Here's what my plans are for tomorrow, If I'm in error please let me know.!

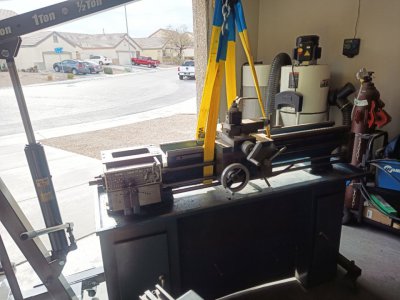
I have two 2" x 3' 6400 lb straps and a load leveler, I'll place the straps on either side of the carriage between the bed and lead screw and carefully test for center of gravity and make sure the straps can't move before lifting the lathe bed down to the dollies, bolt it in place then remove the straps... Sound Good..?

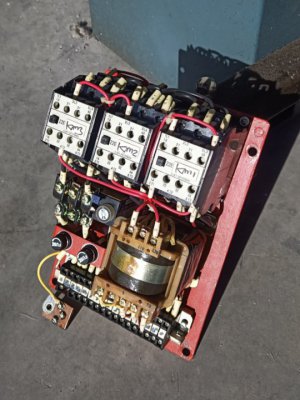
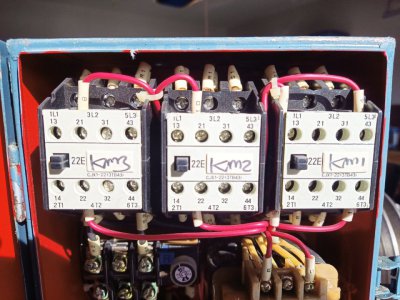
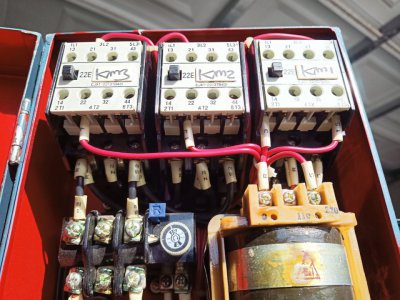
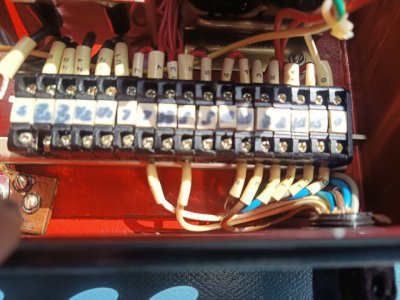
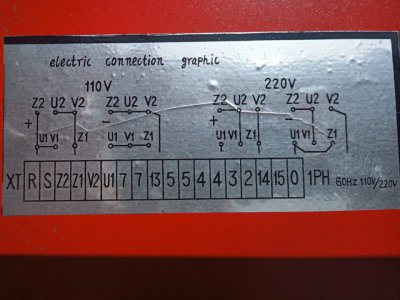
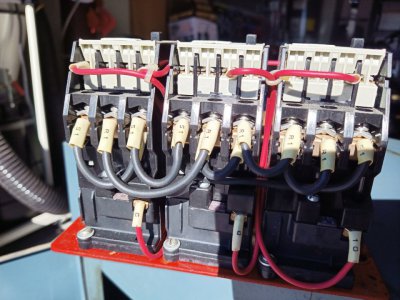
Also, I was thinking for archival purpose, posting about a dozen or so photos of the distribution wiring taken at different view angles just in-case someone has the same lathe configuration and needs some visuals... let me know if that's something worth posting.

Thanks for looking.
 
Last edited:
Electrical distribution photos.

Photo1.jpgElecPhoto2.jpg
ElecPhoto3.jpgElecPhoto4.jpg
ElecPhoto6.jpgElecPhoto65.jpg
ElecPhoto7.jpgElecPhotolast.jpg
TopView1.jpgTopView2.jpg

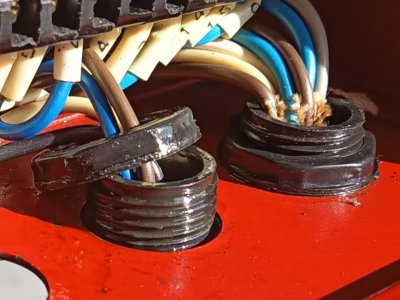
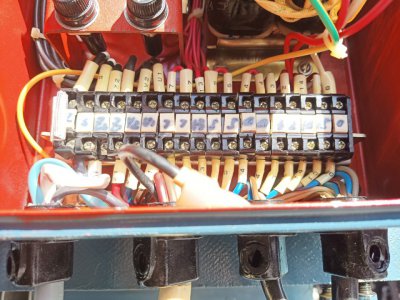
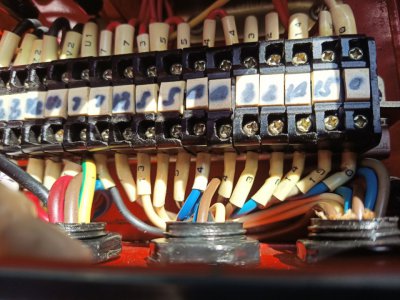
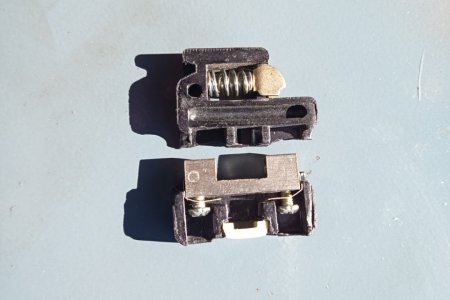
Need to be extra careful with the terminal blocks, the whatever type of plastic it's made of is very fragile. I don't suppose anyone knows if or where one can be bought...?

TerminalBlock.jpg
 
Last edited:
The lathe came off the stand without a hitch.

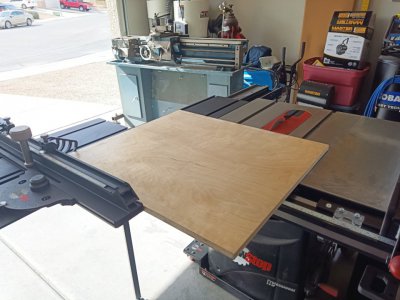
Cut up some 3/4" birch 9 ply plywood and secured it to the dollies, that way the lathe feet have a stable surface to land on.

I got lucky and found the center of gravity on my second test lift, then lifted the lathe high enough to remove the stand, then placed it on the dollies. I'm sure there was some compression applied from the straps to the backside of the carriage but hopefully not enough to damage it.

The floor dollies made it easy to move the lathe bed around and the extra 50 buck for the two-ton lift was well spent for the extra reach it gets over the lathe bed.

For fun me and a neighbor each tried to lift the light side of lathe manually off the stand just to see, even with the extra weight taken off it was still too heavy to lift off the stand for us. the bed must weigh at least 500lbs I'd bet.

CutToSize.jpg

FoundCenterPoint.jpg

LatheSetDown2.jpg

LatheSetDown.jpg
 
Last edited:
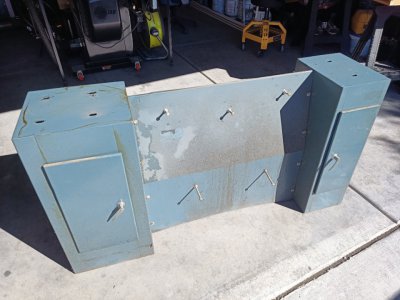
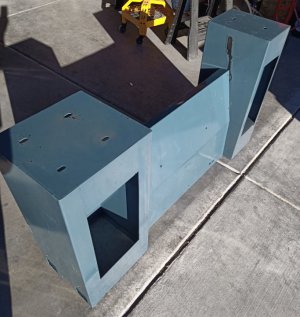
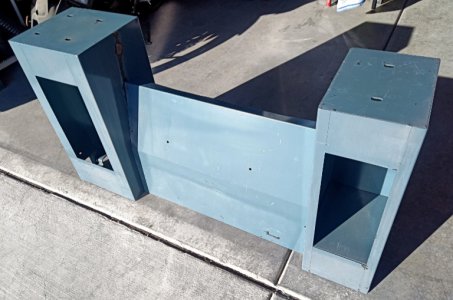
The stand is in pretty good shape, the support pedestals are 3/32" thick steel. the center webbing is damaged slightly.
The 5 carriage bolts were a useful end user modification that I'll incorporate with other modification's I make to the stand.

I am going to start cleaning them up today, and maybe start modifying them if there is time.
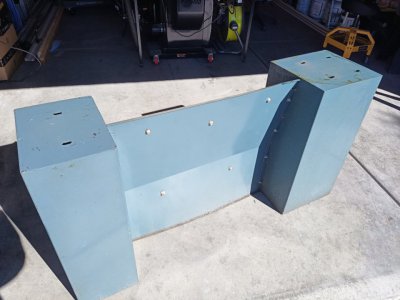
StandBack.jpg

StandFront.jpg

All cleaned up using purple power, The doors are pinned and easy to remove.
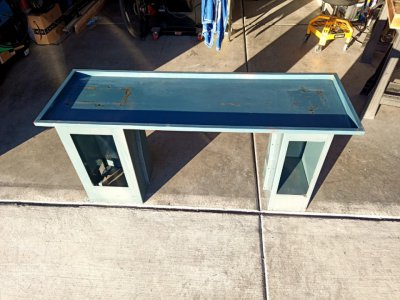
CleanStand.jpg

CleanStand2.jpg

I am seriously considering the use of some Krylon spray paint to re-create this motif below on my lathe. I'll be modifying the stand and making a back splash anyway, so might as well make it look great and match my table saw too.

I could use some help figuring out what todays current best spray paint is to use... I have heard good things about Rust-Oleum Industrial Enamel Spray cans.. I know this subject is opening a can of worms, Not looking for Majic just what is known to work well.
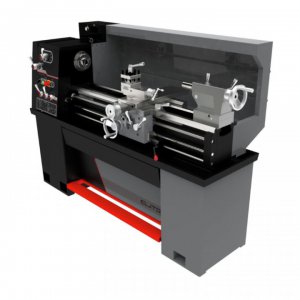
Paint.jpg
My current rattle can paint research... So, I've never seen Seymour industrial MRO paint before, they make the claim on the can as being the best paint period. The other two brands we all know...! these are the paints that were recommended to me from each of the Tech Lines I called. these are industrial paints that are not found at your local Big Box stores.
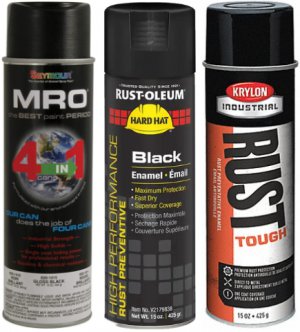
MroRustoluemKrylon3paint.jpg

I called Seymour tech dept two times and was told the paint is an oil-based product and would be a good fit for painting a metal lathe due to it being resistant to gasoline and most cutting fluids, only thing the tech was unsure of was how well it would hold up against impacts over time from tools and dropped objects. it is an oil-based alkyd enamel paint. --> Seymour MRO spray paint.

I called Rust-oleum tech dept; They do not recommend their " professional" branded spray paint for machine tools, their recommendation is the "High performance" branded Industrial V2100 system enamel spray paint, it is an oil-based alkyd enamel paint that would be resistant to cutting oils, --> V 2100 Industrial spray paint.

I called Krylon tech dept 3 times because I was getting different answers from different techs until I got a tech that was willing to call and verify info with a department head, the Krylon industrial paints have subcategory's and even though the cans look the same and say industrial they are not the same, the Tough coat and Rust Tough are both in krylons industrial line up but are not the same. --> Krylon Rust Tough spray paint

Last but not least the Krylon Tech also recommend I look into DupliColors Engine Paint with Ceramic. I did not but it makes sense, engines have high heat, gas, oils and other chemicals to resist... I remember the good old days painting my intake manifolds. anyway, these paints are by no means the best paints for a Lathe, however since I don't want to buy a new spray rig and I'm just looking for quick, simple and reasonable DTM paint (Direct to metal - no primer needed), I think any of these High-end industrial paints would fill the bill for me.

If anyone knows the best rattle can paint to use on a lathe, please post it here... that way we will all know.

Its settled, I'll be the guineapig, take one for the team and try the Seymour MRO paint that I've never heard of, it says "the best paint period" right on the can - so it must be true, Right...!
 
Last edited:
I started work on the pedestals yesterday cutting off part of the web support to make room for a drawer, then realized I don't know how much to remove until I get the center web fixed, lol just another one of my regular I didn't think this through moments. so, I just removed the web supports from both pedestals and will weld a new frame together and mount the center web on the frame for aesthetic.

Today I got the center web fix to eliminate the damaged areas, and tomorrow I can start figuring out the support frame, maybe I'll get lucky and finish welding it up this weekend...

CutWebSup.jpg CutoffWebSup.jpg
Cut2WebSup.jpg
Cutoff2WebSup.jpg

I ended up removing about 6" from the height of the center support web, Plenty of room for a drawer or two.... I'm thinking this may turn out better than expected.

WebFix.jpg WebFix2.jpg

There is allot of work besides a new support frame and drawers, The left pedestal has no bottom shelf like the one on the right and neither have a center shelf, I'll need to make side supports for the leveling caster and a backsplash too... on the plus side the doors and chip pane are in good condition.
 
Last edited:
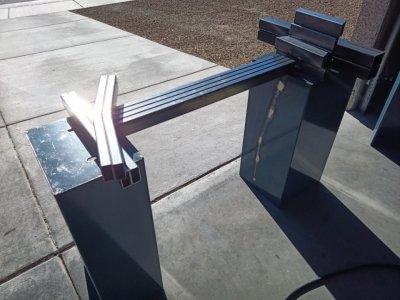
I did not get the amount done over the weekend that I wanted, but it's coming along... most of the center support frame is cut and welded along with the pedestal supports for the leveling casters, I just started welding and the neighbor came over, you know how the rest goes....

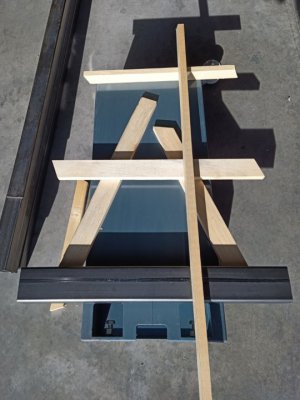
I used wood as a template to get my angles right because it's fast and steel is too expensive right now for redo's... all the supports should be done and mounted this next weekend... lol I'm hopping but maybe not - weathers warming up so It's time to get the pool started back up...

UseWood.jpg

I've had a few different chop saws and 1 wet bandsaw, none of them seem to cut as nice and square as this metal devil that uses a carbide tip saw blade, real pleasure to use...! I am still on the same blade that's been sharpened once in five years, guessing 500 to 600 cuts of metal and 300 cuts in wood.
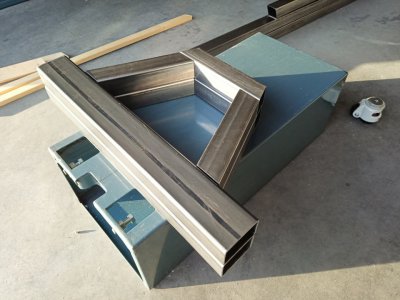
LvlCastorSupport2.jpg

CenterSupport.jpg

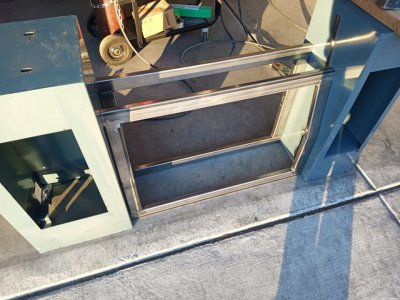
The 2 center supports will be bolted to the pedestals and the original panel mounted to the front support, I'm trying to keep the original appearance and beef it up a little for rolling around.

CenterSupport2.jpg
 
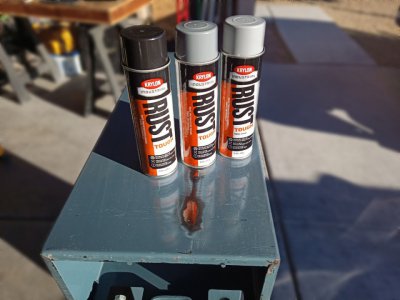
I stopped at my local supply house here today and they don't carry MRO paint cans in stock, so I bought the Krylon Rust tough paint. when I got home, I opened one and it has a Fan spray head which I prefer over the oval one.... So that adds bonus points right.

With simple and decent in mind I am hoping this Krylon paint will do the job, I got gloss black, gloss dark machinery grey and gray primer for the new bare-metal pieces. lol in my recent paint post a few back I did say I was considering getting some Krylon, that's a good Omen.

Paint.jpg
 
Back
Top