- Joined
- Mar 26, 2018
- Messages
- 8,407
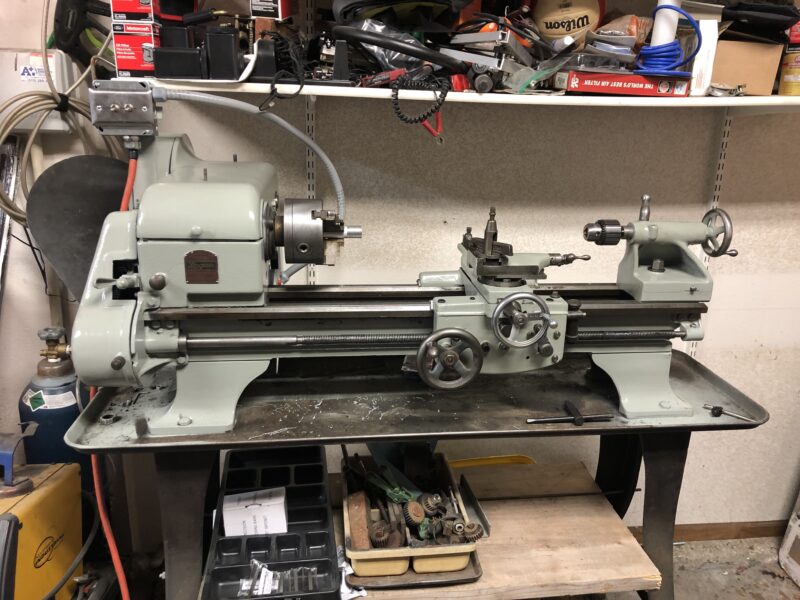
Looks like a great project!!!I pulled everything out of the buckets and boxes. Here's what I see, I'm figuring out what things are from the Logan manual.
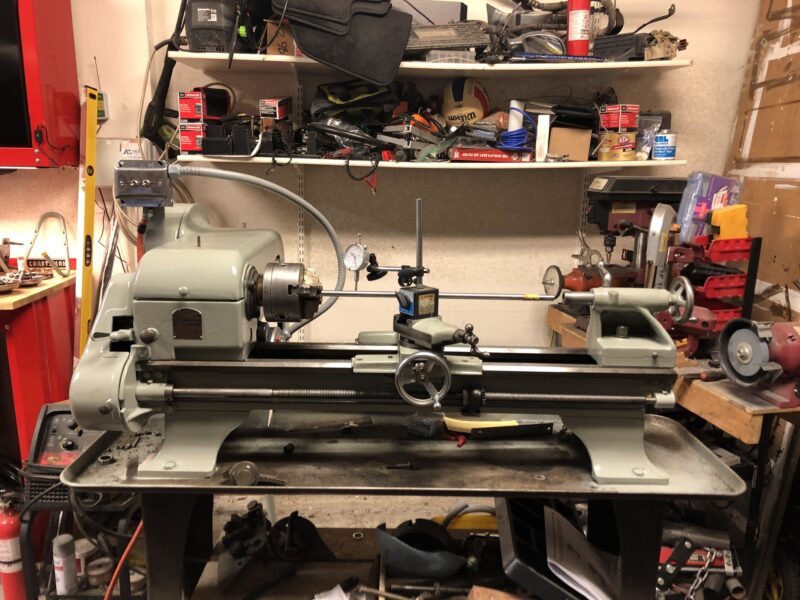
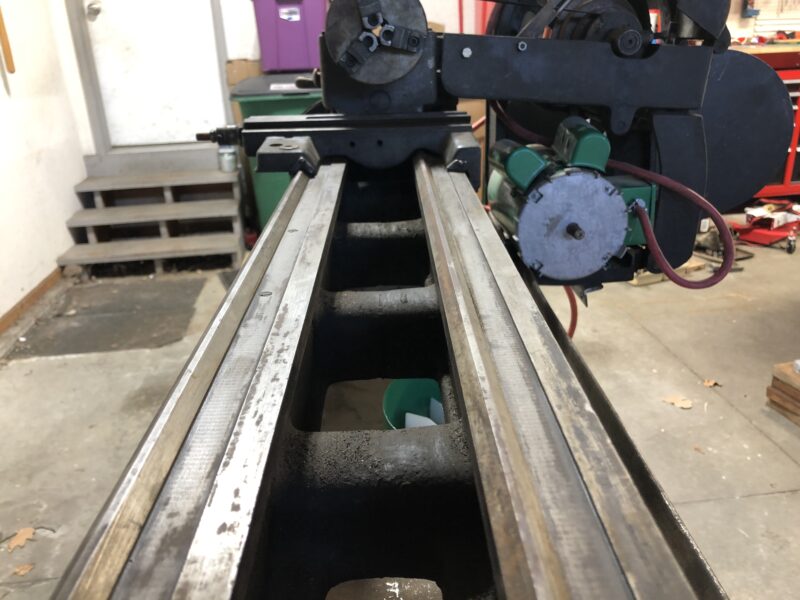
The ways look decent, not dinged up or damaged.
The carriage still has its felt wipers in place. The compound rest screw is bent, but it came with a spare.
Some minor surface rust on the pulleys, but I think it should clean up.
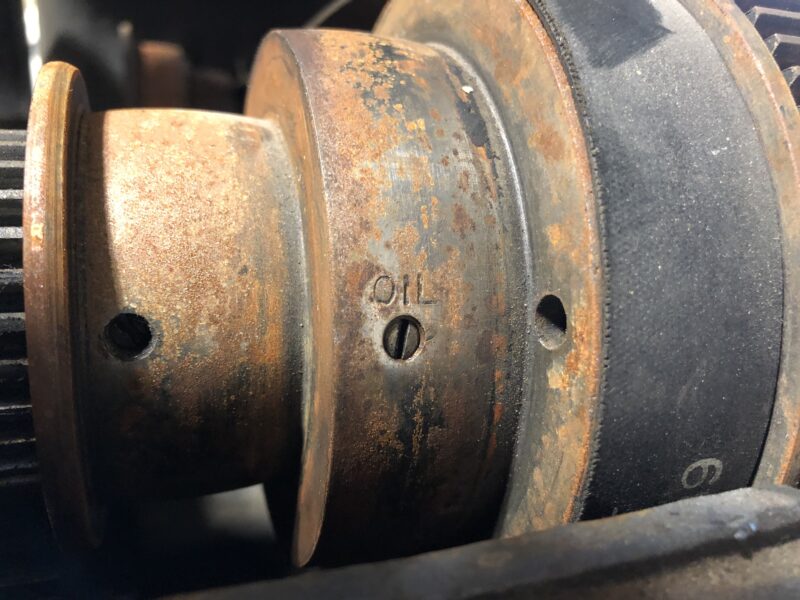
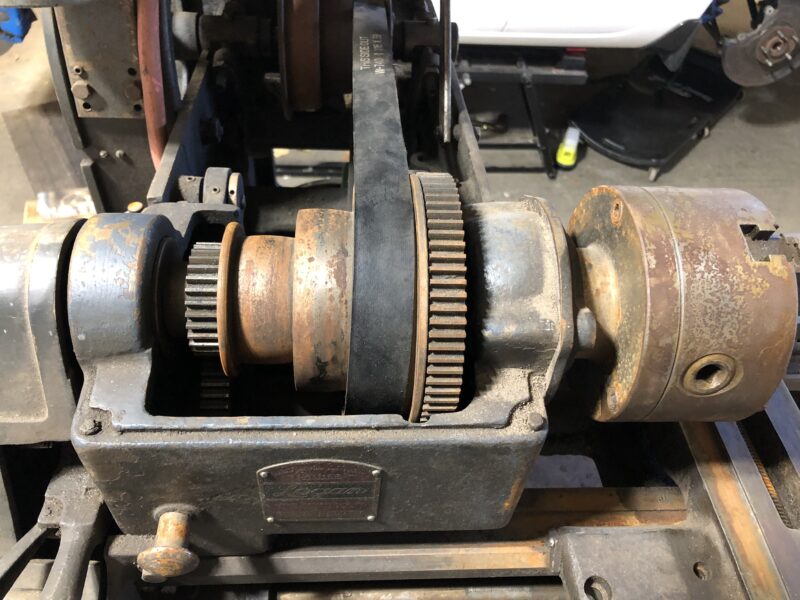
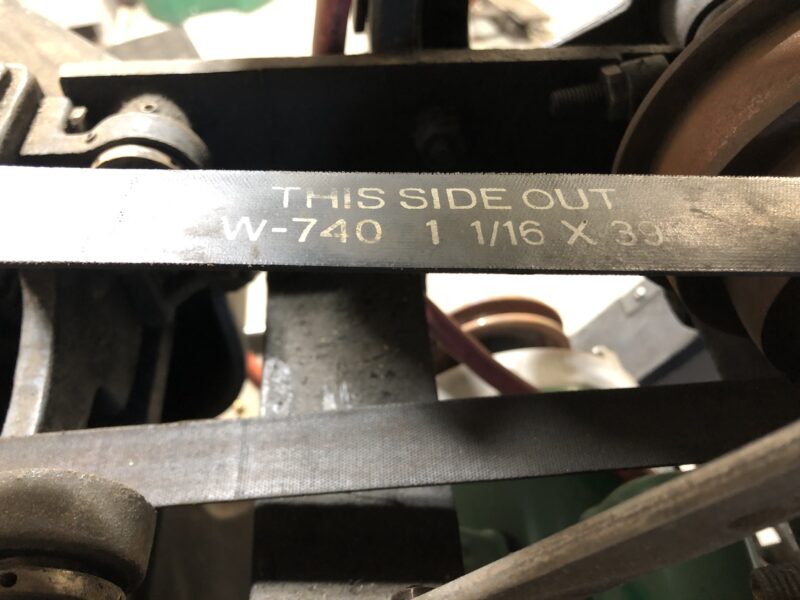
No leather belt, just a continuous rubber belt.
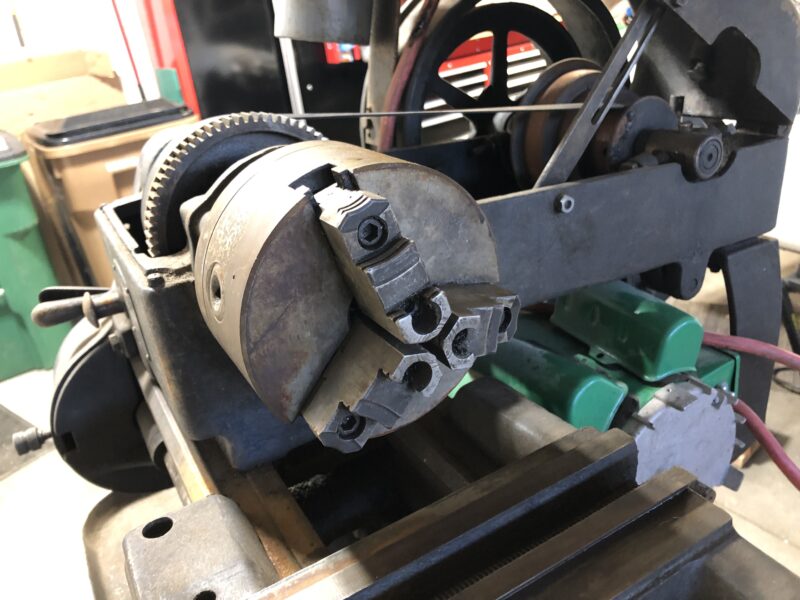
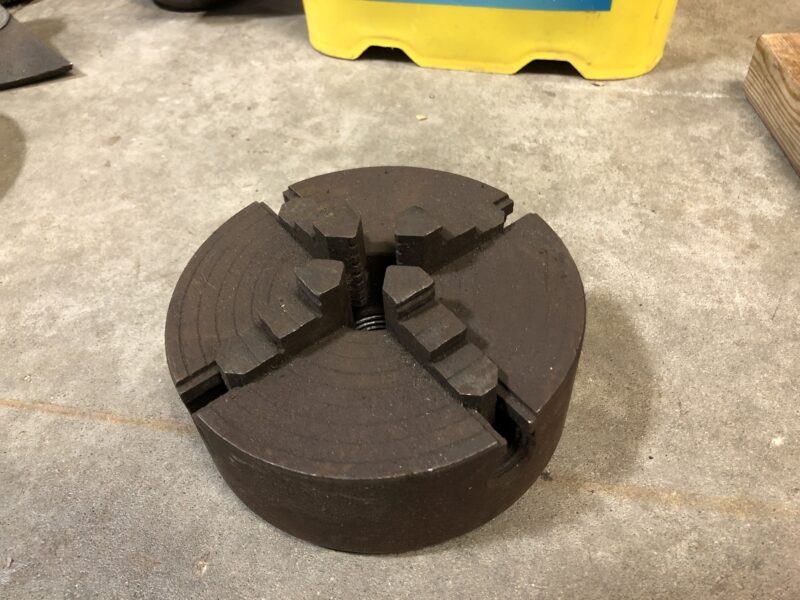
Came with a 3-jaw chuck installed:
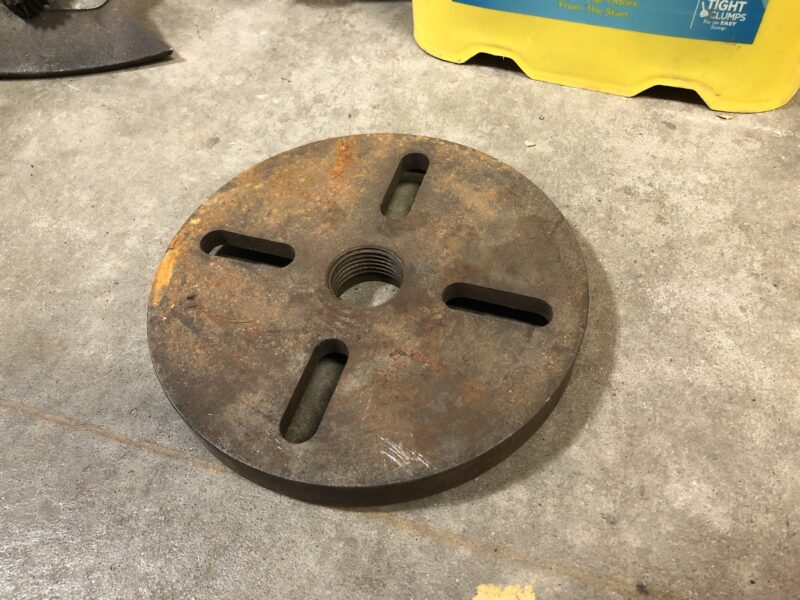
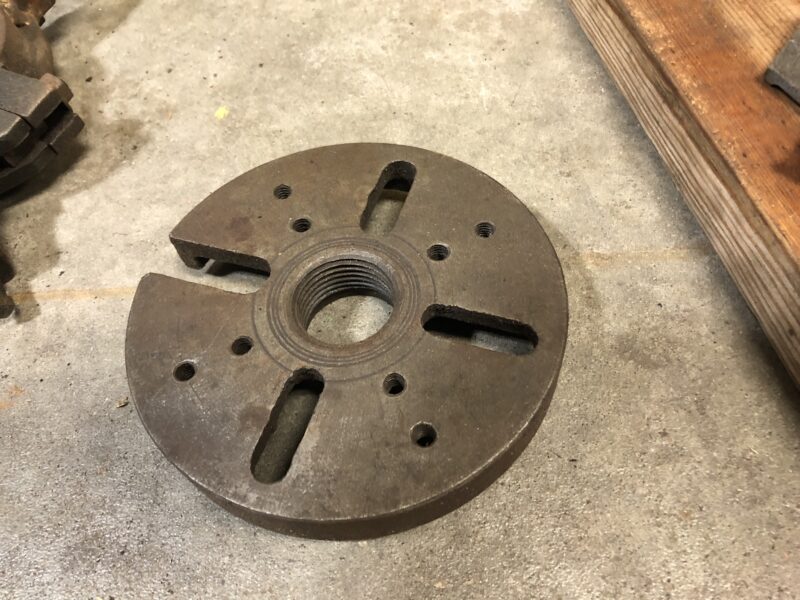
Also included a 4-jaw chuck and a couple of face plates:
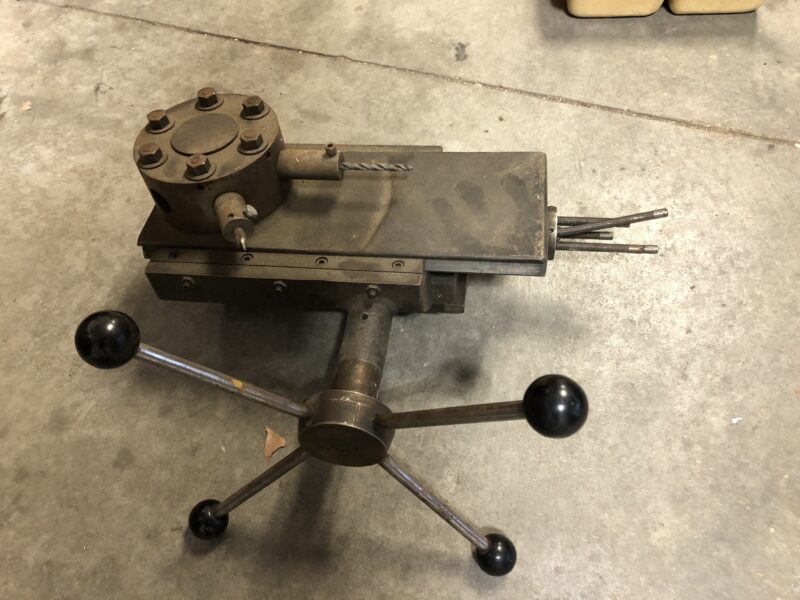
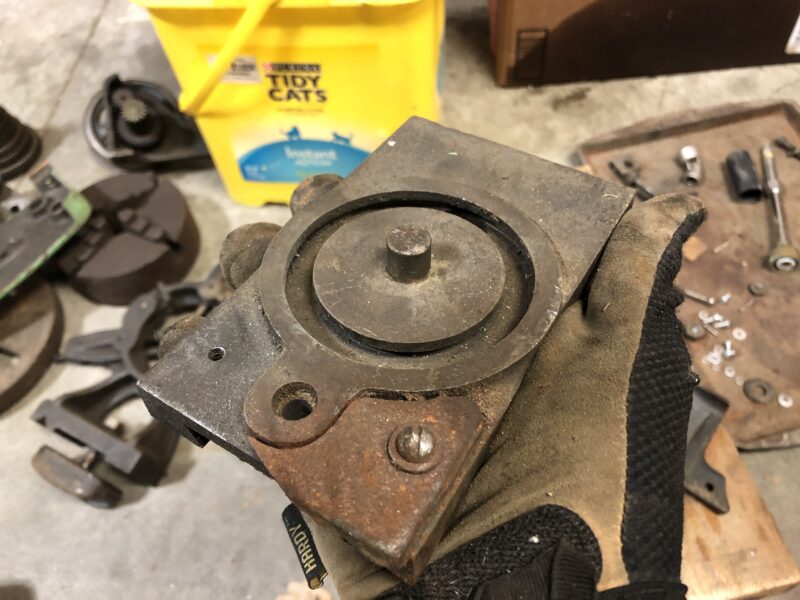
Included a turret:
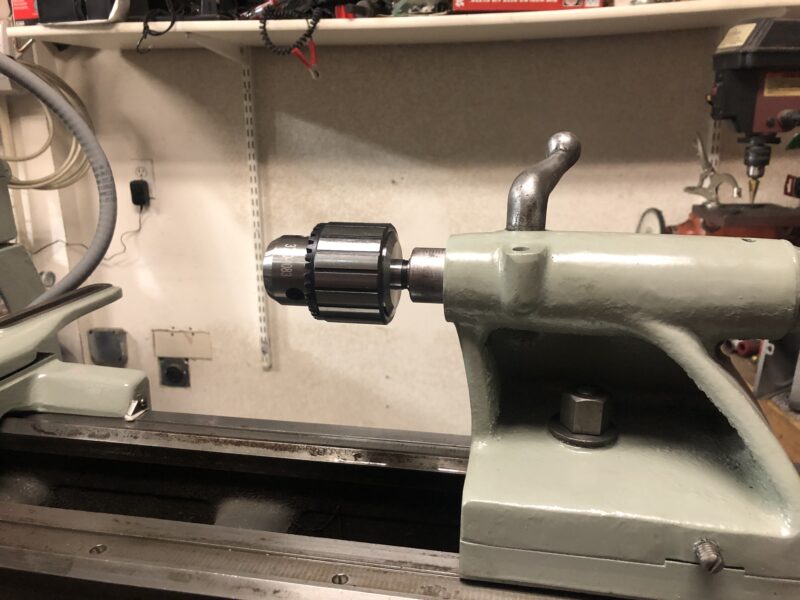
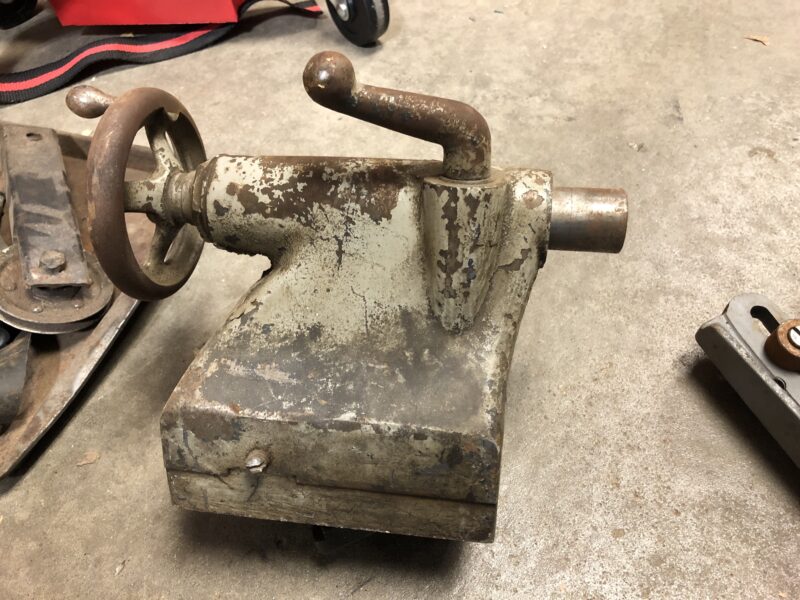
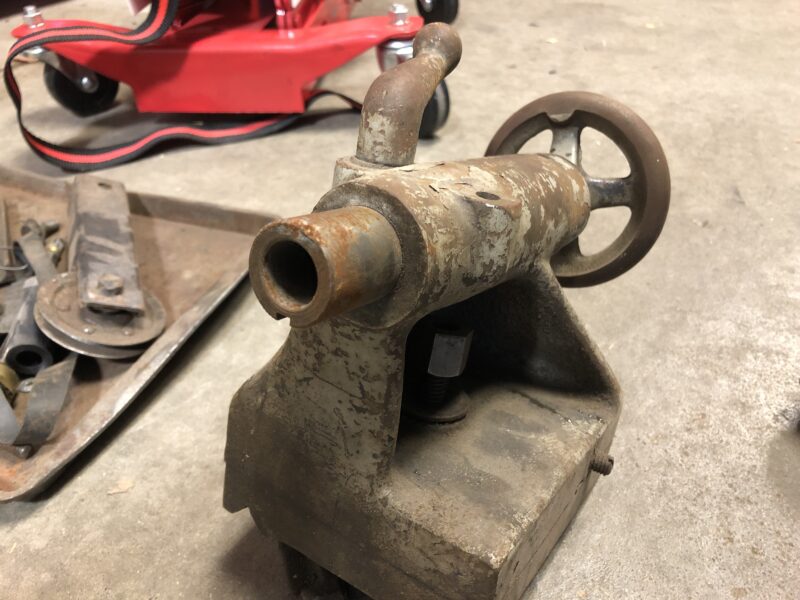
Tailstock is in decent shape. I'll need to clean out the taper. I don't see any accessories for it, so I'll probably look for a live center and maybe a chuck.
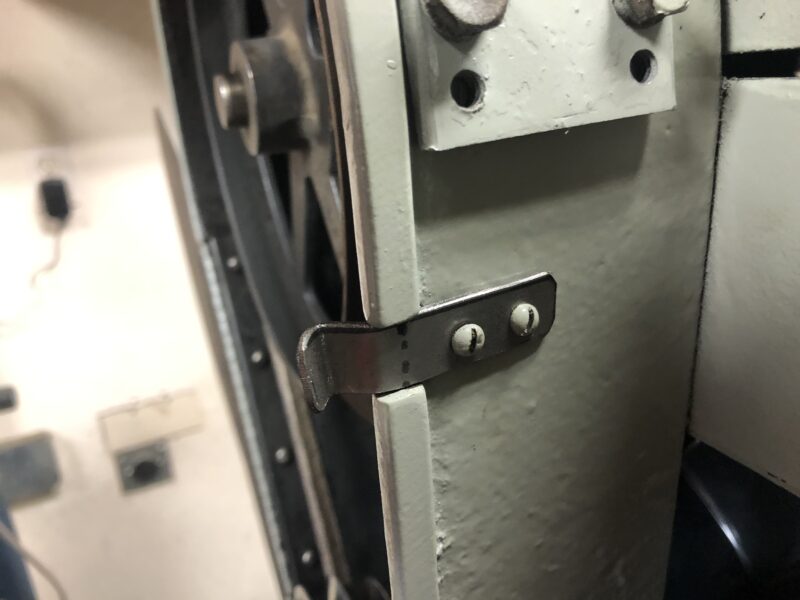
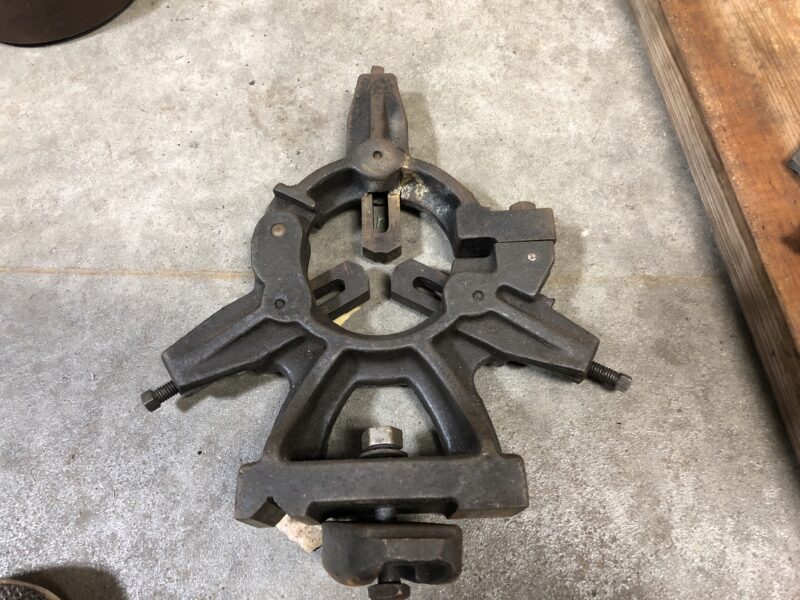
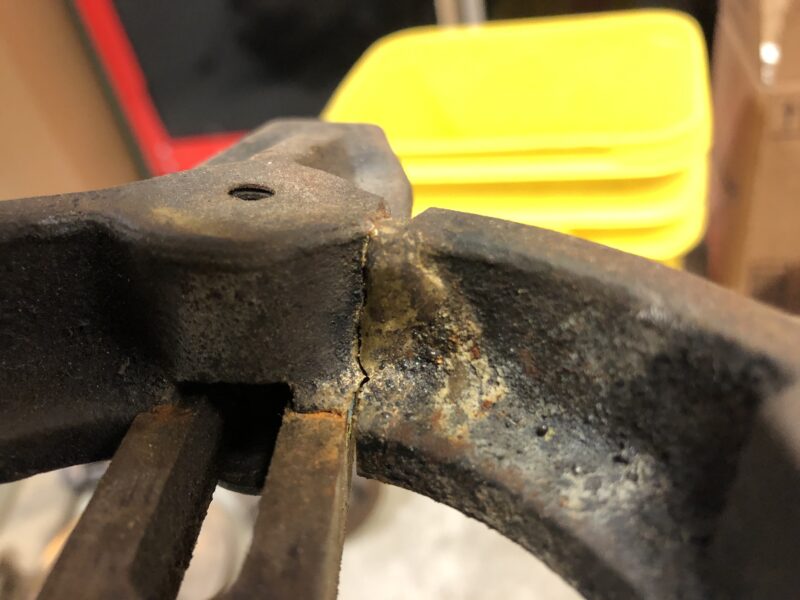
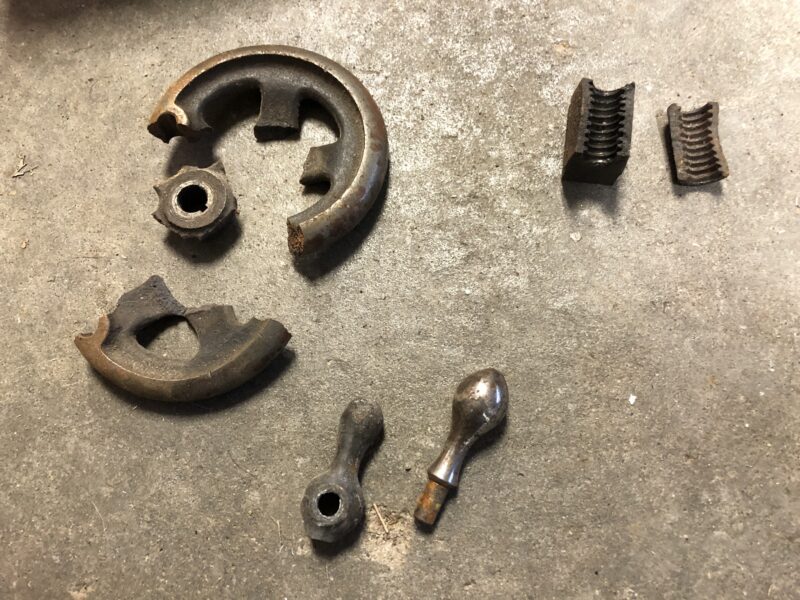
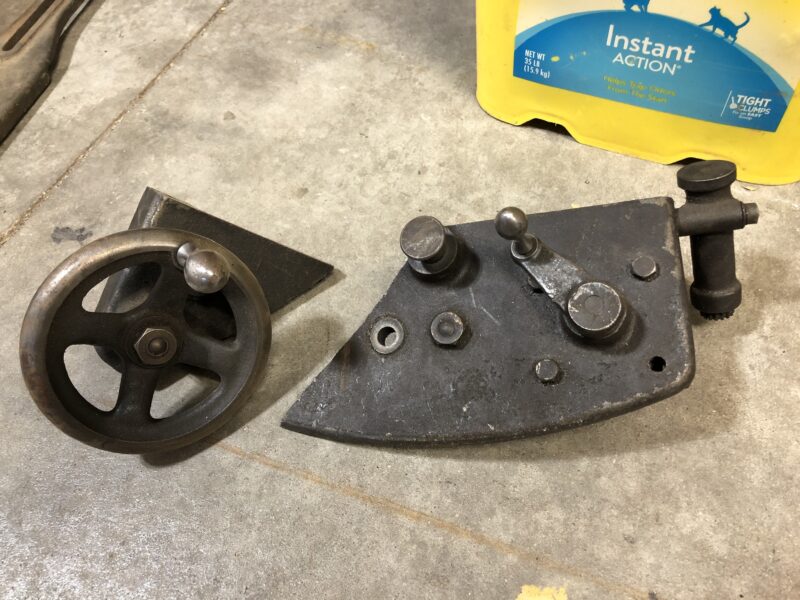
Has a rest. It's been broken and brazed back together, maybe not super well:
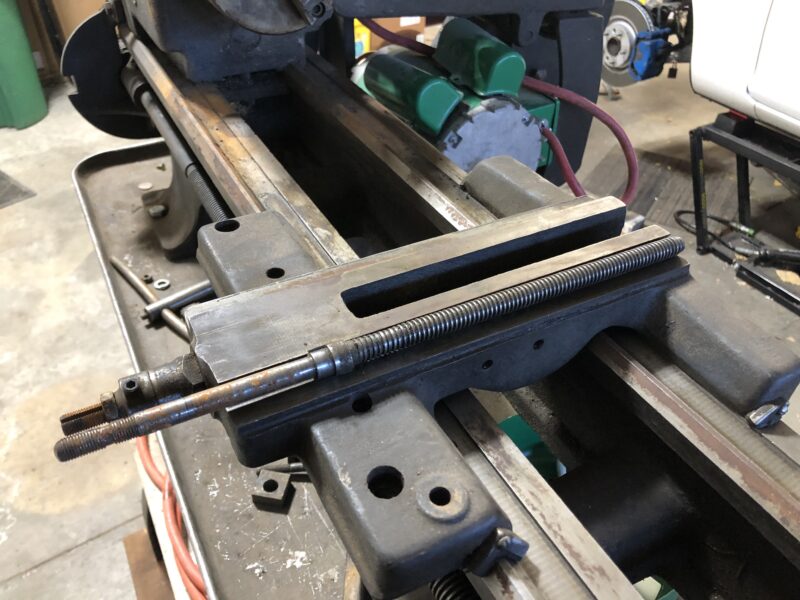
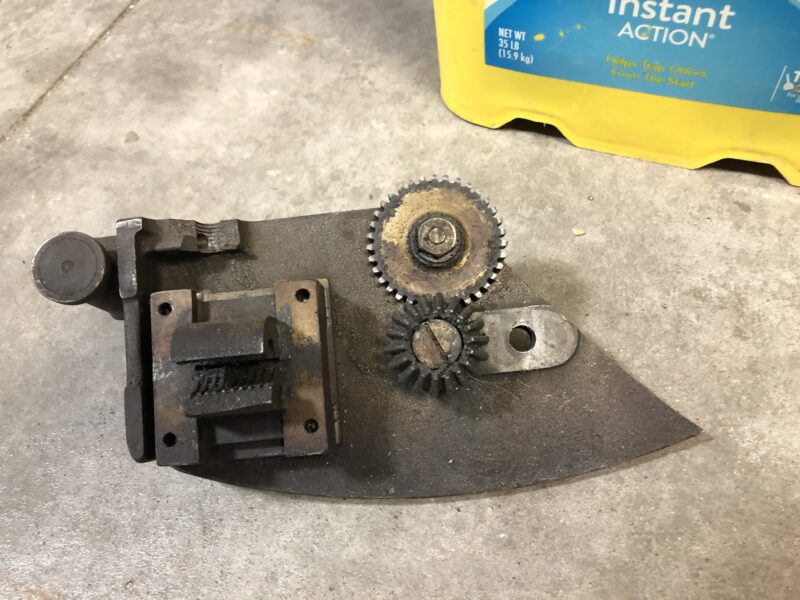
The crossfeed assembly is here, though the crossfeed nut is broken:
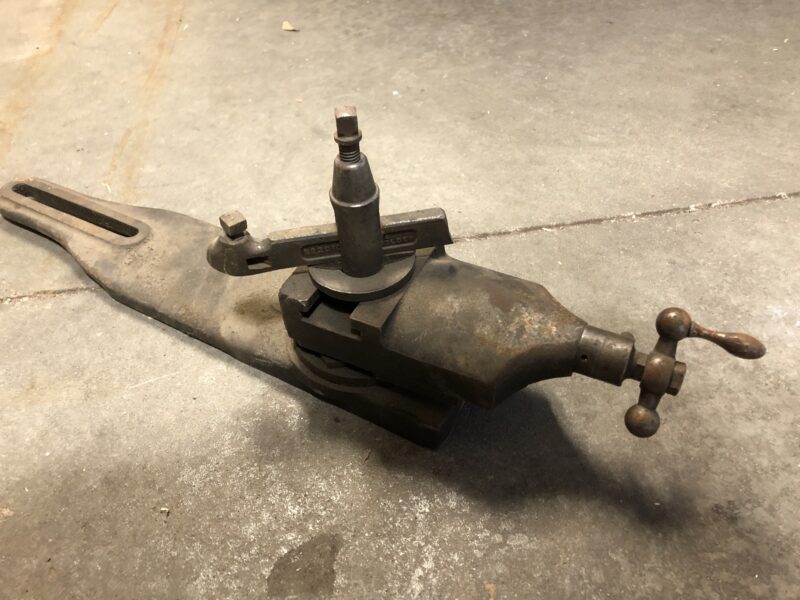
Looks like another compound base, with the chip guard broken off:
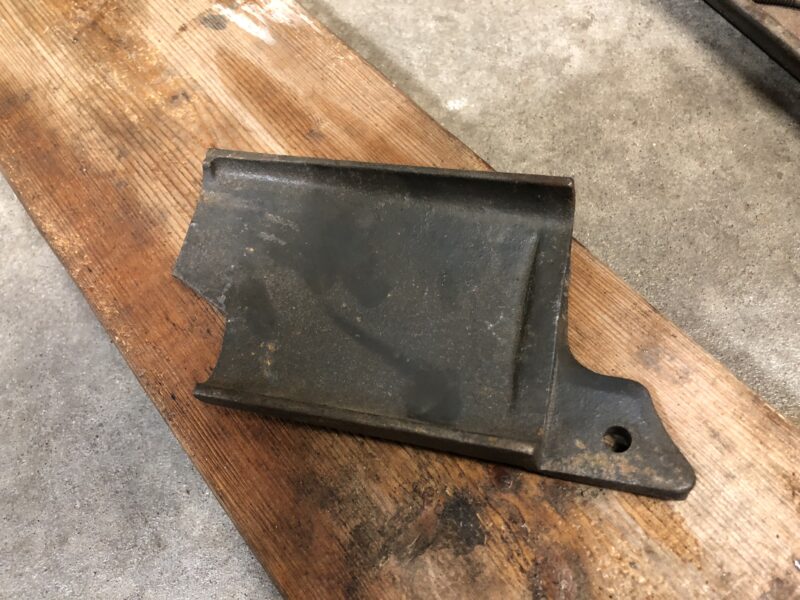
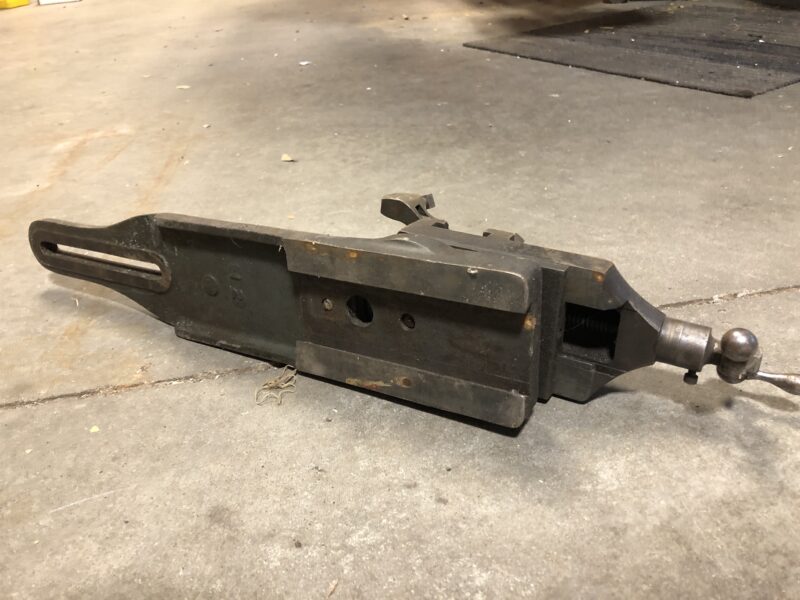
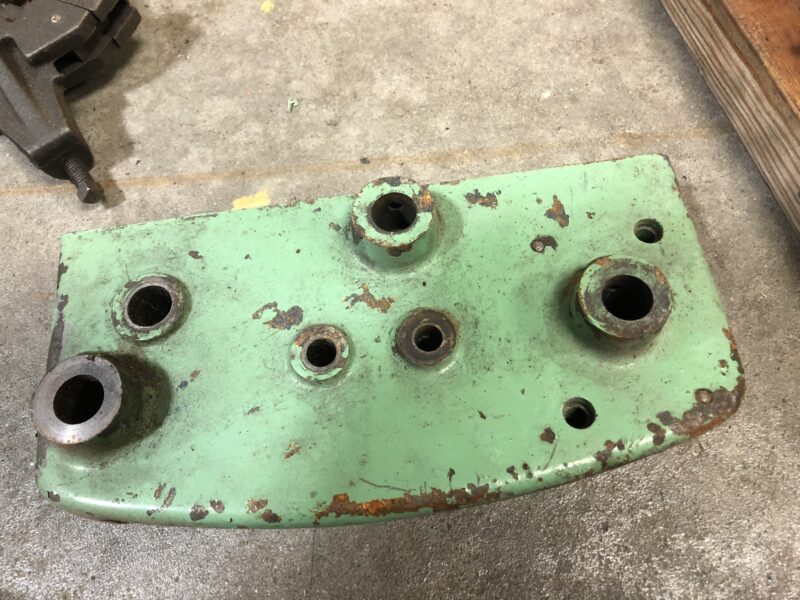
Also broken: the apron. Looks like maybe it fell over and the apron took the brunt of it:
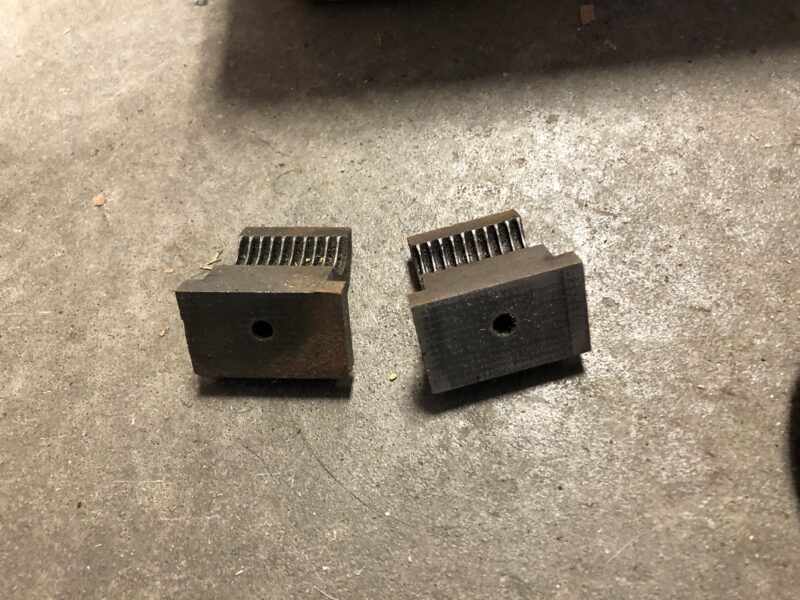
The half nut broke, but it came with a spare:
It came with a spare apron, but it's smaller than the broken piece. I think the stamped part number is "LA-111," though I can't find anything on that part number.
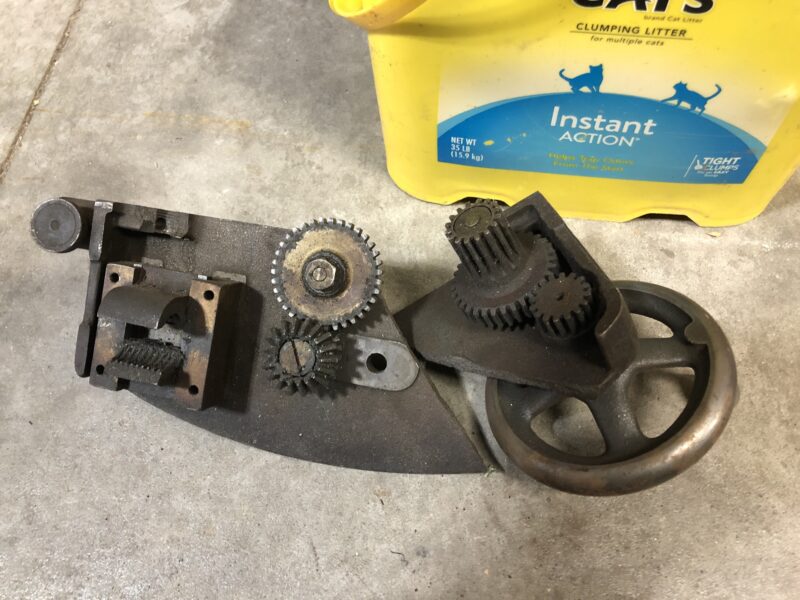
The power feed gears are here, looks l
Sorry for the duplicate pics.