-
Welcome back Guest! Did you know you can mentor other members here at H-M? If not, please check out our Relaunch of Hobby Machinist Mentoring Program!
You are using an out of date browser. It may not display this or other websites correctly.
You should upgrade or use an alternative browser.
You should upgrade or use an alternative browser.
New PM25MV on the way!
- Thread starter JohnsonFabrication
- Start date
- Joined
- Oct 27, 2014
- Messages
- 272
Opened the box on the extra mill head today, and to my surprise, i got a bonus, the 3 bolt mod is already done to it, so more work i don't have to do! The asssumption on the part of the ebay seller that the head was new was incorrect, as a new head would not have the 3-bolt mod done to it. But, it is still a good deal just the same, new, the complete head is over $1200.
View attachment 87799
View attachment 87800
This may be an older model head, as the label says it has a 750w motor, so, an 1100w motor upgrade with a belt drive is in order for this machine. Now is the time to do it before it gets put on the new column.
I'm going to get some Precision Matthews colors of paint tomorrow and mask the new parts up for painting. I want everything to match:makingdecision: the wife, she likes the green color, but I like blue, so blue it will be :rubbinghands:
I believe I read (maybe Hoss?) on one of the other forums that the newer G0704s have the 3 bolt mod from the factory.
Your conversion is looking good!
- Joined
- May 10, 2014
- Messages
- 74
Thanksgiving update.
Unpacked and cleaned the column today. Box was loaded with styrofoam peanuts, ugghhhh. The dovetails are covered in paint overspray. Gonna have to get that cleaned off.
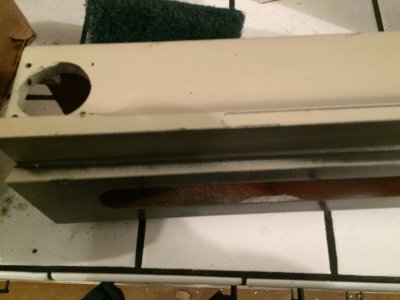
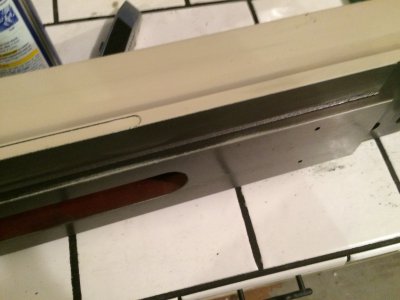
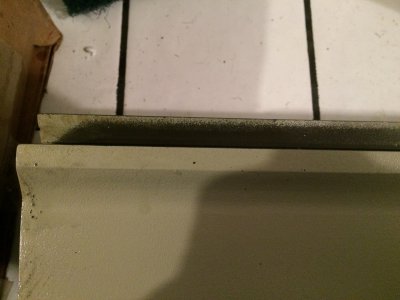
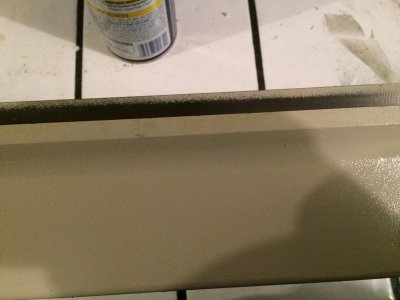
Next, i unpacked the z-slide that had come in a few days ago, more peanuts, ugggghhh, and more dovetail overspray.
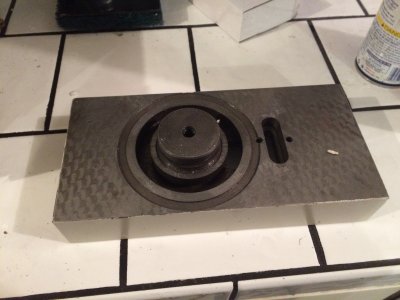
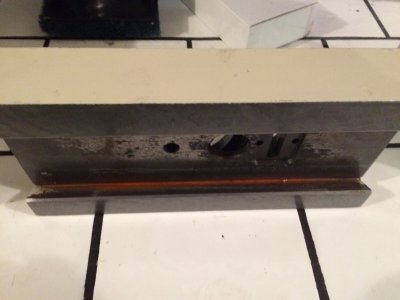
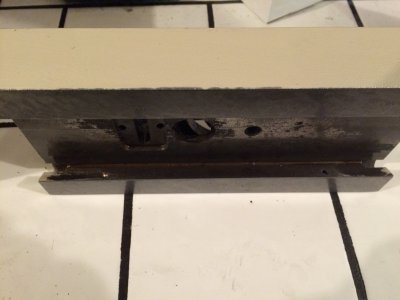
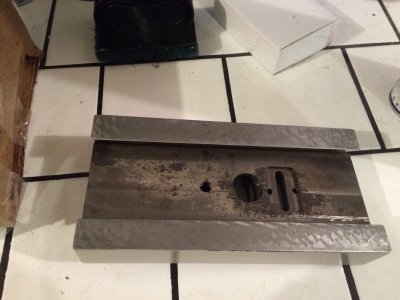
putting things together for a trial fit.
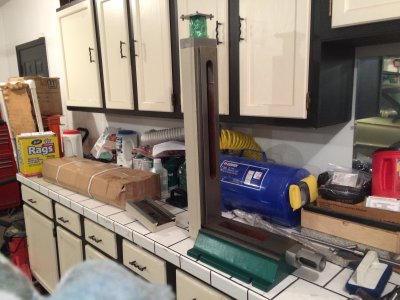
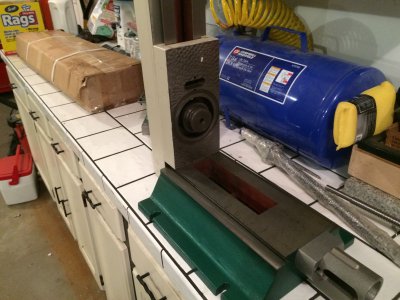


Unpacked and cleaned the column today. Box was loaded with styrofoam peanuts, ugghhhh. The dovetails are covered in paint overspray. Gonna have to get that cleaned off.


Next, i unpacked the z-slide that had come in a few days ago, more peanuts, ugggghhh, and more dovetail overspray.


putting things together for a trial fit.


- Joined
- May 10, 2014
- Messages
- 74
The table was also unpacked, and lots more of those awful *@#$@ peanuts.
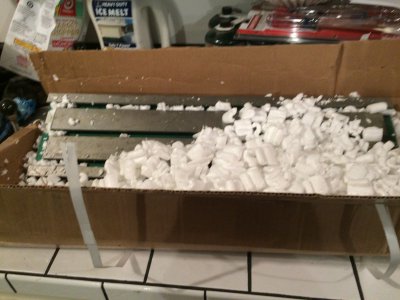
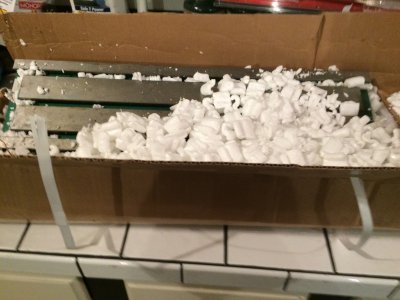
Now for another setback, started fitting the CNC end plates to the new table, and discovered that the bolt holes and the dowel pin holes have not been drilled at all. Guess this will give me an opportunity to use the 90 degree feature on the PM25MV.
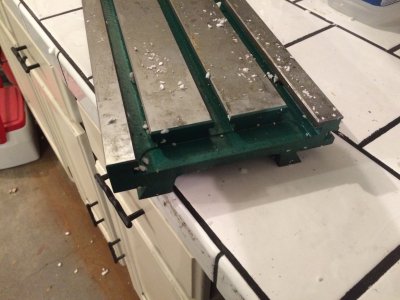
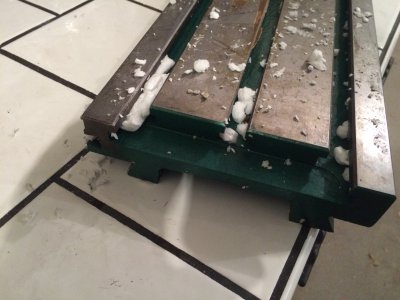


Now for another setback, started fitting the CNC end plates to the new table, and discovered that the bolt holes and the dowel pin holes have not been drilled at all. Guess this will give me an opportunity to use the 90 degree feature on the PM25MV.


- Joined
- May 10, 2014
- Messages
- 74
Today, the y-axis ball screw and motor were installed. in the ball screw kit, they give you a small chunk of ball screw to put in the nut because you have to take the nut off to get the screw in the base casting. I would like to tell you right now, a small piece of pipe would have worked better. If you don't have it just right, the screw won't go back in and then the teflon seals pop out, along with a few balls. Getting the balls back in wasn't all that hard, but it took me 4 attempts to get the nut back on the ball screw. I would suggest to those doing it in the future, practice putting that nut back on before putting the screw in the casting, you will be glad you did.
First picture, I went with Ruland oldham couplings. These are the same couplings that McMaster-Carr sells. I got them for less than half of what McMaster-Carr charges from the local bearing/power transmission supply company. You can do the same, the Ruland part numbers are:
Nema 23 motor setup
OST21-6-A 3/8in bore, 2 each
OD21/33-AT acetal insert, 1 each
Nema 34 motor setup
OST21-8-A 1/2in bore, 1 each
OST21-6-A 3/8in bore, 1 each
OD21/33-AT acetal insert, 1 each
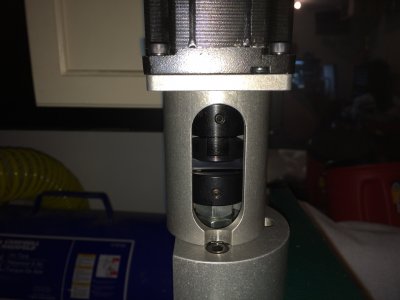
motor and screw installed
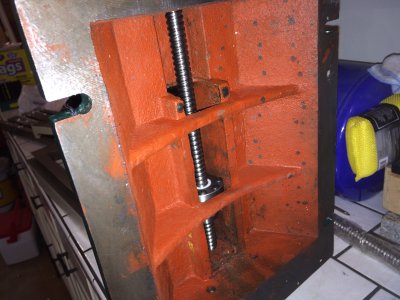
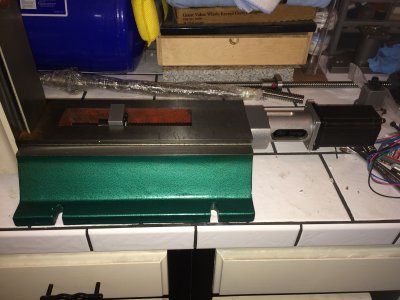


First picture, I went with Ruland oldham couplings. These are the same couplings that McMaster-Carr sells. I got them for less than half of what McMaster-Carr charges from the local bearing/power transmission supply company. You can do the same, the Ruland part numbers are:
Nema 23 motor setup
OST21-6-A 3/8in bore, 2 each
OD21/33-AT acetal insert, 1 each
Nema 34 motor setup
OST21-8-A 1/2in bore, 1 each
OST21-6-A 3/8in bore, 1 each
OD21/33-AT acetal insert, 1 each

motor and screw installed


- Joined
- May 10, 2014
- Messages
- 74
It's Mark, my last name is Johnson, heh  ), but yeah, took me a while to get the ball nut back on.
- Joined
- May 10, 2014
- Messages
- 74
Well, today i called Grizzly to check on the saddle back order. Sadly, they have pushed back the order until December 30th. It's going to be at least a month before i can finish now. While I had them on the phone, I decided to ask them why the new table did not have the dowel and bolt holes in the end of the table. I am not surprised by the answer, as the PM25MV exhibits the same thing. The answer is, they hand fit and drill the dowel and bolt holes on each end plate, so no two are the same or in the same locations. On my particular PM25MV, when i disassembled it for cleaning, it was very noticeable that some of the dowels were in holes that were drilled at a not so straight angle, etc. Since my new table does not have the holes, I am going to do my best to make sure they are all drilled straight and true.
This explains a couple things to me, like why the G0704 uses a slot system to capture the x and y screw nuts, because the screw heights above the saddle probably vary considerably from machine to machine, and they need the ability to compensate for that.
While I am waiting for the saddle, i'm going to move forward as time allows on fitting the table ball screw plates, and i will finish up on the Z axis. Might even get a new motor for it.
- Joined
- May 10, 2014
- Messages
- 74
Not much of an update this week, had to work, but i did work on some software problems. Instead of fixing Partmaster 13, Dolphin sent me a download link for a version of Partmaster 12. I paid for version 13, not 12, I am probably out the money I paid for this clunker software despite my requests for a refund, so I am going to move on. I bought the Autodesk Fusion 360 offer, for the cloud version subscription of Fusion 360 Ultimate. I've used Autodesk products for years and years at work, I should have just gone to them to start with, but was trying to save a few bucks, and it ended up costing me in the long term. Rant over.
The new saddle is still on back order, so my next step is drilling and tapping the bolt holes in the end of the table. I have begun purchasing tooling. I got the tormach manual starter kit from Little Machine Shop for the basic tooling set, and got some basic end mills, metric transfer punches, and metric drill bits ( I already have drill bits in sae from a previous mill that i had). Since I am building a cnc machine, i'm going to stick with the tormach tooling system.
I have been looking at various automatic tool changer systems that people have built, and i purchased plans from Hoss Machine, but i am intrigued by the possibility of a chain system, instead of a disk, for more flexibility and expandability. I'll have to give this some thought.

