New shop! (was: Multiple buildings, ...)

Concrete will get done this week. Debating whether I need to buy/make a 10ga "extension cord" to power things (lights, router/switch) until the power co gets the new service active.
Impressive fast progress.

Here in Los Angeles nothing moves without full constructions permits upfront and city inspections at each stage of the construction. No concrete pouring before approved vapor barrier material and rebars are in place. No concrete pouring for structural concrete (4,000 PSI) without deputy inspector on site during the pour. Not even sure that pole barn style buildings are allowed at this earthquake prone region.

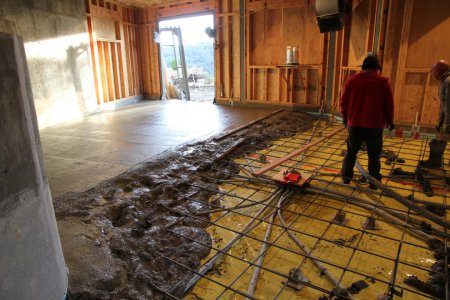
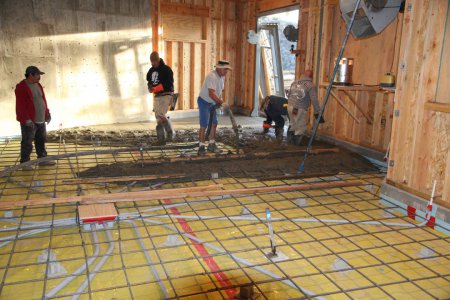
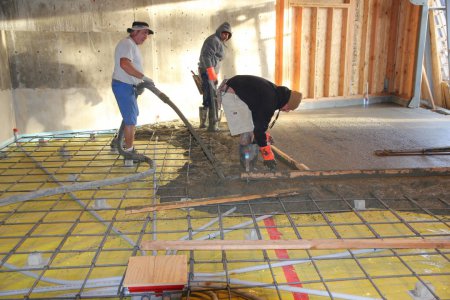
I am attaching few pictures of pouring and finishing concrete for my shop floor slab (December 2015). See the extensive rebar and electrical conduit on top of the vapor barrier.
IMG_3407_S.jpg

IMG_3411_S.jpg

IMG_3413_S.jpg

IMG_3414_S.jpg
My shop construction project was a long and big effort but definitely worth it as I enjoy it daily.

Ariel
 
Last edited:
See the extensive rebar and electrical conduit on top of the vapor barrier.
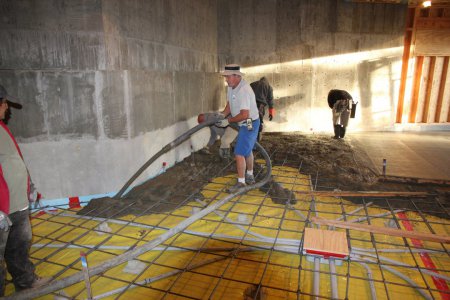
Are you actually doing electrical distribution via the in-slab conduit? My in slab conduit is only for a few outlets in the floor, otherwise power will go via walls/attic.
 
Are you actually doing electrical distribution via the in-slab conduit? My in slab conduit is only for a few outlets in the floor, otherwise power will go via walls/attic.
Absolutely using it. The plastic electrical conduit terminate above the slab next to the walls, I used a metal riser conduit on the wall into a die cast electrical box that is attached to the concrete wall and has electric receptacles. Most (70%) of my walls are structural concrete so it was easier to bring two large conduits from the shop panel into the middle of the shop (the square plastic electrical box covered with plywood in the pictures) in a hub and spoke configuration and send it to the walls from the center. I am only feeding one machine from the center box.

I had no idea where I wanted to put machines and how much power each machine needed. In retrospect this is a very good solution as it allowed me to easily pull wires for 220v/50A outlet for welding and plasma cutting.

Some of the wiring in the walls and ceiling was done with Romax, I wish I used conduit to get more flexibility after the fact.
 
Making lemonade: I’m going to start wiring the shop so that we have a few lights and outlets. The power co has not hooked up the new service yet, but I can run a temp 20A 220V into it on some 10/3 UF. That way I can go ahead with getting the starlink dish installed since it will be homed there. I’m waiting on a couple managed vlan switches with SFP ports that I will use to light up the single mode fiber between there and the house, and install security cameras.
 
Still no concrete, but a good start on the wiring, main panel and subpanel are in, wired together. Three way switches for lights are in, light boxes up. Couple of outlets set up. Still no power to the building as the power co hasn't trenched in the 400A line. But after running up and down a ladder for a couple days, I'm glad I went with 12' ceilings and not the 16'.
 

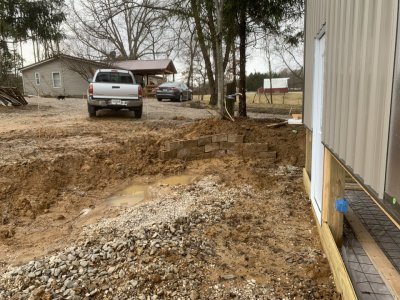
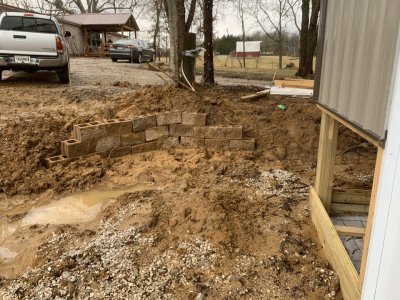
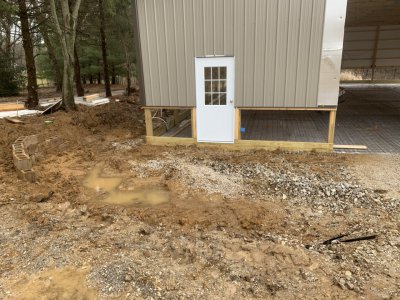
Muddy Mess​

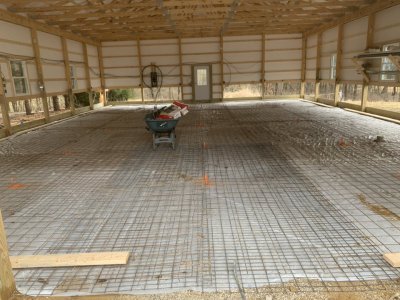
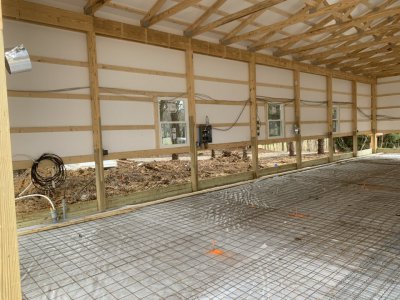
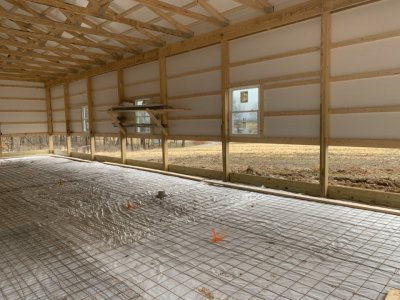
We got about 1.4" of rain last night. Quite a downpour. The soil here is mostly clay, so it truly makes a mess when loose soil gets saturated. The crew stopped by today to do some final prep before concrete. Current plan is to pour Monday morning, and finish up everything else Tuesday. They got the vapor barrier and wire mesh down. They use a pretty fine gauge concrete mesh. I had two "stallion panels", which is 5' x 16' 6 gauge galvanized mesh on a 2" x 4" grid. Similar to hog panel fencing. This was left over from building stallion runs a few years ago, and I figured it would make a little extra reinforcement for the doorway, so I had them throw those in on top of their normal mesh for the width of the main door going in 16'.
IMG_4432.JPG


I've roughed in the main panel, front 100A sub-panel connected via Al SER 2-2-2-4, and some overhead light fixtures. Once the concrete is poured I'll have lights and a couple of outlets within a few days.
IMG_4433.JPGIMG_4434.JPG

We did run to Menards and picked up some concrete "split face" block to make a bit of a mud retaining wall. It will have to be rebuilt once things dry out this summer, but for now it will keep the grade so that there is drainage around the front uphill driveway corner of the building. This was 20 block to start with, I figure we'll get another 30 or so to extend it. Eventually I'll pour concrete steps coming down to the entry door (again, when things are dry). I was pleased the perimeter drains were pouring out quite a bit of water this morning.

IMG_4435.JPGIMG_4436.JPG
IMG_4437.JPG
 
Last edited:
Hey, it's not a pour, but it is progress. Sucks about the rain. I hate walking in clay when it's that wet, it pulls your boots off... And if it doesn't do that, you are walking on inches of mud stuck under your boots... :(
 
Hey, it's not a pour, but it is progress. Sucks about the rain. I hate walking in clay when it's that wet, it pulls your boots off... And if it doesn't do that, you are walking on inches of mud stuck under your boots... :(
Yeah, stacking those blocks was a challenge, had to pretty much plant your feet, stack a few block, then reach down and pull with hands and foot to get the boot out of the mire. Fortunately my wife passed the block down to me from the back of the pickup truck.

Progress it is! I'll hold off on doing any more wiring work at this point as I don't want to punch a bunch of holes in the vapor barrier with ladder feet.
 
Last edited:
Back
Top