- Joined
- Nov 5, 2016
- Messages
- 1,419
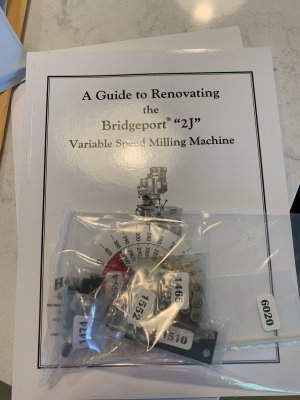
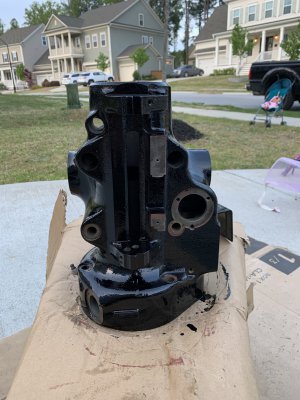
Yes, the book shows this and much, much more.... a lot of good information; well worth the price. I think you'll really benefit from it. I did.
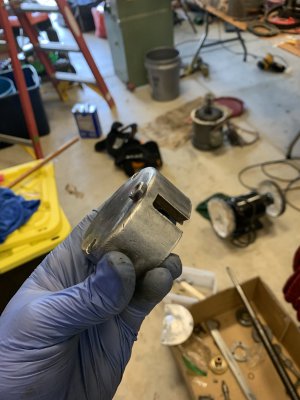
Here's a link that shows this missing piece in more detail:
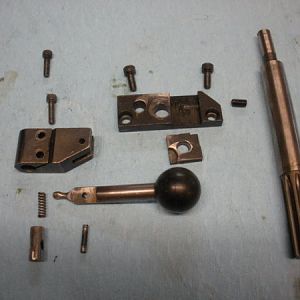
 www.hobby-machinist.com
Do some searching on line and you might be able to find the missing part. If not, buy the replacement.
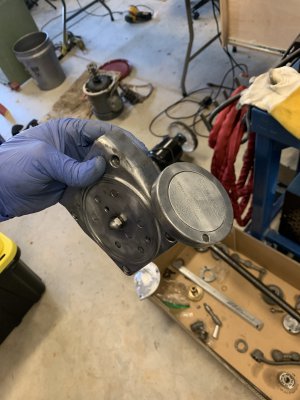
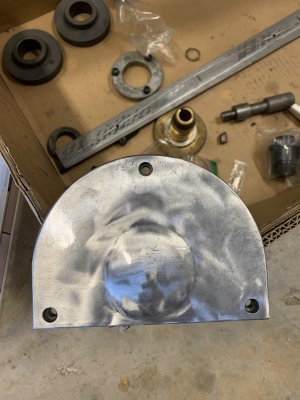
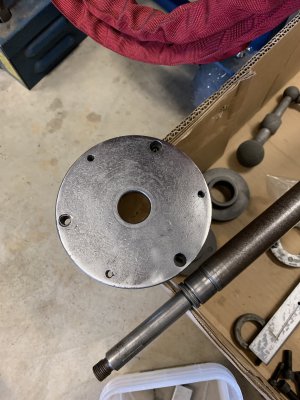
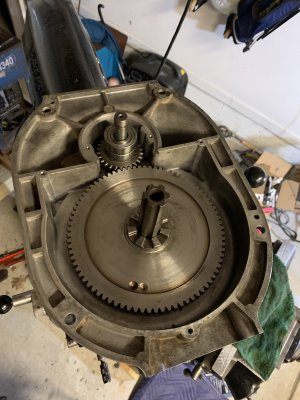
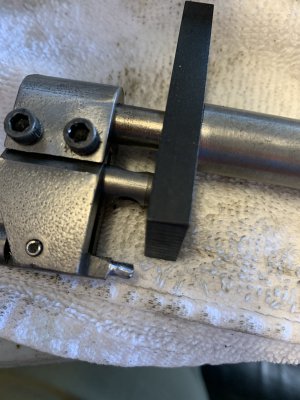
If you get the new replacement part you can adjust by how the handle is "timed" as you say. You are simply adjusting the position of the bull gear (vertically meshing with the smaller pinion gear) with this adjustment. You want the two gears to be ~ flush with each other in hi and adjusted so they don't touch when in neutral. You'll also need the correct Mobil grease which you can get from H&W.
Ted
Here's a link that shows this missing piece in more detail:
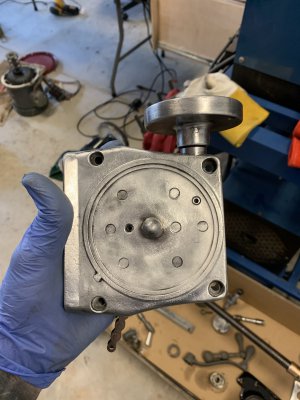
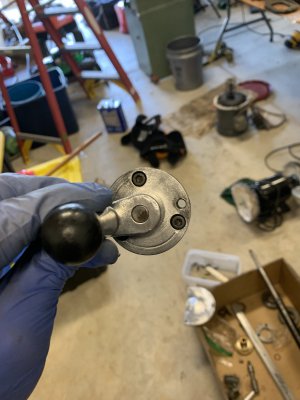
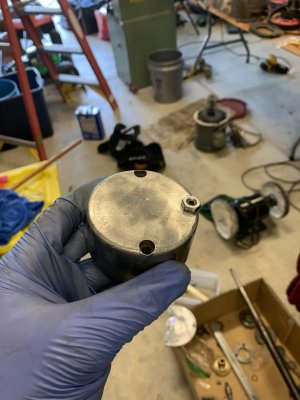
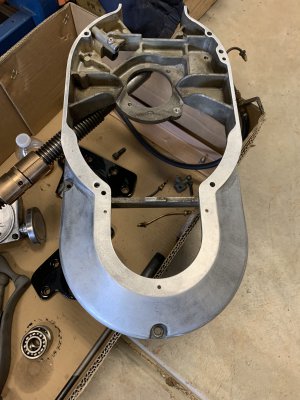
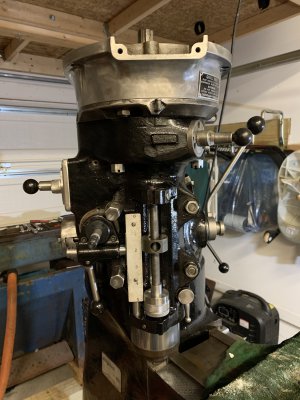
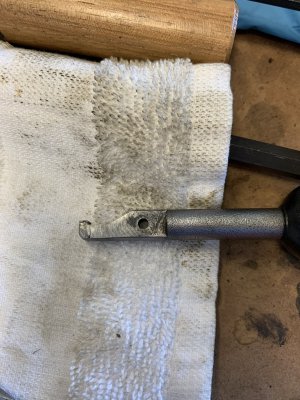
High-low shift lever assembly.
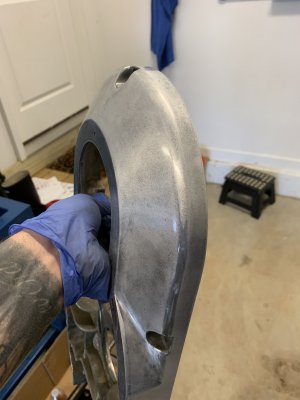
The ball does come off the handle I just had no reason to take it off.
www.hobby-machinist.com
Do some searching on line and you might be able to find the missing part. If not, buy the replacement.
If you get the new replacement part you can adjust by how the handle is "timed" as you say. You are simply adjusting the position of the bull gear (vertically meshing with the smaller pinion gear) with this adjustment. You want the two gears to be ~ flush with each other in hi and adjusted so they don't touch when in neutral. You'll also need the correct Mobil grease which you can get from H&W.
Ted
")