-
Welcome back Guest! Did you know you can mentor other members here at H-M? If not, please check out our Relaunch of Hobby Machinist Mentoring Program!
You are using an out of date browser. It may not display this or other websites correctly.
You should upgrade or use an alternative browser.
You should upgrade or use an alternative browser.
POTD- PROJECT OF THE DAY: What Did You Make In Your Shop Today?
- Thread starter wachuko
- Start date
- Joined
- Nov 25, 2015
- Messages
- 8,298
Got a chance to finish my new chuck key. After cutting both sides of the handle off and re-drilling, I decided to avoid a press fit, and used dog point set screw to hold it in. A dimple in the crossbar that exactly fit the dogpoint prevents any movement.
Anyway, we are very light on new real content so here's some minor work.
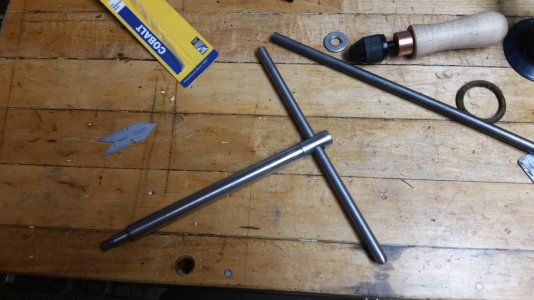
Anyway, we are very light on new real content so here's some minor work.

- Joined
- May 13, 2019
- Messages
- 1,016
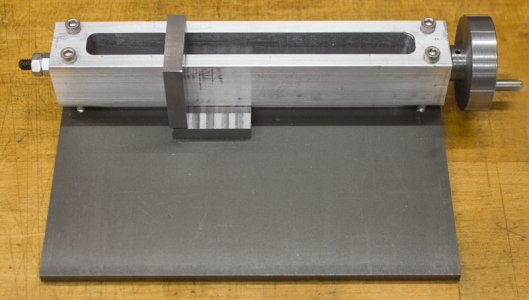
I just completed my metal stamp guide which I semi-copied/stole from a YouTuber. It allows infinite spacing between characters and keeps the stamps vertical.
I used a 1/4-20 threaded rod which gives 0.050" per revolution of the handle. I used my dividing head to mark 10 spaces around the wheel giving 0.005" resolution (which is overkill, but I did it anyways).
Ready to stamp.
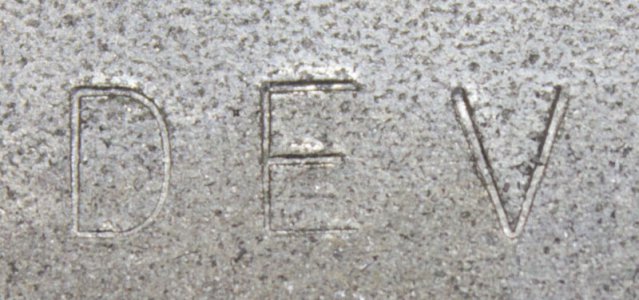
Test stamp with 0.250" spacing in scrap steel.
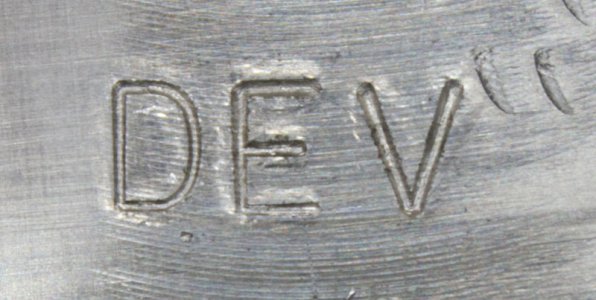
Test stamp with 0.200" spacing in scrap 6061.
I used a 1/4-20 threaded rod which gives 0.050" per revolution of the handle. I used my dividing head to mark 10 spaces around the wheel giving 0.005" resolution (which is overkill, but I did it anyways).
Ready to stamp.

Test stamp with 0.250" spacing in scrap steel.

Test stamp with 0.200" spacing in scrap 6061.

- Joined
- Nov 25, 2015
- Messages
- 8,298
Can we get a better view of it from overhead to see what you did?I just completed my metal stamp guide which I semi-copied/stole from a YouTuber. It allows infinite spacing between characters and keeps the stamps vertical.
I used a 1/4-20 threaded rod which gives 0.050" per revolution of the handle. I used my dividing head to mark 10 spaces around the wheel giving 0.005" resolution (which is overkill, but I did it anyways).
Ready to stamp.
View attachment 406748
Test stamp with 0.250" spacing in scrap steel.
View attachment 406749
Test stamp with 0.200" spacing in scrap 6061.
View attachment 406750
- Joined
- May 13, 2019
- Messages
- 1,016
- Joined
- Nov 25, 2015
- Messages
- 8,298
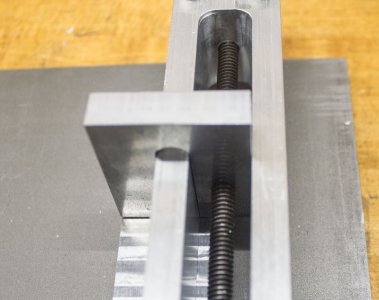
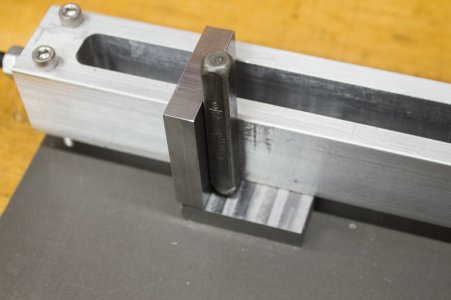
So are you stamping inside the cutout or outside the block?Sure. Here you go.
Basically, the main piece is just a slot cut lengthwise with clearance holes at the ends for the threaded rod to go through.
The movable piece is an upside down "U" with a threaded hole for the rod.
View attachment 406757
View attachment 406758
Sent from my SM-G900V using Tapatalk
- Joined
- May 13, 2019
- Messages
- 1,016
- Joined
- Jul 14, 2017
- Messages
- 2,447
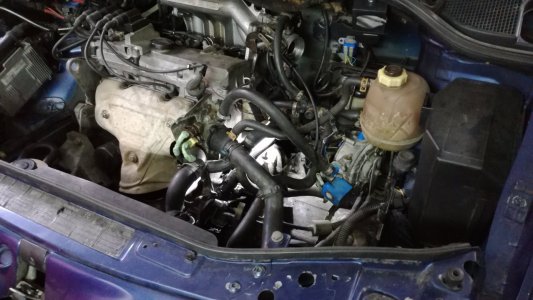
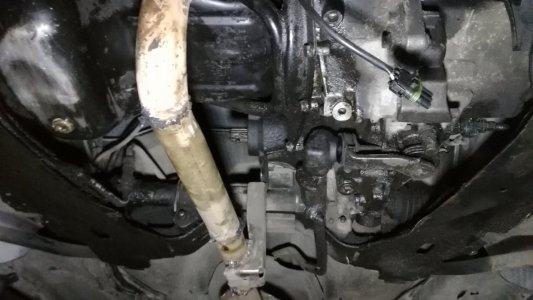
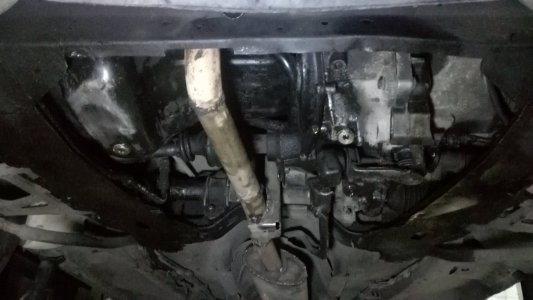
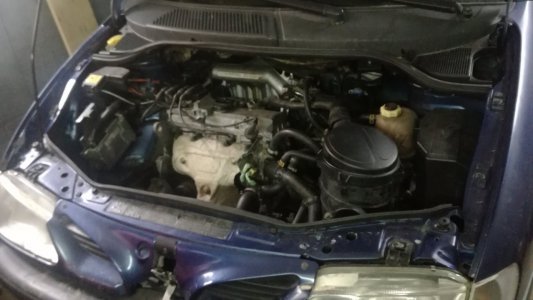
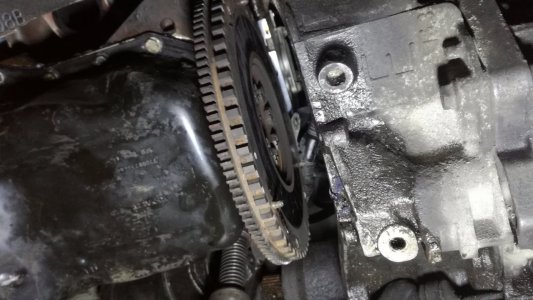
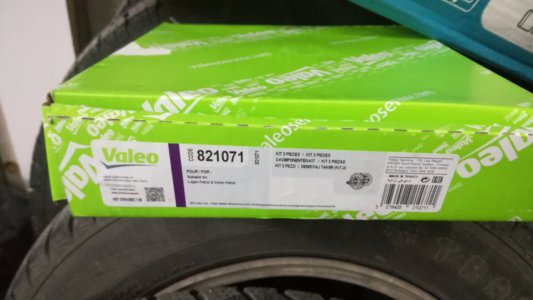
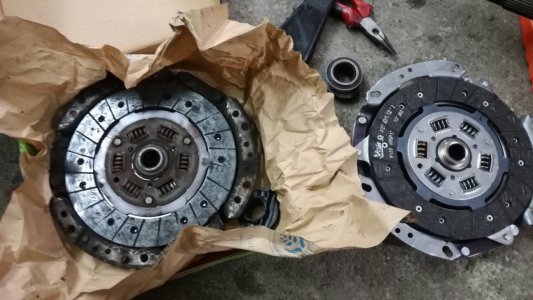
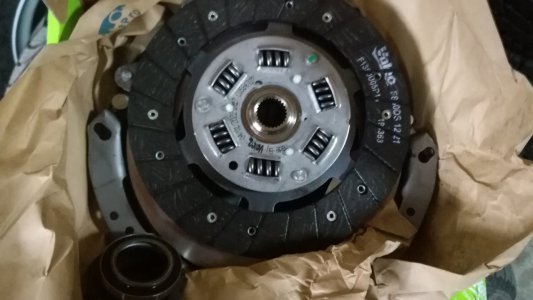
After waiting for this car to put itself together i had to do it myself. Install the new clutch pressure plate and release bearing, lots of working over my head. I rotate the engine and adjusted the clutch to the middle of the flywheel and the gearbox just slipped in. Then came the axles, covers, engine mounts and lots of small parts. I put it all back together drove it around the block. The clutch feel good, now the engine is a bit noisy valve chatter and is running like crap at idle. I'll have to adjast the valves and change the sparkplugs.
