Royal Blue #3

Thank you Nogoingback I am 71 and with the lock down and a lot of time on my hands I just have to keep busy.

Lets make some timing gears next.

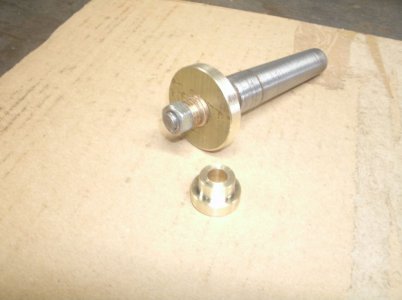
The blanks are cut out and ready for their teeth.
GEDC4601s.jpg
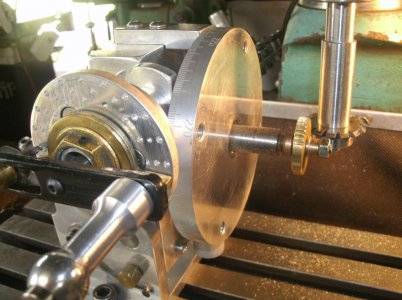
This is the setup I used for the 36 tooth gear.
I am using M1 metric cutters as that is the smallest tooth size I have.
GEDC4609s.jpg

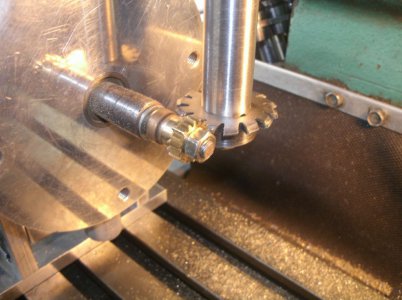
This is the 18 tooth gear that mounts on the crank shaft.
GEDC4612s.jpg

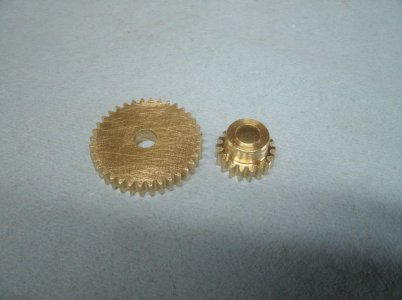
Gears all done except for boring out the ID.
Don't they look nice?
GEDC4615s.jpg

Sure they do but they won't work on this engine because when I bore out the ID of the small gear there is not enough material left for the set screw.
I remember telling my self that these gears would have to be larger because the crankshaft is larger but I guess I had a senior moment. So now I am kind of upset with my self so I decided to make them 22 and 44 teeth so I was sure to have enough material left. I cut out the new blanks and mounted the 44 blank first then I set about setting up the rotary table.
Now I have made 5 dividing plates for my rotary table with three hole patterns on each one that's fifteen different hole spacings but not one of them will work for the gears I wanted to make.

I ended up cutting the blanks down for 20 and 40 tooth gears and made sure the 20 tooth gear had plenty meat for the set screw so here they are.
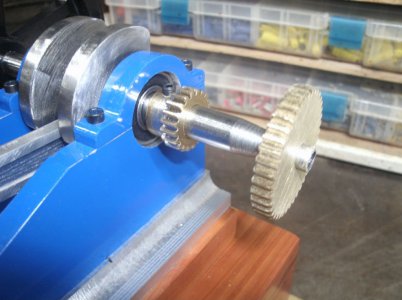
GEDC4617s.jpg
No the big gear does not go on the crank shaft I just stuck it there to take the picture.
They did turn out nice though.

Thanks for looking
Ray
 
Looking good! And just remember, if everything always went according to plan you’d get bored with it pretty quick... ;)

-frank
 
What an interesting post. You are a great machinist and I will follow this built to the end.
 
Watch out for piston to bore clearance as the piston expands quite a bit with heat, you could rather give more clearance and have another attempt to make rings for sealing purposes
Good luck
Guv
 
Guv the piston and the liner are both cast iron and I don't know which will expand more so yes there may be a piston change in the future but for now we will see. I certainly don't think of myself as a great machinist but rather a very lucky one.

Well boredom today as everything went as planned for a change.
I thought I had better finish the cylinder head off today see below.

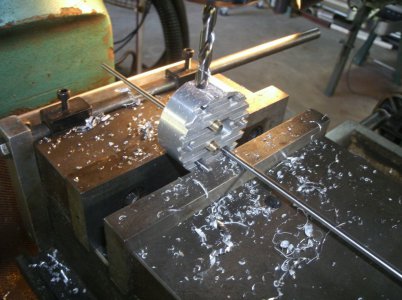
Since I had moved the valves down in the head from center I first milled a flat 0.100 down from center also on each side. The intake was drilled for 1/4 X 28 threads and the exhaust was larger at 5/16 X 24. These ports extend down into the valve guides and actually cut part of the guides away so I was a little nervous doing this.
GEDC4618s.jpg
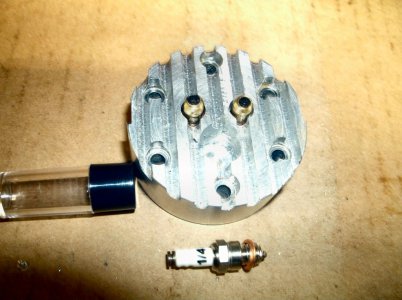
All worked just fine so I drilled for the spark plug and tapped it 1/4 X 32.
The plug came in its own little tube and is just 1" in total length.
GEDC4622s.jpg

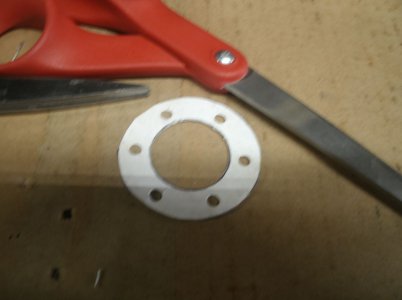
I also made a new head gasket.
GEDC4623s.jpg

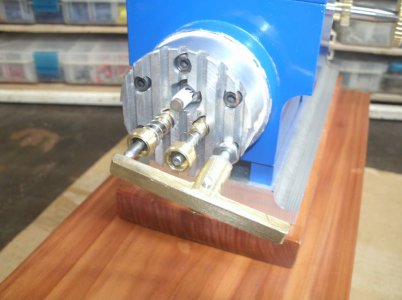
I did all this so I could accurately install the head to work on the rocker arm placement. I removed one of the head bolts and installed a threaded rod. Now the head will be compressed at this location with a nut and a slotted fitting can be screwed to the rod for the rocker arm pivot. This is similar to the second engine I built and has worked fine on it. I knew the rocker arm would have to cross over above the intake valve stem so that is why I made the exhaust valve longer. I plan on cutting part of the rocker arm off making it shorter but I need to get the placement of the push rod sorted first.

GEDC4626s.jpg

Next is the cam and driven gear and then the push rod.

Thanks for looking

Ray
 
Ray, I am impressed by this build. All I have done so far is a simple oscillating engine. I hope that one day, I will be able to make something as complex as your build.
 
Thank you ShagDog but it is just one part at a time.

You can do it!

Ray
 
I made the cam and brass bushing that gets pressed through the cam and driven gear.

GEDC4627s.jpg

Then I made a steel axle with a slot on the end for the miss arm to pivot in and mounted the assembly on the engine.
GEDC4635s.jpg
The little pieces take the longest to make and get fitting correctly.

Thanks for looking
Ray
 
Back
Top