Saving a Logan 825

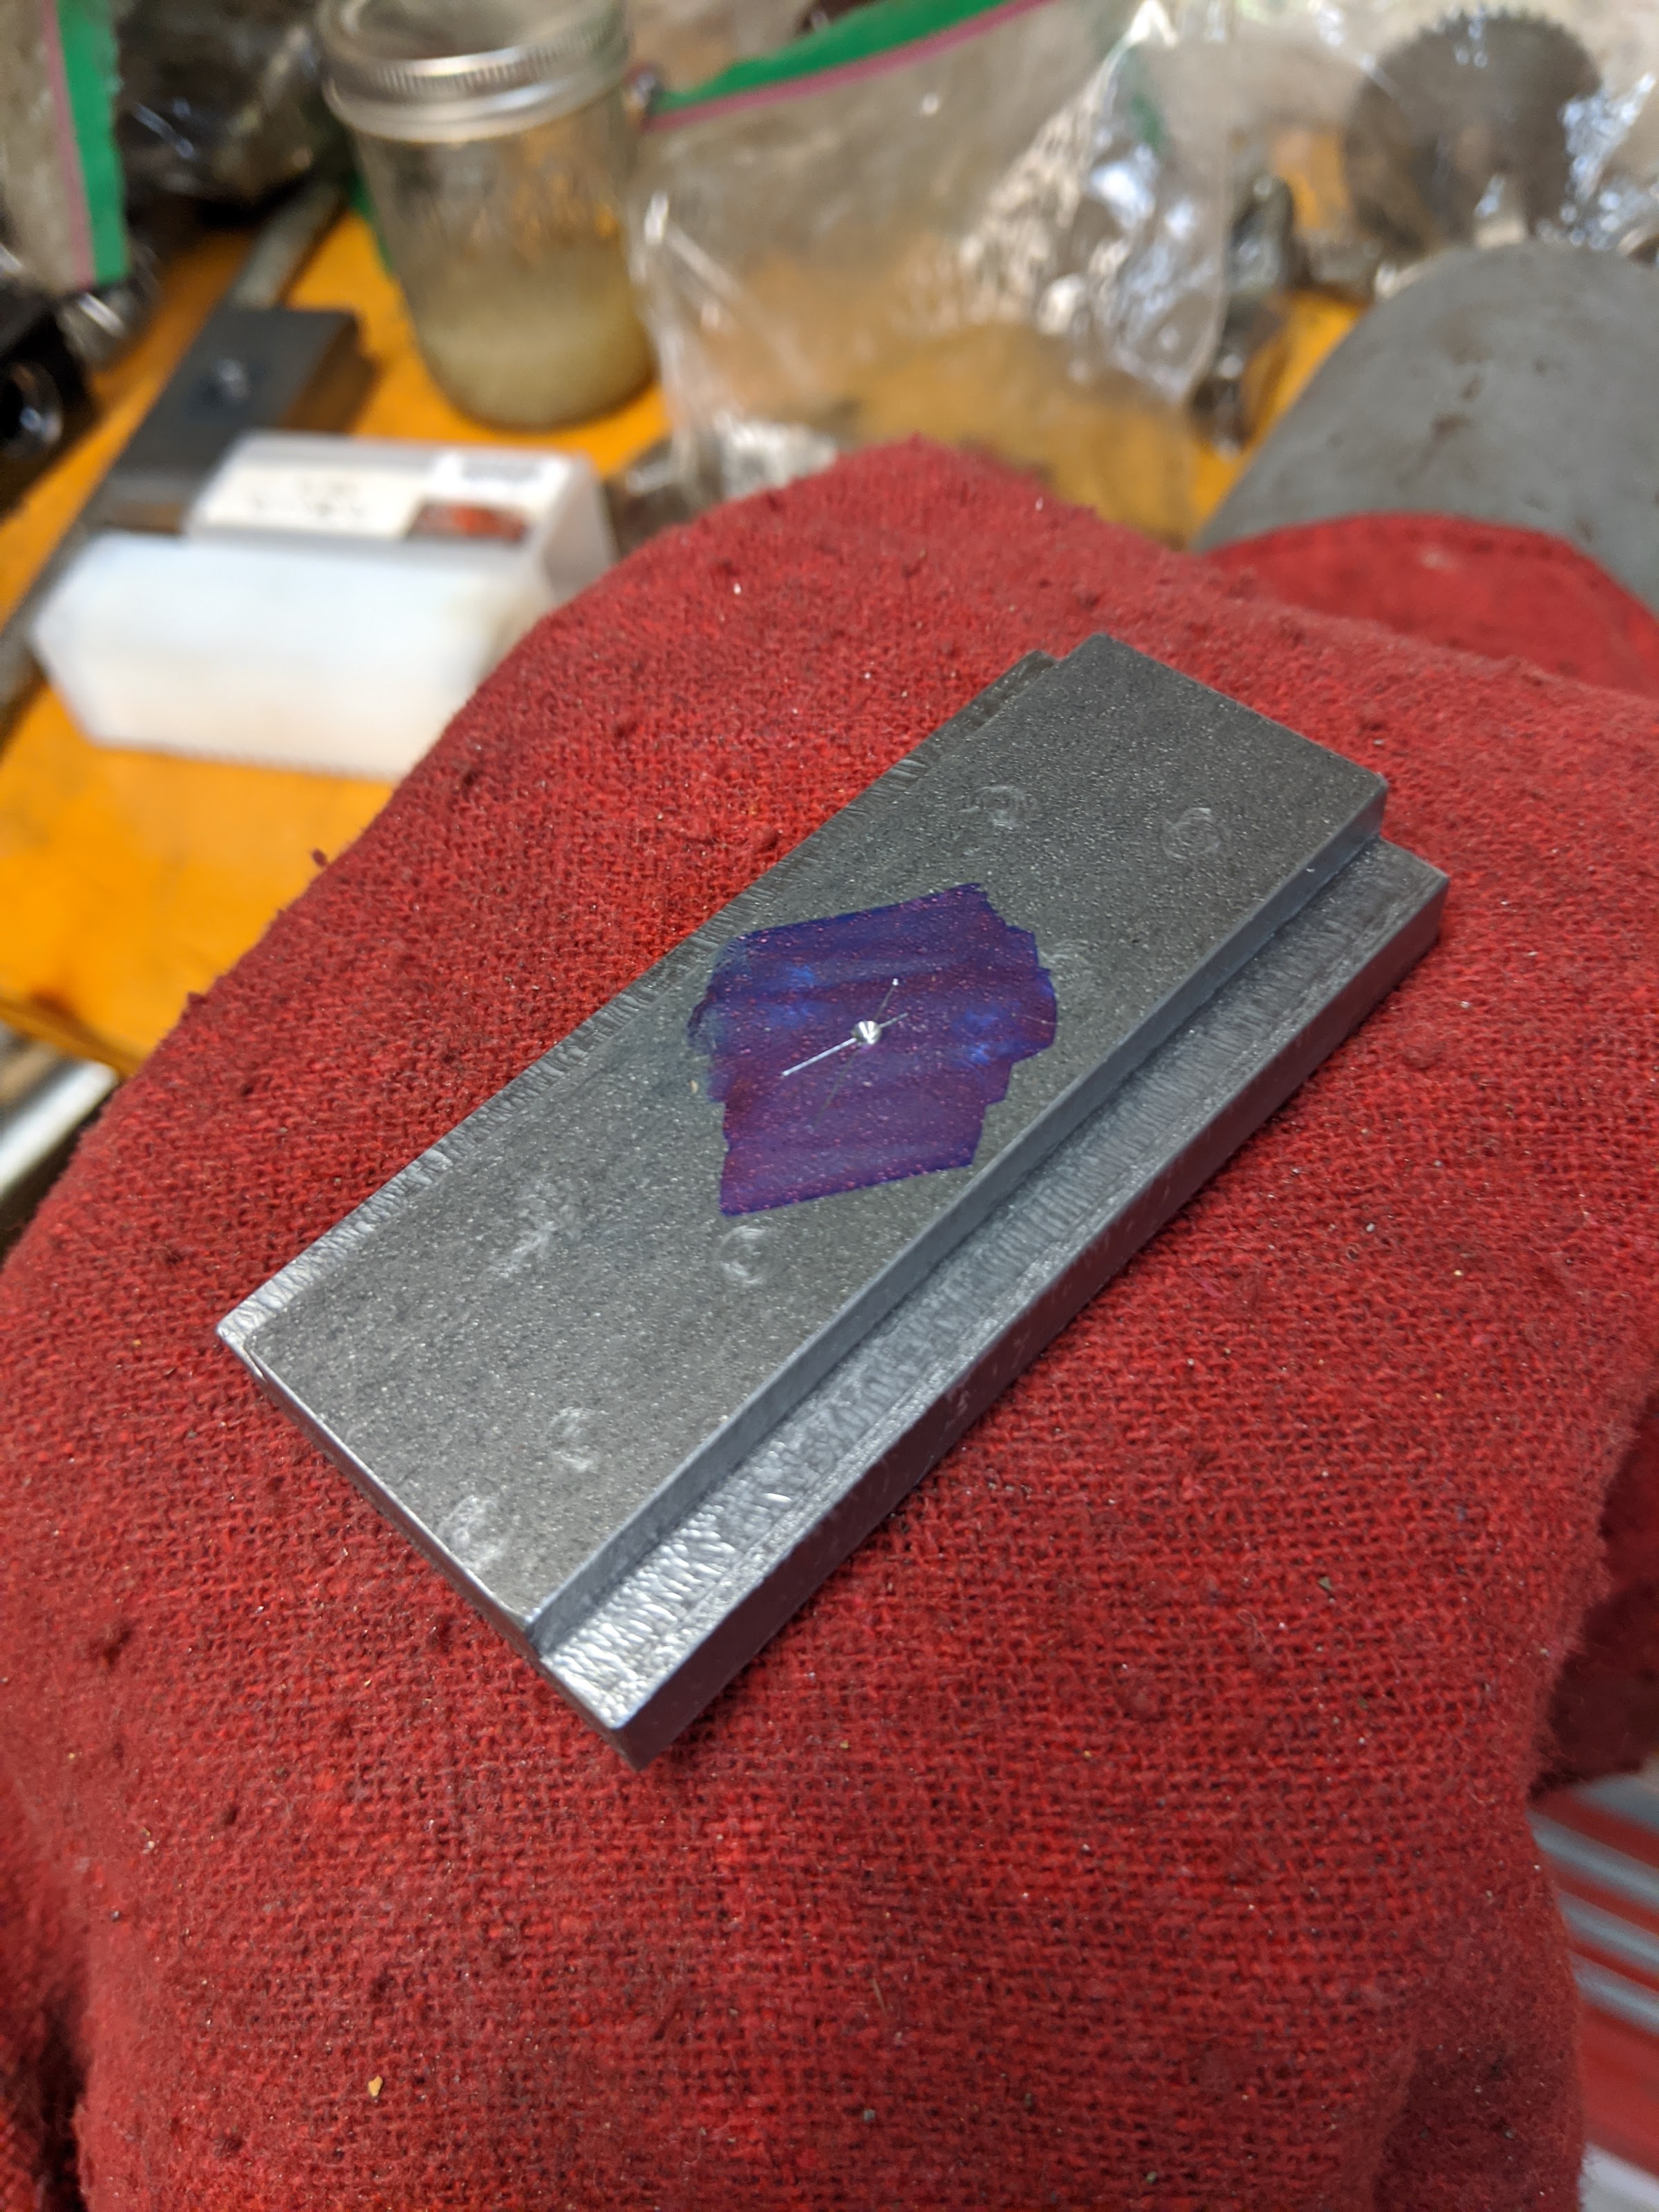
Did you ever get any info on the odd symbols/numbers under the headstock? Serial # should be on front flat (between bearing ways) at the tailstock end. That was missing, wasn't it?

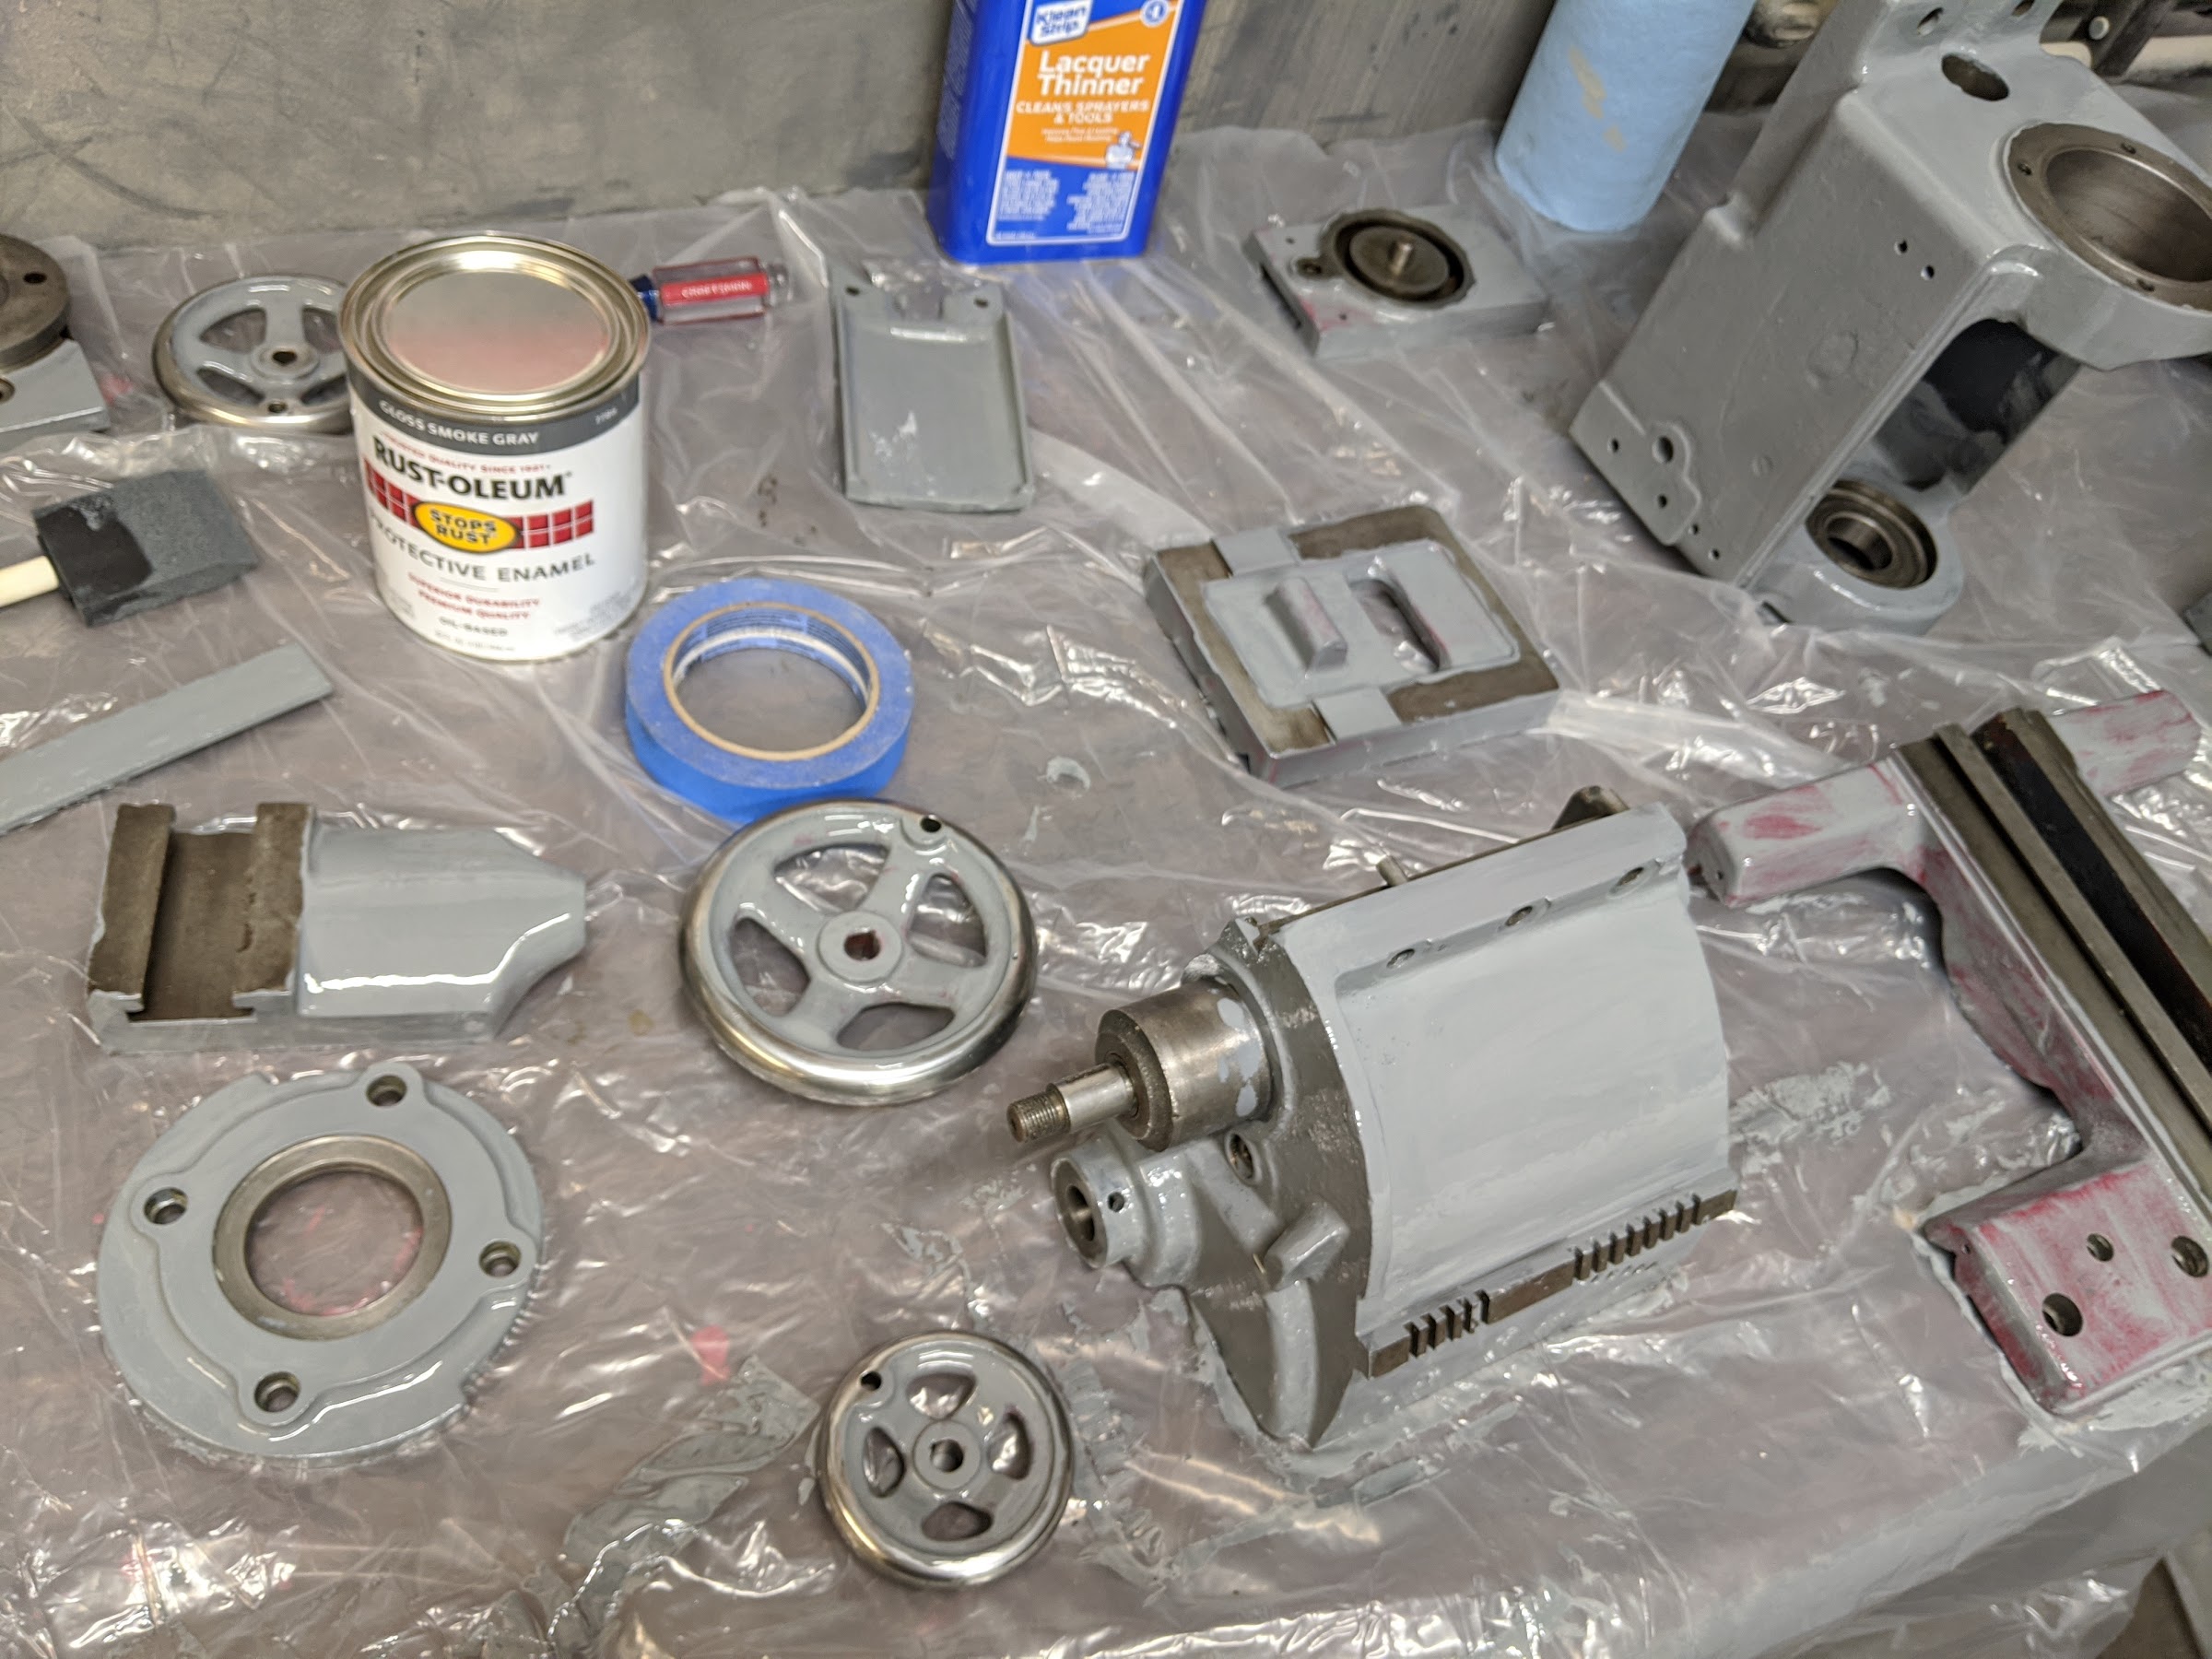
The decision as to how far to go has to be made early on. I find that once you get into it to a point, you hate to take any shortcuts. Gotta make things as good as you can. Years back, I had a Logan 957 and took some of the castings to a shop to sandblasted. Otherwise I just couldn't get through all the crud and wasn't set up to use the really nasty chemicals. Don't recall if I taped the ways and had the rest of the bed sandblasted. But it turned out pretty good, and was really easy to prep and paint afterwards.
 
The SN was pretty well wiped out. The only couple of digits that are somewhat legible are a couple of 4's and possibly a 3? I've given up on getting any more info. At this point it's a machine that makes smaller cylinders from larger cylinders made by Logan.

I think it's been pretty well determined by this point that I'm going through the whole thing. I've got enough money into it now buying parts and materials that I'm going to make it work. As gross as some parts are, it has given me something easy and mindless to do after long days of being on the computer, working from home.

I tried the wire cup wheel and a scraper on the webs of the bed between the ways today. It was clear after a few minutes that this was not a winning solution. I'm trying some chemical paint stripper on the bed now. I didn't have a lot of success with it on the headstock, but it's worth another try. I don't want to go the route of media blasting. While the chemicals are working on the bed. I started cleaning up some other parts like bolts and brackets caked with paint. I don't know how the PO stored the parts of this thing, but it seemed like the cover for the gears on the headstock had been used as a bird bath for a while. The inside was very rusty. Since it is roughly bowl shaped, I filled it with Evaporust and covered with cellophane. Hopefully it looks a little better tomorrow.
 
Sounds to me like the best solution for the bed would be electrolysis.
 
Sounds to me like the best solution for the bed would be electrolysis.

I've used electrolysis in the past for rust removal, but have not been very successful with removing paint this way. Is there better electrolyte than baking soda to remove the paint when using electrolysis?

I've put cleaning the bed on hold for a little bit while I think of what I want to do. Instead I've started painting parts that have already been cleaned and prepped. This way the paint will have time to harden up before I start assembling things. I know that there is a good match for the original paint available from Benjamin-Moore, but I just decided to go with brush on Rustoleum. I wanted something inexpensive and readily available, so this Logan is going to be "Smoke Gray".

iis6xurAbz-1ZnmT-sDwt28QP1jX4YCKKziGCfZ8QXsG-i0H71It8MHpvPNuK2Ixa6Fz7YYmJEejsN1S8_Fy_33y1JekaKxms3AdnLMXN8ig3DTQROviJTOKppWlRMjeJVGG0z_gQRc=w2400


I also made some new headstock clamps for when I get to that point. They are 1 1/2" x 1/2" 1018. This was the first real project done with the milling attachment on my Atlas. It went surprisingly well and I'm happy with how they fit. The worst part was tramming that thing in.

KfGggMpATZbIiKT8hKJrA74cHaMoKeug3rBAnuMWlOQfiNFzZ-dOMQH_1cvObtz1fkqFHH7KQpDTBqQu9SQajjF70kLxWMmcS1fKUUtYzx1AVWWO56QK9aOGWu9lohQinBYGK6LWhSE=w2400


The final update is that I have purchased a 3/4 HP 1750RPM DC motor and speed controller. I'll fabricate the necessary brackets to mount it underneath the headstock when the time comes. For now, more cleaning, de-greasing and painting.
 
I'd say that smoke gray is an excellent color for a Logan. Nice job on the clamps as well. It's looking like you're making good progress on your lathe.
 
I don't know of an electrolyte better than and as safe as baking soda. If there is still quite a bit of firmly adhered original paint, perhaps you could first brush on some cheap paint remover with the bed sitting on blocks in the empty container and then after a few days pour in the water and soda which should take care of the paint remover.
 
I'm still torn over how much work I want to put into the bed. The outside is clean, but the bottom and the inner webs are still nasty. I thought I had a good idea to take it to the local DIY carwash station and give it the hose down with the pressure washer and de-greaser, but was surprised to find that even this was closed because of the virus.

I don't doubt that the results I could get with your method would be better, but I wonder if it's worth the time and effort. Once I finish painting this round of parts, I think I'll reassess the bed and decide what to do. Right now I'm leaning toward just doing the best I can with the wire brush and throw some paint on it.

Today I put another coat of paint on some of the parts and made a new t-nut for the toolpost. I want to be able to mount the AXA toolpost from my Atlas on the Logan to test, but of course the slot is a different size. The slot on the Logan is in poor shape, so I made the nut a pretty tight fit and longer so that it has a better hold on the compound. I'm just waiting on a M14x1.5 tap for the center hole.
Kh9CDgjcRuIwZ1mqNMH-0pGeIPZTwbBmYaFVB5YCzdR_c3lC2K68p7NzRBYLwK08z_3GP9kEvfvR1gkNd9UTTzwjeY8zPb5VPeUsJUl81cC3f__RTFeLLYF-ViM9BK1gC7wIQ9o5IR8=w2400

258QwJ85HJ5CbK2mtmKrNe14I-KUj-jnM5rAXCivFYQgxm1-G4oX4L2opjN45_qr9_Dfd68WMdDW140sA_1V4-nMvXWrMoRVgNwQ5hO-jWEhRBFDeuOxIGBy_I630gpHO3fZpbZkzyk=w2400
 
Some more work that looks like progress done on the Logan. There were enough painted parts that I could actually start reassembling some parts. When I removed the nameplate from the QCGB, I had to grind off the drive screws. Not wanting to do that again, I elected to refasten it with some #4-40 screws. They are probably a little larger than needed, but look okay. I was also able to save the Gits oilers. The one for the tailstock end of the leadscrew is questionable and the ball oiler from the tailstock was trash.
UjmNzialMWpeUxHiYf7V5diIjBQvXFKVMadbFDS5kYpA2yP5s5giozB6w1zf6JySZCndNByfiNNpKc0QsLS_BaOX-wpQkuDrA9ll3s9m-plmqLeE7O46TCS7SFo-ytSVzOKqIhnHvE4=w2400


The headstock is still just an empty shell. I wanted to see what everything was looking like. I have the new spindle ready to be installed, but haven't done anything about the backgears. If I assemble the spindle without the backgears, will I have to remove the spindle again to be able to install them?

MXy24GmBfB0lQaynOmqFgo9Fi3bNRjix59Ao98YpBNz5v0pYVOjdprEi-aVqDj9ZvOAHsw_v80neUVPib3mQKo7v01K6ZkD8RpMMHyXYNq3qJQ3H0ip0gK6iIn1vKAV9UnZYA2D2onA=w2400


The tailstock is almost entirely complete. I need to source a new oiler for the top and a better looking nut for the hand wheel. You can also see that I mananaged to find a quill lock on ebay. The stud will need to be made for this. In normal operation of the quill lock, which threaded part moves? Is it the thread in the tailstock or the thread in the handle? Obviously the dauber is missing, but that is just normal operation.

F6z2FpyK0UijnXJRzlfGkU3dphtkK6GVL9Xy0QWyJCjLSWK_SisDB_RoQbcK4xerAx3crEiW7vXDlMo6z_DvXR4sceKvzxAqYqiBjGA1Udeyi7nlyaiJyAmoqDD5eMAwCaJyjh6ipv0=w2400


On the carriage, most parts are ready, but I did not install the feed screws. The gib screws are in pretty bad shape. Are there good replacements for these or do people just turn a point on some regular set screws? Cleaning these parts up, I found that the dials and hardware were even worse than the ones on my Atlas. I plan to make some new, larger dials for the compound and cross slide. While the compound was apart, I took the opportunity to make the new support bushing. The new compound dial will be 1.5" diameter. You can see the difference in the size with the original dial.

w1mRGu77L3SNwHKIjvHtxuo14HrNw4E43gzZg0wrnWnOV8hWMUYgygbx4Y_m-GTB7sPtPiOa37y0dZPLvau1YfV4rhuNF3Zb-gx9Th3DAxZhyf8Ip3bTFiHwzO4cSyt836MGnnXCTto=w2400

G4RsHpPcKCBq4hI_R0iH_kLxOYSXmv76_3gsHESqn0cHJFU7Of1qlswFRaWMifU70enbAJ7B68junoPIwaL8mKz5PVtD6F5SXGa3bhSmpHiYd1W6utQDA2qtMk9o7yn6GxrPXe-6ykE=w2400

JKz51YWB-eoZrMBnOUtSZ7QMmZe9aEB8xVZ9C_exB3TL5-7NCVIKI23dXf8cLbnSlstTczCSnKl9iEkfp79VSCqaHpKS2yPJ4eMa1rVBdxhHIYvur_J76yFaMteJEt1-1seEQxv4szU=w2400


Does anyone have dimensions or detailed pictures of the carriage lock? I was going to buy the nut from Logan, but I figure if I can make it, I might as well. I've also discovered that there is another missing part for the banjo. Part LA-510A seems to be a slotted bracket that holds up the back end of the banjo. I can't find any real pictures of it, so if anyone has a picture or dimensions, it would be appreciated.
 
Not sure if the back gear assembly will go in after the spindle or not. I put mine in first. You'll need to adjust the shifter rack after
it all goes together: here's the link to the procedure. http://lathe.com/ll-group-archive/logan_lathe_back_gears.html

The tailstock lock consists of 3 parts: a stud that screws into the tailstock, the lock and the handle which acts as a nut. I couldn't
get my stud out to measure the length, but on mine it projects .456" above the rim of the tailstock casting.

I bought gib screws from Logan. What they sell now is a screw with a nylon insert that prevents it from turning rather than one with
a jam nut. I like them since they're much less fussy to adjust, but of course the nylon part will wear out eventually.
Good idea to make your dials bigger: those tiny dials are the curse of Logan owners.

IMG_0991.jpg

IMG_0990.jpg

These are pics of my carriage lock nut, which for my lathe is p/n LA-174. In the top pic you can see three raised "pads": the two
smaller ones bear on the bottom of the ways while the other longer one bears on the saddle and acts as a pivot point. It's
height is slightly greater than the other two points. If you get stuck finding one and want to make it, I could probably draw it up
for you as long as your part number is the same as mine.

Don't know about the banjo: my lathe has change gears so it's different.
 
Thanks for the info! The carriage lock nut seems simple enough. It would probably be tricky to get an accurate measurement of the height difference between the pads that bear on the bed vs the back that contacts the saddle. It's probably not a critical dimension and from the looks of yours it appears that the back side was not even machined, just cast. Sort of like a toe clamp, the heel needs to be at or above the height of the material. I'm assuming the thread is 5/16-18?

Your description of the tailstock stud makes me think that the thread in the handle is meant to do the clamping and the stud remains stationary in the tailstock. The length dimension gives me a good starting place. The more I think out this, it will require some trial and error to have the quill locked while the handle is in a certain position. While it's not critical, I certainly don't want the handle pointed at the chuck when locked.

Reinstalling and adjusting the back gears looks like a real pain. I'll probably just assemble the headstock without the backgears because I still need to repair the one chipped tooth. I did see one reference to a person who cut a screwdriver slot in the back side of the eccentric shaft to aid in adjustment. The gear shaft on my Atlas has a set screw hole for oiling, but I don't see anything on the Logan. Even with an oil hole, I don't know how I'd access it without first removing the headstock. The plunger on mine is missing the spring loaded lock, so there is another part to add to the list to make.

Thanks again for the help.
 
Back
Top