I think I might have a good retirement "keep me busy" thing.......wow! these older lathes are awesome...great for the hobby folks and industry drops them off the map because the bigger guys didn't buy...
There are so many lathes going "cheap" at auctions here in Ontario here (Canada) or even buying a total lathe and (sadly) parting it out to keep others going.......
Canadian dollars = so like 75% in US?

 www.kijiji.ca
www.kijiji.ca
www.kijiji.ca
www.kijiji.ca
www.kijiji.ca
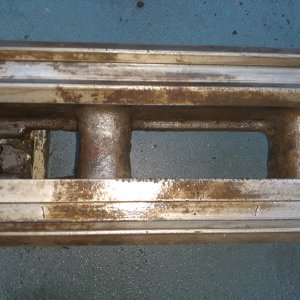
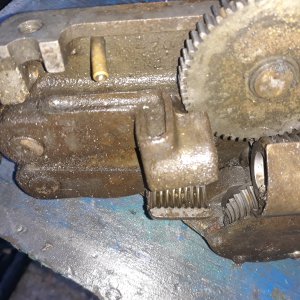
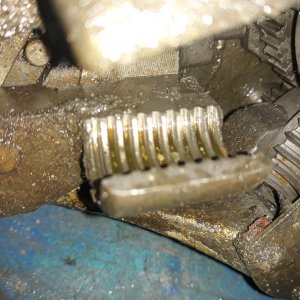
There are a lot of parts being sold off etc. the old smaller lathes are the best.
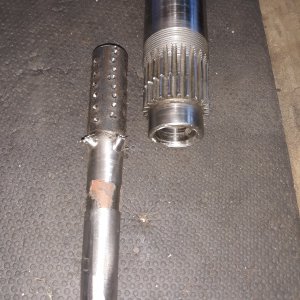
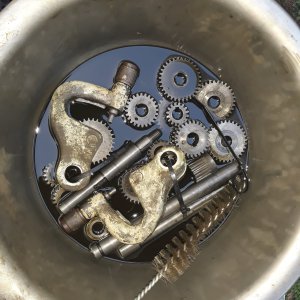
I have been shipping parts of an old 9" Utilathe all over Canada and the US to keep the hobby guys going - so cool! 4 lathes live out of 1 messed up and abused one.
I do not want to be a stock hoarder of parts but if I can assist someone in preserving a lathe.....let me know
There are so many lathes going "cheap" at auctions here in Ontario here (Canada) or even buying a total lathe and (sadly) parting it out to keep others going.......
Canadian dollars = so like 75% in US?
Kijiji - Buy, Sell & Save with Canada's #1 Local Classifieds
Visit Kijiji Classifieds to buy, sell, or trade almost anything! New and used items, cars, real estate, jobs, services, vacation rentals and more virtually anywhere.
www.kijiji.ca
Kijiji - Buy, Sell & Save with Canada's #1 Local Classifieds
Visit Kijiji Classifieds to buy, sell, or trade almost anything! New and used items, cars, real estate, jobs, services, vacation rentals and more virtually anywhere.
www.kijiji.ca
Kijiji - Buy, Sell & Save with Canada's #1 Local Classifieds
Visit Kijiji Classifieds to buy, sell, or trade almost anything! New and used items, cars, real estate, jobs, services, vacation rentals and more virtually anywhere.
www.kijiji.ca
Kijiji - Buy, Sell & Save with Canada's #1 Local Classifieds
Visit Kijiji Classifieds to buy, sell, or trade almost anything! New and used items, cars, real estate, jobs, services, vacation rentals and more virtually anywhere.
www.kijiji.ca
Kijiji - Buy, Sell & Save with Canada's #1 Local Classifieds
Visit Kijiji Classifieds to buy, sell, or trade almost anything! New and used items, cars, real estate, jobs, services, vacation rentals and more virtually anywhere.
www.kijiji.ca
There are a lot of parts being sold off etc. the old smaller lathes are the best.
I have been shipping parts of an old 9" Utilathe all over Canada and the US to keep the hobby guys going - so cool! 4 lathes live out of 1 messed up and abused one.
I do not want to be a stock hoarder of parts but if I can assist someone in preserving a lathe.....let me know