UNIVERSAL DIVIDING HEAD BS-2 PARTS

Brian you don't have to print the 28 tooth gear,I found it. But I just saw in an artical that sometimes you need two 24Tooth gears,but I am not sure. What do you think?

I am still struggling to work out the gear sizes for the gear train I need for the 34 tooth helical gears I must make with a 16° lead angle. I've seen so many formulas lately,my head is spinning. Do you perhaps have a formula for this? Stop me if I am getting annoying :big grin:
 
you don't have to print the 28 tooth gear,I found it. But I just saw in an artical that sometimes you need two 24Tooth gears,but I am not sure. What do you think?
I'd need to do some investigation to understand that ..... or I could simple print you an extra 24-tooth gear instead of the 28-tooth.

I am still struggling to work out the gear sizes for the gear train I need for the 34 tooth helical gears I must make with a 16° lead angle. I've seen so many formulas lately,my head is spinning. Do you perhaps have a formula for this?

Again, I do NOT have any special knowledge of that. I would imagine there would be tables of that info somewhere.

Several times here John York(@benmychree ) has recommended the old Brown and Sharp book "Practical Treatise on Milling and Milling Machines".
Here's one such reference:
https://www.hobby-machinist.com/thr...chment-linear-dividing-unit.72992/post-651536
and the next post in that thread has a link to a PDF copy of the book.

Maybe that will help?

Brian
 
Hi Michael,

I did spend some time today generating the models in Fusion-360, and then printing some gears.
You wanted to see the process, so here goes......

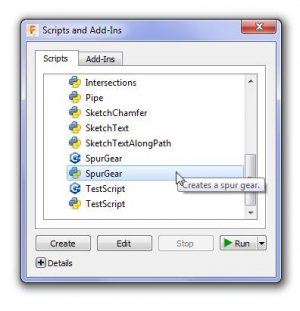
In Fusion, I create a new design, and fire-up the Spur Gear Add-In:
Tools -> Add-Ins-> Scripts and Add-ins, then select "Spur gear" from the list and hit run.

1-tools.jpg

2-addins.jpg

3-addinsb.jpg

4-spur-gear.jpg
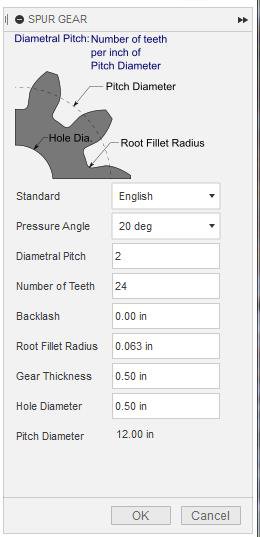
...and it opens the Spur Gear generator with defaults:
5-spurgear-default.jpg

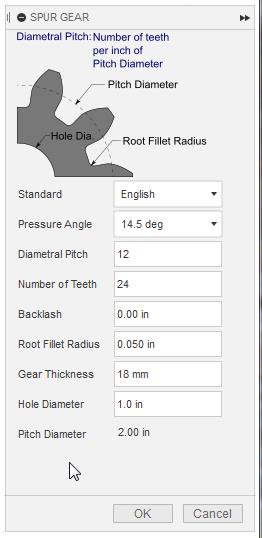
I add the specifications I want:
6-spurgear_12DP_14.5PA_24T.jpg

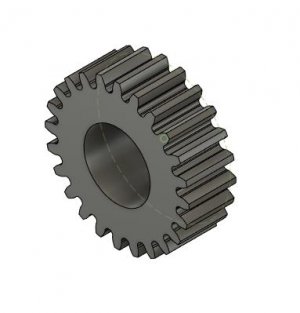
When I hit "Ok" the gear is generated:
7-gear.jpg
I then export the model as an STL file that the Cura slicer will load.

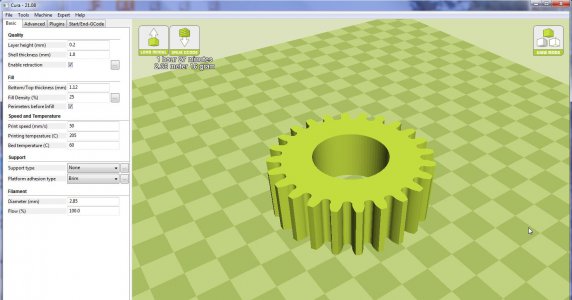
Here it is loaded in Cura:
8-cura.jpg

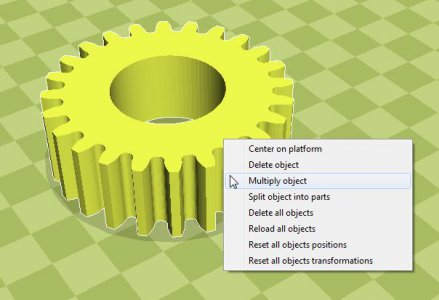
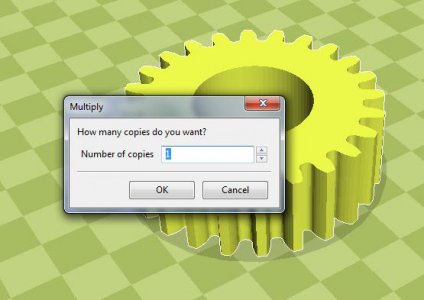
then since I was making two of the 24-tooth gear I selected the model and did a "multiply":
9-cura_multiply.jpg

10-cura_multiply.jpg

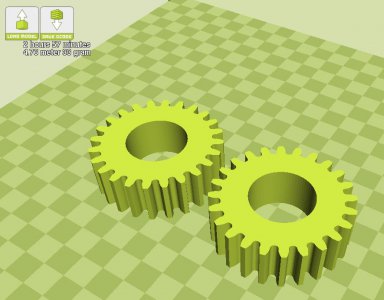
...and now there's two:
11-cura_two_gears.jpg

Wanted these printed as solid plastic for strength and because I need to cut a keyway.
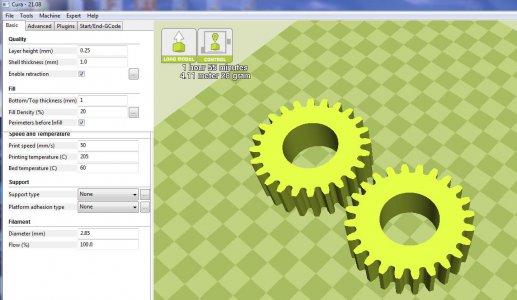
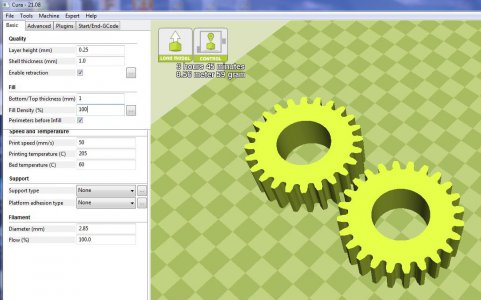
Notice that when I change from the default infill of 20% to 100%, the print time also changes:

12-20percent_infill.jpg

13_100percent_infill.jpg

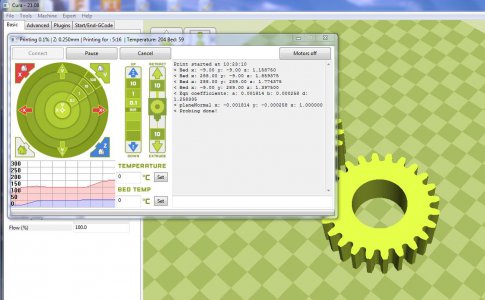
....and here's the Cura slicer screen when printing:
14_printing.jpg

Next up I'll show some photos.
Brian
 

Attachments

  • 1-tools.jpg
    1-tools.jpg
    46.4 KB · Views: 1
  • 2-addins.jpg
    2-addins.jpg
    38.3 KB · Views: 2
Brian this is freakin cool too me. I think this is a lot of fun for you right? Well I would have become an addict I think. I can't wait to see them in real life
.......no pressure:cheer:.

I am just fascinated by this tech. I could have made the gears but since you offered I thought,lets look into the future. I know it has been around for a while,but it is new to me and very interesting how it actualy can create a part.
 
I don't know if @brino made a time lapse video of the printing but I find them fascinating to watch. It's almost mesmerizing to watch the parts getting built up. I've thought of naming my printer Dr. Mesmer.

Hope these parts work out for you @Suzuki4evr , they are pretty easy to design in most CAD programs. The harder part is learning the CAD itself. What's hard is carving out enough time to learn it, as it does take time.
I am not expecting @brino to go that far,after all he is already doing me a favour. But I think I have a date with YouTube on this subject.....I know I will never be in the position to have a 3D printer,but that is ok. I am happy for the guys who do and know how to program them. Like I said, it does fascinate me.
 
Michael,

You may still decide to cut new gears yourself in steel or aluminum, but soon you'll have these plastic ones to use in the gear train to help.
They might just be a "stepping stone", but that's great!

Yes I do find this fun, and it does still amaze me that I can do this at home so easily.

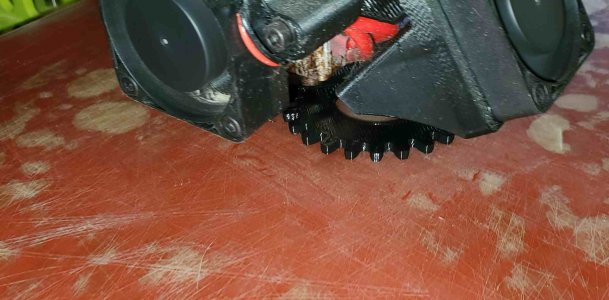
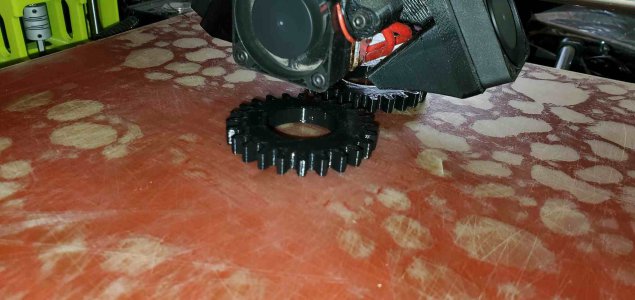
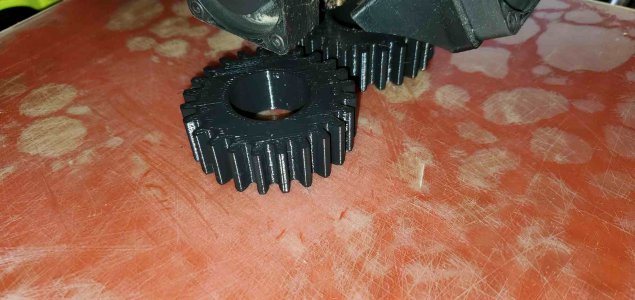
Here are some pictures:

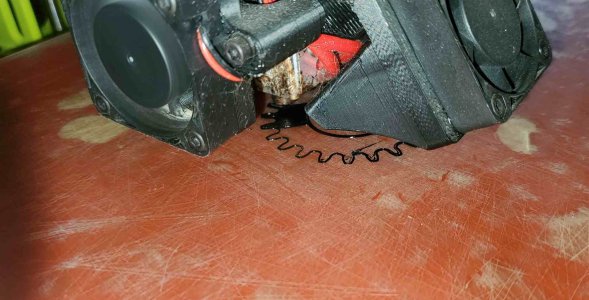
The printer starts with an outline and then fills it in.
The next layer is done in a different direction.

Image00001.jpg


Image00002.jpg


Image00003.jpg

Image00004.jpg

The printer is a Lulzbot Taz-6.
You can see some air bubbles under the surface layer of the heated table.
They have never caused any issue, so I ignore them.

The last gear is printing now, I will pile them up for a "family photo" later.

Brian
 
There's a program called octoprint that allows one to remotely control your printer. If you connect a webcam to it, you can record time lapse video of a print, as well as stream the video to your PC. Typically, a small controller like a Raspberry Pi is used. I've found it to be quite useful, since it also displays the position of the print head and the current layer.
 
The harder part is learning the CAD itself. What's hard is carving out enough time to learn it, as it does take time.

I am still learning the CAD part.
Sometimes I find Fusion-360 very frustrating, but then I do not use it enough.
However using the Fusion Spur Gear Add-In is extremely easy.
When I retire, I plan to pick a CAD tool and spend a few weeks getting proficient.

I may go with FreeCAD simple because I hate when the tool interface changes and since Fusion is all web-based they seem to change something and require an update every time I fire it up. With FreeCAD I can decide if any added features are worth the change to me before updating it.

I had been trying to follow along on some Fusion you-tube training videos (Lars Christensen), but then AutoDesk changed to the ribbon interface, and those videos were out of date .....and I quit. I have not forgiven AutoDesk (or Microsoft for f'ing up excel and word) for the ribbon interface. I guess I sound like a grumpy old man, but at least with excel I found an add-in to give me the old menus back.

Brian

btw: this is the reason I did not try to make the keyway in Fusion-360. I would have no idea how to approach that. Instead it will be much quicker and easier to cut it with a broach after printing. A subtractive process on top of the additive process.
 
Last edited:
Back
Top