Welding cart build

All of the welding carts I see have small wheels in the 3-5" diameter range, suitable for rolling on concrete or asphalt although a pebble or nut can easily jam a wheel. I would like to see some designs with larger diameter pneumatic wheels suitable for wheeling across rough surfaces and yards.

I put 8" pneumatic casters on mine for exactly that reason. I'm not going to be home until next weekend but I can get some photos then.
 
The only issue with small pneumatic wheels a is the horrible quality of Chinese inner tubes, which seem to be the only option anymore. I've pretty much given up on them. Foam filled, or solid might be a better option. Mike

I put 8" pneumatic casters on mine for exactly that reason. I'm not going to be home until next weekend but I can get some photos then.
 
The only issue with small pneumatic wheels a is the horrible quality of Chinese inner tubes, which seem to be the only option anymore. I've pretty much given up on them. Foam filled, or solid might be a better option. Mike

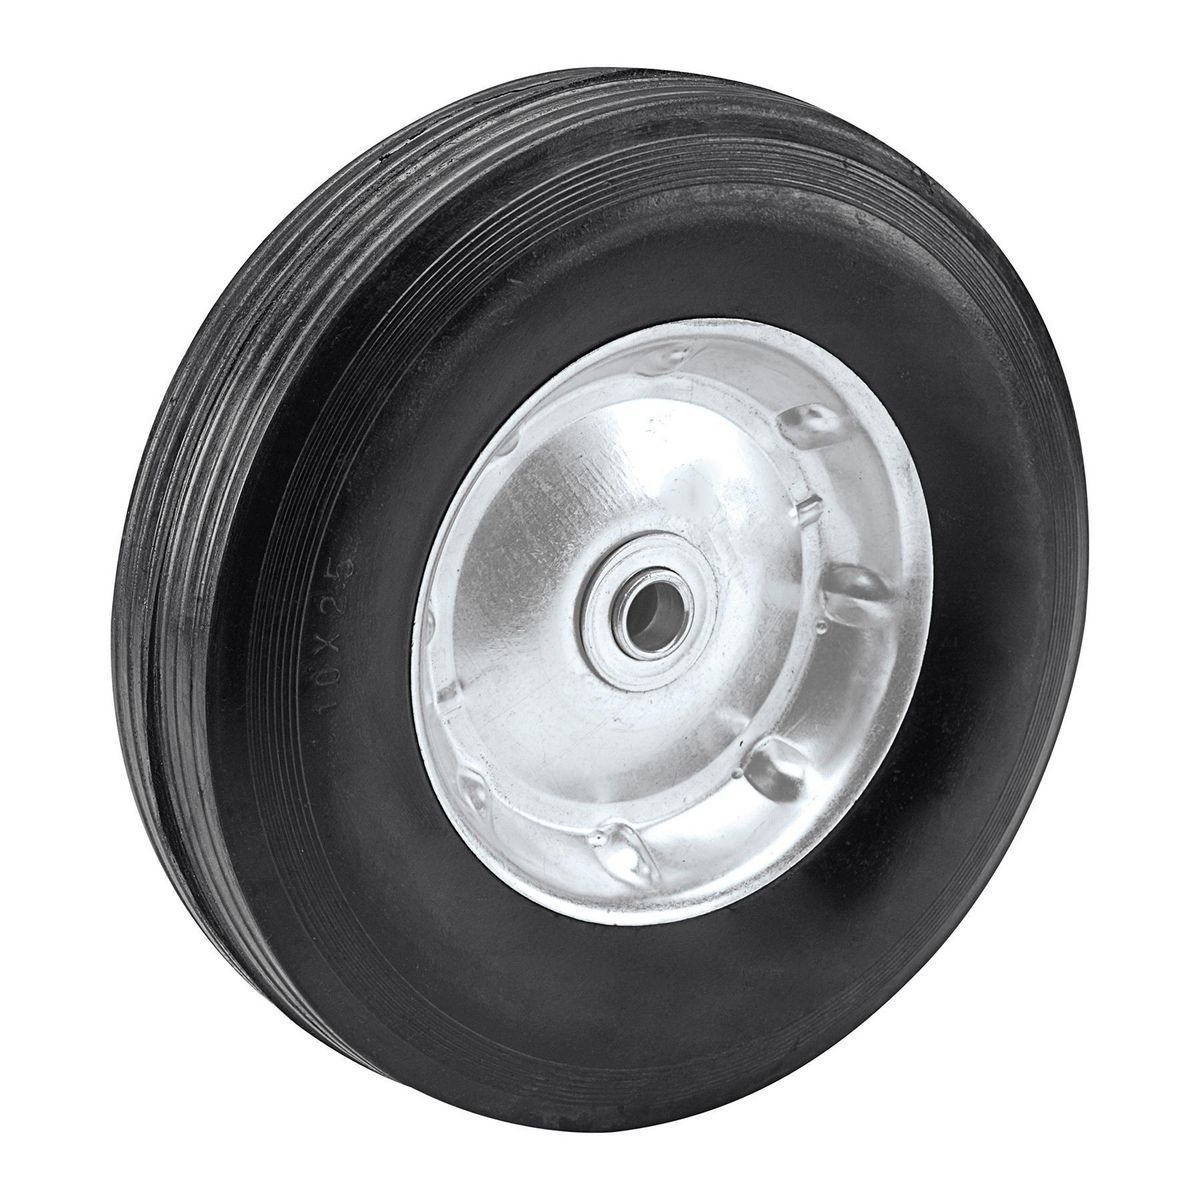
Harbor freight has some really nice solid 8-9" tires for about $10 or so. I have some for a planned cart build myself.

 
Harbor freight has some really nice solid 8-9" tires for about $10 or so. I have some for a planned cart build myself.


That is where I got mine too. Seem to be of similar quality to what I could find at Tractor Supply or Home Depot but 25% the price.

Solid foam filled would be nice but I couldn't find any for a reasonable price.
 
All of the welding carts I see have small wheels in the 3-5" diameter range, suitable for rolling on concrete or asphalt although a pebble or nut can easily jam a wheel. I would like to see some designs with larger diameter pneumatic wheels suitable for wheeling across rough surfaces and yards.

My cart will have those 10" solid tires I linked above, not because it will be going over rough terrain, but because the cart will have to support about 400lbs fully loaded. :cool:
 
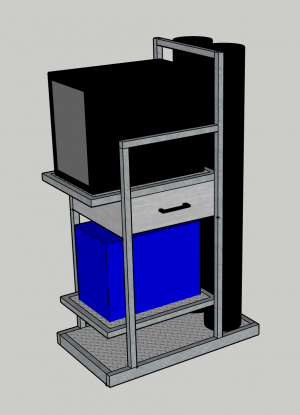
I spent some time with SketchUp last night and this morning. This is what I came up with.
I couldn't figure out how to make radius corners but I will have radius corners on the upright in front of the tanks and the front corners of the shelves.
Oh and it will have casters :D
32" long, 18" wide, 4 ft tall
Two 110 cu ft tanks
TIG on top
MIG on bottom
Side opening drawer under the TIG
Bottom shelf for TIG pedal, although I could make a bracket/holder on the side.
I didn't add cable hangers
Screen Shot 2020-08-02 at 9.19.30 AM.png
 
I would consider having the MIG on top, simply because you have to change the spool occasionally. I've never opened my TIG...
The TIG is on the top so that the controls are easy to reach when I'm sitting at the welding table. I don't fuss with the MIG controls as much.
 
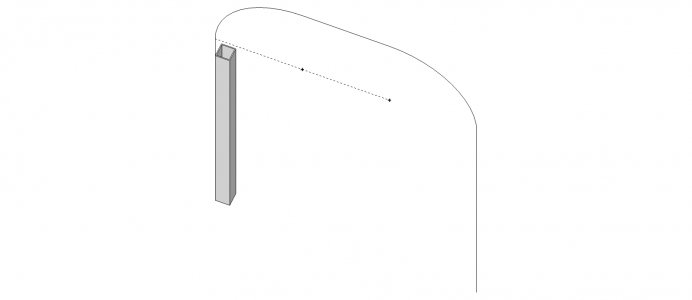
The radius is rather easy to do. First you draw the outline of the 1x1x.06 tubing. Then I drew a line 18 inches up from the front left outside corner. Next I drew a guide point 6" to the right and then another guide point 6" to the right of the first guide point. Draw the radius using the arc command. The guide point is the center of the arc. Then draw a 6" straight line from the radius. Draw another radius followed by an 18" long line down. This is what you should have.
drawing radius 001.jpg

Now you can either use the follow me command to draw the full piece or start with the push/pull command to extend the tubing up to an inch or so short of the first radius. That's what I did because the follow me command can be a little difficult to get started if you can't see the start point clearly.

drawing radius 002.jpg

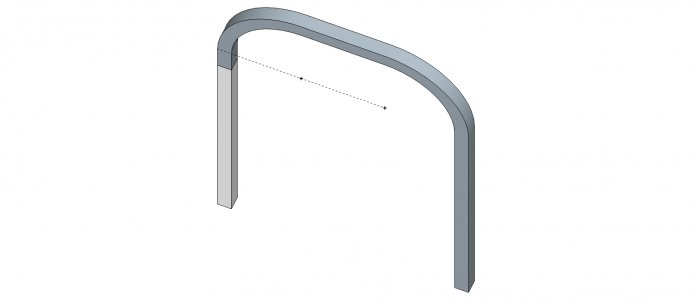
Now use the follow me command to draw in the rest of the tube. When using the follow me command I have found that it is best to start an inch or so before a radius and to end an inch or so after the radius. Otherwise the outside of the tube will still be at an angle.

drawing radius 003.jpg

Delete the guide points and you are done
 
Back
Top