2018 POTD Thread Archive

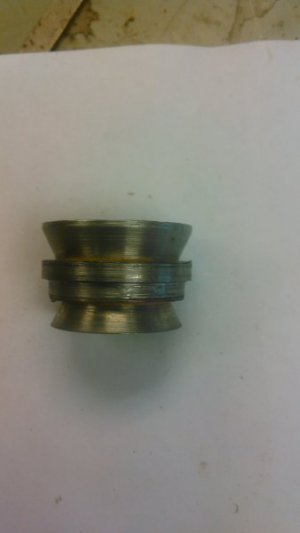
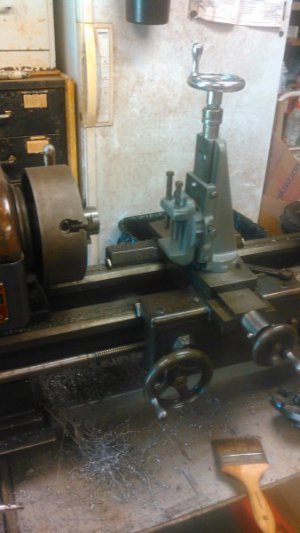
Today I did something simple that I should have done a long time ago! Reduced runout on my test bar with this Chuck by 2/3 proportionally.
8d2de5d1168fd137d6eb886b8815800f.jpg


(from mobile)
 
Carful of the grinding dust on your ways, did you cut groves in top jaws ? I have a chuck that needs that .
 
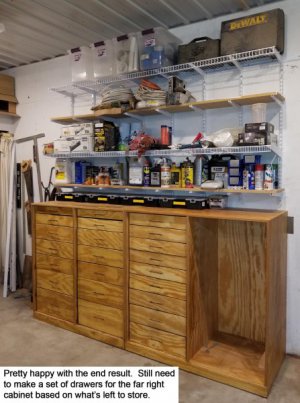
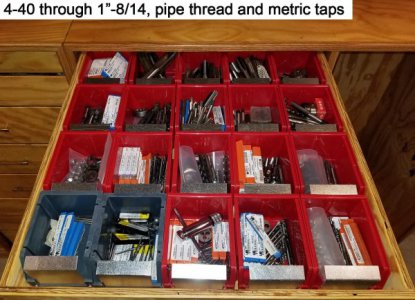
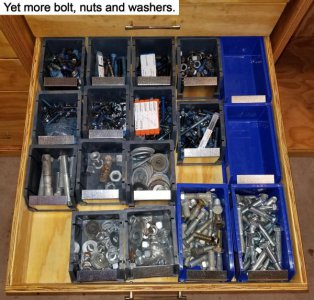
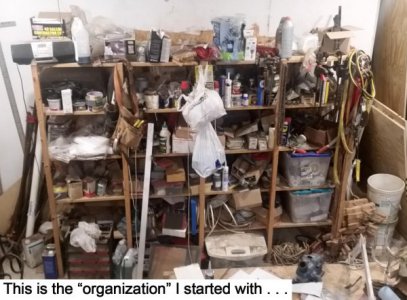
POTD was more shop organization. The first photo is what I started with; 15 years of clutter dumped on an 8’ x 6’ x 2’ deep shelving unit. In a previous POTD post I showed the first of two 4’ x 4’ x 2’ deep storage cabinets. Today’s projects included installing an 8’ long shelving unit over the cabinets and making plastic bin end/label pieces.

There’s a 1’ deep shelf just above the cabinets, then a 16” deep one above that and two 1’ deep shelves at the top. Naturally, the least used stuff ends up on the top shelf. I’ve got electrical boxes, plumbing fittings and tool box storage on top.

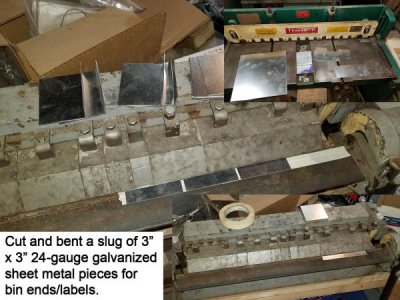
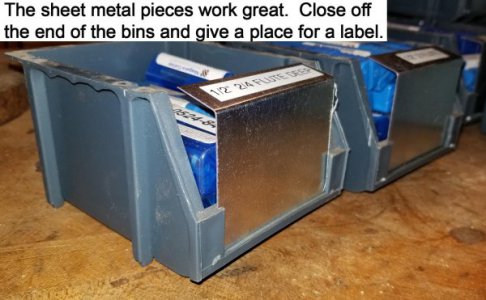
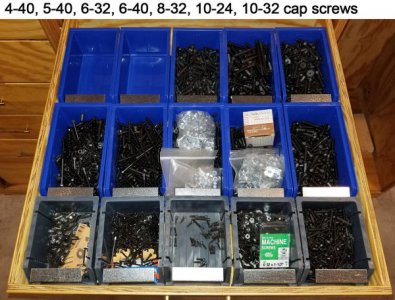
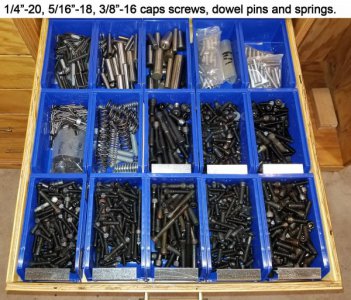
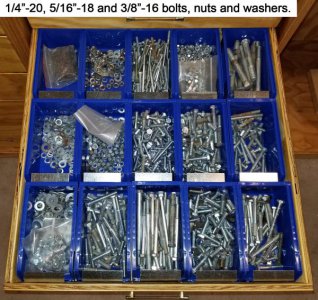
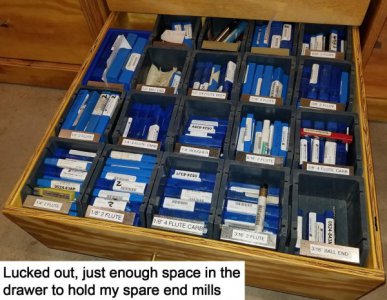
The cabinets have full-extension drawer glides so they pull out completely. The LH cabinet was made first and included drawers 10”, 8”, 3: 6”, 4” and 3” deep. I discovered the 4” drawers perfectly housed storage containers sold by HF and Menards. I had most of my cap screw and bolt hardware stored in plastic storage boxes with slide out drawers. Same for most of my taps. So the second cabinet got a bank of 4” drawers for the plastic bin organizers. The bins are stackable and have a 3” wide place in the front for a label. Problem for me was the fronts were buried in the drawers. I made a boat-load of 24-gauge galvanized sheet metal pieces 3” x 3” and bent an 80 deg. angle ¾” from an edge which slips into the label slot on the bins. Works great for providing a place on top for a label and closes off the open end of the bins.

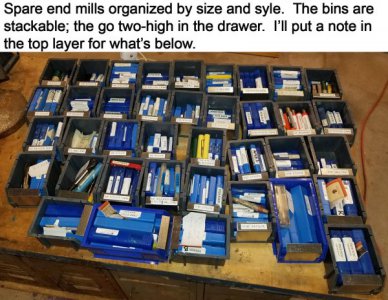
I started labeling the bins with a Brother label maker but ran the paper/ink cartridge out, so will have to wait for another cartridge to finish the job. The pictures show the “machinist” hardware in the LH bank of drawers in the RH cabinet. The LH cabinet has stuff like soldering irons, auto hardware (pulley puller, spark plugs, Schraeder valve covers, etc.), nails, screws, tooling for the reproduction Erector set parts I make, electrical items (switches, plugs, Romex staples, etc.), cabinet hardware, etc., etc., etc.

Once the new label cartridge shows up the remaining bins and drawer fronts will get labeled. I still need to make the bank of drawers for the far right side of the cabinet. Once the dust settles I’ll see what’s left to store and make the appropriate sized drawers.

Really happy how things are working out. I had close to 500 new Niagra end mills stored in plastic bags by size, material (HSS, Cobalt, Carbide), flute, and style (ball end, rougher, conventional) that now set in one drawer. Granted, they are stacked two-high, but I have 4-flute HSS under 2-flute so the former are easy to find. I’ll throw a note in the top bins of the others to ID what’s directly underneath.

Thanks for looking!

Bruce
20180715_125807.jpg
20180825_162018.jpg
20180825_123929.jpg
20180825_165711.jpg
20180825_165750.jpg
20180825_165447.jpg
20180825_165505.jpg
20180825_165525.jpg
20180825_165546.jpg
20180825_165559.jpg
20180825_170702.jpg
 
Wowsers! Thanks especially for the great bin label idea!
 
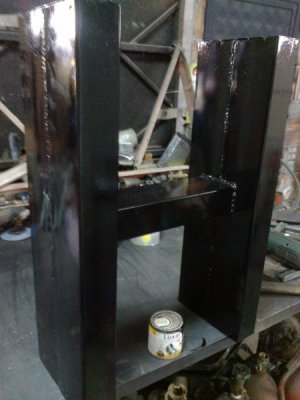
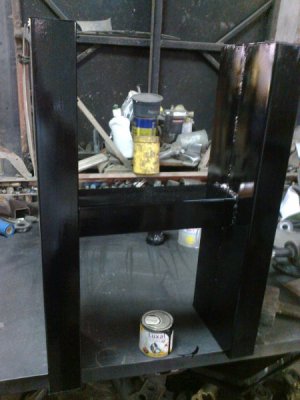
I've been resting for weeks from a injured back, but this past monday i did bite the bullet and started going to work, which was painful but got me used to the pain and started to do some work at home after work, first on the list was to make a steel stand for my new pellet furnace i started with 4" x 2,5" square tubing, marking and cutting it on the floor was painful but i managed it in one day next day i did get them welded which was not too bad. After little grinding i painted it with gloss black, this should take me hour or two but took me much more. The furnace has two rails for legs because of that i chose to make it this shape.
Picture 003.jpg
Picture 001.jpg
 
Wowsers! Thanks especially for the great bin label idea!
Hi John,

Thanks! Won't bore you with the whole story, but my shop was very well organized until my wife and I got married. Then stuff got boxed up and set there for years. Twenty seven years later I still have a box or two that haven't been opened. But at least now if I'm after a bolt or electrical switch I know right where it's at!

Bruce
 
Bruce -
Rick Sparber (a member of this forum, though generally not very active) and I frequently swap ideas. I sent him a "heads up" about your post. He responded by email with what I think is a valuable suggestion: "I would be tempted to run a bead of hot glue along the bottom of the sheet metal to prevent it from accidently being pulled up and out. That sure would be a mess."

Don't know how tight your metal ends are in the grooves, but this may well be worth your while ... if for no other reason than that the folded label holders look very temptingly like handles.

And, Rick, if you were planning to comment here, I apologize for stealing your thunder :)

PS - as I've posted elsewhere, I'm in the midst of organizing my new shop space. Still have lots of "house" boxes in the shop, because our new house has less than half the square footage of the sum of the individual houses we moved out of. But I'm going to a lot of effort to store parts, fasteners, raw materials, etc. in an organized fashion. I figure it will be another 6 months to a year before I have everything set up and the excess "purged." I really appreciate your (and Rick's) storage/organization suggestions!
 
Finished a set of plates for my auction press here is my video


Sent from my iPad using Tapatalk
 
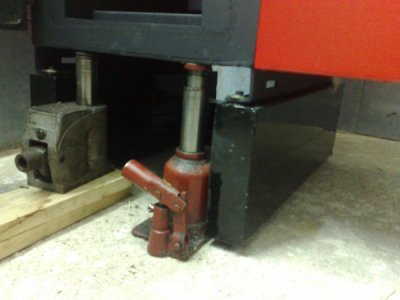
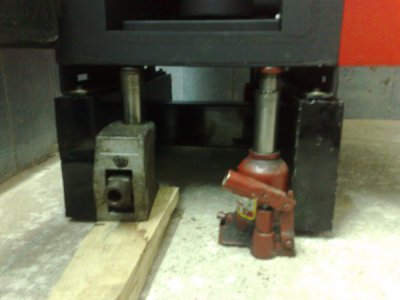
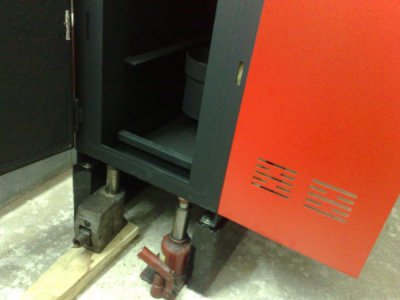
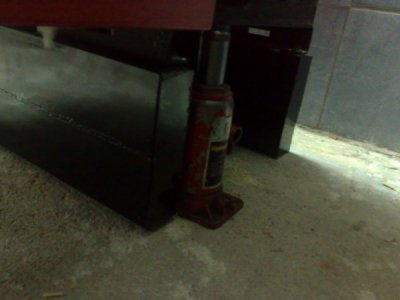
I've been putting off trying to move the new furnace in place just because of my back is still hurting but yesterday i decided to do it. The furnace was on a pallet so i decided to try and pick it up with my engine crane, not the strongest crane but i've pulled over 100 engines with it without any troubles. I did set up straps and begin lifting it but something was not right, it won't lift the back left corner, i did pulled it forward on the pallet but then i realized my jack is pumped all the way up, then i put it down and stepped aside and see that crane support arm did bend from the weight so no go on that setup. So i went and borrowed a pallet jack thinking i could use it but the feet wore to low and the stand i made has a brace in the middle from which it can't place it even if lifted the furnace. Been out of options i vent back to my automotive roots, i cut half off pallet so i can place it where the furnace needs to stay with the pallet jack and what was left of the pallet to move it in position, then i cut even more of the pallet off. I set up the 3 smallest jacks i have, and beagain lifting it, the little silver jack on the front left is a beast at 20t and much quicker the the other two, which became little sketchy when the furnace started to tinder on two jacks, but i did manage to lift it high enough and remove the pallet then i slide the stand i made in and lowered it down. After bolting the stand to the furnace i use the jacks again to lift it so i can level the furnace, for this i used couple of pieces of flat stock at the corners. All the bending down and moving side to side made my back hurt like hell but i did finish the job, this furnace is located on the other side of the wall from my lathe so it will keep the my machine shop nice and warm in the winters.
27082018007.jpg27082018008.jpg27082018009.jpg27082018010.jpg
 
Back
Top