G0704 CNC Conversion (yes, another thread on this :) )

Well... was out a few weeks... Friend needed help and invited me to be part of his crew for his runs at Bonneville Salt Flats... got back Friday and we had family arriving that night... so it has been good, but no work on anything else.

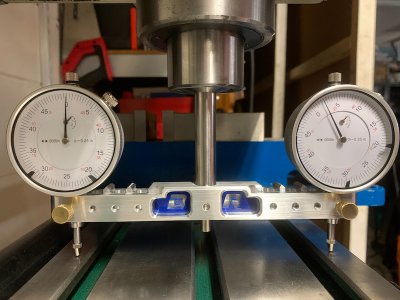
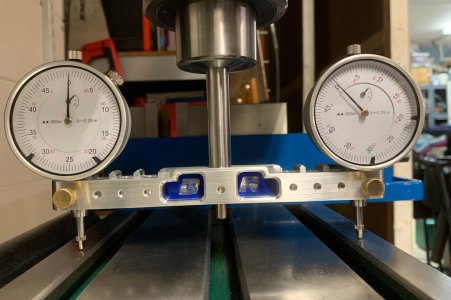
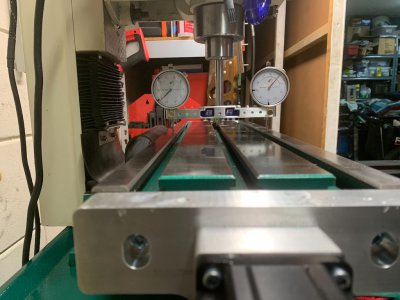
I did managed to sneak into the garage tonight to test the tramming tool... Made the adjustments and this axis is done...
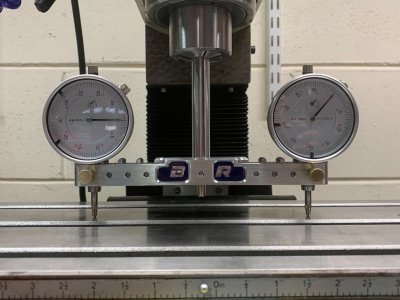
IMG_2008.jpeg

Now, how do I adjust the column?? There is no adjustment that I could see... Do I have to loosen the four bolts and insert feeler gauges in there to get it where I want it? Or is there a better way to do this?

Doing a search in the forum to see what others have done. Also checking YouTube for any videos on this as well.
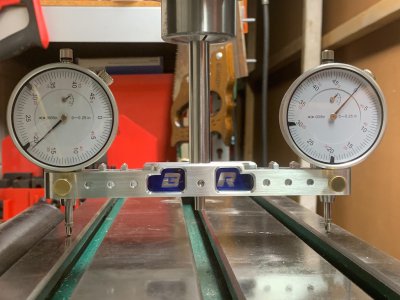
IMG_2010.jpeg

IMG_2009.jpeg

A few threads on this;

 
Last edited:
Now, how do I adjust the column?? There is no adjustment that I could see... Do I have to loosen the four bolts and insert feeler gauges in there to get it where I want it? Or is there a better way to do this?
Shim it or scrape it. Remember, there are two surfaces that contribute to the "nod" of the head. The first is the column fit to the base of the mill, the second is the Z axis slide to the head.

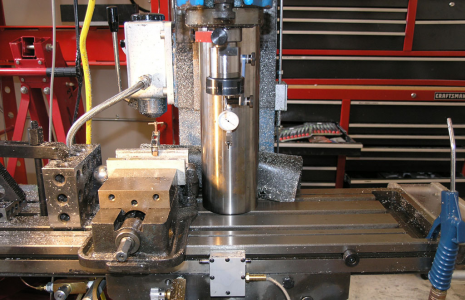
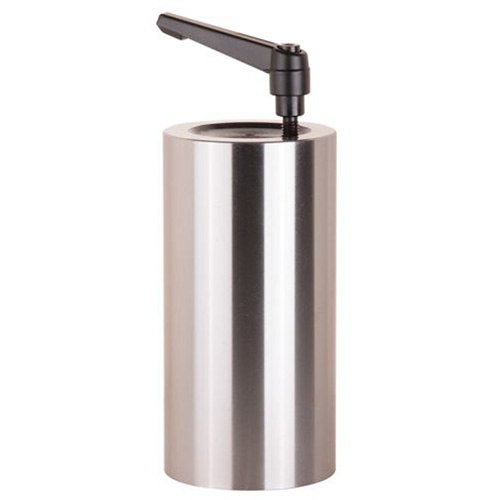
You need to bring in a square reference (cylindrical square, granite square, a really nice set of 2-4-6 blocks, etc) and measure the squareness of travel along the column to that reference. It is the easiest way to figure out where the error is coming from.

EDIT: Google image of someone tramming against a cylindrical square.
1629289826741.png
 
Got it. Let me get something like that to do the test. Thank you.
 
I managed to pick one of these up at a surplus place listed as a "weight" for $15. Don't know if I would have sprung for one otherwise but I love it and use it more than you'd think.


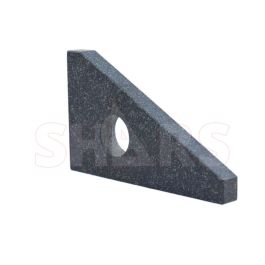
I also recently got one of these to use as a scraping reference


The cylindrical square has a couple limitations that drove me to the granite square, but in general, I'd argue the cylindrical square is far more versatile. You can use it on a surface plate as a squareness reference to zero an indicator on, or to tram your mill. I also used mine between centers on the lathe to true up the headstock and tailstock alignment. No fiddling with cutting test bars, just pop this in, indicate down the length and call it a day!
 
Had a roll of .006" and .004" feeler gauge... cut a piece of each, the same width of the column. Slid that under the bottom bolts. Tighten everything back and checked again. Much better but not there yet...

I still need to buy that cylindrical square for the final test... but wanted to try with what I had here...

IMG_2011.jpeg


I will try with the .006" and a .002" feeler blade and see if that gets me there...
 
Last edited:
I am not going to push my newbie's luck and will call that done for now... I know this does not mean much until I can validate with the cylinder, but feels good to get it that close.

IMG_2012.jpeg


I checked on the other axis to make sure the angle had not moved... all good there as well.
 
I am not going to push my newbie's luck and will call that done for now... I know this does not mean much until I can validate with the cylinder, but feels good to get it that close.

View attachment 375704


I checked on the other axis to make sure the angle had not moved... all good there as well.
This proves your spindle is square to the table which means your cutters will give nice square cuts. Checking the column against a square reference (like a cylindrical square) will determine if the travel of the Z axis is also square to the work. If it is not, the spindle centerline will drift in the XY plane while moving up and down.

Awesome work - it is fun to follow along! I love that tramming tool.
 
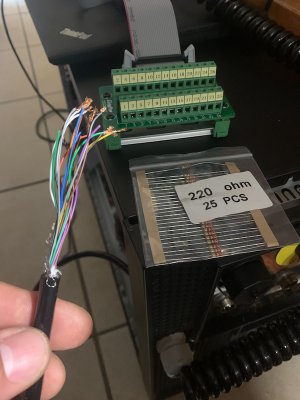
Okay... I need to finish installing the pendant. I have a few things I would like to play with making chips and can't do them because I now have everything setup for CNC and those knobs are not really that great for manual work...

Let's try this again, now with the correct parts and approach... ...sorry @macardoso , had I read your recommendation several times, I would had been done a long time ago... you can tell that I flunked reading comprehension... :D. Thank you for your patience and guidance.

IMG_2035.jpeg

IMG_2036.jpeg
 
Okay... I need to finish installing the pendant. I have a few things I would like to play with making chips and can't do them because I now have everything setup for CNC and those knobs are not really that great for manual work...

Let's try this again, now with the correct parts and approach... ...sorry @macardoso , had I read your recommendation several times, I would had been done a long time ago... you can tell that I flunked reading comprehension... :D. Thank you for your patience and guidance.

View attachment 376356

View attachment 376357
Happy to help, just need to check my notes first. Just to verify - you are wiring this to the 3rd port of the ESS right?
 
Last edited:
Back
Top