- Joined
- Feb 9, 2017
- Messages
- 5,249
Very cool Bill! Sorry to be dense, but what’s “corking”?
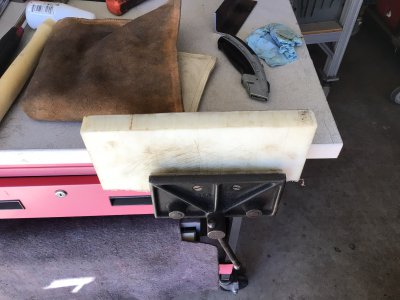
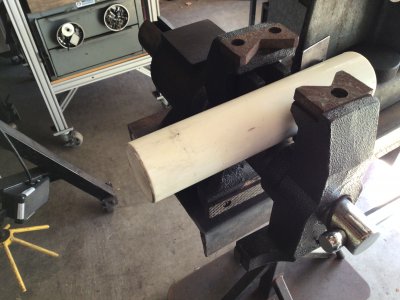
“The dark color on the beveled edges of the block is polyester resin. I soaked the working edges with it and then did a final cleanup sanding. The resin makes the block tougher so it doesn't just crumble when you beat on it.”
This has always mystified me in watching Jere Kirkpatrick and Ron Covel in their use of MDF. The use of resin makes sense. Most times, not being a wood guy, I saved an old Futon frame because it was hardrock maple and that’s what I use if I’m really wanting to beat on some kind frame.
Thanks for sharing.