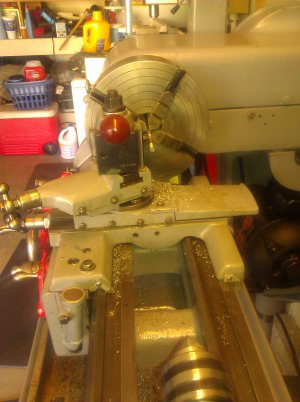
Re: Greg's Logan 820 Restoration - Reassembly: progress and a problem
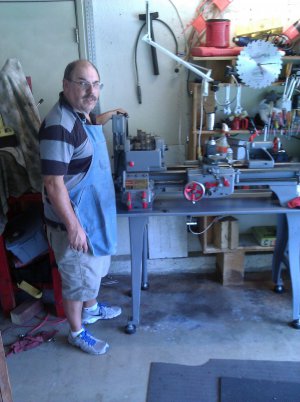
A week ago, the first part of the reassembly went smoothly. Installed the QCGB and lead screw, apron and saddle, and tool post. Roughly positioned the headstock in preparation for alignment. Then I wrestled the drive unit into place and pinned it to the headstock. The belt is not yet on, nor are the top and side covers. Nor is the gear train.
Similar to the alignment tests I did before the reassembly, I began using the "Rollie's Dad's Method" (RDM) using a guide rod (~3/8"diam) out of a printer, as is commonly suggested. Note: back in December, before the teardown, RDM told me the spindle axis was skewed 0.0037/foot rearward, and 0.0054/foot downward.
First I leveled the ways in both X and Y, then took the RDM measurements. There's significant horizontal play available in the headstock's position; a bit of trial and error postioning/tightening and I got to about 10 thous (0.0100/ft) before switching to check the vertical axis. The vertical seems to be 19.0 low (From here on, I'll omit the thousandths/ft in my numbers.) I spent the rest of the afternoon messing with shims, getting closer, but not close enough.
A bit more reading on RDM. It appears to be controversial, and is not the professional way. Once I get the machine powered up, I will cut a test rod, but for now, it seems adequate. Except that it does not account for any possible sag in the test rod.
So, yesterday, I switched from that printer shaft to a piece of 5/8" drill rod. It still showed that the axis was low. I added a bit more shim and saw -0.6 (low). Rechecking the horizontal: initially -2 (rear skew). I couldn't get this out by skewing the headstock any further. But it was very responsive to the adjustable levelling legs I had added. Raise the front right leg about half a turn put enough twist in the bed to end up with -0.3 horizontal and -0.2 vertical. Enough alignment for now, I plan to recheck once it's running. (And as you'll read below, I am going to have to move the headstock!)
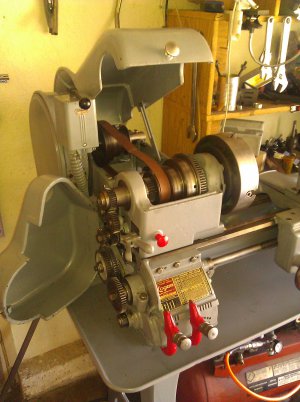
Back to the reassembly, I reinstalled the Reverse Gear Assembly and the Change Gear Assembly, setting the gear lash with ordinary paper strips. But now I have a problem. I can't get the "Stop Bracket" (LA-510) to properly position. If I position it to allow the proper gear mesh, then I can't close the side cover. Here is a picture of my problem, and pictures from before the disassembly. I've had this bracket on and off before and I don't see what I'm doing wrong. Any of you Logan guys have the answer?
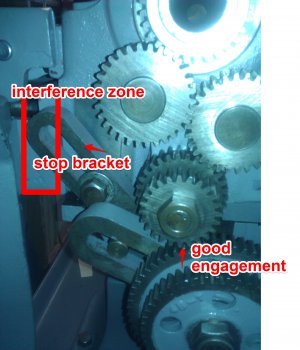
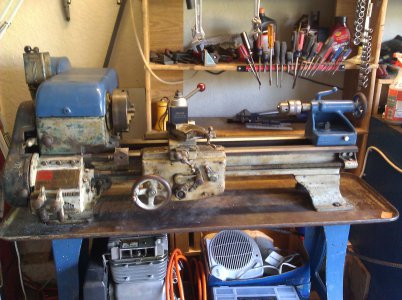
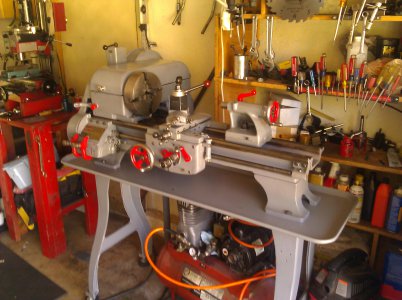
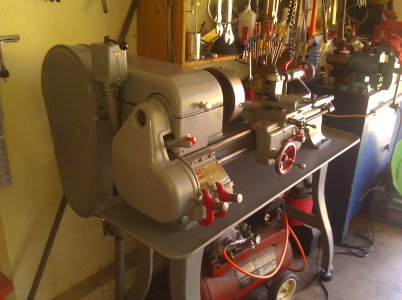
Here are the reference shots. In this case, they haven't helped! Now, the slot in the bracket doesn't go down far enough to let the bracket go nearly vertical to clear the hinge bracket.
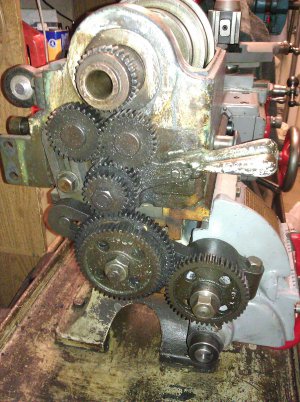
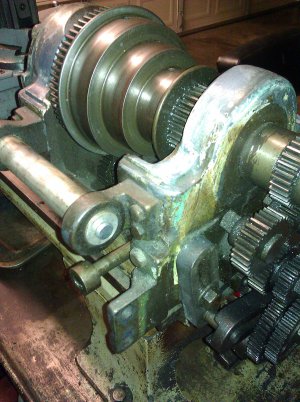
And another question for Team Logan: Is the left end of your headstock flush with the end of the bed, or not? Is it offset a bit? Which way and how much? Now that I have it bolted down and reasonably aligned but offset about 1/16" to the right, as a consequence I see my spindle gear doesn't fully engage the width of the drive gear. And belatedly, I look back in my disassembly notes from 25 March and see that before removal, it was offset to the left by 0.108. Maybe this is also the cause of my bracket problem? I'll play with it this afternoon.
Greg


A week ago, the first part of the reassembly went smoothly. Installed the QCGB and lead screw, apron and saddle, and tool post. Roughly positioned the headstock in preparation for alignment. Then I wrestled the drive unit into place and pinned it to the headstock. The belt is not yet on, nor are the top and side covers. Nor is the gear train.
Similar to the alignment tests I did before the reassembly, I began using the "Rollie's Dad's Method" (RDM) using a guide rod (~3/8"diam) out of a printer, as is commonly suggested. Note: back in December, before the teardown, RDM told me the spindle axis was skewed 0.0037/foot rearward, and 0.0054/foot downward.
First I leveled the ways in both X and Y, then took the RDM measurements. There's significant horizontal play available in the headstock's position; a bit of trial and error postioning/tightening and I got to about 10 thous (0.0100/ft) before switching to check the vertical axis. The vertical seems to be 19.0 low (From here on, I'll omit the thousandths/ft in my numbers.) I spent the rest of the afternoon messing with shims, getting closer, but not close enough.
A bit more reading on RDM. It appears to be controversial, and is not the professional way. Once I get the machine powered up, I will cut a test rod, but for now, it seems adequate. Except that it does not account for any possible sag in the test rod.
So, yesterday, I switched from that printer shaft to a piece of 5/8" drill rod. It still showed that the axis was low. I added a bit more shim and saw -0.6 (low). Rechecking the horizontal: initially -2 (rear skew). I couldn't get this out by skewing the headstock any further. But it was very responsive to the adjustable levelling legs I had added. Raise the front right leg about half a turn put enough twist in the bed to end up with -0.3 horizontal and -0.2 vertical. Enough alignment for now, I plan to recheck once it's running. (And as you'll read below, I am going to have to move the headstock!)
Back to the reassembly, I reinstalled the Reverse Gear Assembly and the Change Gear Assembly, setting the gear lash with ordinary paper strips. But now I have a problem. I can't get the "Stop Bracket" (LA-510) to properly position. If I position it to allow the proper gear mesh, then I can't close the side cover. Here is a picture of my problem, and pictures from before the disassembly. I've had this bracket on and off before and I don't see what I'm doing wrong. Any of you Logan guys have the answer?

Here are the reference shots. In this case, they haven't helped! Now, the slot in the bracket doesn't go down far enough to let the bracket go nearly vertical to clear the hinge bracket.


And another question for Team Logan: Is the left end of your headstock flush with the end of the bed, or not? Is it offset a bit? Which way and how much? Now that I have it bolted down and reasonably aligned but offset about 1/16" to the right, as a consequence I see my spindle gear doesn't fully engage the width of the drive gear. And belatedly, I look back in my disassembly notes from 25 March and see that before removal, it was offset to the left by 0.108. Maybe this is also the cause of my bracket problem? I'll play with it this afternoon.
Greg


